
WR China Meta
Meta, tier list & top-player builds from the China server · live
Meta, tier list & top-player builds from the China server · live

亚托克斯 · 暗裔剑魔 Fighter C
✅ Patch 7.2e · stats updated 2026-09-12 · real builds of 22 top-ranked China server players captured 2026-09-11
Difficulty Damage Toughness Utility
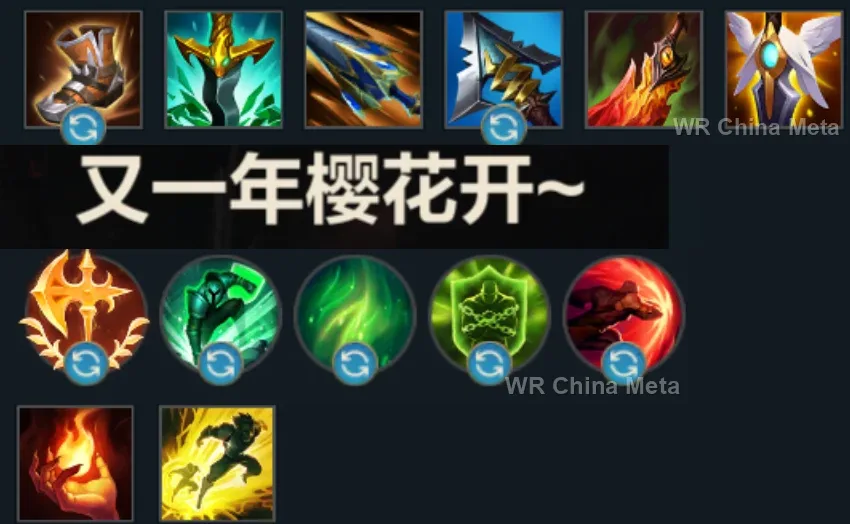
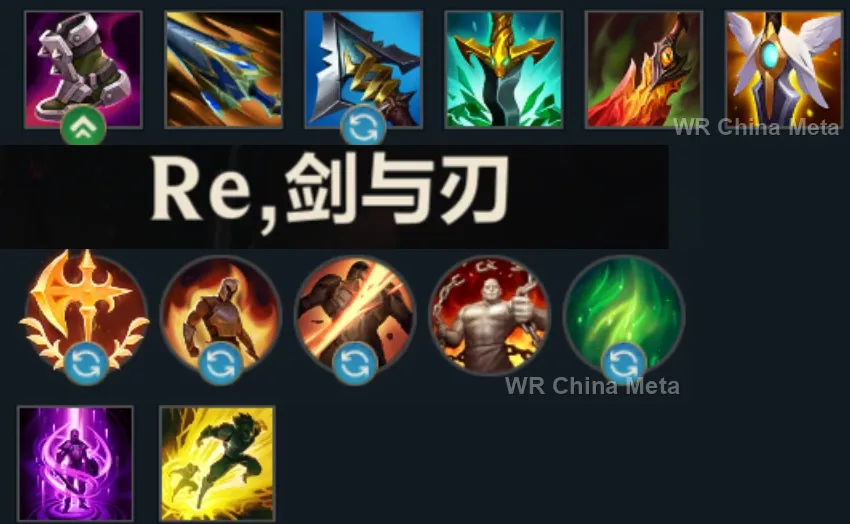
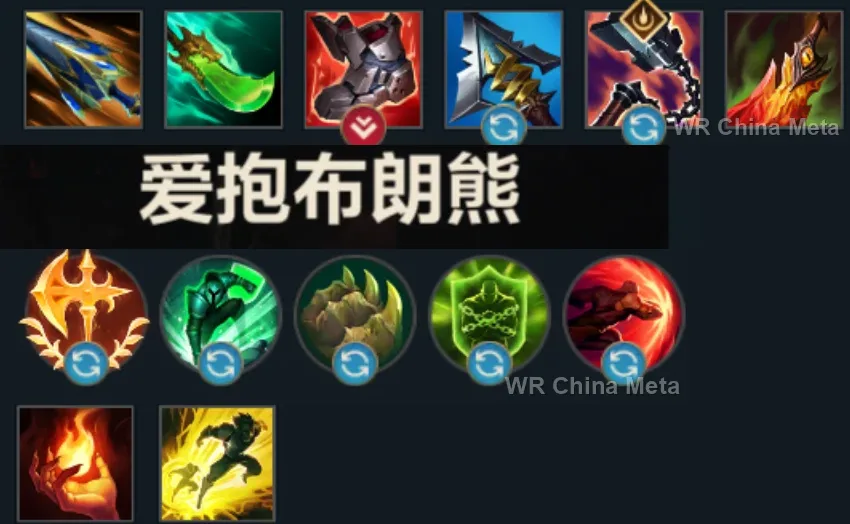
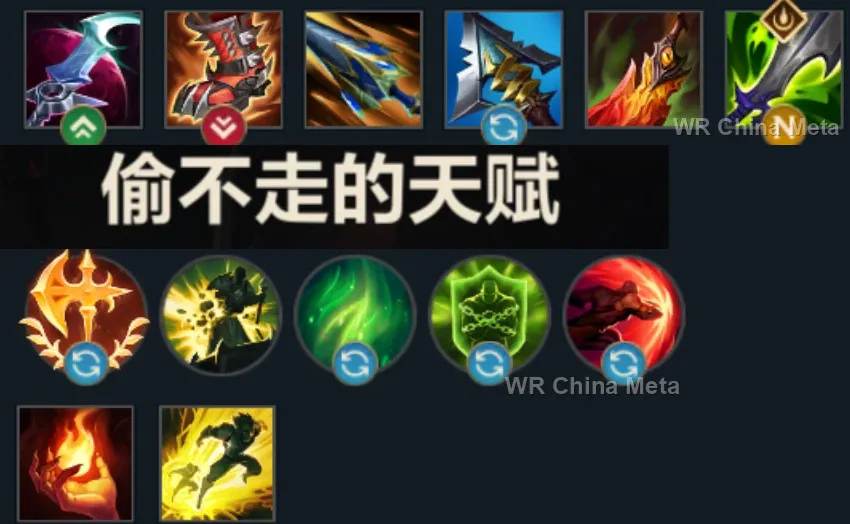
How the strongest players on the Wild Rift China server (国服) build Aatrox: live win/pick statistics by rank bracket, the most-used item and rune sets, and the real loadouts of the top ranked Aatrox players, captured in-game.
📖 How to play Aatrox




Counted on 23 real builds captured from the Chinese client, player by player. Independent from the official API above.


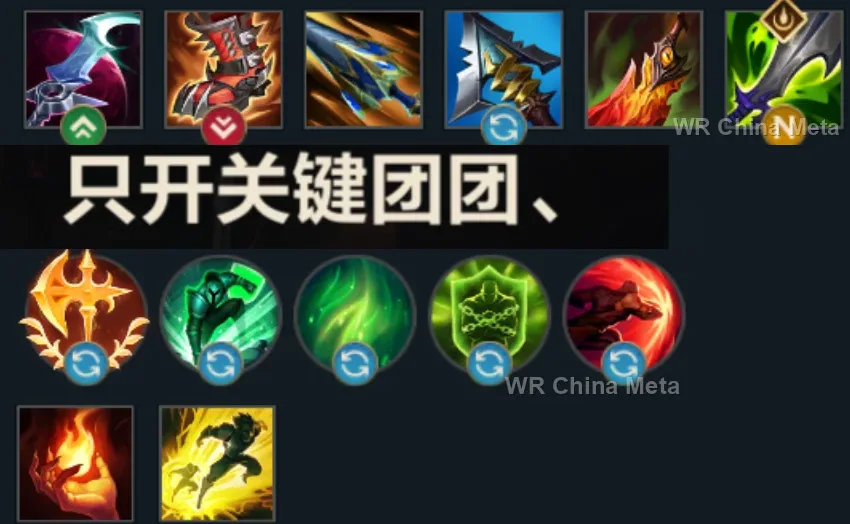
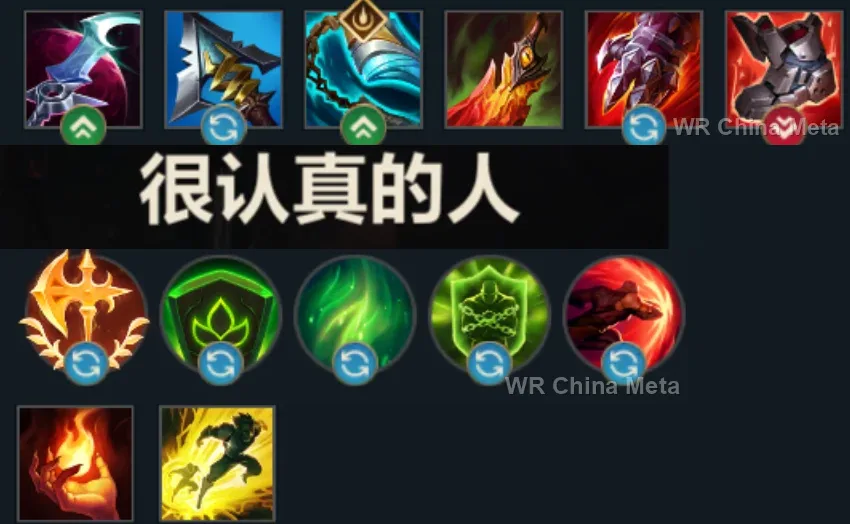
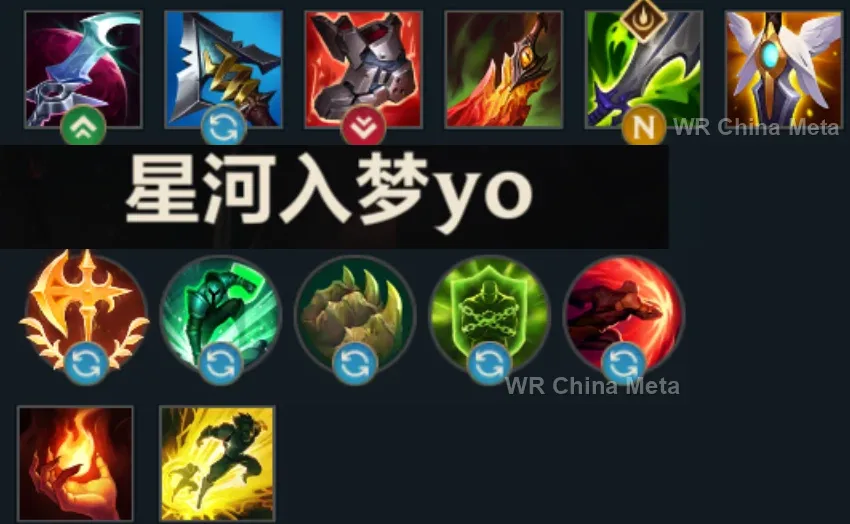
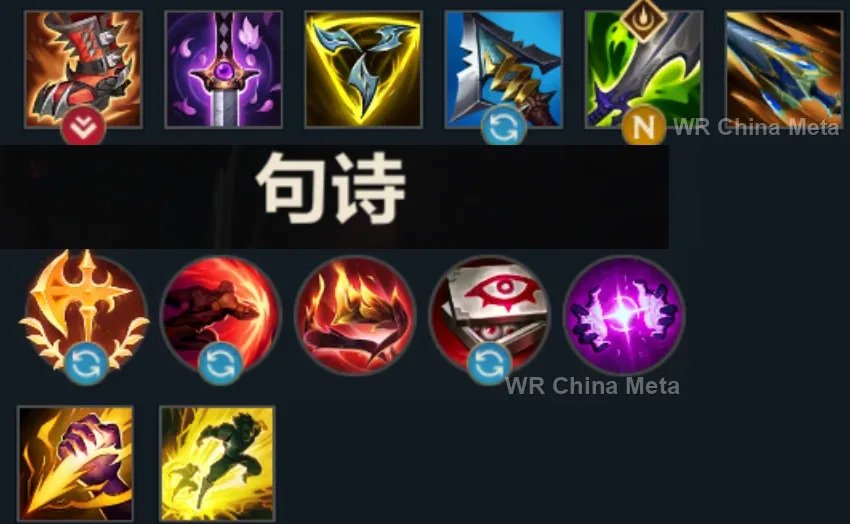
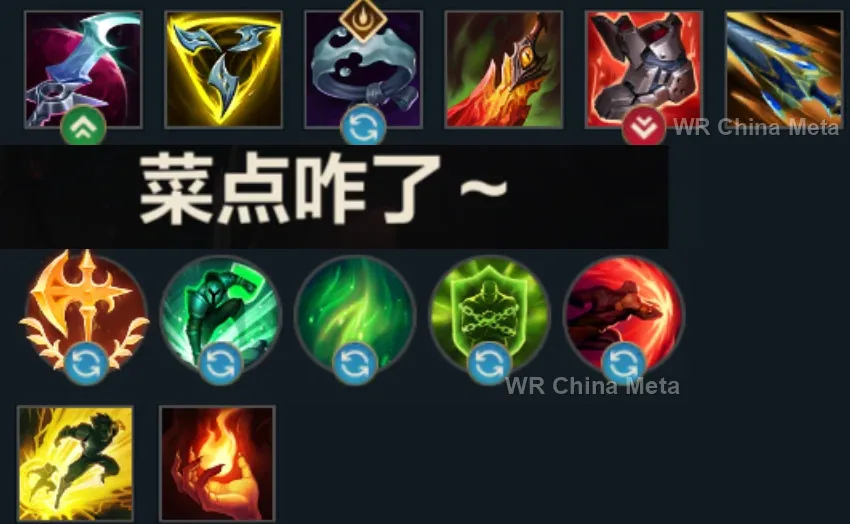
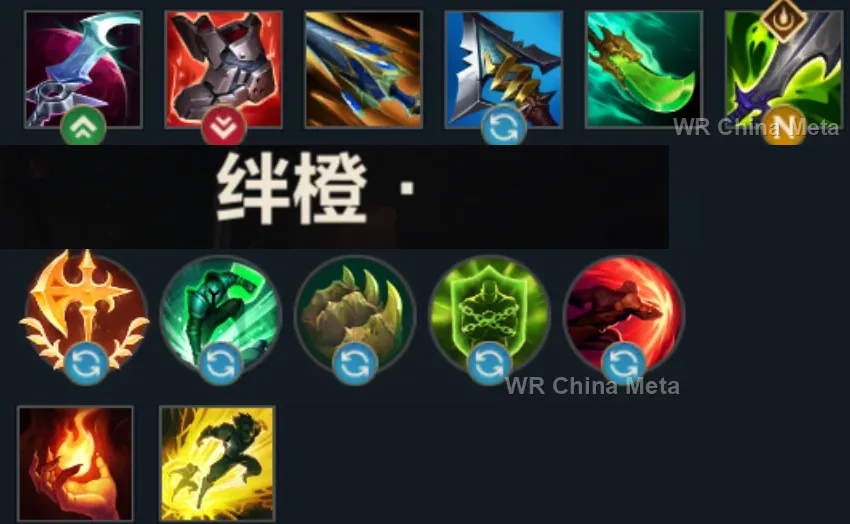
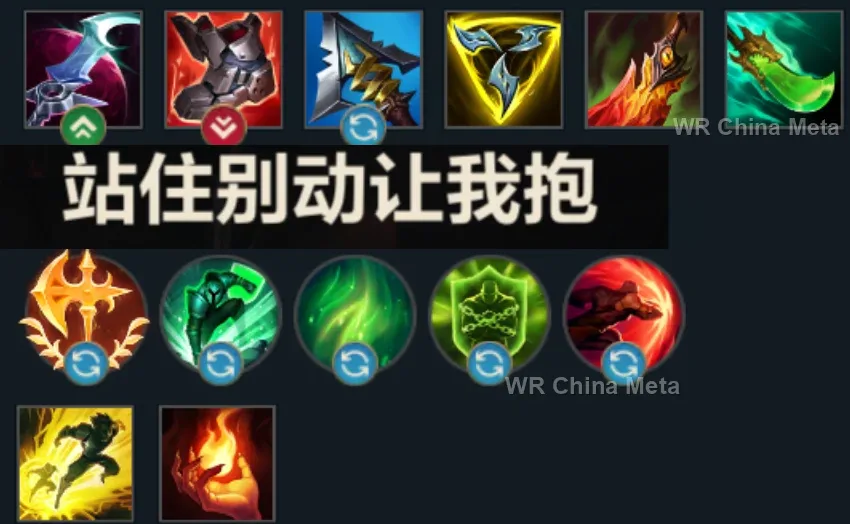
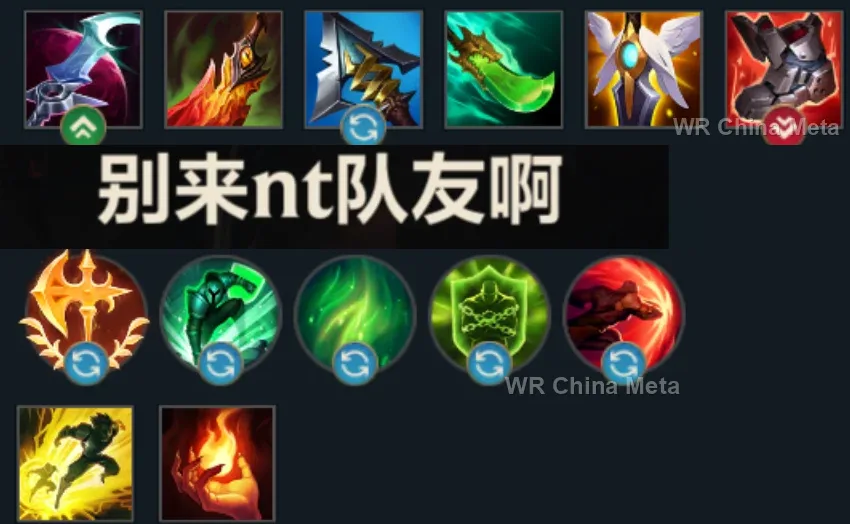
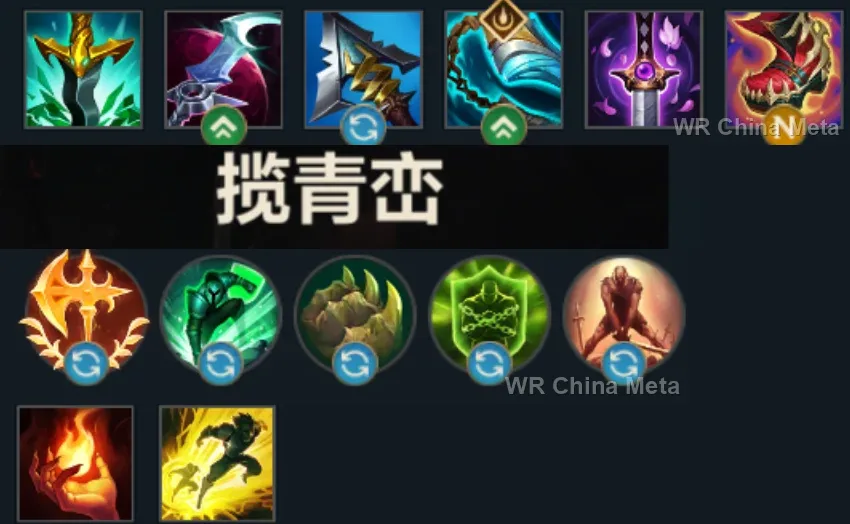
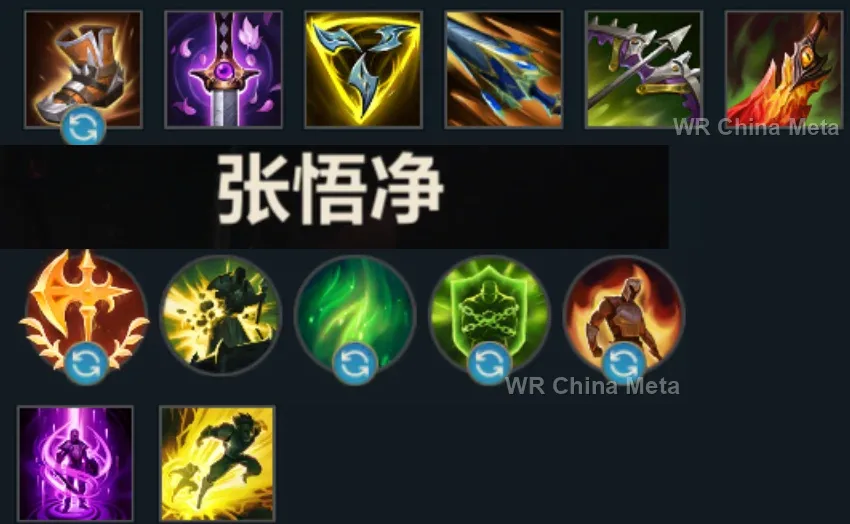
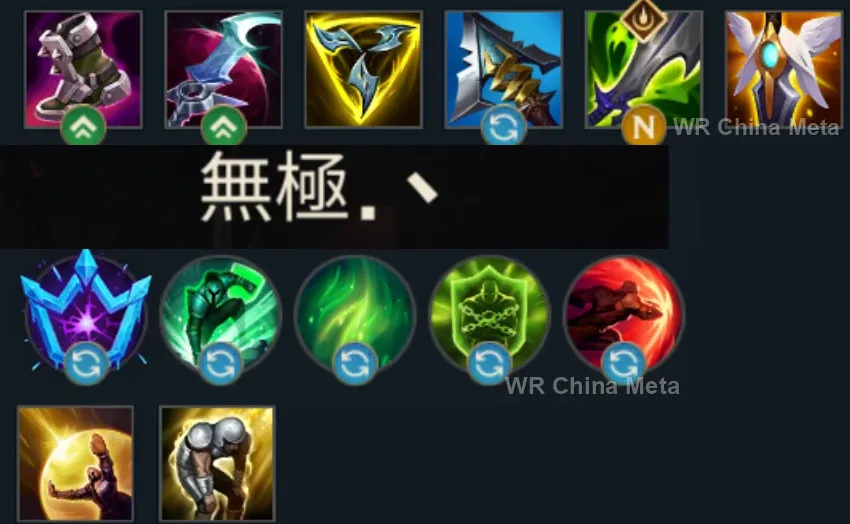
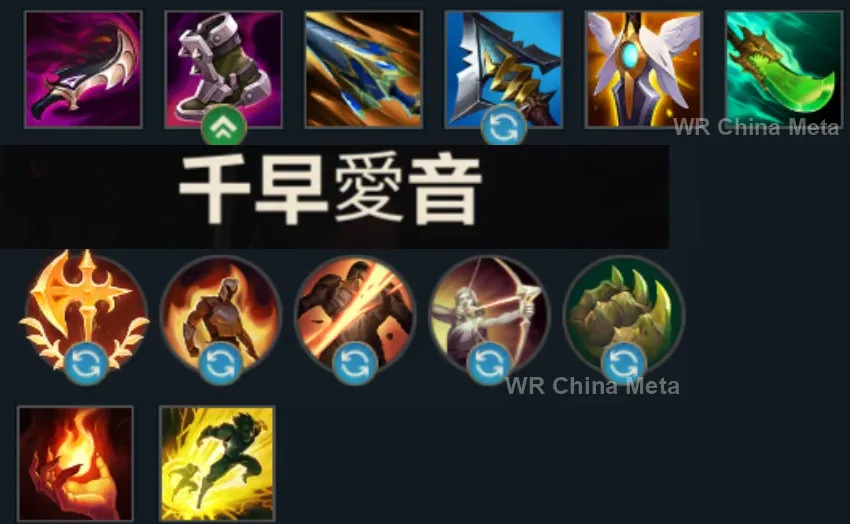
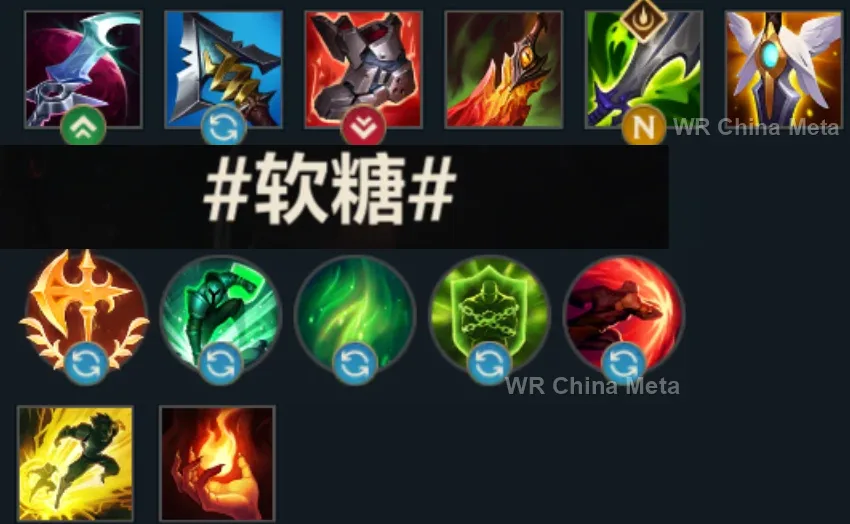
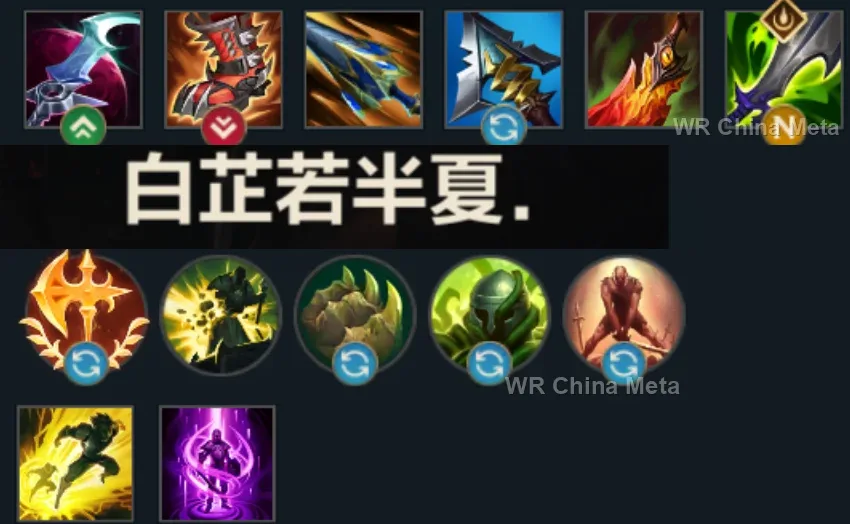
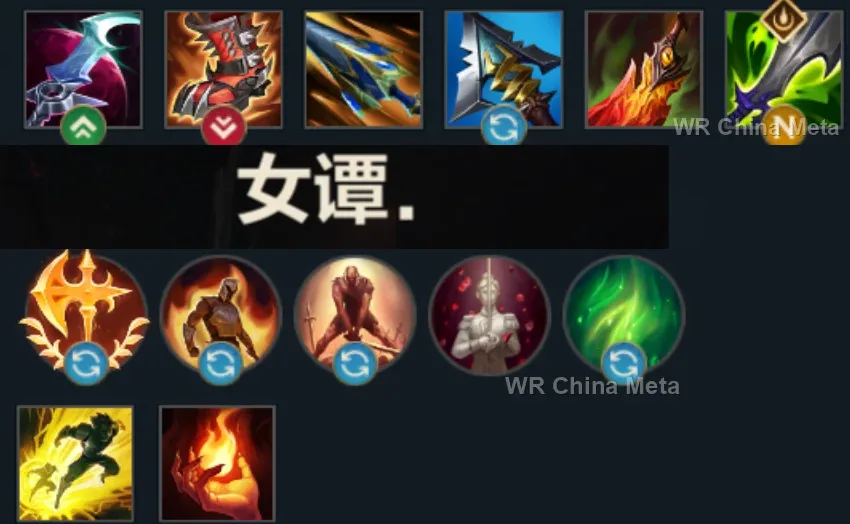
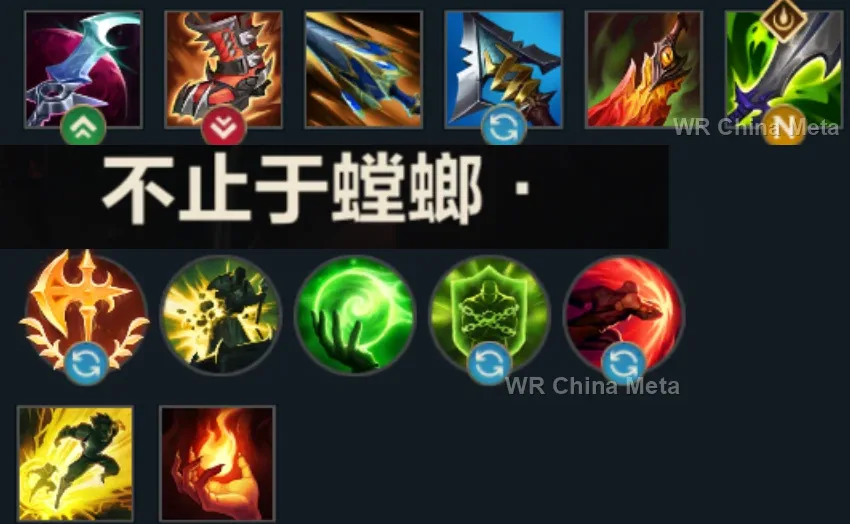
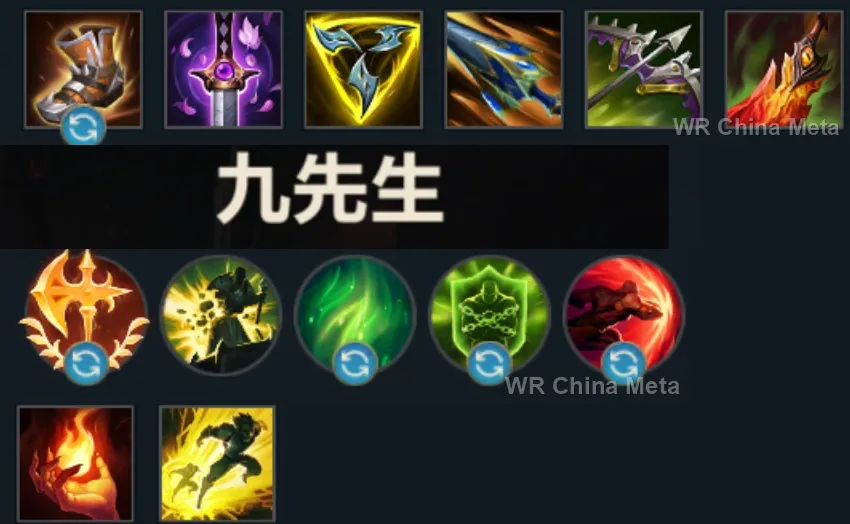
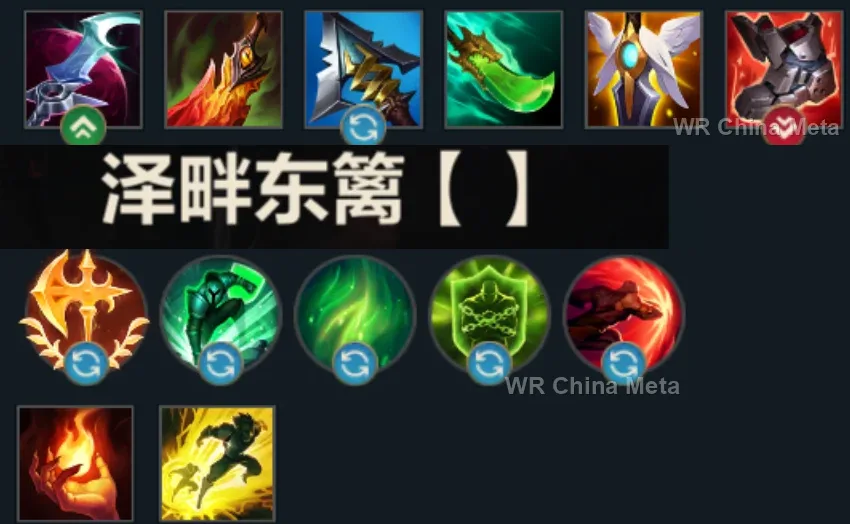
Taken from the official in-game China leaderboard. Spells, runes and items of every public top player.
22 of the top 30 players have a public match history; the others keep theirs private.
The toughest lane matchups for Aatrox on the Wild Rift China server, with why each is hard and exactly how to play it.
 Aatrox vs Fiora Hard counter
Why Fiora counters Aatrox: Her Riposte (W) blocks and reflects exactly the Q3 or W you need to close the trade, and to hit Vitals she sticks right on top of you, where your Qs deal the least damage.
How to play Aatrox into Fiora: Use your first Q only to bait out the Riposte, then start the real combo. Aim to hit her with the outer edge of your Qs: if she stays glued to your body, she wins.
→ Fiora Aatrox vs Vayne Unfavorable
Why Vayne counters Aatrox: She kites you with Tumble and her percent-health damage (W) melts even the HP you stack: your Qs are slow and she dodges them by walking.
How to play Aatrox into Vayne: Place your W where you know she will tumble and use Q2 as soon as Tumble is on cooldown. Call for ganks early: before 3 items Vayne is extremely fragile.
→ Vayne Aatrox vs Gwen Unfavorable
Why Gwen counters Aatrox: Inside her Mist (W) you cannot touch her with Qs or R, and her percent damage out-scales your sustain: she beats you at your own long-duel game.
How to play Aatrox into Gwen: Either physically step into the Mist or refuse the trade entirely. Attack her at levels 1-3, when the Mist is not up yet or costs her too much.
→ Gwen Aatrox vs Jax Skill matchup
Why Jax counters Aatrox: Counter Strike (E) dodges your basic attacks but NOT your Qs: it is a positioning duel between his jumps and your charged strikes.
How to play Aatrox into Jax: Place Q3 on the spot where his jump lands. Trade when his E is on cooldown: in medium-length duels your sustain wins.
→ Jax Aatrox vs Malphite Skill matchup
Why Malphite counters Aatrox: He stacks armor against your physical kit, but your Qs still hit him and your sustain holds up against his Q poke.
How to play Aatrox into Malphite: A locked lane: win on points with sustain and look for teamfights, where your R matters more. The only real danger is his full combo with R: watch for it from level 5.
→ MalphiteThe champions Aatrox works best alongside on the Wild Rift China server, lane by lane, with the reason each pairing works.
Your only way in is Umbral Dash (E), and it is very short: Cataclysm (R) locks you and the target inside the same ring, where nobody walks in to save him and he never steps out of The Darkin Blade (Q)'s tip.
Your stated weakness is getting kited: Frenzying Taunt (E) forces the enemy carry to stand there hitting Rammus, who cannot kill anyone alone. You land all three swings and the empowered Deathbringer Stance (P) autos instead.
Infinite Duress (R) is a point-and-click suppress nobody dodges: a full second where The Darkin Blade (Q)'s sweetspot cannot miss. Blood Hunt (W) also tells you where the champion worth hunting is standing.
Curse of the Sad Mummy (R) is a 1.5-second area stun, and that is all you need: pop World Ender (R) and grind down a group that cannot move. Amumu has no damage to close a fight with - you do.
Two different ways to stop a runner: Biggest Snowball Ever! (W) knocks up the front line and Absolute Zero (R) buries everyone in a heavy slow. With a dash as short as Umbral Dash (E), that is how you reach melee range.
This is for when you dive first and already know you will get focused: inside Lamb's Respite (R) nobody can die for three seconds, and Umbral Dash (E)'s omnivamp - 24% while World Ender (R) is up - heals you back on its own.
Your own card says it: healing does not save you from burst. Hero's Entrance (R) comes in from half a map away right on top of you, shields you the instant the damage arrives and knocks up everyone who just jumped you.
Last Breath (R) can only be cast on airborne targets, and the tip of The Darkin Blade (Q) knocks up: you hand him one on every swing. In exchange, Wind Wall (W) stops the ranged poke that is the one thing keeping you out of range.
Ring of Frost (W) roots and Frozen Tomb (R) stuns on top of it: close to three seconds of a target standing still, which is exactly the time for Infernal Chains (W), all three swings and one empowered Deathbringer Stance (P) hit.
Command: Protect (E) attached to you is a shield and resistances while you dive, and it carries the Ball into their team: Command: Shockwave (R) then goes off from your body and pulls the people you were chasing into one spot.
Vision of Empire (W) deals 50% bonus damage to anything already locked down, and the knock-up from The Darkin Blade (Q)'s tip is what switches it on. Swain is also the second frontline body your card admits you never provide.
Frost Shot (P) slows on every single hit and Enchanted Crystal Arrow (R) stuns from off-screen: for a champion whose only dash is Umbral Dash (E), a partner who keeps everyone slowed is literally how you get into melee range.
If she bonds with you as her Oathsworn at the start of the match, Fate's Call (R) catapults you into their team with an area knock-up on landing: it is the engage you lack, and it sets up The Darkin Blade (Q)'s tip on the whole group.
Deadly Flourish (W) turns into a real root on anyone who has just taken damage from an ally: you tag them from range with Infernal Chains (W) and he pins them. Curtain Call (R) then slows anyone trying to leave by 80%.
Chain of Corruption (R) roots from across the screen and spreads to whoever stands nearby: a group that cannot walk is the only one where all three swings land in full, and Blighted Quiver (W) adds the magic damage you lack.
Arc of Judgment (W) is a near-total slow that keeps pulsing: whoever ends up inside it never gets back to safe range, and that is exactly the mobile opponent your card says keeps you at arm's length all game.
Zenith Blade (E) roots and drags her in, Shield of Daybreak (Q) stuns for a second, Solar Flare (R) extends the chain: the longest lockdown in the game, on the carry you actually want, and Sunlight (P) detonates on every hit you add.
Concussive Blows (P) stuns at the fourth mark and allied basic attacks stack it too: since Umbral Dash (E) resets your attack timer every time you dash, two or three autos inside your combo are enough to set it off.
Dark Passage (W) is the long dash you will never have: the lantern throws you in at full health, or pulls you out when World Ender (R) expires and you are left exposed. Death Sentence (Q) drags a runner into melee for you.
Dark Binding (Q) is a two-second root, which is your full combo handed over. And Black Shield (E) on you eats the crowd control they use to stop you mid-dive, the most common way your engage dies before it starts.
Grand Entrance (W) knocks up and The Quickness (R) charms the same targets: nearly two seconds of chained crowd control, enough for three swings. And Battle Dance (E) brings him in with you to shield you instead of leaving you alone.
Take her against teams that burn you down before your healing matters: Whimsy (W) polymorphs the assassin who just jumped you and Rampant Growth (R) hands you bonus max health at the worst moment. Against slow comps you need her less.
| Lane | Tier | Win% | Pick% | Ban% | Pos. |
|---|---|---|---|---|---|
| Baron | C | 49.1% | 5.73% | 7.79% | #31 / 41 |
| Lane | Tier | Win% | Pick% | Ban% | Pos. |
|---|---|---|---|---|---|
| Baron | C | 49.21% | 5.7% | 7.8% | #31 / 41 |
| Lane | Tier | Win% | Pick% | Ban% | Pos. |
|---|---|---|---|---|---|
| Baron | C | 49.07% | 5.92% | 6.81% | #30 / 41 |
| Lane | Tier | Win% | Pick% | Ban% | Pos. |
|---|---|---|---|---|---|
| Baron | B | 50.59% | 7.43% | 6.86% | #25 / 39 |
| Jungle | D | 41.47% | 1.29% | 6.86% | #40 / 41 |


Aatrox is a melee Fighter built around relentless single-target damage and heavy self-sustain, making him one of Wild Rift's most reliable top-lane duelists. His damage comes from the three-hit Darkin Blade combo and an empowered auto attack that also heals him, so he wants long trades and skirmishes rather than quick pokes, backed up by a demonic ultimate that boosts his damage, healing, and speed. The kit is mechanically simple to pick up, but landing the Q's sweetspot and weaving Umbral Dash resets is what separates a good Aatrox from a great one.
Skill order: Q > W > E (level R whenever it's available)
Aatrox wants to farm safely with Q — even though it deals reduced damage to minions, a full three-hit combo still clears the wave quickly — and to poke with a lone Q1 or a well-placed Infernal Chains whenever the enemy oversteps. Deathbringer Stance comes back faster the more you fight: every auto or ability that hits a champion or a large monster cuts 3 seconds off its cooldown, so stay in range instead of backing off, and try to spend the empowered hit on a champion — on a minion it only heals 60%. Use W to slow or pull an overextended laner into your Q's range before all-in-ing, and avoid drawn-out auto-attack trades against champions who simply hit harder early — instead look for a burst window around your Q3 knock-up, then Umbral Dash out if the trade turns against you.
From mid-game on, Aatrox fights as an aggressive frontline duelist rather than a peeler: pop World Ender before committing to a dive, use Infernal Chains to punish anyone trying to kite or disengage, and target isolated carries or kiting backline threats rather than the enemy's frontmost tank. Because every takedown during World Ender extends its duration by up to 10 extra seconds, keep hunting for picks instead of backing off once the initial burst is spent — his boosted 24% omnivamp and Deathbringer Stance healing let him outlast focus fire far longer than most bruisers. Items like Death's Dance and Sundered Sky reinforce that same sustain identity, buying him time to heal back whatever burst damage he takes mid-fight.