
WR China Meta
Meta, tier list & top-player builds from the China server · live
Meta, tier list & top-player builds from the China server · live

安蓓萨 · 铁血狼母 Fighter C
✅ Patch 7.2e · stats updated 2026-09-12 · real builds of 20 top-ranked China server players captured 2026-09-11
Difficulty Damage Toughness Utility
How the strongest players on the Wild Rift China server (国服) build Ambessa: live win/pick statistics by rank bracket, the most-used item and rune sets, and the real loadouts of the top ranked Ambessa players, captured in-game.
📖 How to play Ambessa






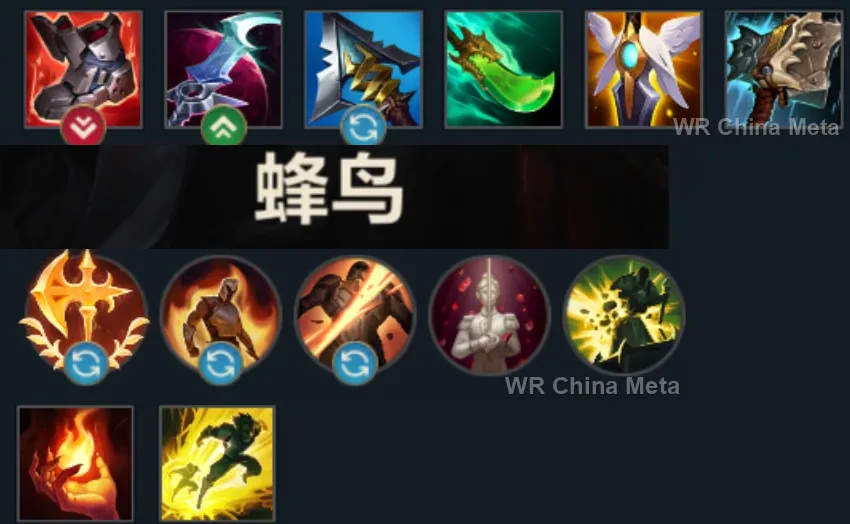
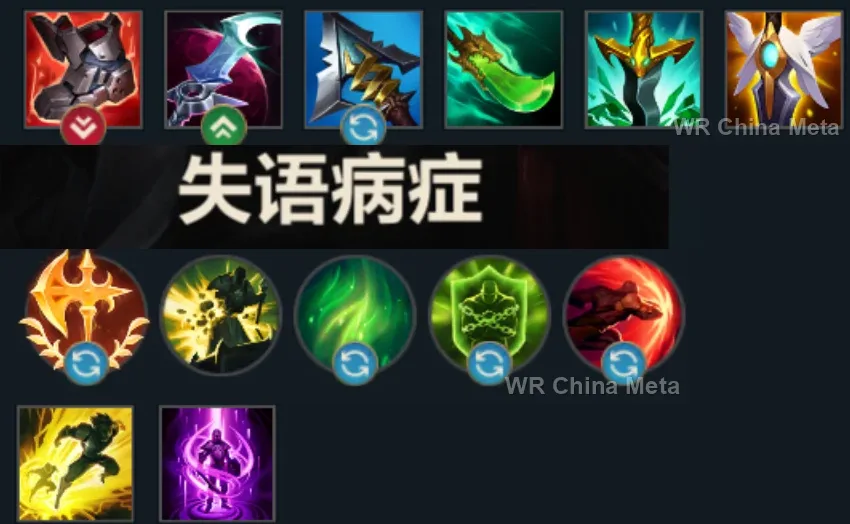
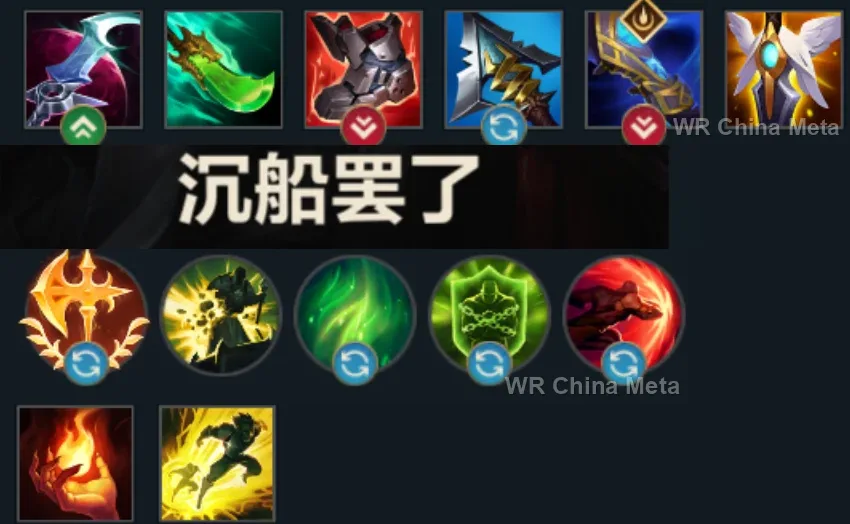
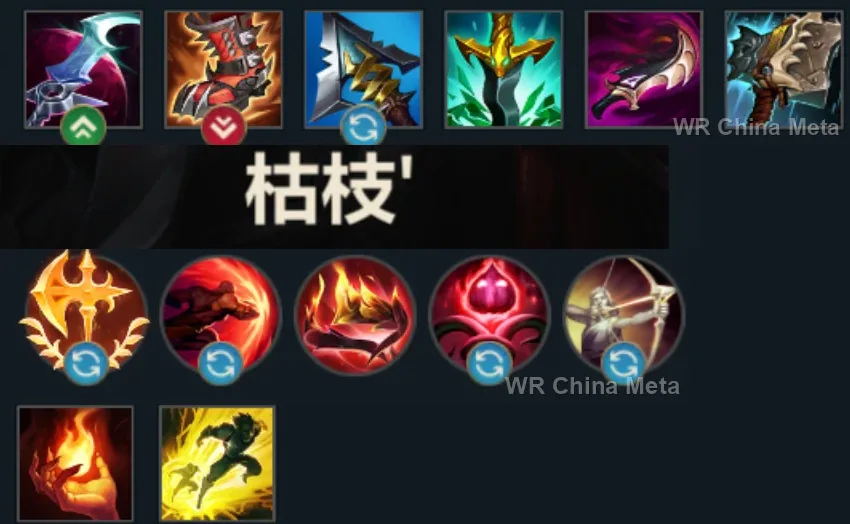
Counted on 20 real builds captured from the Chinese client, player by player. Independent from the official API above.


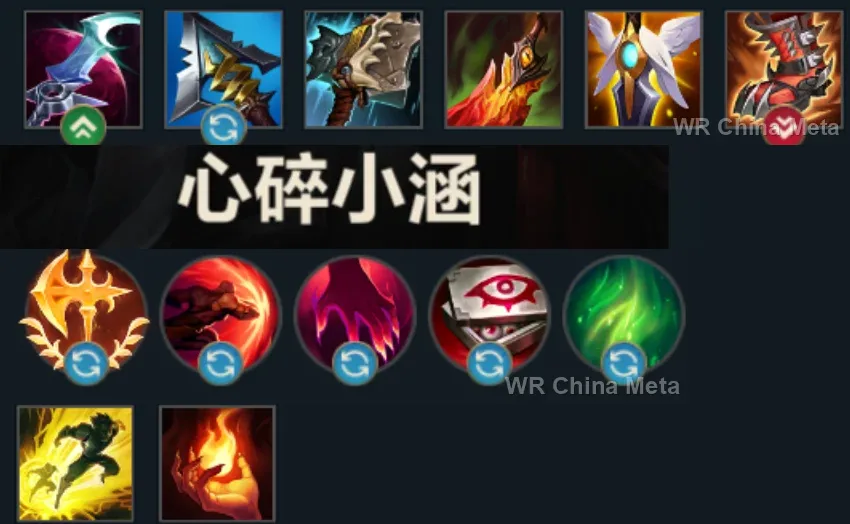
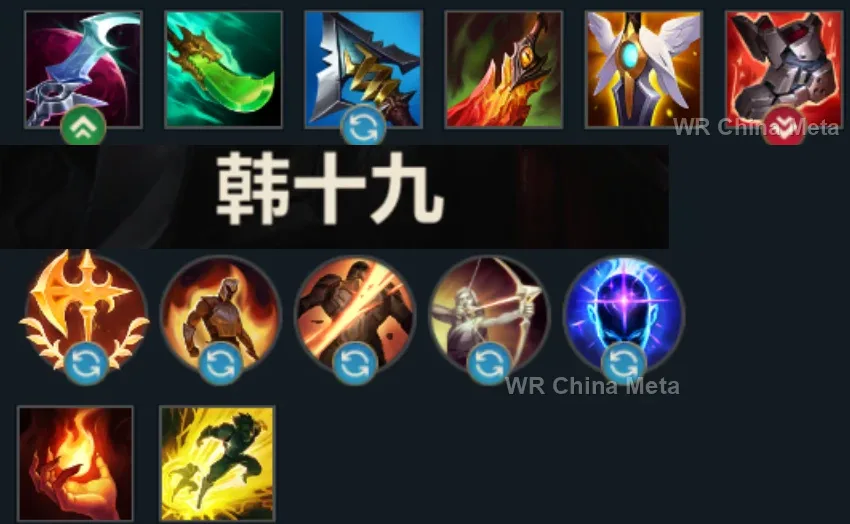
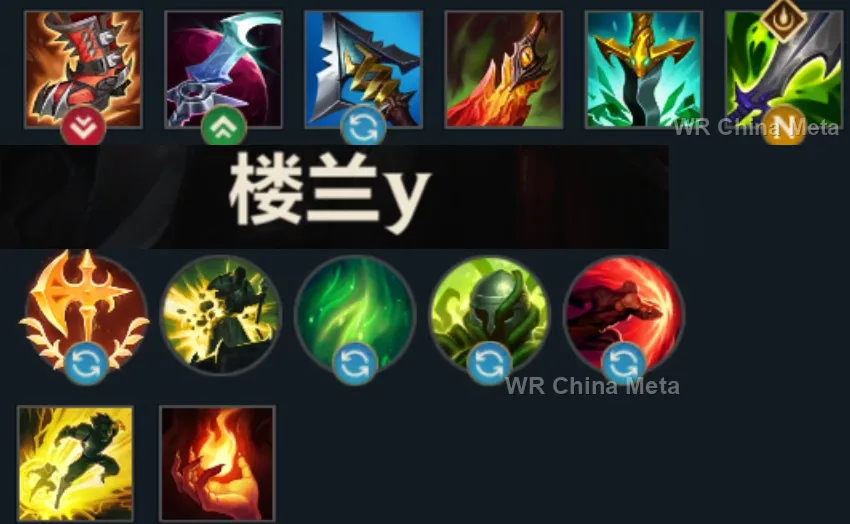
Taken from the official in-game China leaderboard. Spells, runes and items of every public top player.
20 of the top 29 players have a public match history; the others keep theirs private.
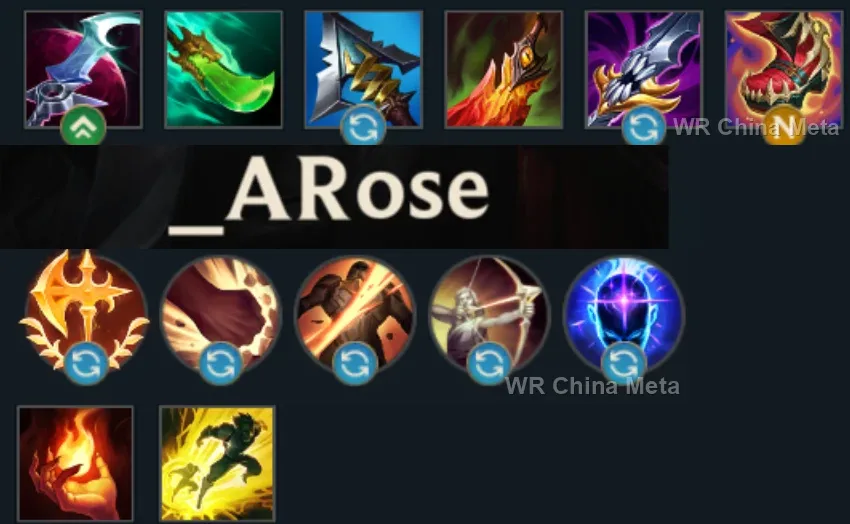
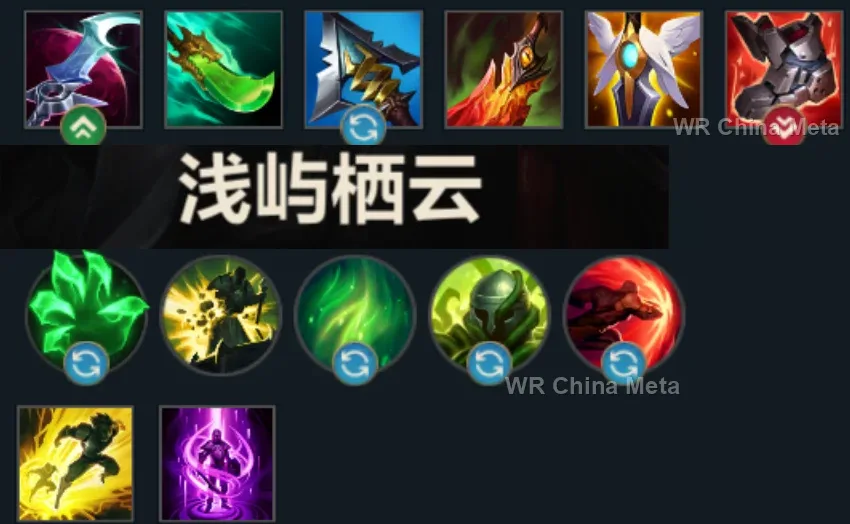
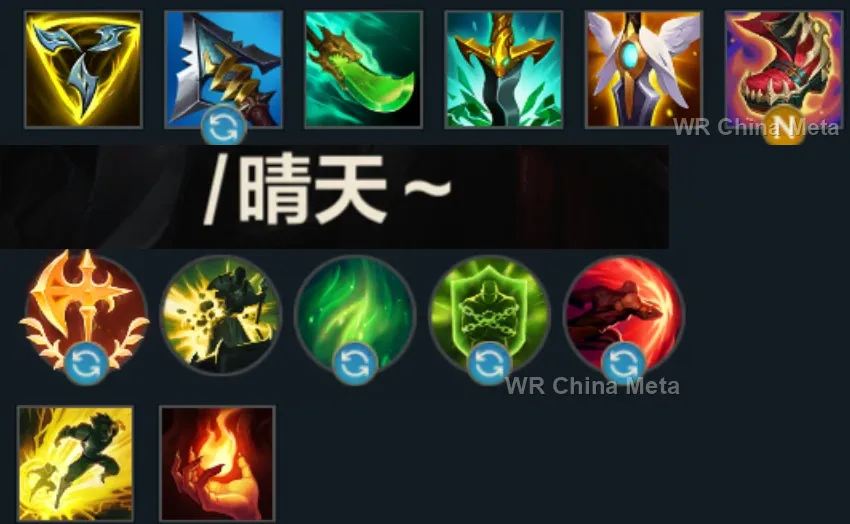
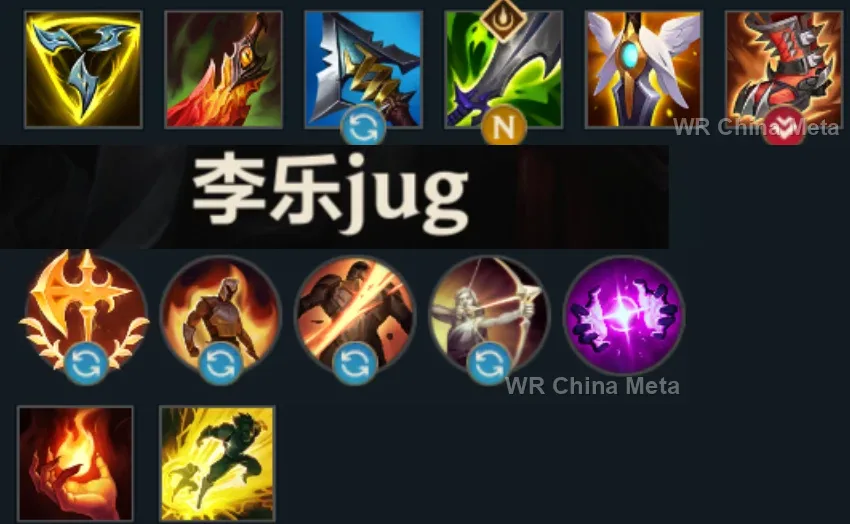
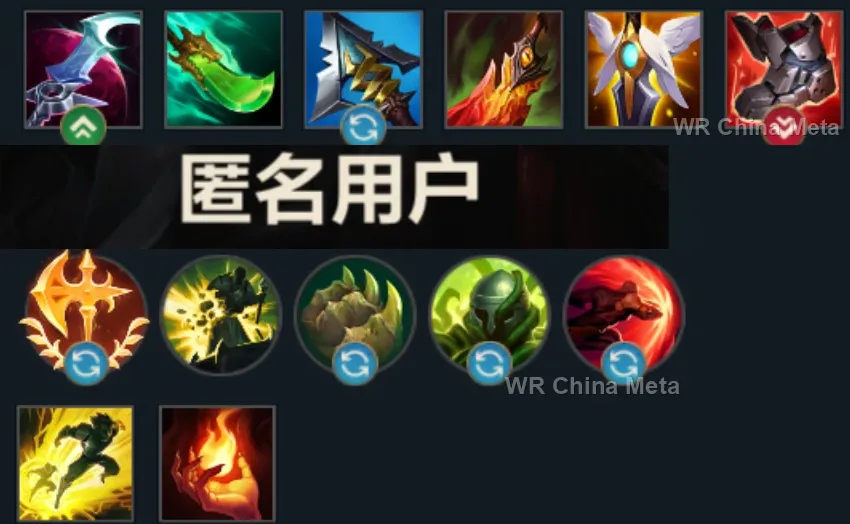
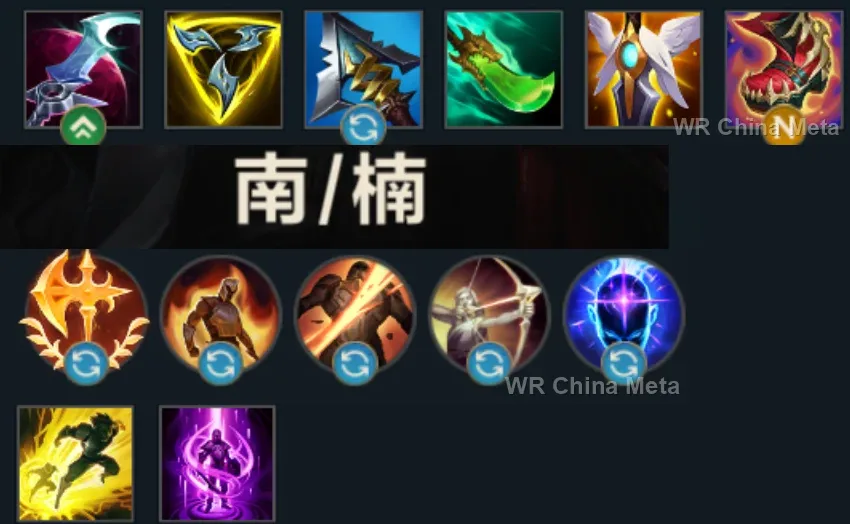
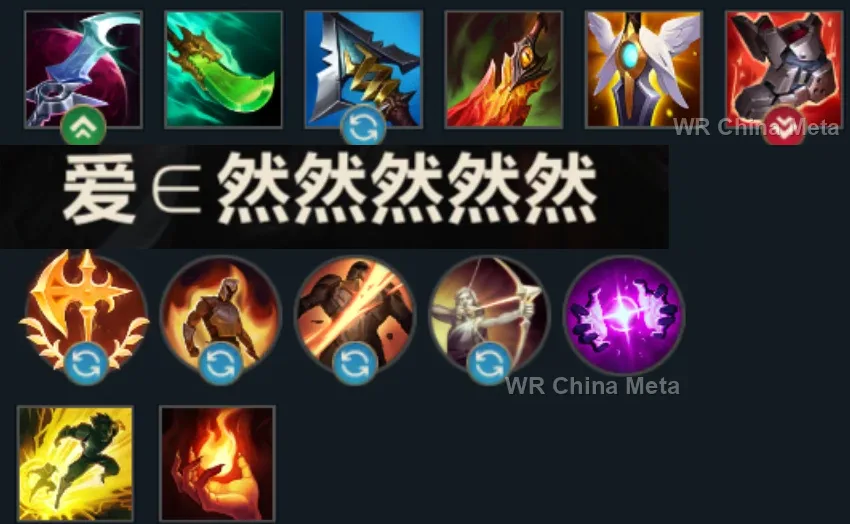
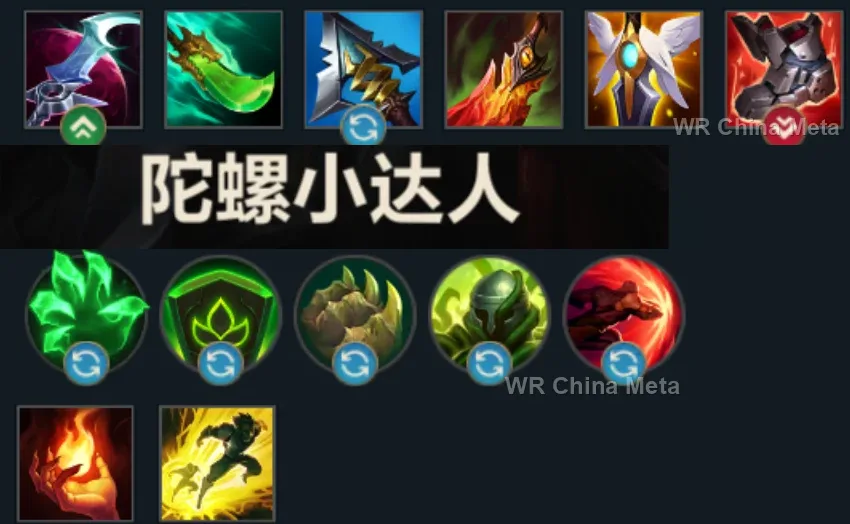
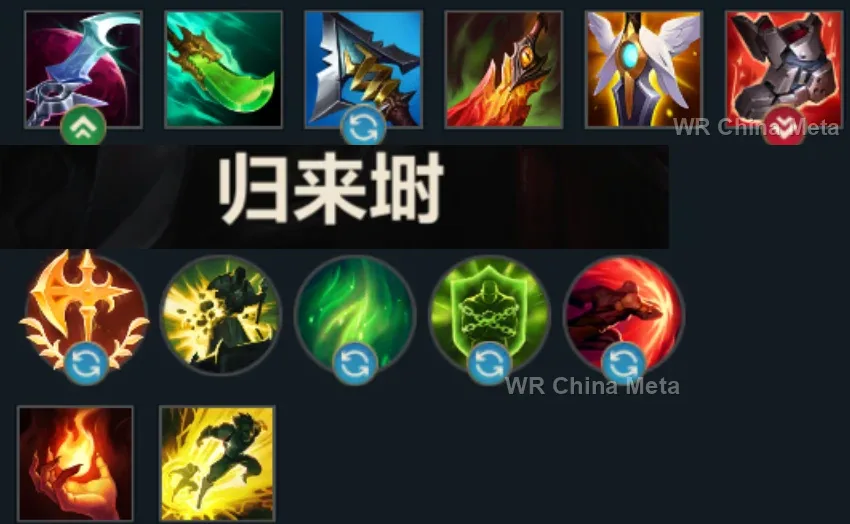
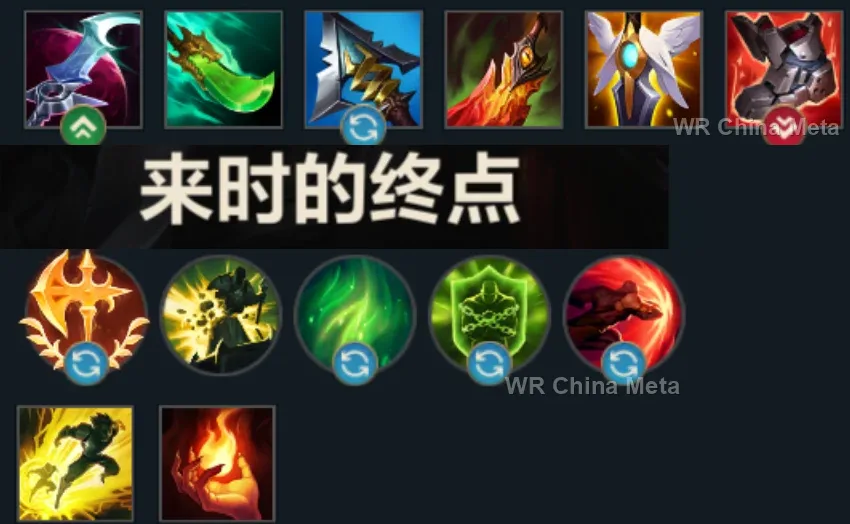
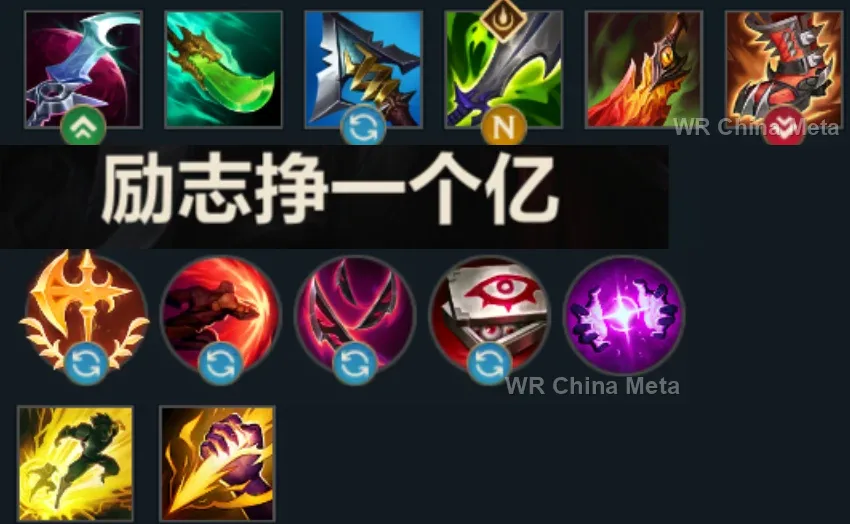
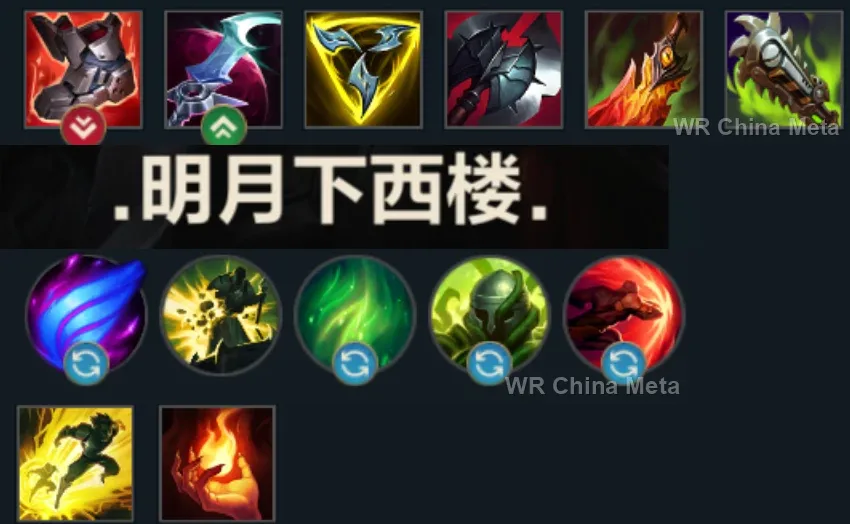
The toughest lane matchups for Ambessa on the Wild Rift China server, with why each is hard and exactly how to play it.
 Ambessa vs Malphite Unfavorable
Why Malphite counters Ambessa: Armor absorbs your dashes and empowered attacks: he does not need to read your feints, he just needs to exist.
How to play Ambessa into Malphite: Trade with abilities only and walk away: never long basic-attack trades. Splitpush: against Malphite you are worth more in a side lane than in the 5v5.
→ Malphite Ambessa vs Vayne Unfavorable
Why Vayne counters Ambessa: She kites you with Tumble and Condemn (E) pins you to the wall if you dash in a straight line: your entries are predictable to her.
How to play Ambessa into Vayne: Dash only when her Tumble is on cooldown. Your R reaches her regardless: keep it to finish her, not to open the fight.
→ Vayne Ambessa vs Fiora Skill matchup
Why Fiora counters Ambessa: Her Riposte answers your multiple dashes: she has one answer to your many questions, but that answer hurts badly.
How to play Ambessa into Fiora: Use a feint dash to make her waste Riposte, then commit with the combo and R. Reposition constantly: it makes your Vitals nearly impossible to hit.
→ Fiora Ambessa vs Jax Skill matchup
Why Jax counters Ambessa: A skirmisher duel: his Counter Strike punishes your post-dash attacks, but your dashes dodge his stun.
How to play Ambessa into Jax: While his E is active, trade with abilities only, no basic attacks. Go in with your passive shield up: in medium trades you are ahead.
→ Jax Ambessa vs Gwen Skill matchup
Why Gwen counters Ambessa: Her Mist against your dashes: two times out of three your multi-dash entry finds her untouchable.
How to play Ambessa into Gwen: Use one dash to enter and keep one ready for when she leaves the Mist. Look for long trades after the Mist is spent: that is where you win.
→ GwenThe champions Ambessa works best alongside on the Wild Rift China server, lane by lane, with the reason each pairing works.
Public Execution (R) drops you alone behind their team, and your own card says a bad engage there just gets you killed: Stand United (R) shields you and teleports him in from half a map away, while Shadow Dash (E) taunts whoever was jumping you.
The Hextech Ultimatum (R) seals a carry inside a zone their team can't step into to save them. While she holds that one, you spend Public Execution (R) on another: two prisons in one fight, and neither target gets peeled.
Your dashes are short and telegraphed, so anything that slows you keeps you out of range: Searing Charge (E) crashed into the Volcanic Rupture (Q) wall is a guaranteed knock-up every skirmish, and on a still target you catch Cunning Sweep (Q)'s outer edge.
On your own you have no peel and no way to hold a group still: Unstoppable Force (R) hands it over floored and stacked, and Lacerate (E) with the Drakehound's Step (P) reset hits the whole pile twice while he soaks instead of you.
All Out (R) hurls a carry away from their team and roots it: that's a second isolated target while Public Execution (R) is down, and exactly the kind of prey your full rotation actually finishes off.
He's for the games where stacked armor shuts you down, your stated counter: Judgment (E) shreds it the longer it spins, so your physical damage bites again. Against a normal composition he's just another body up front.
You fly behind their line with Public Execution (R) and then you're stuck there alone: Hero's Entrance (R) lands on you from anywhere on the map, knocks up everyone closing in and leaves a shield. It's the lifeline your kit doesn't have.
Public Execution (R) grabs the farthest champion in a straight line, so the real problem is knowing where they are: Destiny (R) shows you all of them and brings him to your flank, and a Gold Card from Pick a Card (W) stuns while you close.
After the grab you get one window for Cunning Sweep (Q), the Sundering Slam (Q) recast and Lacerate (E): Ring of Frost (W) into Frozen Tomb (R) pins that same target for nearly three seconds, more than you need.
Charm (E) takes the target's movement away for 1.4 seconds: that's exactly the window where Cunning Sweep (Q)'s outer edge stops being a gamble, and a moving enemy is what you whiff it on almost every time.
Only worth it if you agree to fight with the team instead of flanking: with the ball on you, Command: Protect (E) shields you and adds resistances exactly as you go in, and Command: Shockwave (R) collects whoever was collapsing on you. Flank far and the ball is wasted.
Enchanted Crystal Arrow (R) pins the isolated champion at the back for up to 3.5 seconds, which is exactly what Public Execution (R) hunts. And Frost Shot (P) slows on every hit, so nobody keeps you outside your short dashes.
Deadly Flourish (W) turns into a root on anyone who has just taken damage from an ally: one Lacerate (E) tick hands it to him for free. Curtain Call (R) then closes out the target you're holding, from a range nobody else reaches.
Allied crowd control applies Second Skin (P) Plasma for her on its own: the stun from Public Execution (R) opens Killer Instinct (R), which brings her onto that same isolated target with a shield. She's at a 48.2% win rate in China: you take her for the link, not the stats.
Your problem is closing the gap: Arc of Judgment (W) leaves a near-total slow that keeps the target inside your dash range, and Transcend One's Self (R) gives her fifteen seconds to finish whoever walks out of your rotation alive.
Stand Aside (E) knocks back and slows without spending an ultimate, keeping the target inside your short dash range, and your early jungle kills fund League of Draven (P). If the game starts badly, though, you're two champions who only live off a lead.
If Public Execution (R) whiffs you're stranded in the middle of them with no escape: the Dark Passage (W) lantern is the exit your kit doesn't have. When it lands, The Box (R) stops their team from walking in to take the target back.
Zenith Blade (E) into Shield of Daybreak (Q) holds the target still for your entire rotation, and Sunlight (P) detonates on your first follow-up hit. Above all she goes in first, which is the part of the fight that gets you killed.
Grand Entrance (W) into The Quickness (R) chains nearly two seconds of control to drop onto, and Battle Dance (E) recasts within five seconds: that's two shields on you in the moments when Repudiation (W) is already spent.
Focused Resolve (W) roots up to two champions from range so your short dashes don't come up empty, and an empowered Inspire (E) gives you a shield and the speed to get in and back out: that's the retreat you don't have.
Concussive Blows (P) reaches four marks off his attacks and yours, and Drakehound's Step (P) gives you an empowered auto after every single ability: the stun lands far sooner than usual. Unbreakable (E) meanwhile eats the burst that deletes you.
He's for when you're the champion the team invests in: Time In A Bottle (P) hands you free experience and pushes your jungle level ahead, and Chronoshift (R) stands you back up after a bad flank. He has to be near you, though, and he usually isn't.
| Lane | Tier | Win% | Pick% | Ban% | Pos. |
|---|---|---|---|---|---|
| Jungle | C | 49.96% | 2.07% | 0.94% | #31 / 40 |
| Baron | C | 50.07% | 1.34% | 0.94% | #36 / 41 |
| Lane | Tier | Win% | Pick% | Ban% | Pos. |
|---|---|---|---|---|---|
| Jungle | C | 49.88% | 2.03% | 0.97% | #30 / 40 |
| Baron | C | 50.36% | 1.3% | 0.97% | #36 / 41 |
| Lane | Tier | Win% | Pick% | Ban% | Pos. |
|---|---|---|---|---|---|
| Jungle | B | 50.36% | 2.14% | 1.07% | #27 / 42 |
| Baron | C | 50.54% | 1.35% | 1.07% | #35 / 41 |
| Lane | Tier | Win% | Pick% | Ban% | Pos. |
|---|---|---|---|---|---|
| Baron | A | 51.95% | 3.03% | 1.62% | #10 / 39 |
| Jungle | C | 49.89% | 1.83% | 1.62% | #29 / 41 |


Ambessa is a high-mobility, high-skill-cap fighter built around relentless dashes and precise picks in Wild Rift — every ability she casts primes a short feint-dash (Drakehound's Step), letting her weave in, empower an auto-attack, and weave back out faster than almost anything else in the game. She deals physical damage that scales off enemy max HP and snowballs hard once ahead, and her ultimate, Public Execution, can blink onto and lock down an isolated enemy champion from surprisingly far away. She rewards aggressive, mechanically sharp play far more than she protects herself, so most of her power comes from outplaying opponents rather than raw stats.
Skill order: Q > E > W — max Cunning Sweep first for its two-stage burst, Lacerate second for the slow and wave clear, Repudiation last since its value is in timing rather than rank; take Public Execution at levels 5, 9, and 13.
Ambessa runs on energy rather than mana, so the laning phase is rarely about resource management — it's about landing hits. Poke with Cunning Sweep and aim for the outer edge of the sweep for the bonus damage, but only commit to the Sundering Slam follow-up and a full trade when you can back it up, since a whiffed all-in leaves you with nothing in reserve. Hold Repudiation for the enemy's key crowd control rather than burning it just to clear a wave — its real value is eating a stun or root, not the small shield. After every ability, flick the stick to trigger Drakehound's Step for a free reposition and an empowered auto-attack, which adds up to real damage and sustain over a full lane phase.
By the mid-game Ambessa plays as a flanker rather than a frontliner: use Public Execution to blink past the frontline and suppress whoever is standing furthest back and alone, then chain Cunning Sweep, Lacerate, and an empowered auto-attack before their team can react. The pull grants unstoppable and 30% damage reduction, so it doubles as a brief damage-soak if you need to reposition mid-fight, but it only connects with a champion directly in its path, and a miss only refunds part of the cooldown, so pick your angle rather than throwing it blind. Save Repudiation for the exact moment the enemy engages onto you: blocking their hard crowd control increases the shockwave's damage by half and keeps your shield, often turning their all-in into yours. Keep resetting Drakehound's Step between abilities all fight long, both for the mobility and because Public Execution's passive turns that extra damage into healing.