
WR China Meta
Meta, tier list & top-player builds from the China server · live
Meta, tier list & top-player builds from the China server · live

维克兹 · 虚空之眼 Mage B
✅ Patch 7.2e · stats updated 2026-09-12 · real builds of 24 top-ranked China server players captured 2026-09-11
Difficulty Damage Toughness Utility
How the strongest players on the Wild Rift China server (国服) build Vel'Koz: live win/pick statistics by rank bracket, the most-used item and rune sets, and the real loadouts of the top ranked Vel'Koz players, captured in-game.
📖 How to play Vel'Koz









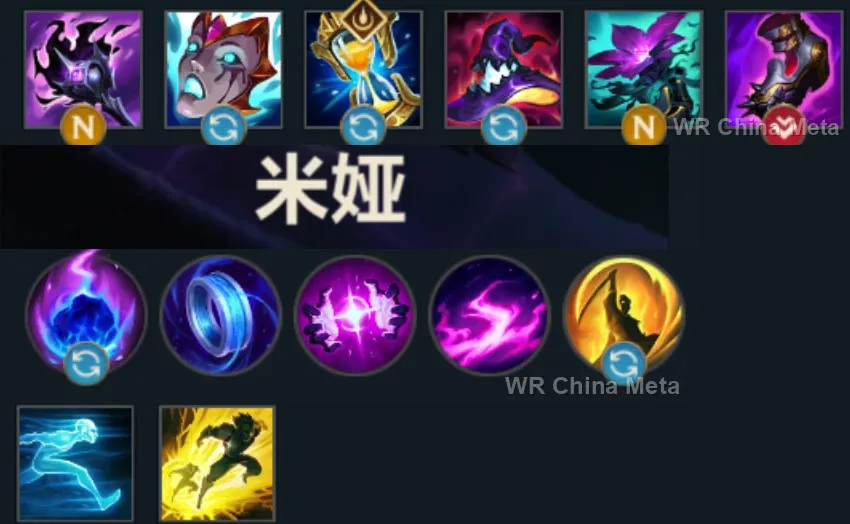
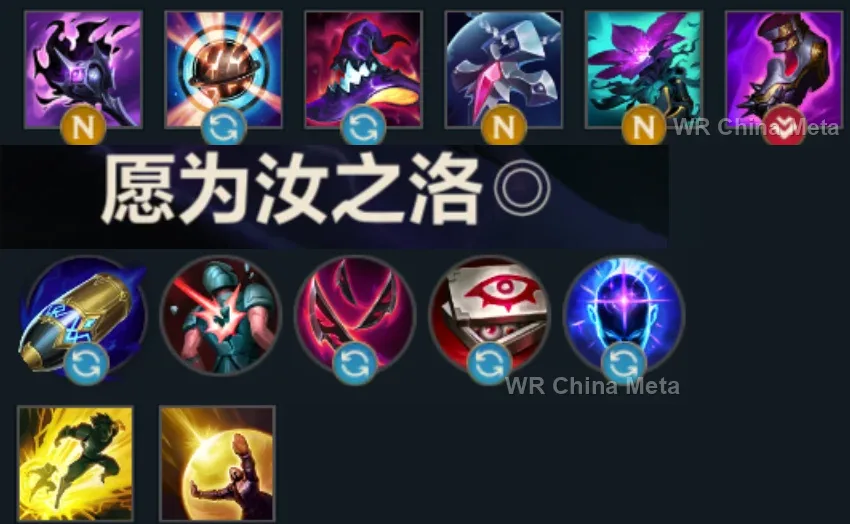
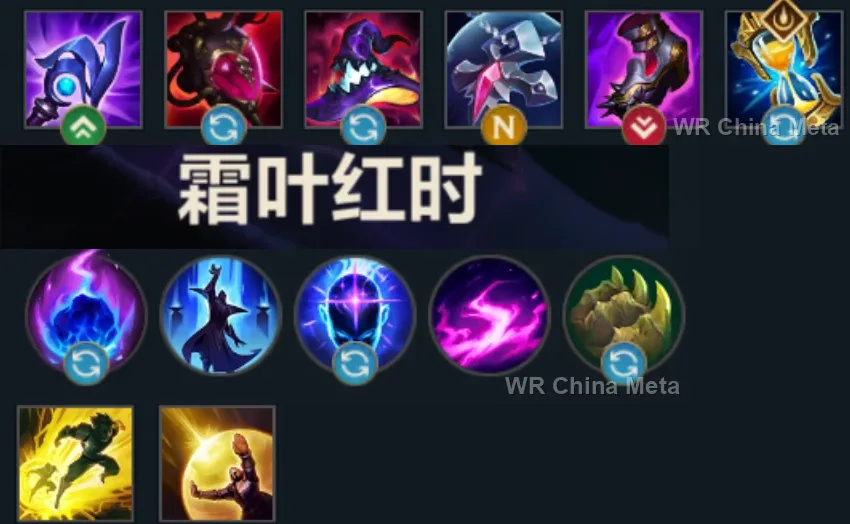
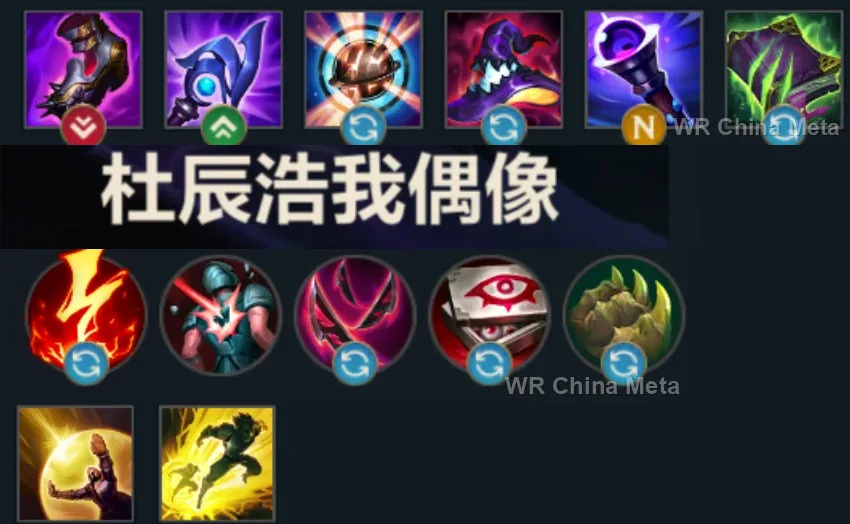
Counted on 25 real builds captured from the Chinese client, player by player. Independent from the official API above.


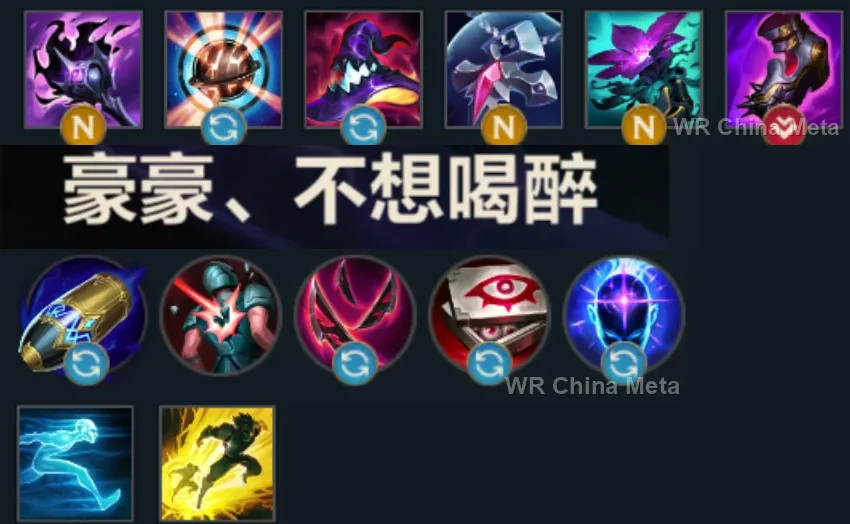
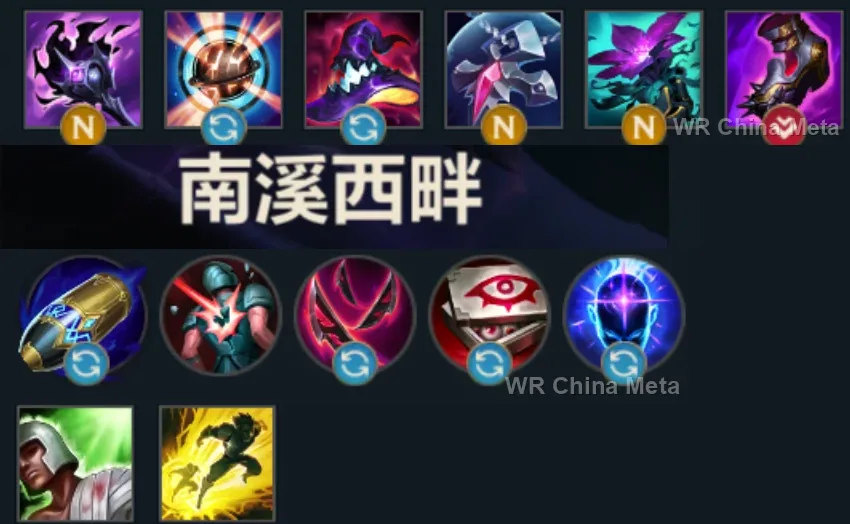
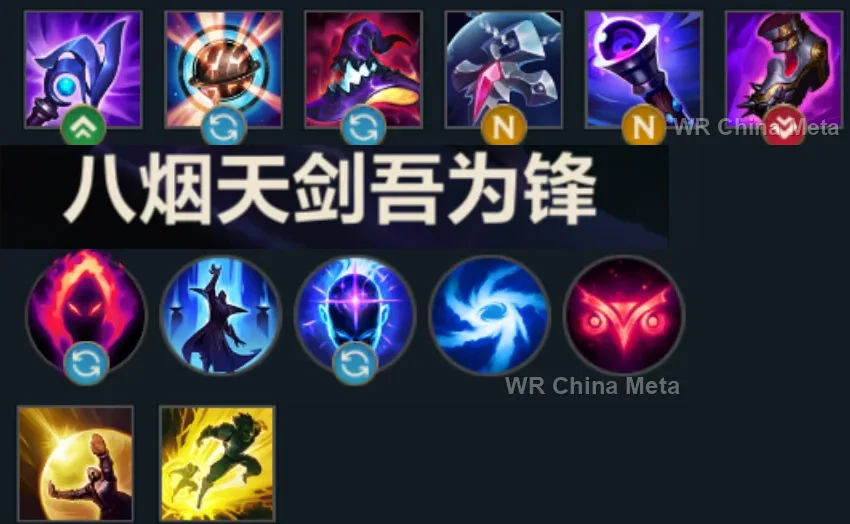
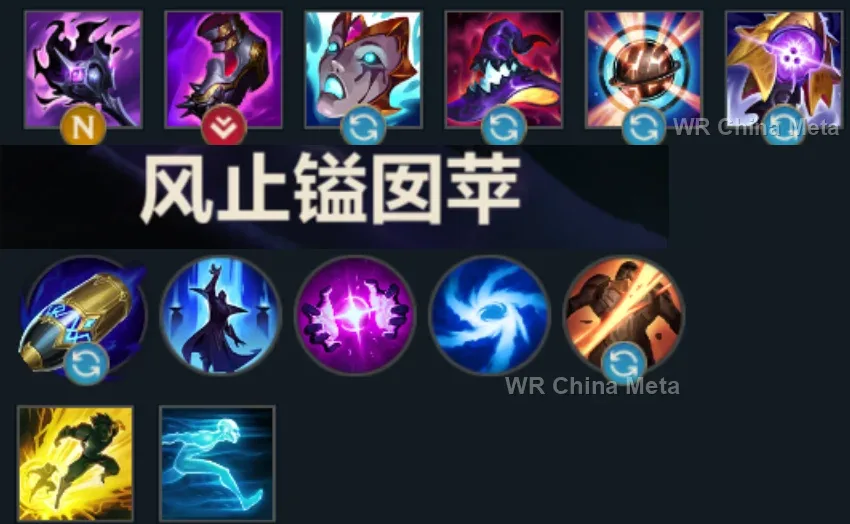
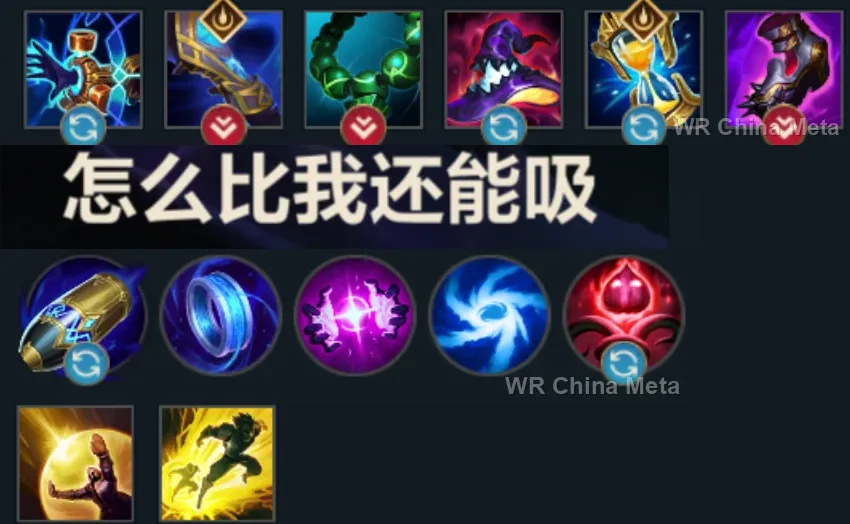
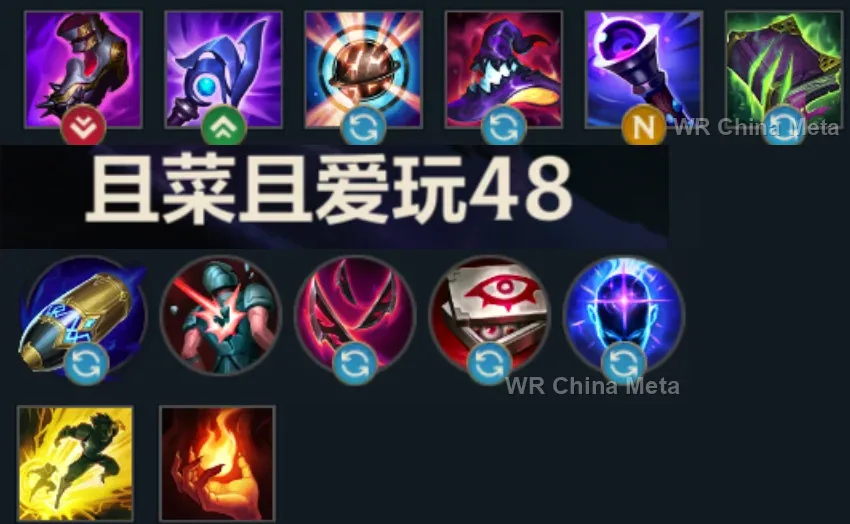
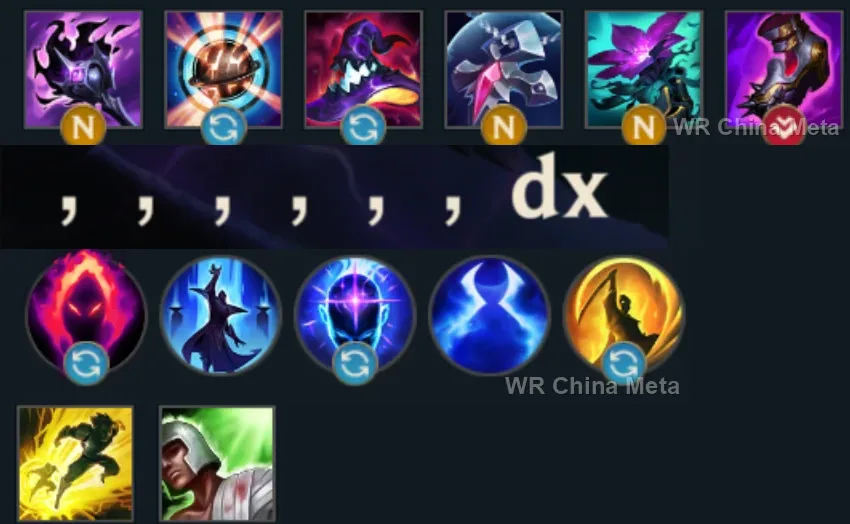
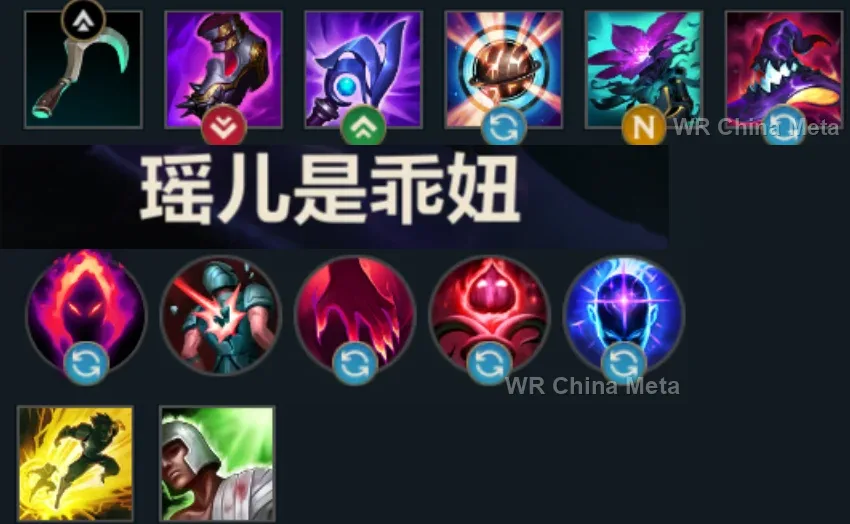
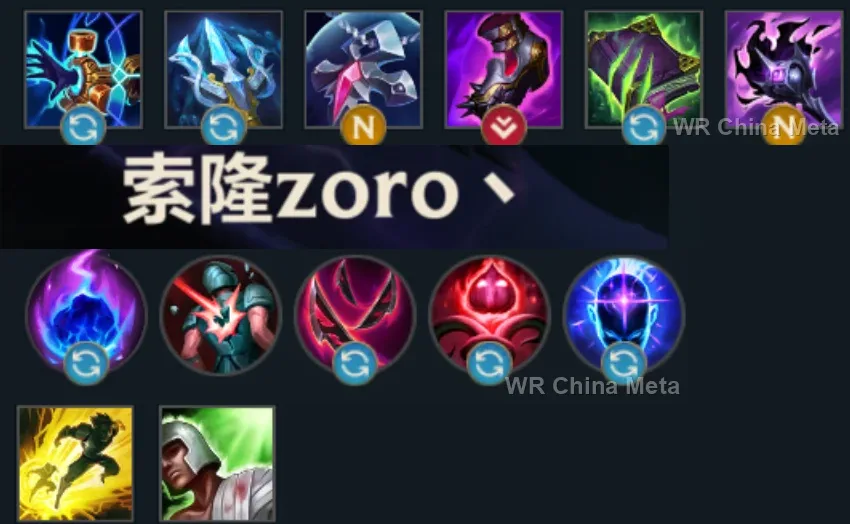
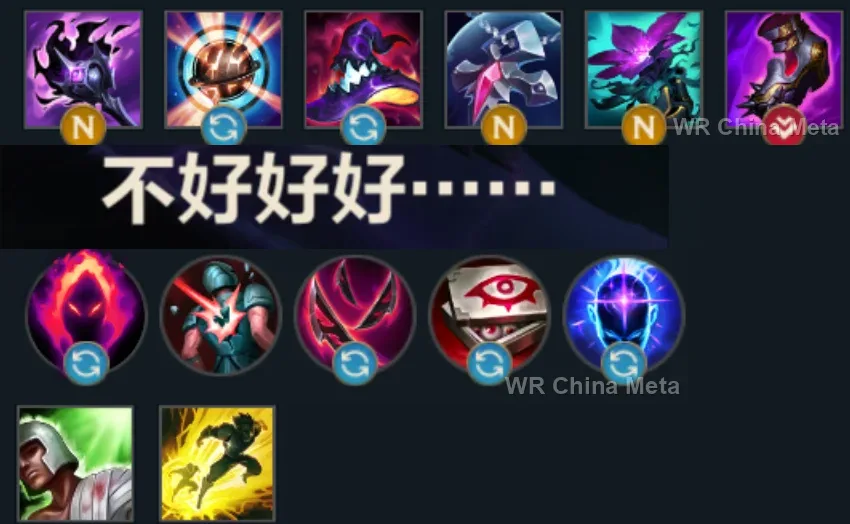
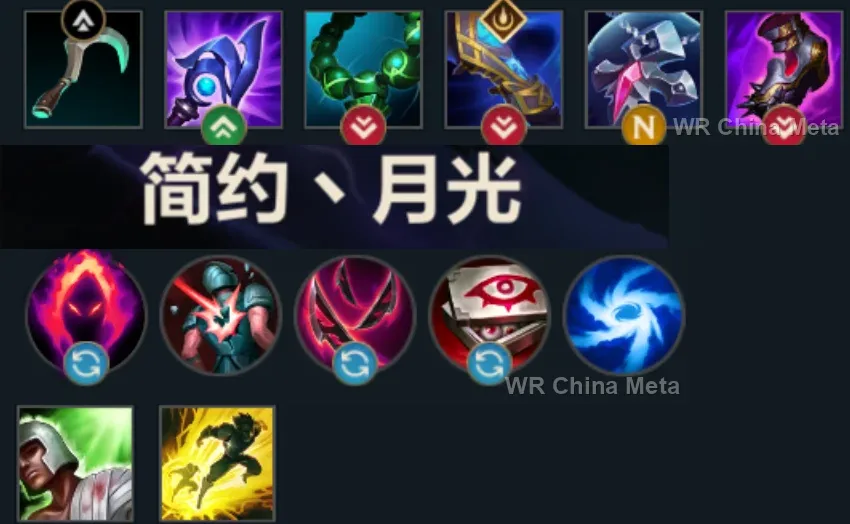
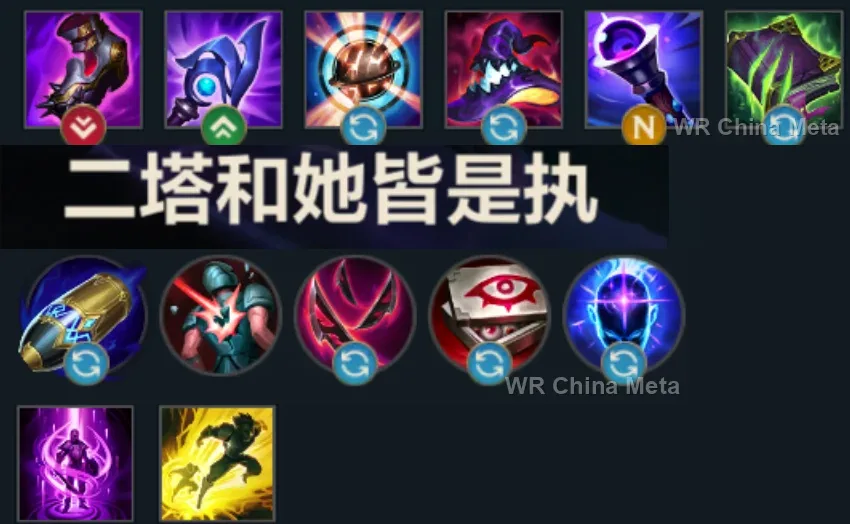
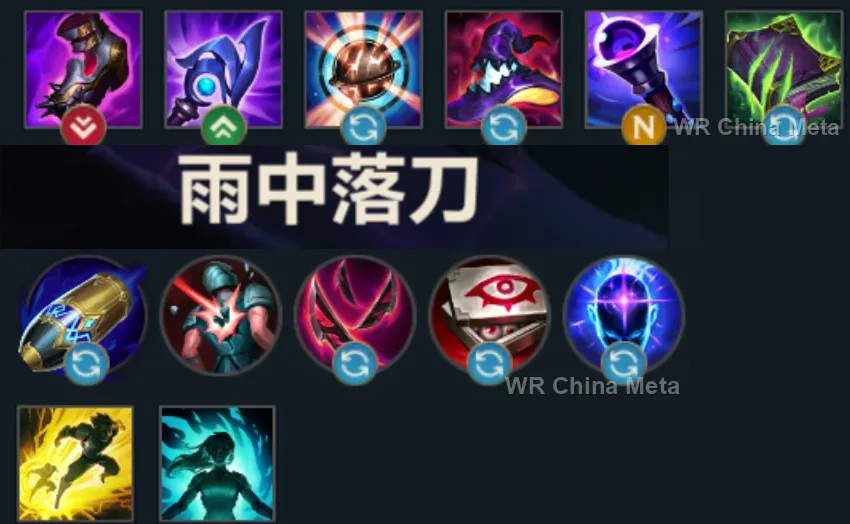
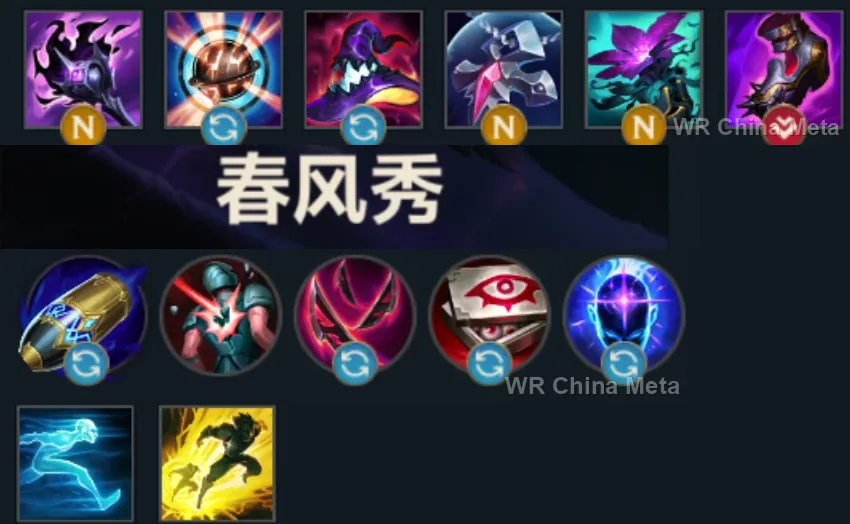
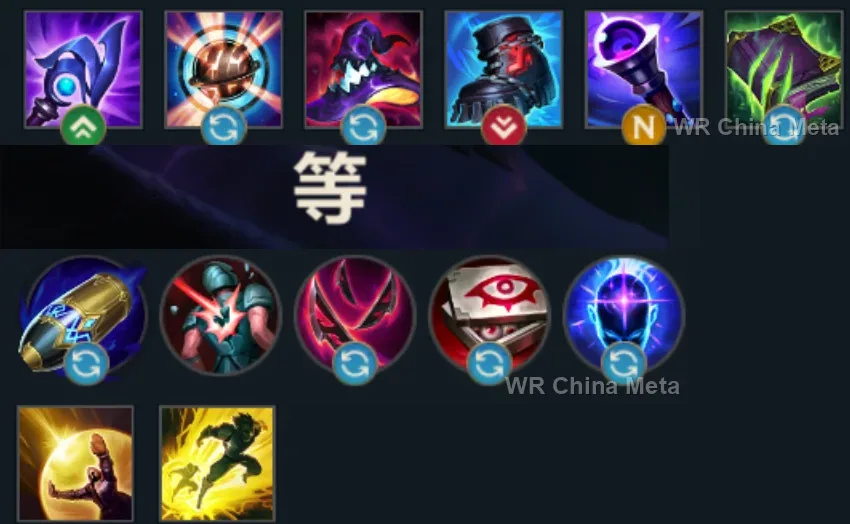
Taken from the official in-game China leaderboard. Spells, runes and items of every public top player.
24 of the top 30 players have a public match history; the others keep theirs private.
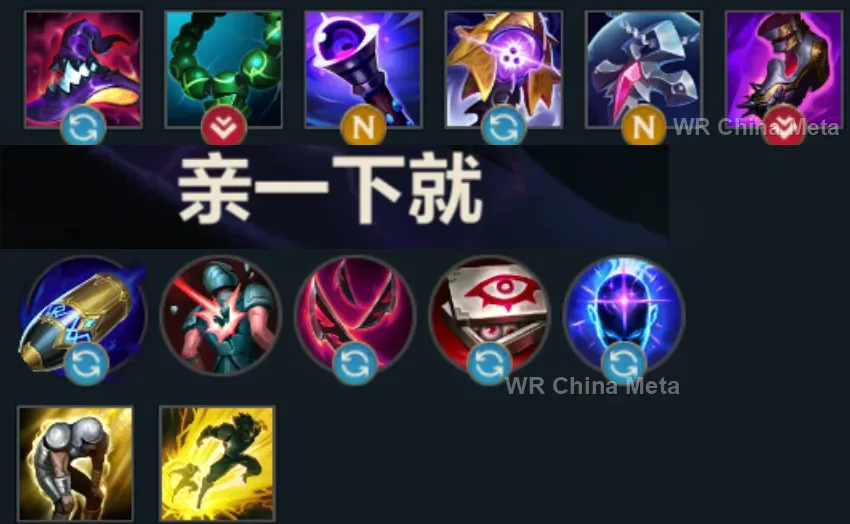
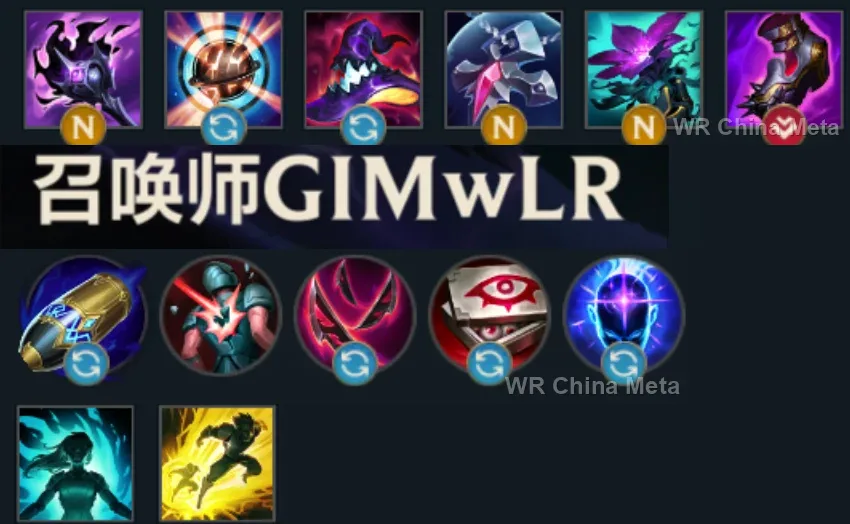
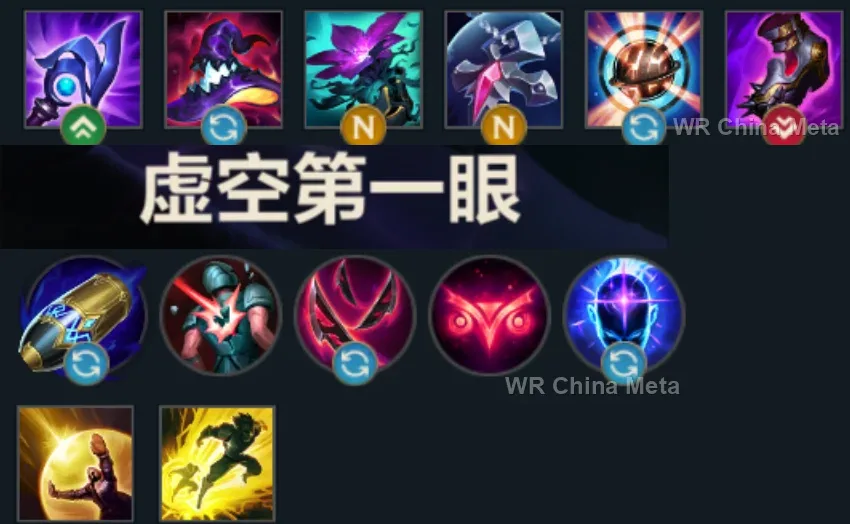
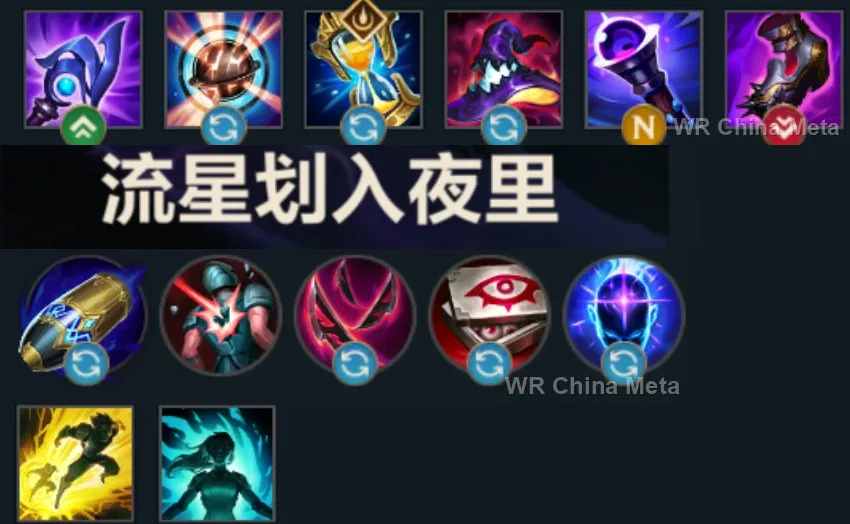
The toughest lane matchups for Vel'Koz on the Wild Rift China server, with why each is hard and exactly how to play it.
 Vel'Koz vs Fizz Hard counter
Why Fizz counters Vel'Koz: Pure artillery with no escape: hold the knock-up for a reaction and his jump still lands first — and up close you are already dead.
How to play Vel'Koz into Fizz: PRE-EMPTIVE E on his entry path. Live at max Q range and treat every step forward as a mortgage.
→ Fizz Vel'Koz vs Yasuo Unfavorable
Why Yasuo counters Vel'Koz: The Wall eats EVERYTHING you have, R included: one button of his against four of yours.
How to play Vel'Koz into Yasuo: Wait out the Wall before your R, always. Knock-up on his dash and out: short trades until he has spent everything.
→ Yasuo Vel'Koz vs Ahri Unfavorable
Why Ahri counters Vel'Koz: Mobile versus immobile: her dash slips under your artillery and the Charm holds you still for the rest.
How to play Vel'Koz into Ahri: Keep E between you and her as an entry wall. If she dodges the knock-up, disengage: without E you are a switched-off turret.
→ Ahri Vel'Koz vs Orianna Skill matchup
Why Orianna counters Vel'Koz: Long-range zone control on both sides: the ball against your geometry — but your true damage starts beyond her range.
How to play Vel'Koz into Orianna: Poke from outside ball range with the bouncing Q. In fights channel R from behind two bodies: nobody interrupts what they cannot reach.
→ Orianna Vel'Koz vs Ziggs Skill matchup
Why Ziggs counters Vel'Koz: An artillery duel: he shoves waves better, you drill single targets better.
How to play Vel'Koz into Ziggs: Do not contest his shove under tower: clip him while he casts. Your true damage melts him in the long fights.
→ ZiggsThe champions Vel'Koz works best alongside on the Wild Rift China server, lane by lane, with the reason each pairing works.
Life Form Disintegration Ray (R) is a beam you steer by hand along a line: after Unstoppable Force (R) they are airborne and stacked in one spot, so the line catches all of them at once and each collects the marks you need.
Your problem is that the channel outlasts whatever set it up: Bellows Breath (W) applies Brittle, worth 30% more duration on whichever lockdown lands next, and the ram from Call of the Forge God (R) tosses up everyone it touches.
Fate Sealed (R) hits everything along its path and knocks the group together: it hands you the exact shape your beam is looking for, four bodies held in the air and lined up one behind the other.
Your page says crowd control mid-channel wastes the entire cast: Shadow Dash (E) taunts the diver before he arrives and Stand United (R) shields you while you are already channelling, from wherever he happens to be.
It only counts if he plays the game next to you instead of in a side lane: Footwork (E) dashes to you and leaves you the same shield, and the third Ntofo Strikes (Q) pulls a target in with a 0.75-second stun.
A taunted target neither dodges nor interrupts you: Frenzying Taunt (E) nails their carry down for as long as you need to put three Organic Deconstruction (P) marks on her and then open the beam, which by then is true damage.
The Cataclysm (R) arena takes away the one defence they have against you, which is moving: inside that ring your beam sweeps from one body to the next and nobody steps off the line while you steer it.
Curse of the Sad Mummy (R) freezes the group for 1.5 seconds, which is time enough to drop Void Rift (W) and Plasma Fission (Q) on all of them and reach three marks. The beam then sweeps through when magic resist no longer matters.
You stand still and exposed for the length of the channel, and that is exactly when they jump you: Crescent Guard (R) throws off everyone but his marked target and eats ranged damage, clearing the space around you mid-cast.
Only if your team plays for picks: nothing stops Vi once Cease and Desist (R) is out, and it drops their carry in front of you, knocked up with nobody covering her. In a grouped fight she brings single-target damage and little else.
Your page says disciplined dodging denies you both the damage and the marks: against Frost Shot (P), which slows on every single hit, dodging stops being an option. Enchanted Crystal Arrow (R) then opens your channel from off-screen.
What you need is enemies held still and lined up, and that is literally the job of Chain of Corruption (R): the root chains from one body to the next from off-screen and leaves three or four of them frozen on one line.
A single Plasma Fission (Q) bolt counts as ally damage and arms his Deadly Flourish (W) root: that root is the window where you land the third mark and open the beam with no risk of steering it into nothing.
This is the siege pairing: you and Trueshot Barrage (R) grind them down from outside their range, and a team that cannot get in simply loses the tower. It also matters that Arcane Shift (E) saves him alone, since you peel for nobody.
Your two ultimates ask for the very same thing, enemies held still and close together, and neither of you creates it: without someone else opening that window you are two stationary channels side by side. When it opens, the fight ends.
The flaw written on your page is that one stun mid-channel throws the entire ultimate away: Black Shield (E) absorbs precisely that. Her Dark Binding (Q) roots for two seconds, the motionless target your beam cannot miss.
The 35% damage cut and the projectiles Unbreakable (E) swallows are what let you stay still and channel instead of backing off. And Glacial Fissure (R) lifts a whole row of enemies, which is your beam's shape handed over.
Inside The Box (R) a 99% slow works like a root: whoever gets caught there picks up three Organic Deconstruction (P) marks before they understand what is happening, and the beam lands on someone who cannot move away.
Zenith Blade (E) roots and Shield of Daybreak (Q) stuns right after it: close to two unbroken seconds on one target, enough to take them to three marks and then hold the beam on them all the way to the end.
Focused Resolve (W) is not guaranteed crowd control and if they break the tether you are left with poke, which is why it only half counts. When it holds it roots two targets from range, and a Mantra (P) Inspire (E) finishes your channel.
| Lane | Tier | Win% | Pick% | Ban% | Pos. |
|---|---|---|---|---|---|
| Support | A | 51.6% | 2.16% | 1% | #12 / 34 |
| Mid | B | 50.66% | 3.96% | 1% | #21 / 39 |
| Lane | Tier | Win% | Pick% | Ban% | Pos. |
|---|---|---|---|---|---|
| Support | B | 51.81% | 2.08% | 1.07% | #14 / 34 |
| Mid | B | 50.83% | 3.95% | 1.07% | #20 / 38 |
| Lane | Tier | Win% | Pick% | Ban% | Pos. |
|---|---|---|---|---|---|
| Support | A | 52.59% | 1.79% | 0.85% | #13 / 33 |
| Mid | B | 51.05% | 3.71% | 0.85% | #20 / 39 |
| Lane | Tier | Win% | Pick% | Ban% | Pos. |
|---|---|---|---|---|---|
| Mid | A | 53.04% | 2.29% | 0.34% | #12 / 41 |
| Support | C | 49.57% | 1.29% | 0.34% | #29 / 33 |


Vel'Koz is a long-range burst mage in Wild Rift who wins fights from a distance most champions can never close, stacking his passive - Organic Deconstruction - onto anyone caught by his abilities and detonating it with an ultimate that turns into true damage against a fully marked target. He deals almost all of his damage as magic damage from safety, splitting Plasma Fission down lanes to poke and clear waves at once, then finishing kills with a channelled beam that ignores whatever resistances the enemy has stacked. He has essentially no defensive tools of his own, so his entire game plan is to stay at maximum range and never let anyone reach him.
Skill order: Q > W > E - max Plasma Fission first for the strongest poke, wave clear, and fastest path to stacking Deconstruction, Void Rift second for extra ranged damage and zone control, Tectonic Disruption last since a single early point already gives you the knock-up/knockback utility. Level Life Form Disintegration Ray at every chance (5, 9, 13).
Play Vel'Koz like a poke mage at the very edge of his range: fire Plasma Fission down the wave so the split bolts threaten the enemy laner while you clear minions, and spend Void Rift's spare charges to keep chipping away without committing a full rotation. Don't all-in before you can land Tectonic Disruption - without that knock-up, the ultimate is easy to simply walk out of, and you have no fallback if the trade goes wrong. Weave basic attacks into your poke pattern, since autos refresh Organic Deconstruction's duration and keep the stack timer alive between ability casts. Once Deconstruction is already sitting at 2 stacks from poke or an auto-attack, look for the moment you can land one more hit before your ultimate - that's a trade you can often win outright.
From the mid-game on, sit at the absolute edge of the fight and let Plasma Fission and Void Rift build Deconstruction stacks on whoever wanders into range before you commit anything else. Your priority target is the softest carry you can actually reach - land Tectonic Disruption on them (or wait until they already carry 3 stacks) so Life Form Disintegration Ray converts to true damage and punches straight through whatever they've built. Because you have no dash, shield, or hard peel of your own, you live or die by positioning: fight from behind your frontline and treat any flanker who reaches you as a signal to kite back immediately rather than trade blows. If no clean burst target presents itself, use Tectonic Disruption's point-blank knockback to buy yourself space instead of forcing a bad engage.