
WR China Meta
Meta, tier list & top-player builds from the China server · live
Meta, tier list & top-player builds from the China server · live

奥瑞利安·索尔 · 铸星龙王 Mage A
✅ Patch 7.2e · stats updated 2026-09-12 · real builds of 19 top-ranked China server players captured 2026-09-11
Difficulty Damage Toughness Utility
How the strongest players on the Wild Rift China server (国服) build Aurelion Sol: live win/pick statistics by rank bracket, the most-used item and rune sets, and the real loadouts of the top ranked Aurelion Sol players, captured in-game.
📖 How to play Aurelion Sol






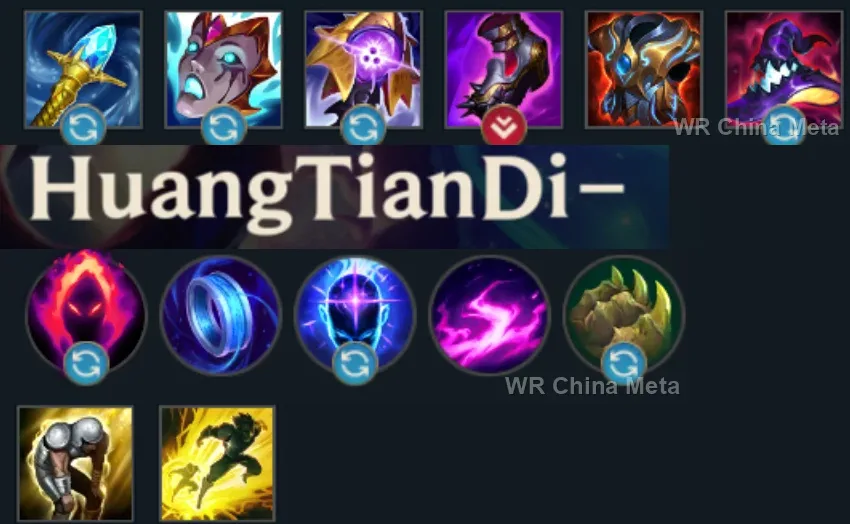
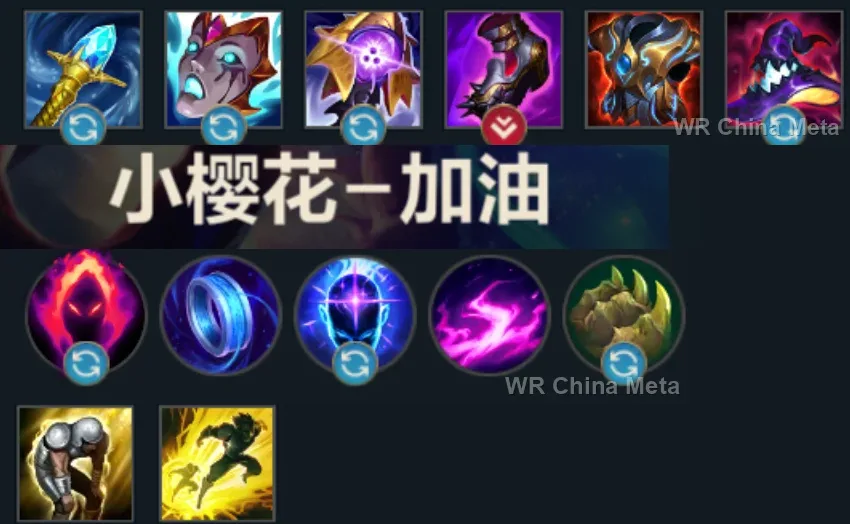
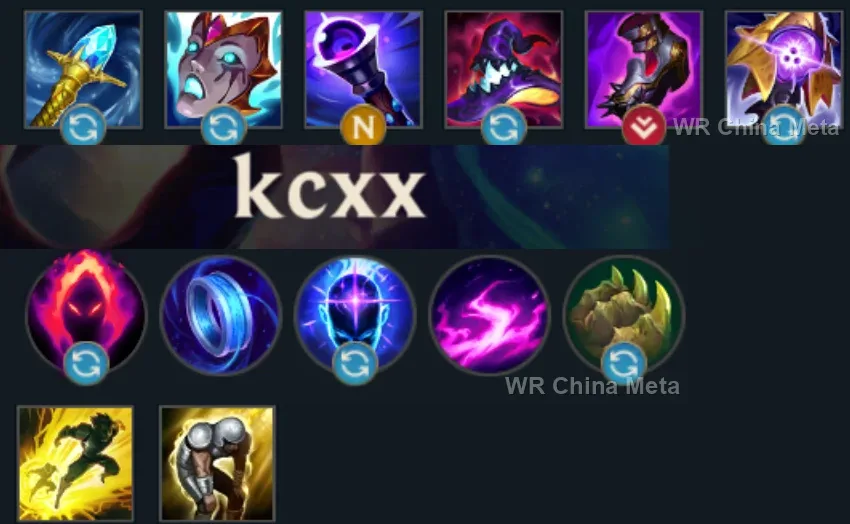
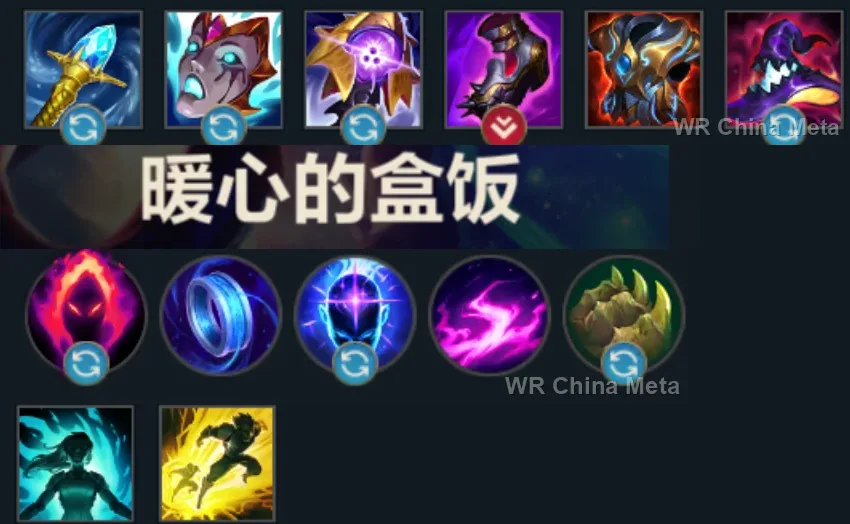
Counted on 21 real builds captured from the Chinese client, player by player. Independent from the official API above.


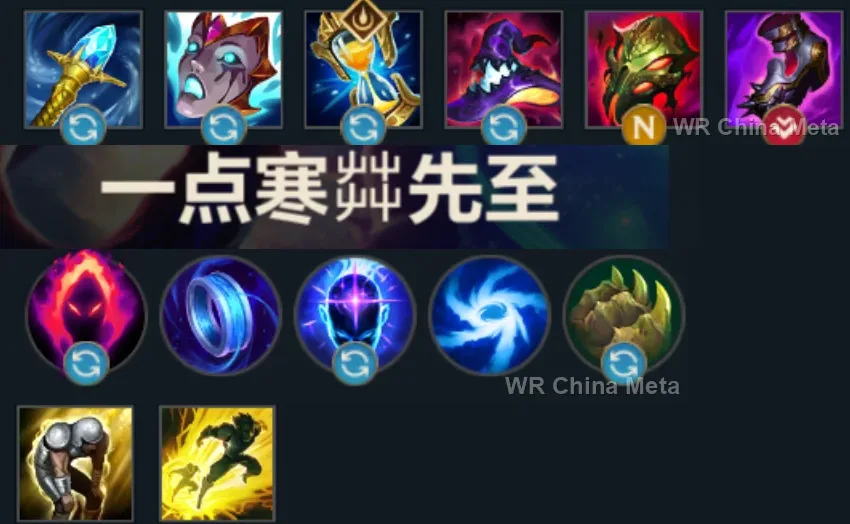
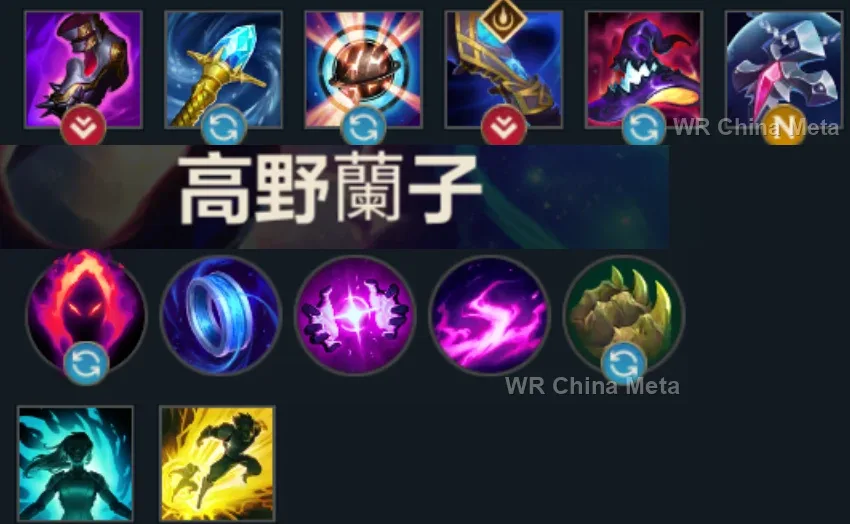
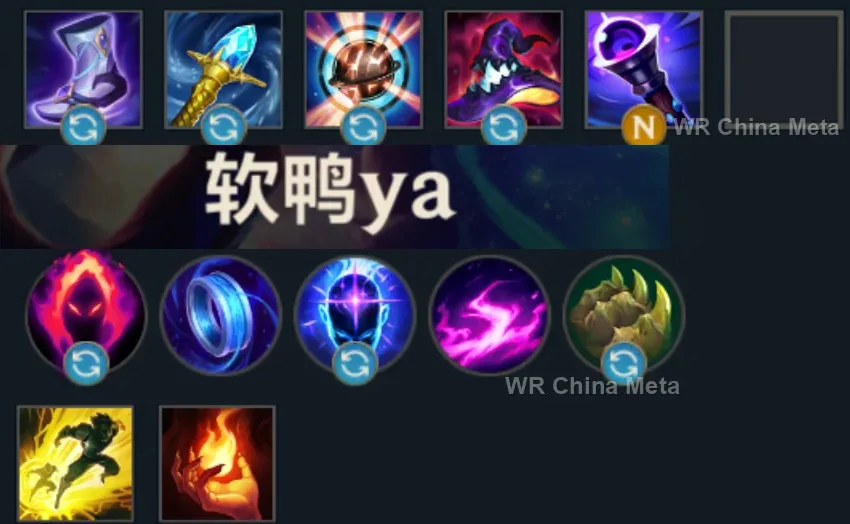
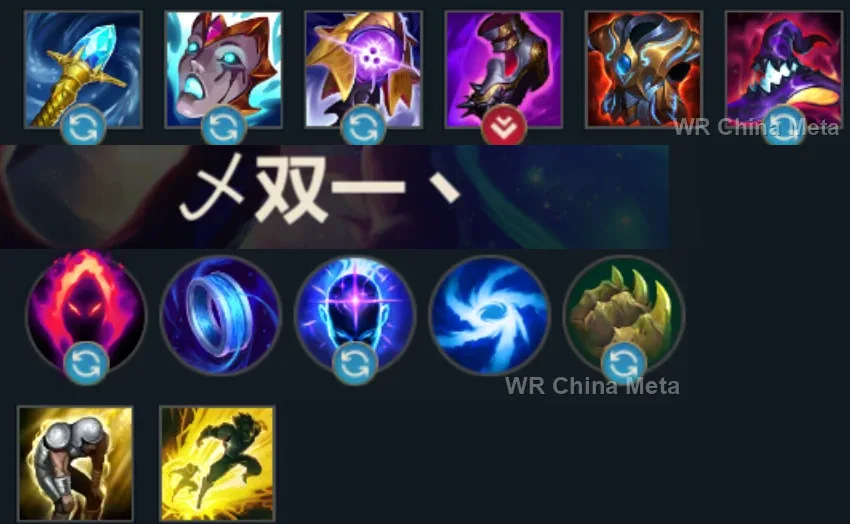
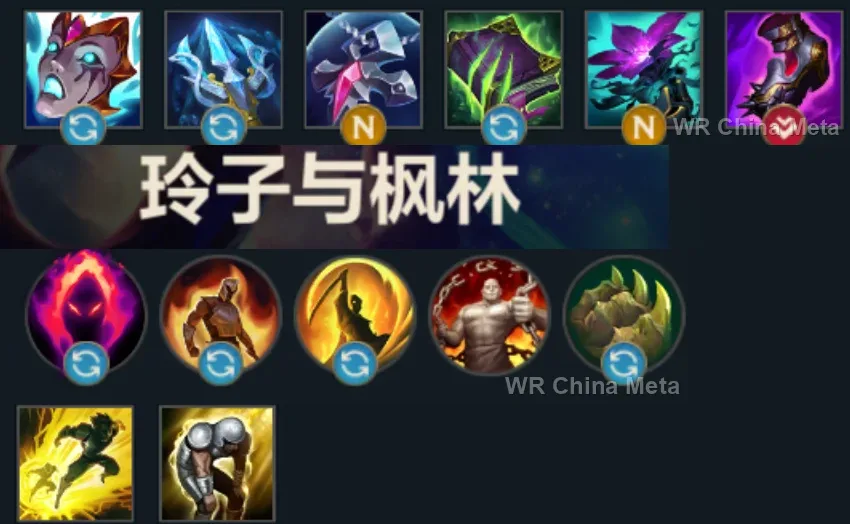
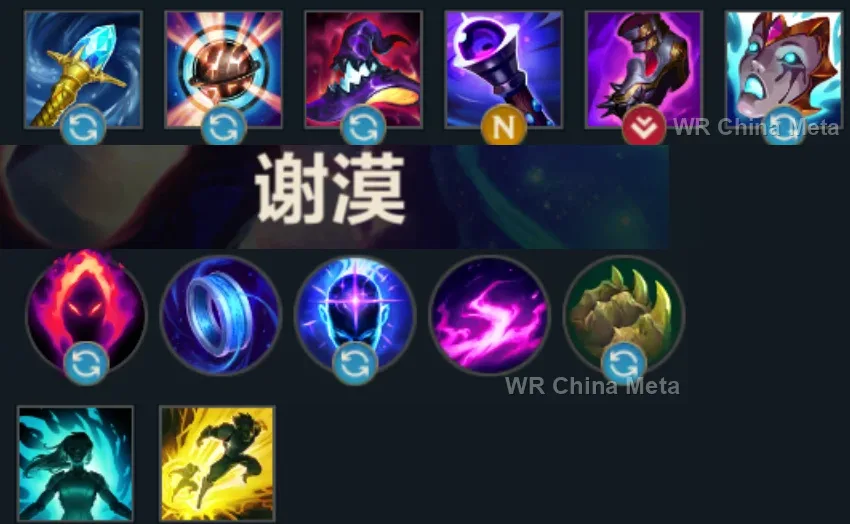
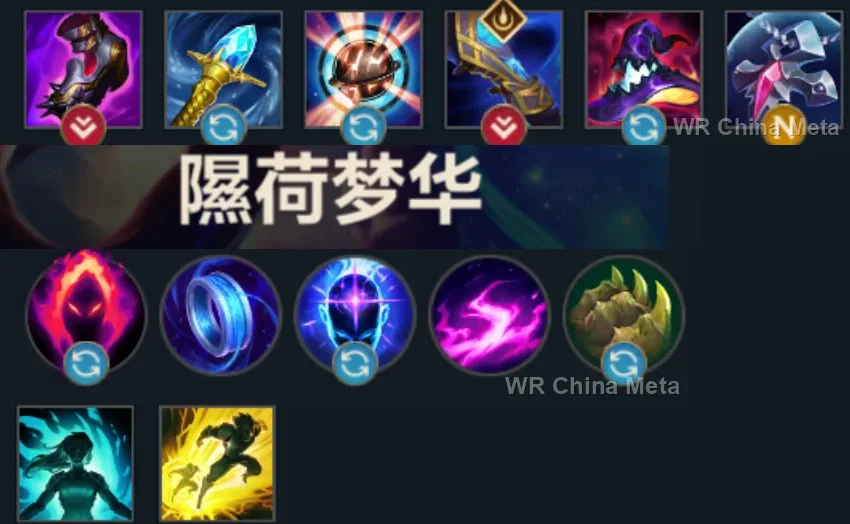
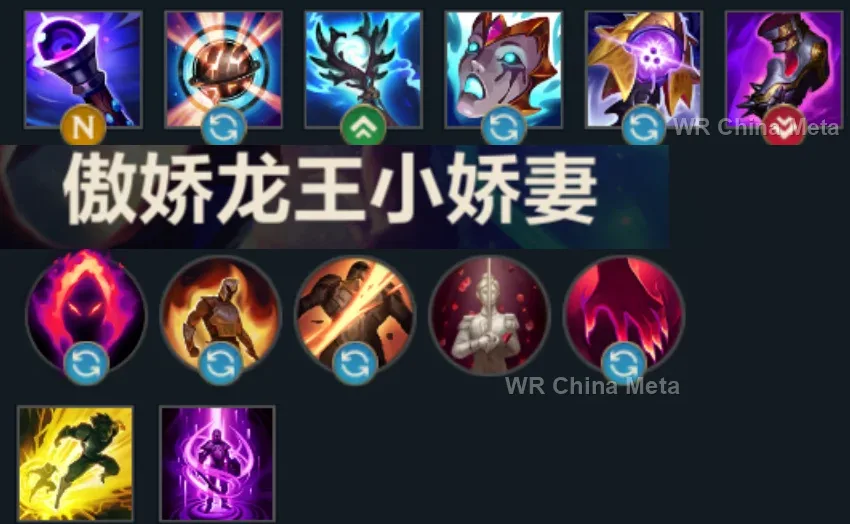
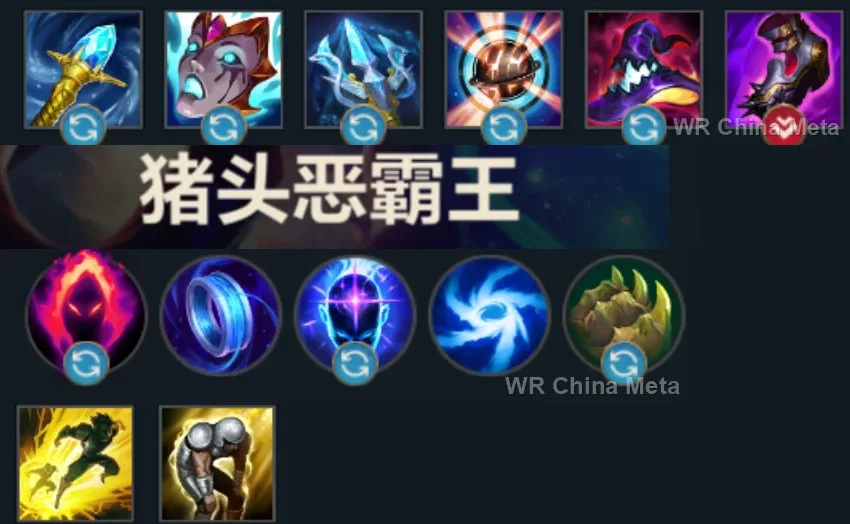
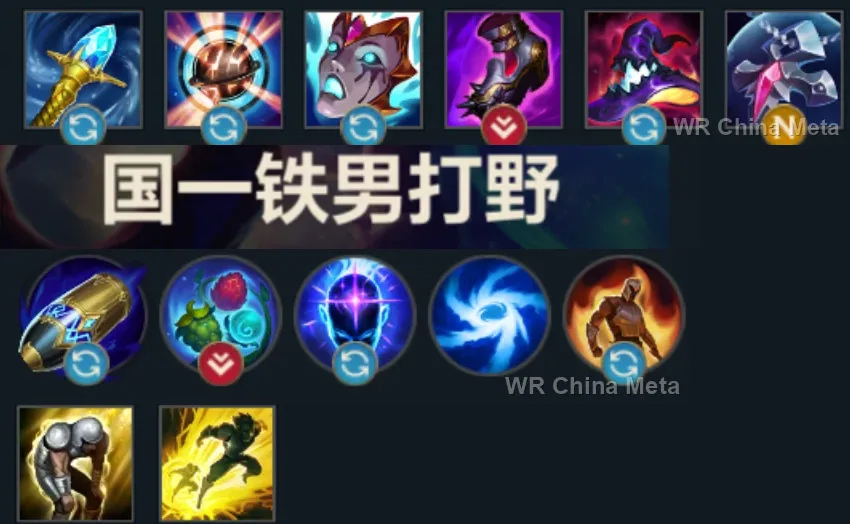
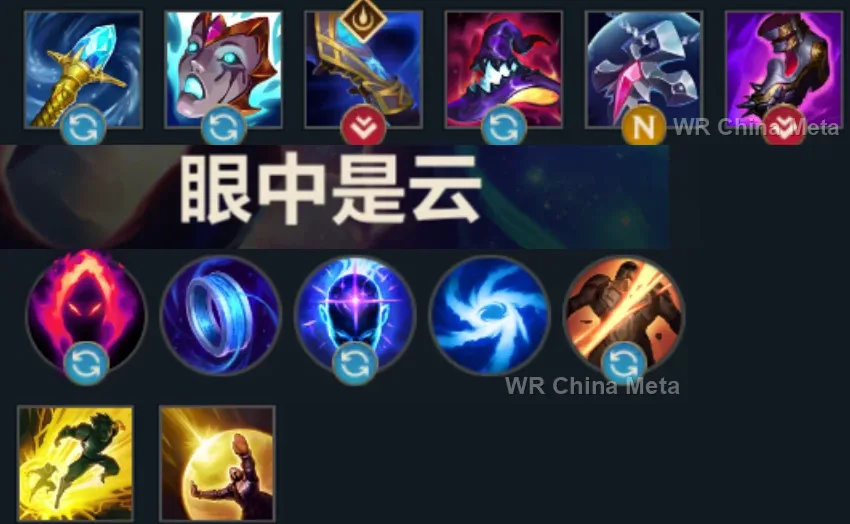
Taken from the official in-game China leaderboard. Spells, runes and items of every public top player.
19 of the top 30 players have a public match history; the others keep theirs private.
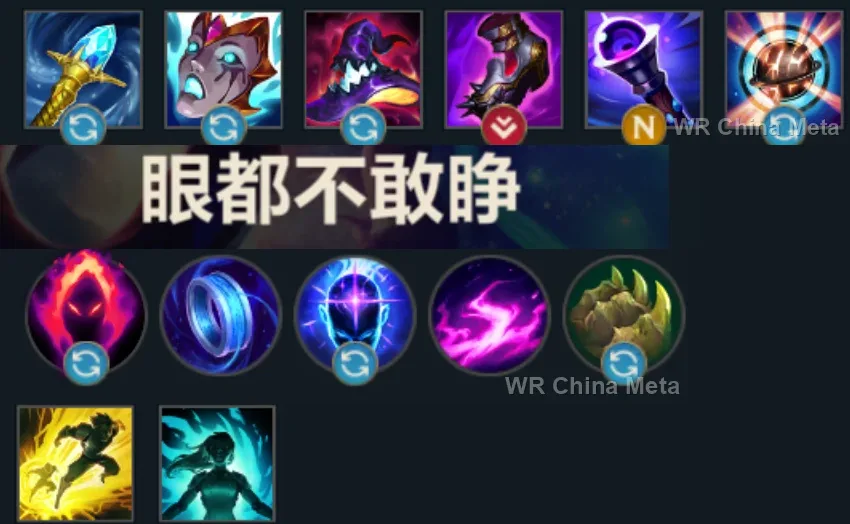
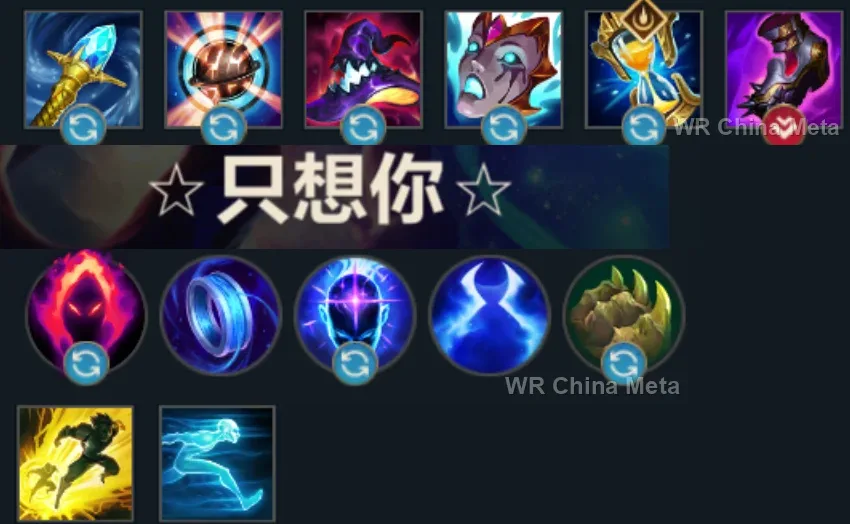
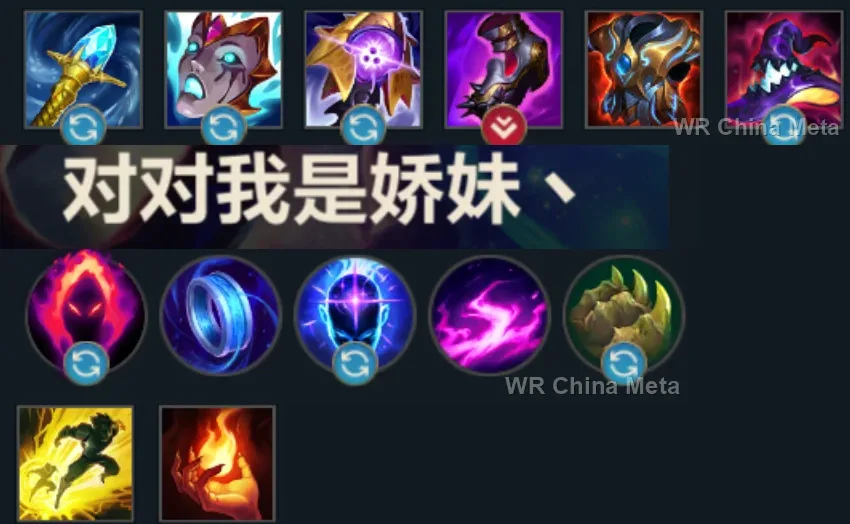
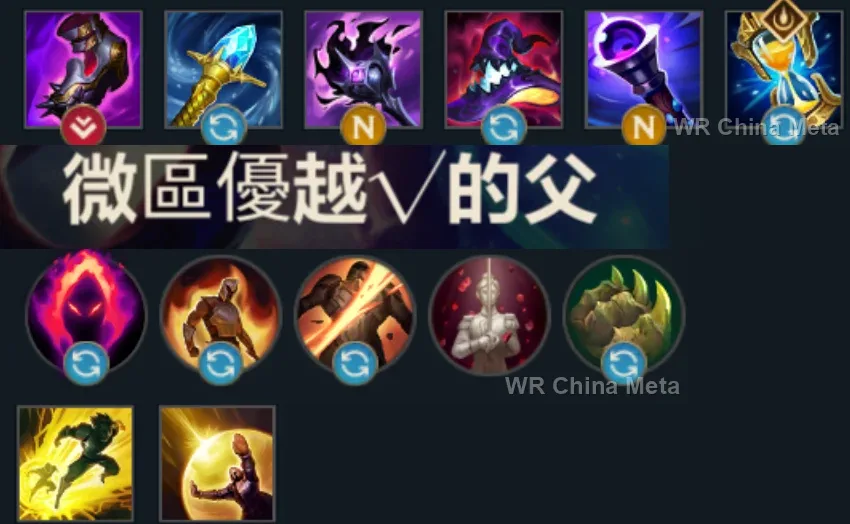
The toughest lane matchups for Aurelion Sol on the Wild Rift China server, with why each is hard and exactly how to play it.
 Aurelion Sol vs Zed Hard counter
Why Zed counters Aurelion Sol: A mobile burst assassin: he jumps on you from the shadow the moment you try to channel your flight. Aurelion Sol has no shields and no mobility to answer the all-in, and every death delays your infinite stacking.
How to play Aurelion Sol into Zed: Play behind the minions: Breath of Light won't interrupt his jump, so use Singularity to zone the spot he wants to land on and ask for ganks after 5. Buy Zhonya's Hourglass early and pop it on his ultimate. Keep Astral Flight for escaping, not for farming.
→ Zed Aurelion Sol vs Fizz Hard counter
Why Fizz counters Aurelion Sol: Fizz's E makes him untargetable: he dodges your Q and R on reaction and nullifies trades. From 5 on, every step forward is a kill window for him.
How to play Aurelion Sol into Fizz: Don't throw Q on instinct: bait his E first. Stay outside his hop range, scale calmly and look for teamfights, where Fizz commits late and your flight dictates tempo.
→ Fizz Aurelion Sol vs Yasuo Hard counter
Why Yasuo counters Aurelion Sol: Wind Wall eats your Breath of Light and your poke can't stop his dash-train through the minions. He out-pressures you in lane and denies safe pushing.
How to play Aurelion Sol into Yasuo: Trade only when Wind Wall is down (long early cooldown). Keep the wave long, deny minions he can dash through, and fly in with your jungler: Yasuo always overextends.
→ Yasuo Aurelion Sol vs Akali Unfavorable
Why Akali counters Aurelion Sol: Her shroud makes her untouchable mid all-in and your kit can't reveal her. Post-5 she forces roams and can follow your flight with R.
How to play Aurelion Sol into Akali: Punish levels 1-4 where you're stronger: shove and poke her under tower. When shroud drops, walk away instead of fighting on it. Zhonya's and deep positioning in teamfights.
→ Akali Aurelion Sol vs Irelia Unfavorable
Why Irelia counters Aurelion Sol: Q resets through the wave carry her onto you and her stun interrupts your flight. One item ahead and no lane distance is safe.
How to play Aurelion Sol into Irelia: Freeze near your tower: without low minions she has no entry. Sidestep her E stun angle behind the wave. She folds to repeated early ganks before first item.
→ Irelia Aurelion Sol vs Kassadin Unfavorable
Why Kassadin counters Aurelion Sol: Magic-damage passive and mirror scaling but burstier: post third item his jumps erase your kiting and he deletes you in one rotation.
How to play Aurelion Sol into Kassadin: You own levels 1-5: shove hard and call your jungler before his first item. Bank stack leads and close before three items; never take the late 1v1.
→ Kassadin Aurelion Sol vs Ahri Skill matchup
Why Ahri counters Aurelion Sol: Skill matchup: her Charm punishes your W positioning, but if you dodge it she has nothing else to stop you and loses the long-term scaling war.
How to play Aurelion Sol into Ahri: Track her Charm from behind the minions. Never fly in a straight line at her. Every missed Charm is a free window to hold Breath of Light on her and bank Stardust.
→ AhriThe champions Aurelion Sol works best alongside on the Wild Rift China server, lane by lane, with the reason each pairing works.
Unstoppable Force (R) leaves the whole team floored in one spot: that is the condition Singularity (E) wants in order to drag them into its center, and on a frozen group you cannot miss Falling Star (R). He is also the frontline you never provide.
Astral Flight (W) drops you into a sidelane on your own, and that is where you die: Stand United (R) shields you from across the map and teleports him in, while Shadow Dash (E) taunts the diver you have no shield and no dash against.
Brittle from Bellows Breath (W) adds 30% to whatever crowd control follows, so the Falling Star (R) stun lasts longer, and Searing Charge (E) into the Volcanic Rupture (Q) wall hands you a target held still long enough to keep Breath of Light (Q) on it.
Breath of Light (Q) only pays off if it stays on the same target for consecutive seconds: Mega Adhesive (W) into Fling (E) removes one enemy from the fight and leaves them pinned there, with you never taking a step forward.
Worth it when there is only one carry that matters: The Hextech Ultimatum (R) locks them in a zone they cannot leave and shoves away anyone who would peel, and Breath of Light (Q) can then sit on them as long as you like. She gives you no protection.
Curse of the Sad Mummy (R) pins the group for 1.5 seconds: that is the window where Singularity (E) gathers them into its center and Falling Star (R) lands on people who cannot move. Cursed Touch (P) adds true damage to every hit of your all-magic kit.
Cataclysm (R) walls a target inside a ring they cannot walk out of, which is literally what Breath of Light (Q) is asking for. His page says that without damage behind him he is the one stuck in his own arena: that damage is you.
Frenzying Taunt (E) forces the enemy carry to stand still facing him: his page says the team's damage has to decide the fight, and with Breath of Light (Q) held on them for the full duration that damage is enormous.
His page says people simply walk out of Absolute Zero (R): Singularity (E) drags them back toward the middle while the channel is still running, and Biggest Snowball Ever! (W) knocks up the whole group, which is how Falling Star (R) wants to find them.
You have no shield, no dash, and Astral Flight (W) has a long wind-up: Crescent Guard (R) knocks back everyone except his marked target and blocks ranged damage, peeling the assassin off you the moment he reaches you.
Worth it when the enemy groups up and does not rush magic resist, since you are two pure mages: Singularity (E) keeps them piled and still while Crowstorm (R) lands in the middle, and Terrify (Q) finishes whoever is left.
Your problem is that slippery targets walk out of the Breath of Light (Q) and Singularity (E) damage window: Frost Shot (P) slows on every single hit, so they no longer can. Enchanted Crystal Arrow (R) opens from off-screen and you fly in with Astral Flight (W).
Chain of Corruption (R) roots a whole group and chains onward to whoever stands close: nobody leaves the Singularity (E) black hole, and Falling Star (R) lands on targets that cannot move a step.
Her page says Bullet Time (R) is a stationary channel people simply dance around: Singularity (E) drags them into its center and holds them there, so all twelve waves land. Two ultimates on the same pile.
Deadly Flourish (W) roots anyone an ally has just damaged, and Breath of Light (Q) is a continuous beam, so the root is always armed. Curtain Call (R) then executes from range the same target you are holding the beam on.
Worth it against dive comps: you protect nobody, and he is the one marksman who saves himself with Arcane Shift (E). In return Singularity (E) holds the group still, so the slow-travelling Trueshot Barrage (R) cannot miss.
Crescendo (R) stuns the first target it touches and slows everyone else caught in the wave, leaving them piled up and slowed, which is exactly how Singularity (E) and Falling Star (R) want them. Aria of Perseverance (W) is the only shield you will ever get.
The Box (R) is a cage that slows by 99%, so nobody walks out of Singularity (E) any more, and Dark Passage (W) is your answer to a dive: the lantern pulls you out when Astral Flight (W) is down and you have nothing else.
Dark Binding (Q) roots for two full seconds, more than enough to keep Breath of Light (Q) on one target, and Black Shield (E) eats the crowd control they open on you with: your page says a fast dive kills you before you react.
Glacial Fissure (R) knocks up an entire line and leaves them queued up for Singularity (E), while Unbreakable (E) intercepts projectiles and cuts incoming damage by 35%: the only way anyone ever actually stands in front of you.
Magnet Storm (R) yanks several enemies out of position and piles them into one spot, doing the job you normally have to do yourself with Singularity (E). Her page says somebody else has to provide the damage.
You take her for peel, not damage, and she sits at a 48.5% win rate: Whimsy (W) polymorphs the diver for the second you need to fly away, and Rampant Growth (R) gives you bonus health and knocks up whoever just jumped you.
| Lane | Tier | Win% | Pick% | Ban% | Pos. |
|---|---|---|---|---|---|
| Mid | A | 51.18% | 5.82% | 3.68% | #15 / 39 |
| Lane | Tier | Win% | Pick% | Ban% | Pos. |
|---|---|---|---|---|---|
| Mid | A | 51.33% | 5.96% | 3.99% | #15 / 38 |
| Lane | Tier | Win% | Pick% | Ban% | Pos. |
|---|---|---|---|---|---|
| Mid | A | 51.31% | 6.76% | 4.92% | #14 / 39 |
| Lane | Tier | Win% | Pick% | Ban% | Pos. |
|---|---|---|---|---|---|
| Mid | A | 50.33% | 7.91% | 4.48% | #13 / 41 |


Aurelion Sol is a mage in Wild Rift who trades close-range dueling for map-wide pressure: Astral Flight (W) lets him soar over walls and rivers to threaten two lanes at once, while Breath of Light (Q) and Singularity (E) stack heavy magic damage and crowd control onto anything he catches. His passive, Cosmic Creator, banks Stardust from every point of damage he deals, empowering all four abilities as a match goes on, so his mid-to-late power spike is enormous. He isn't built to brawl — he's a ranged threat who wins by landing Falling Star (R) on the right target from a distance no one expects.
Skill order: Q > E > W
Lane as a poke-and-farm mage: hold Breath of Light (Q) on the enemy laner whenever they push too far forward, since chaining it for consecutive seconds is what triggers the real burst damage and Stardust gain, then disengage before they can close the distance. Use Singularity (E) to zone them off the wave or answer a hard engage rather than just to secure a couple of minions. Once Falling Star (R) comes online at level 5, start looking for flight windows to help a sidelane or contest a river objective — a surprise Falling Star from an angle nobody is watching wins most fights outright. Play around the lack of an escape by keeping minions between you and all-in champions like Zed or Irelia, since one bad trade can end the lane.
From the mid game on, stay at maximum range and let Singularity (E) or Falling Star (R) open the fight rather than walking in — the black hole clumps enemies together and can outright execute anyone dragged to its center. Bank Stardust so you're threatening the upgraded The Skies Descend rather than the base Falling Star: its wider area, knock-up and shockwave slow punish a grouped team far harder than the stun version does. Target the backline first — his range lets him hit a fed carry from well outside their own effective range, so prioritize whoever ends the fight fastest rather than whoever is closest. Keep Astral Flight (W) in reserve to reposition around a flank or escape a dive; don't burn it just to relocate before the fight has actually started.