
WR China Meta
Meta, tier list & top-player builds from the China server · live
Meta, tier list & top-player builds from the China server · live

莫甘娜 · 堕落天使 Mage S+
✅ Patch 7.2e · stats updated 2026-09-12 · real builds of 17 top-ranked China server players captured 2026-09-11
Difficulty Damage Toughness Utility
How the strongest players on the Wild Rift China server (国服) build Morgana: live win/pick statistics by rank bracket, the most-used item and rune sets, and the real loadouts of the top ranked Morgana players, captured in-game.
📖 How to play Morgana









Counted on 19 real builds captured from the Chinese client, player by player. Independent from the official API above.


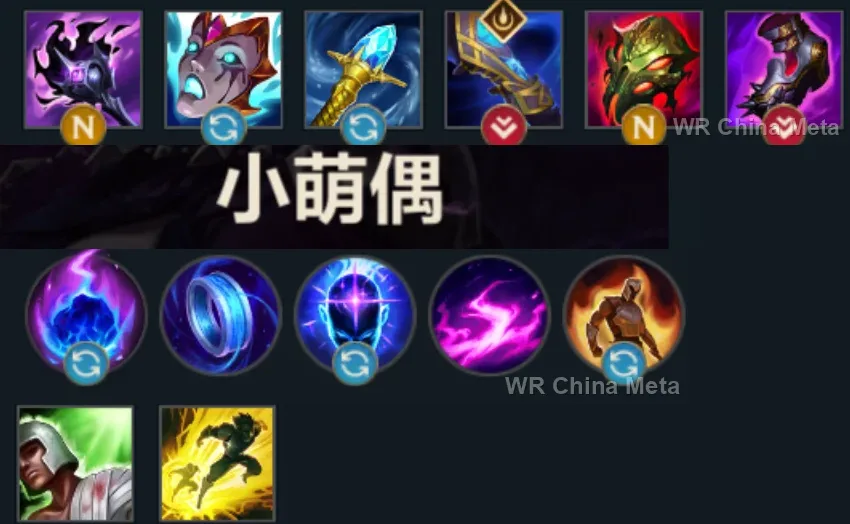
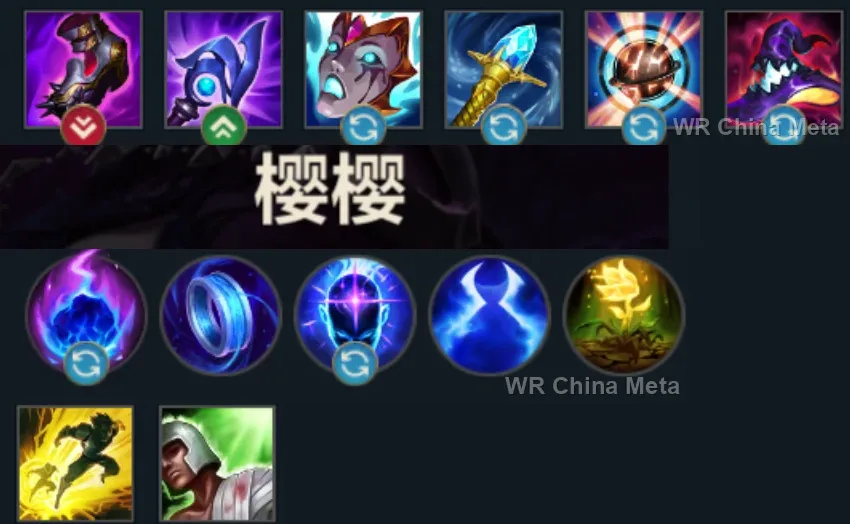
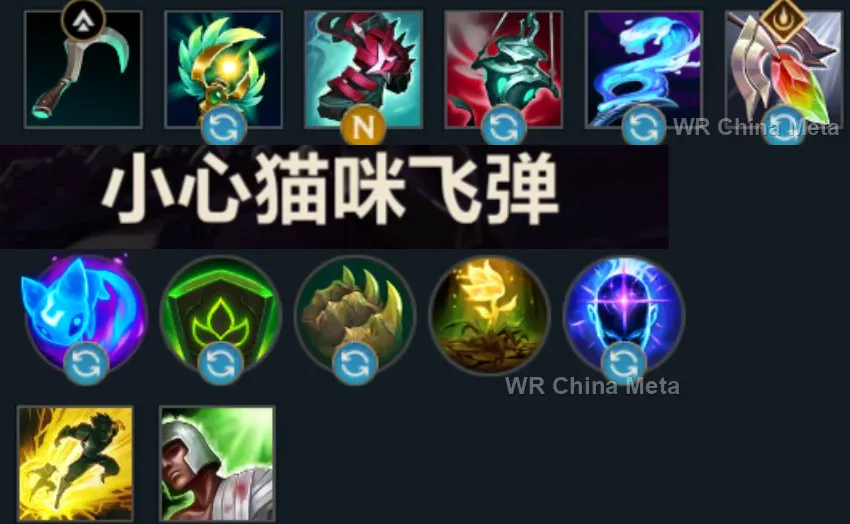
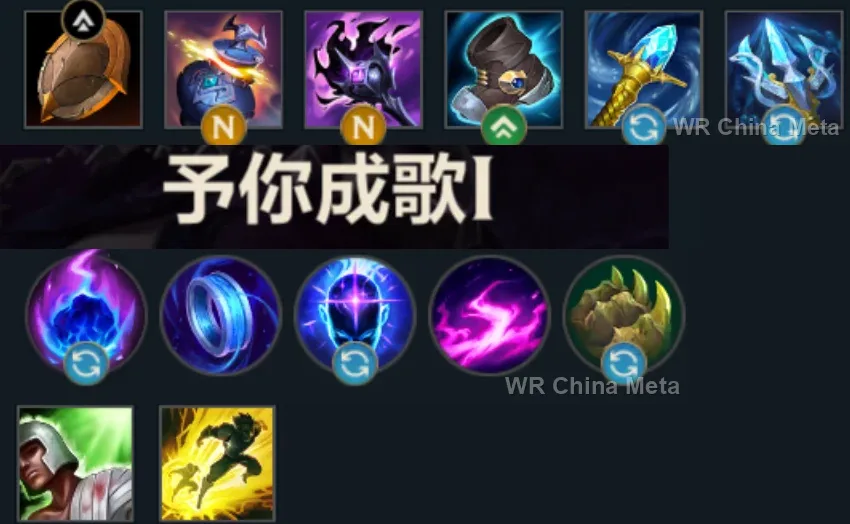
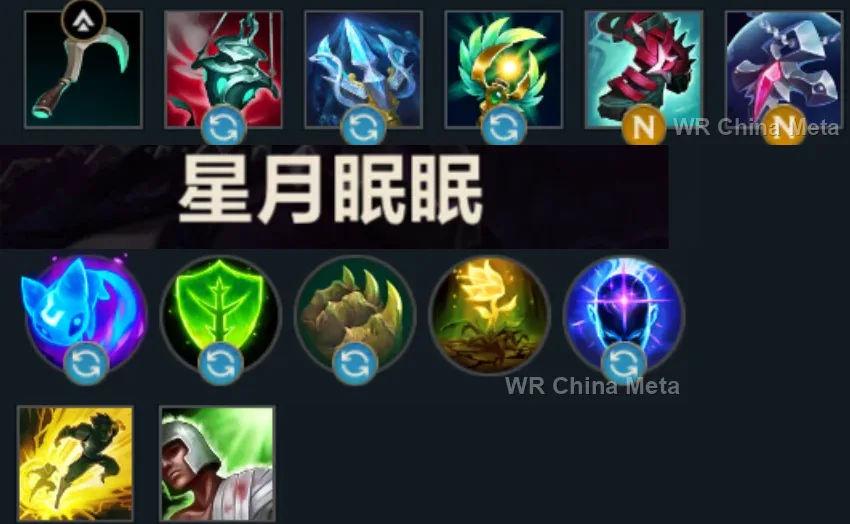
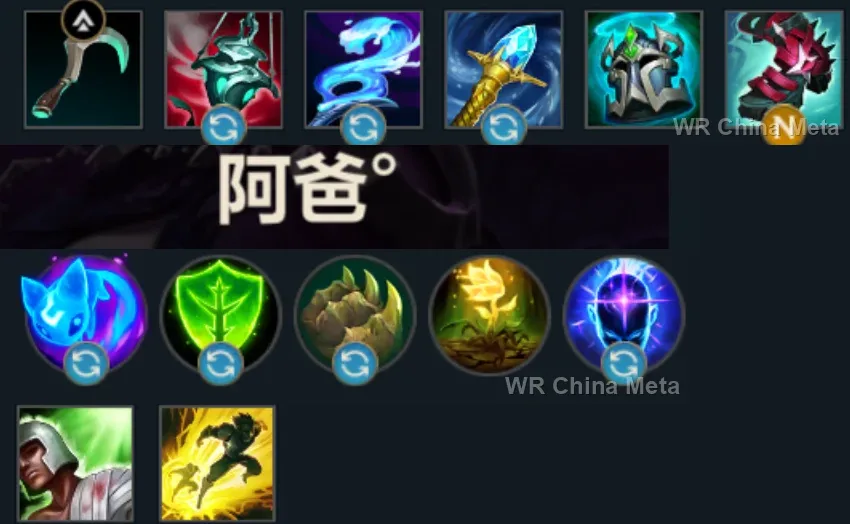
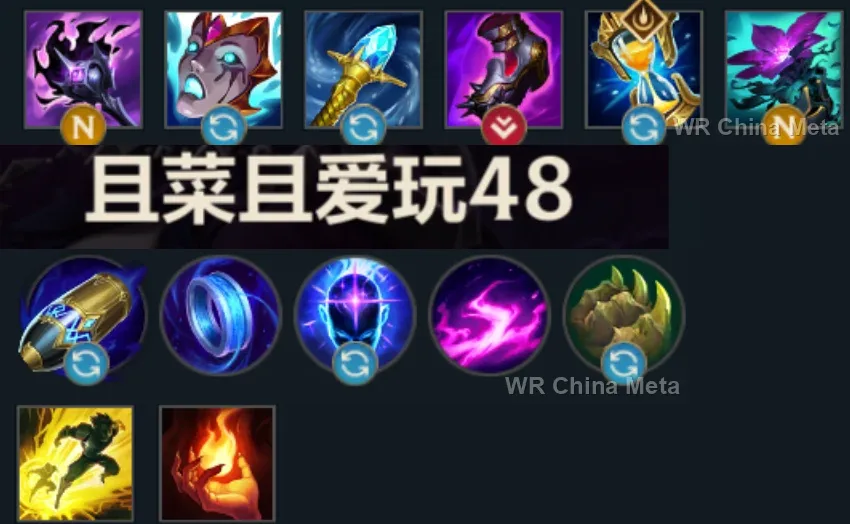
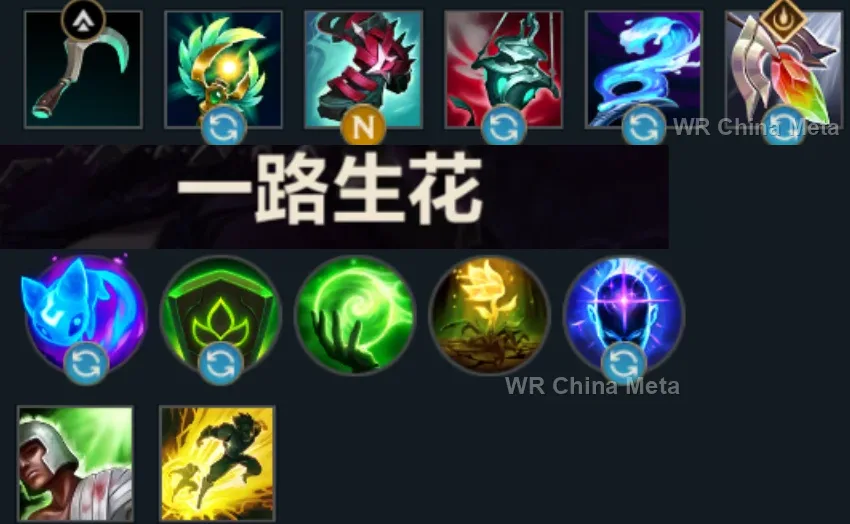
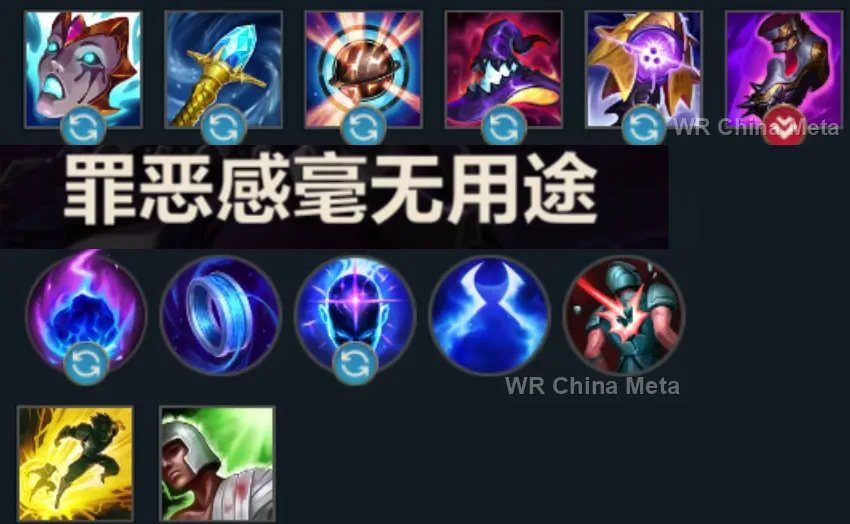
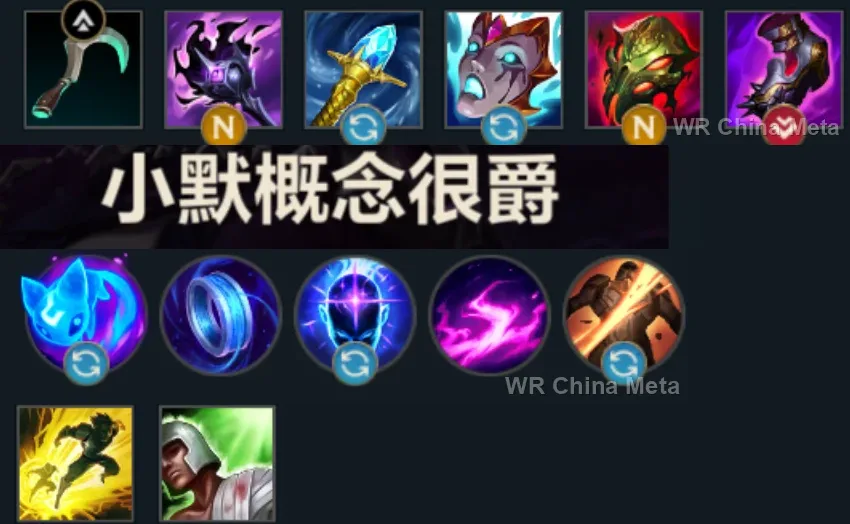
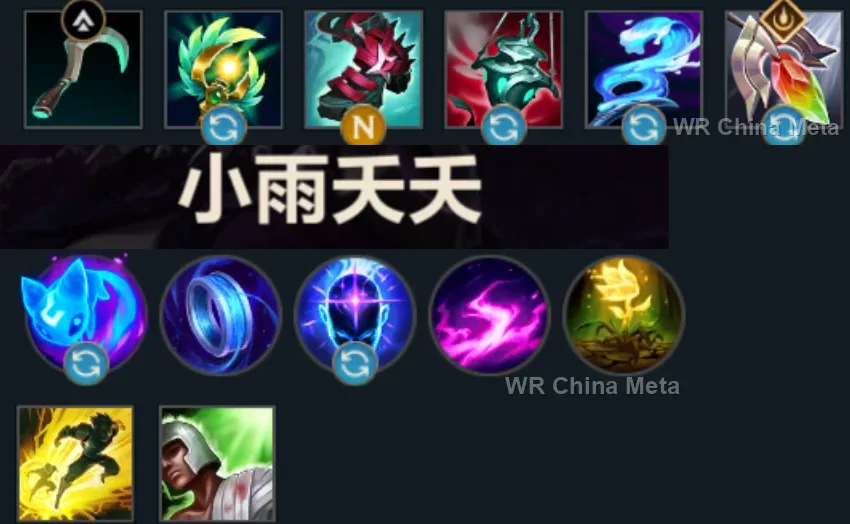
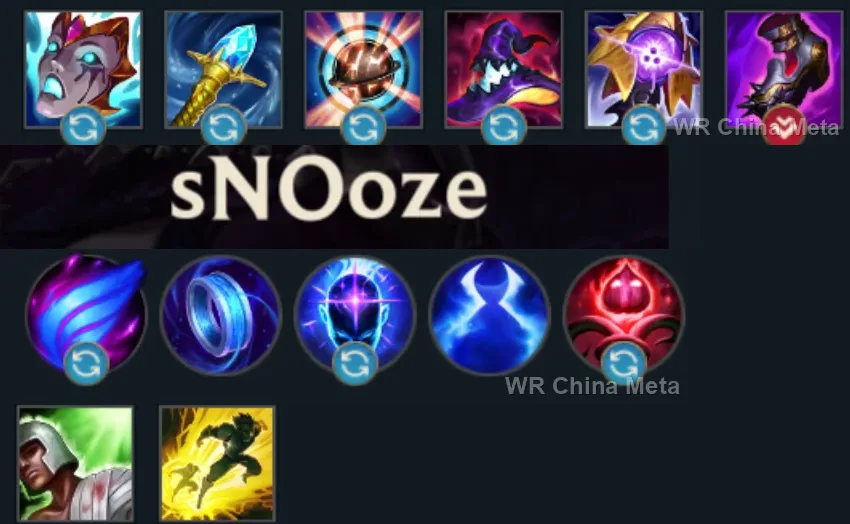
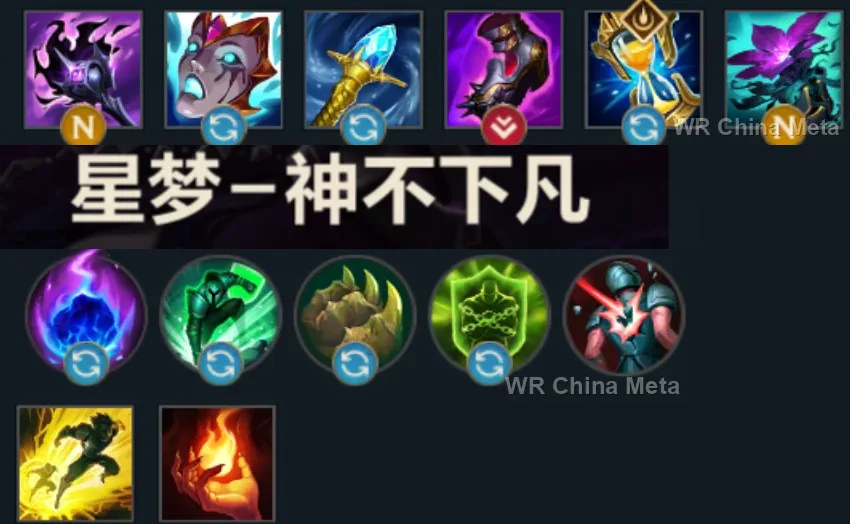
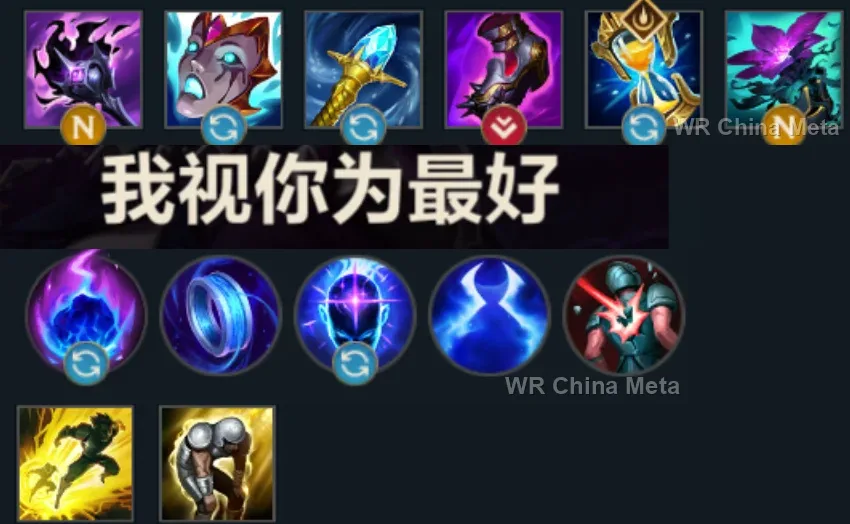
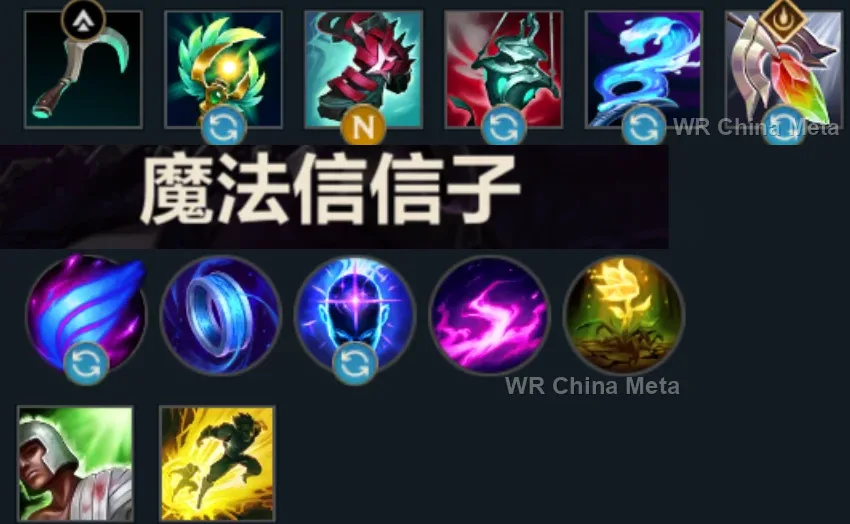
Taken from the official in-game China leaderboard. Spells, runes and items of every public top player.
17 of the top 30 players have a public match history; the others keep theirs private.
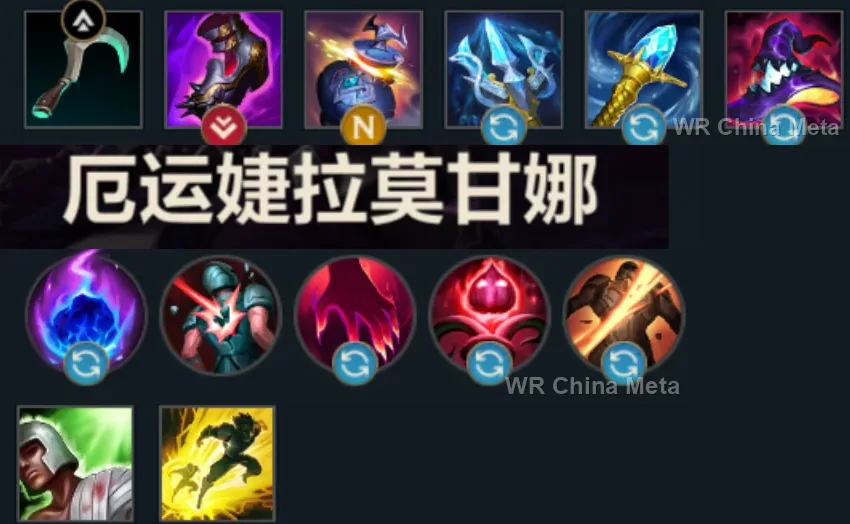
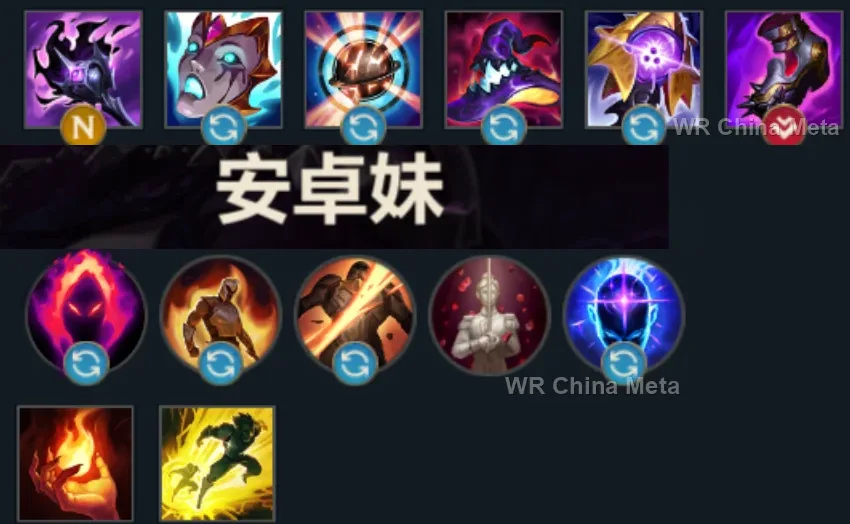
The toughest lane matchups for Morgana on the Wild Rift China server, with why each is hard and exactly how to play it.
 Morgana vs Milio Skill matchup
Why Milio counters Morgana: The cleanse removes your root and the heal repairs your poke: all your work has to be done twice.
How to play Morgana into Milio: Root the SECOND target, after the cleanse is spent on the first. Black Shield stays yours: his R does not go through it.
→ Milio Morgana vs Sona Skill matchup
Why Sona counters Morgana: She pokes you from a distance your root never reaches in time, and your sustain is not enough.
How to play Morgana into Sona: Root her forward steps for the power chord: they are mandatory. Black Shield on her R: the Crescendo becomes a muted solo.
→ Sona Morgana vs Blitzcrank Skill matchup
Why Blitzcrank counters Morgana: With your shield you are his nightmare, but if he hooks YOU first, the duo sits unprotected for 20 seconds.
How to play Morgana into Blitzcrank: Shield yourself when he is visible, the ADC when he sits in fog. Punish every missed hook with a root.
→ Blitzcrank Morgana vs Leona Skill matchup
Why Leona counters Morgana: You are her textbook counter: Black Shield eats her entire kit, but it protects only ONE target.
How to play Morgana into Leona: Shield the ADC — her real target — and root HER. Stopped mid-train she is the most useless statue in the game.
→ Leona Morgana vs Pyke Skill matchup
Why Pyke counters Morgana: Your root and R condemn him, but his R executes straight through Black Shield: the account stays open.
How to play Morgana into Pyke: Root the moment he surfaces from the swim: it is fixed and predictable. Above his R threshold you are untouchable: manage your health.
→ PykeThe champions Morgana works best alongside on the Wild Rift China server, lane by lane, with the reason each pairing works.
Soul Shackles (R) hits every nearby enemy champion but forces you to stay there until the second pulse: Unstoppable Force (R) hands them to you floored and bunched, and he is the body keeping away whoever would punish you.
Your page says that with no dash you die to any dive once your cooldowns are spent, which is exactly where you stand during Soul Shackles (R): Stand United (R) shields you from half a map away and Shadow Dash (E) taunts the diver.
His page says that beyond the Apprehend (E) pull he has no way to reach anyone: the two seconds of Dark Binding (Q) hand him the Decimate (Q) outer blade, five stacks of Hemorrhage (P) and Noxian Guillotine (R) for free.
All Out (R) rips their carry away from the team and roots it: alone and held still, it is the ideal target for Tormented Shadow (W), which hurts more the lower their health drops. And Footwork (E) dashes to you and shares his shield.
Worth it only if he agrees to fight with you instead of proxying: Fling (E) throws the target behind him, straight into Tormented Shadow (W), and Mega Adhesive (W) roots it there. If he spends the game in their jungle, you never see him.
His page says crowd control caught mid-leap shuts off Infinite Duress (R): Black Shield (E) is the only button that stops that. And Tormented Shadow (W) ramps as health drops, pushing targets under 35% where Blood Hunt (W) surges.
Cursed Touch (P) makes every magic hit carry true damage and your kit is magic from first spell to last: Tormented Shadow (W) ticks nonstop, so the amplification stays on. Curse of the Sad Mummy (R) into Soul Shackles (R) chains three seconds of lockdown.
Cataclysm (R) seals a target inside a ring it cannot leave: in there it can neither dodge Dark Binding (Q) nor step out of Tormented Shadow (W), which burns on it the whole time. His page says all he needs is the right target.
His page lists two ways the combo dies: a knock-up before Biggest Snowball Ever! (W) detonates, and an interrupted Absolute Zero (R) channel. Black Shield (E) on him before he commits removes both of them.
Worth it when he is the win condition and they own one crowd control that matters: Black Shield (E) eats the taunt his page says kills him the moment Alpha Strike (Q) ends. But he gives you no protection back at all.
Soul Shackles (R) forces you to stand among them for three seconds, and that is when you die: Hero's Entrance (R) lands on you from anywhere on the map with a shield and a knock-up. In return, Black Shield (E) covers the crowd control that breaks Shield of Durand (W).
His page spells it out: Vision of Empire (W) deals 50% bonus damage to a target already locked down. The two seconds of Dark Binding (Q) hand him that bonus without having to gamble on the Nevermove (E) return wave.
Command: Shockwave (R) gathers their team into a single spot, which is exactly what Soul Shackles (R) needs to stun all of them at once. And Command: Protect (E) on you is the shield that gets you to the second pulse.
Her page says that without a landed skillshot she has nothing left, and Sleepy Trouble Bubble (E) is the slowest one in the game: on a target held for two seconds by Dark Binding (Q) it cannot be dodged, and the sleep doubles the lockdown.
Only worth it when she is already ahead: her page says a single crowd control effect cancels Death Lotus (R) outright, and Black Shield (E) is the button that absorbs it. But she is among the weakest picks right now and gives you nothing back.
Fate's Call (R) launches her Oathsworn into the enemy team: that body is you, and you land with Soul Shackles (R) exactly where you need to be, which with no dash you could never manage. Sentinel (W) adds damage whenever you both hit the same target.
Her page says hard crowd control shuts her combo down before it starts and that she has to reach point-blank: Black Shield (E) opens the road for Wild Rush (E), and the two seconds of Dark Binding (Q) are the still target she climbs Style on.
Deadly Flourish (W) roots anyone an ally has just damaged: Tormented Shadow (W) ticks nonstop on whoever stands in it, so his root stays permanently armed. And on a target that cannot move, Curtain Call (R) reaches its fourth shot.
Bullet Time (R) is a stationary three-second channel and her page says a single crowd control effect cuts it short: Black Shield (E) on her before she starts protects it. And Make It Rain (E) over Tormented Shadow (W) is a patch nobody walks out of.
Worth it if you both play the lane aggressively: the two seconds of Dark Binding (Q) are two free axe catches, and Black Shield (E) cancels the hook that ends his game. Against a poke lane, though, you have no healing to keep him up, and your page says so.
| Lane | Tier | Win% | Pick% | Ban% | Pos. |
|---|---|---|---|---|---|
| Mid | S+ | 53.26% | 6.68% | 44.95% | #2 / 39 |
| Support | S | 51.01% | 6.32% | 44.95% | #4 / 34 |
| Lane | Tier | Win% | Pick% | Ban% | Pos. |
|---|---|---|---|---|---|
| Mid | S+ | 53.21% | 6.77% | 47.34% | #2 / 38 |
| Support | S | 51% | 6.31% | 47.34% | #4 / 34 |
| Lane | Tier | Win% | Pick% | Ban% | Pos. |
|---|---|---|---|---|---|
| Support | S+ | 52.56% | 6.23% | 50.25% | #2 / 33 |
| Mid | S+ | 50.55% | 5.97% | 50.25% | #2 / 39 |
| Lane | Tier | Win% | Pick% | Ban% | Pos. |
|---|---|---|---|---|---|
| Support | S | 51.05% | 7% | 50.33% | #3 / 33 |
| Mid | S | 51.06% | 4.82% | 50.33% | #5 / 41 |


Morgana, the Fallen Angel, is a control mage almost always played in the support role in Wild Rift, built to make one enemy's life miserable rather than to out-damage a marksman. Her kit pairs a long, punishing root with a shield that blocks crowd control outright, while Tormented Shadow provides steady magic burn that only gets nastier as her target's health drops. She's rated low difficulty to pick up, but timing Black Shield and picking the right moment for Soul Shackles is what separates a good Morgana from a great one.
Skill order: W > Q > E
In lane, lead with Dark Binding as your main trading tool: poke from max range and only all-in once you're confident the root will land, since Morgana has almost nothing to fall back on if it whiffs. Weave Tormented Shadow onto the wave or a trading enemy when it's safe rather than on cooldown - every tick can proc Soul Siphon for sustain and shave time off the skill's own cooldown. Keep Black Shield in reserve for a specific hook, engage, or burst combo instead of pre-casting it, and play with extra respect for hook-style lanes: one landed pick onto Morgana herself leaves her side of the lane with no protection until it comes back up. Ranged poke lanes are her hardest early matchup, since she has to close distance that Dark Binding can't threaten from a safe range.
From the mid game on, Morgana sits just behind the frontline and looks for the moment Soul Shackles can catch an overextended target or, ideally, a clumped group of enemies at once - the free vision and 3-second link buy her team time to collapse, and the delayed second hit guarantees a stun on anyone who can't create distance. Drop Tormented Shadow into the fray for burn that only gets stronger as health bars fall, and save Black Shield for whichever ally is actually winning the fight for her team, whether that means peeling a diver off her marksman or nullifying the enemy's opening engage outright. With no dash or blink of her own, she has to fight from range and commit her root or ultimate before she's ever the reachable target, since a teamfight is generally won or lost on whether those two land.