
WR China Meta
Meta, tier list & top-player builds from the China server · live
Meta, tier list & top-player builds from the China server · live

泰达米尔 · 蛮族之王 Fighter S
✅ Patch 7.2e · stats updated 2026-09-12 · real builds of 25 top-ranked China server players captured 2026-09-11
Difficulty Damage Toughness Utility
How the strongest players on the Wild Rift China server (国服) build Tryndamere: live win/pick statistics by rank bracket, the most-used item and rune sets, and the real loadouts of the top ranked Tryndamere players, captured in-game.
📖 How to play Tryndamere


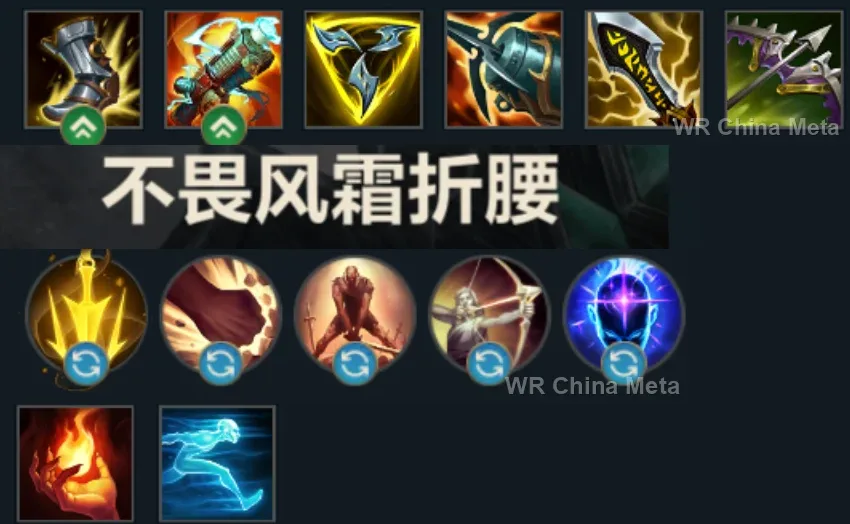
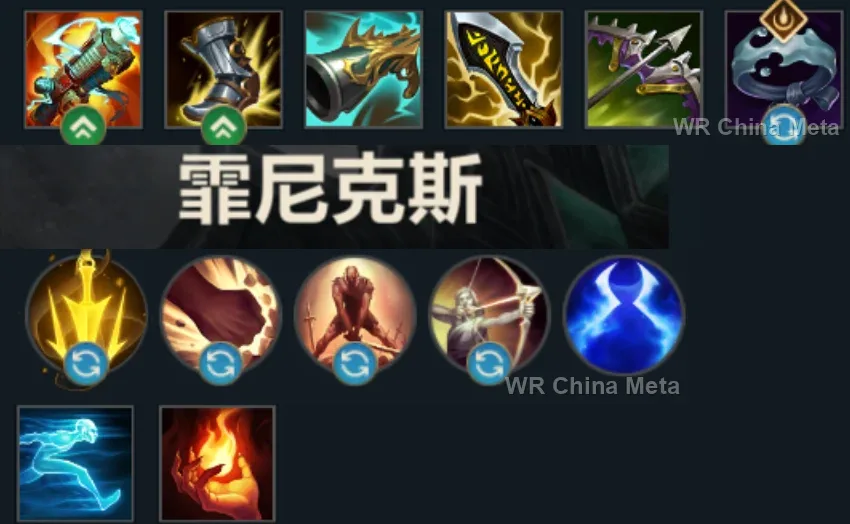
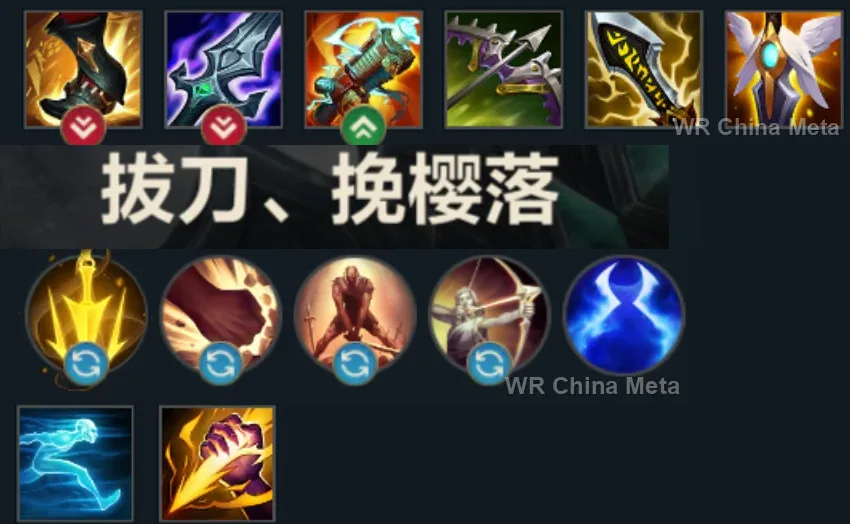
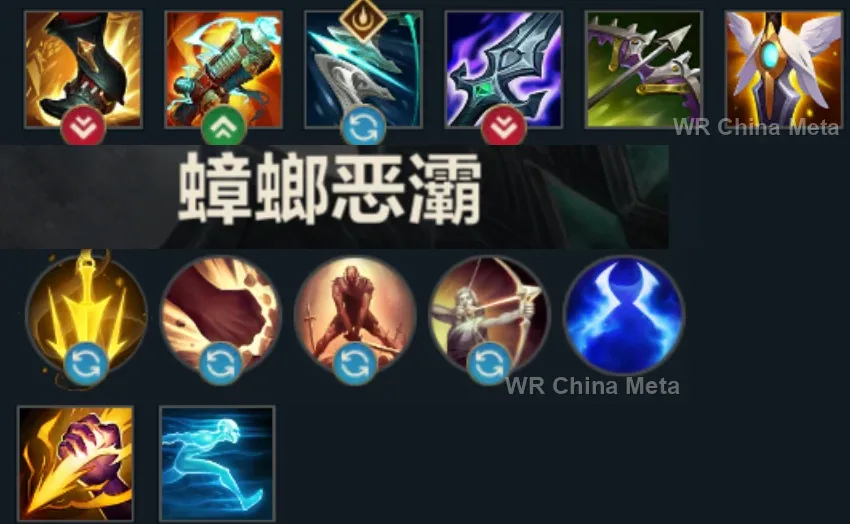
Counted on 26 real builds captured from the Chinese client, player by player. Independent from the official API above.


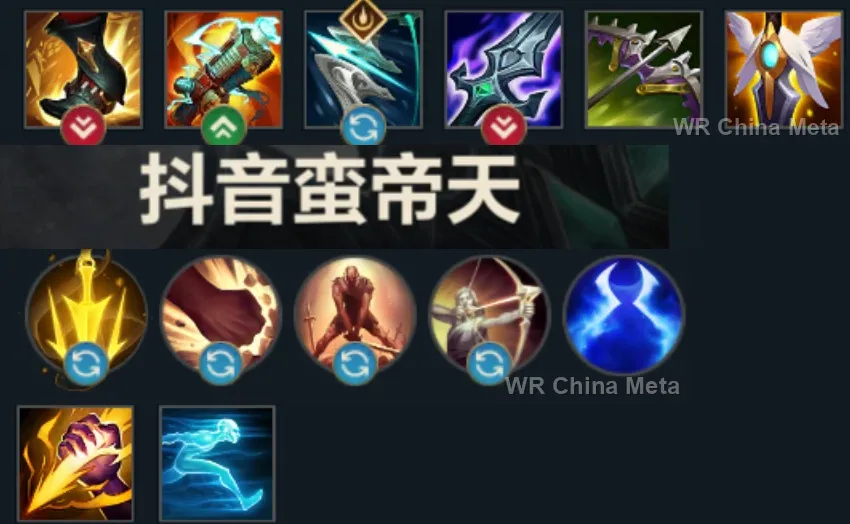
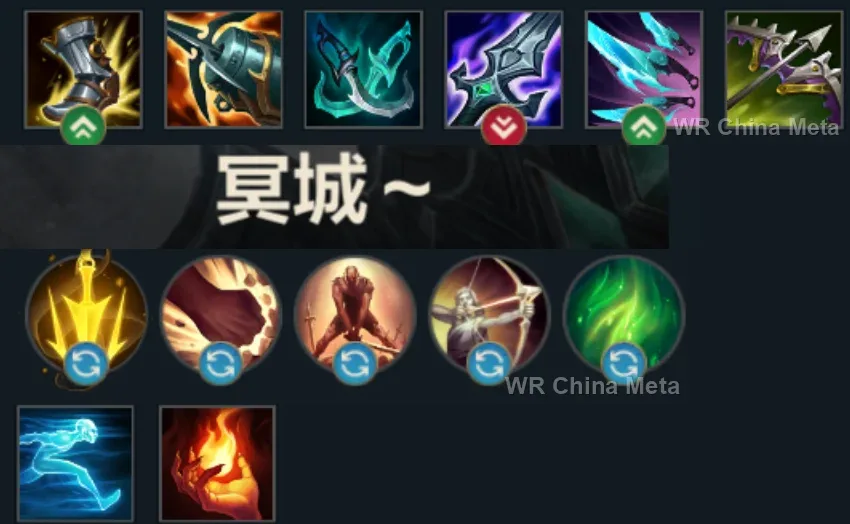
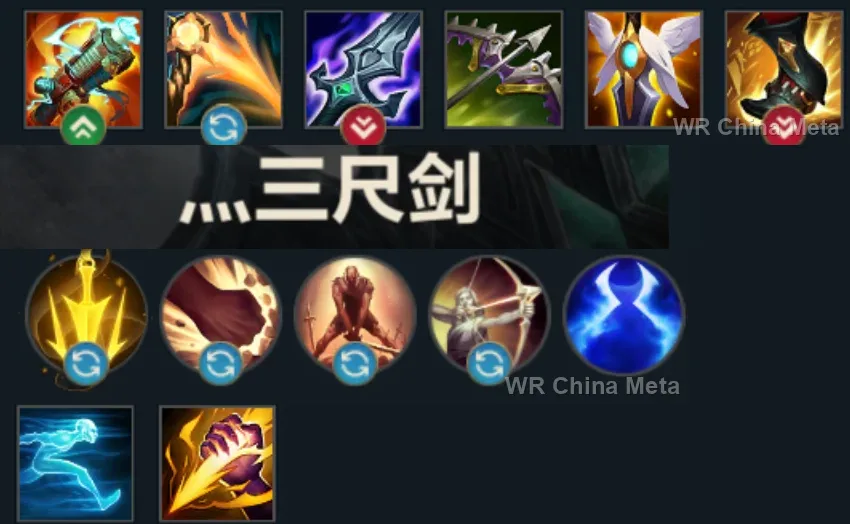
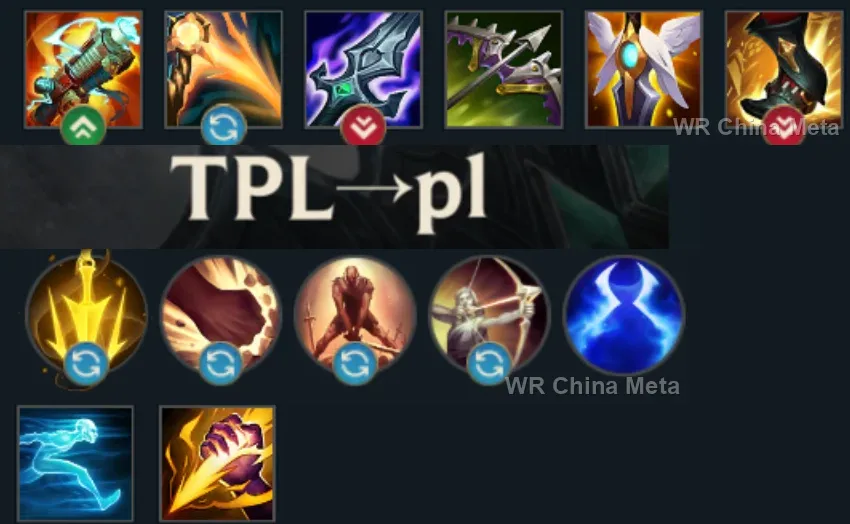
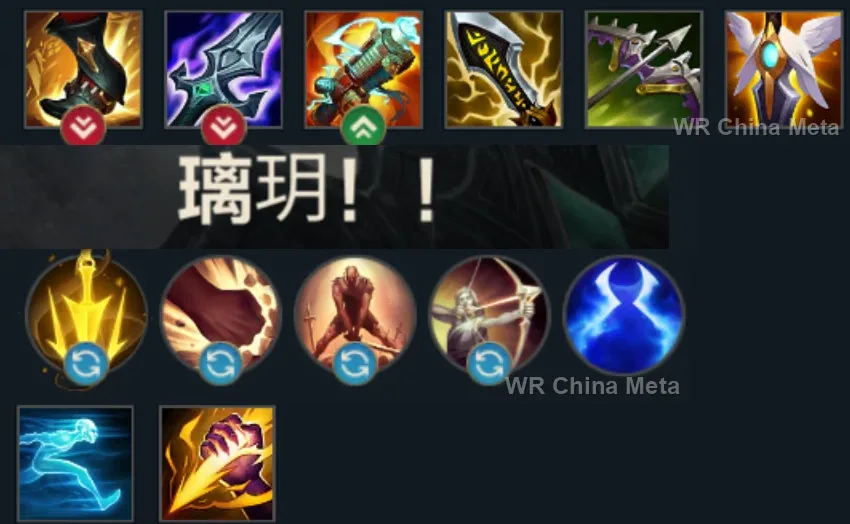
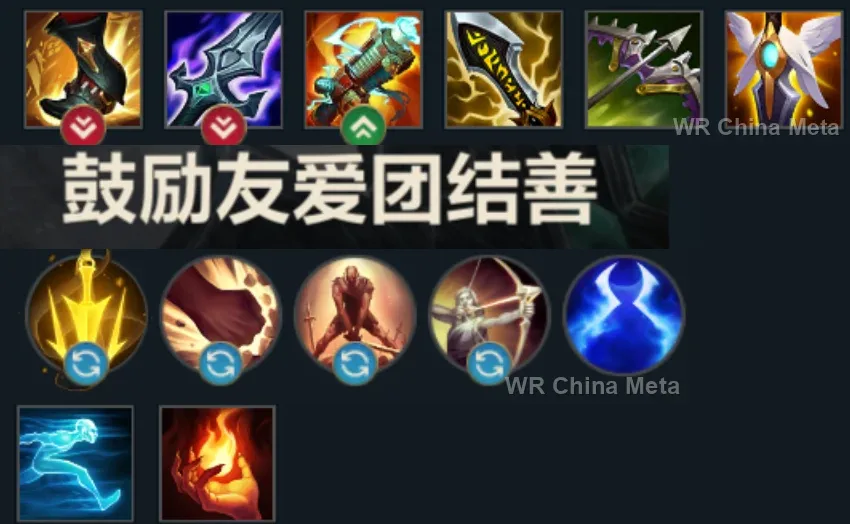
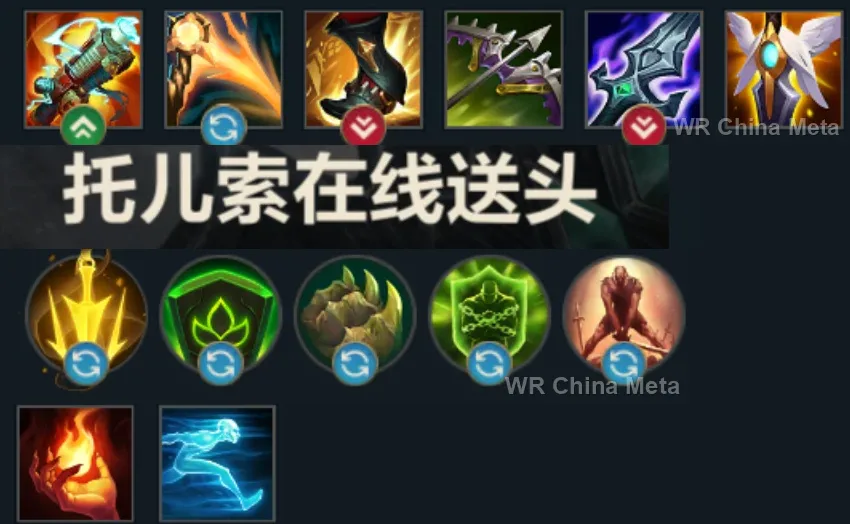
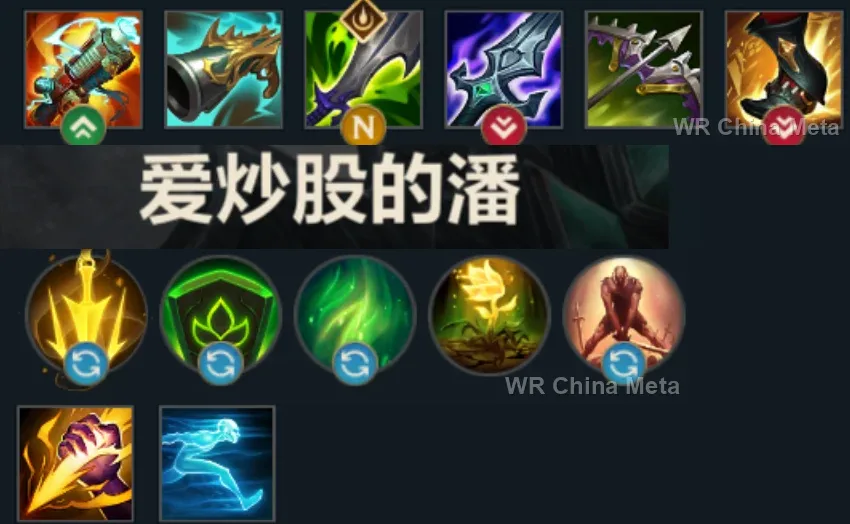
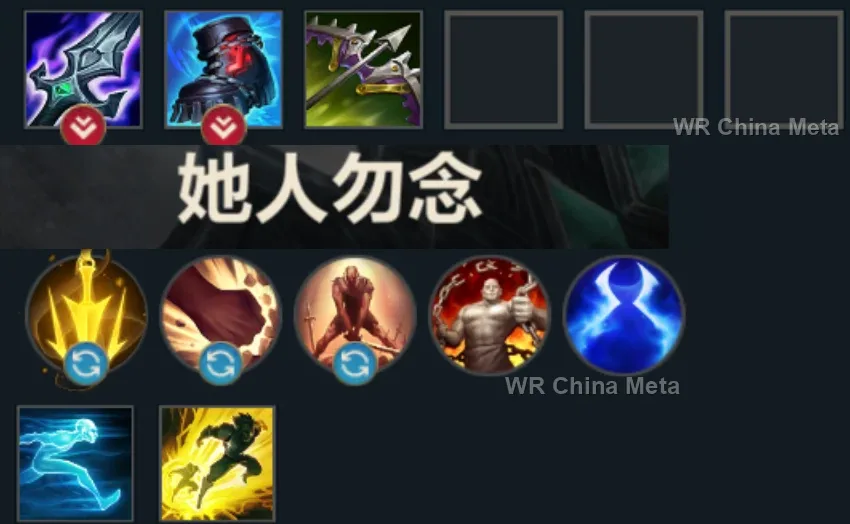
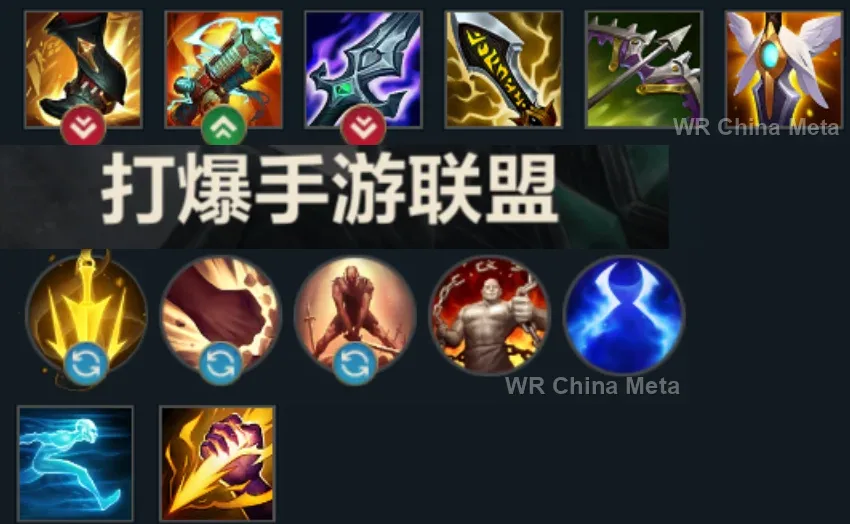
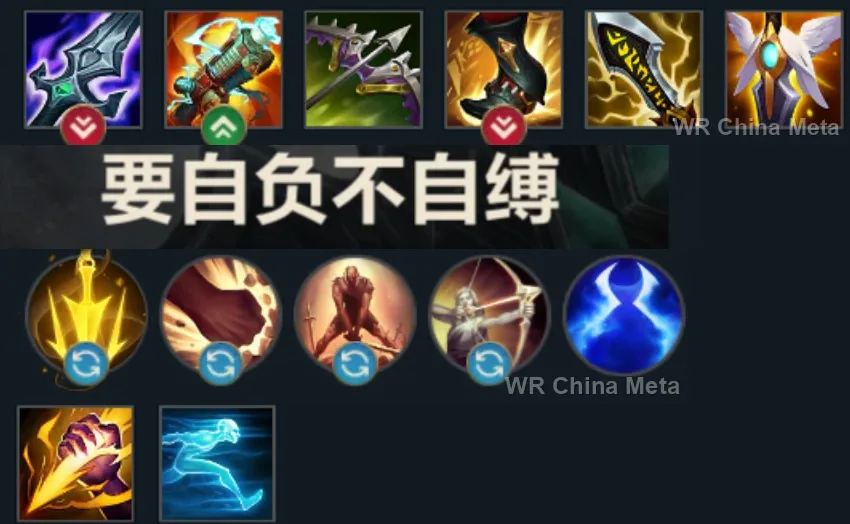
Taken from the official in-game China leaderboard. Spells, runes and items of every public top player.
25 of the top 30 players have a public match history; the others keep theirs private.










The toughest lane matchups for Tryndamere on the Wild Rift China server, with why each is hard and exactly how to play it.
 Tryndamere vs Jax Unfavorable
Why Jax counters Tryndamere: His Counter Strike covers exactly the 5 seconds you would be immortal: your war cry becomes a whisper.
How to play Tryndamere into Jax: Spin in AFTER his Counter Strike. Splitpush where he is not: your DPS on towers is your real ultimate.
→ Jax Tryndamere vs Malphite Unfavorable
Why Malphite counters Tryndamere: Rising armor, attack-speed slow and poke: the anti-Tryndamere trinity in a single rock.
How to play Tryndamere into Malphite: Farm without trading, buy Bloodrazor and never meet him: splitpush. In fights come in from the back, never the front.
→ Malphite Tryndamere vs Teemo Unfavorable
Why Teemo counters Tryndamere: Blind on your only plan — attacking — and kiting on your single spin: your personal tilt.
How to play Tryndamere into Teemo: Spin INSIDE the blind, waiting for him to use it, and attack AFTER. Split elsewhere: the mushroom field is not your home.
→ Teemo Tryndamere vs Fiora Skill matchup
Why Fiora counters Tryndamere: A late-game duel: her Riposte against your slow, and your R denying her execute. A real contest.
How to play Tryndamere into Fiora: Spin away from exposed Vitals. R BEFORE her finishing blow, not after. Win at the walls: your escape is better than hers.
→ Fiora Tryndamere vs Renekton Skill matchup
Why Renekton counters Tryndamere: He bullies you before 5 with the stun, you forget he exists after 2 items: the usual top-lane story, written backwards.
How to play Tryndamere into Renekton: Full fury BEFORE every early trade. Survive levels 1-5, then split: he can neither follow you nor stop you.
→ RenektonThe champions Tryndamere works best alongside on the Wild Rift China server, lane by lane, with the reason each pairing works.
The right way to beat you is to walk away and wait out the five seconds of Undying Rage (R): Shadow Dash (E) taunts and pins them inside it. And Stand United (R) reaches you in the side lane, where you almost always fight alone.
All your damage lives in crit items and every recall costs you camps: from level 7 Living Forge (P) restocks you in the middle of the jungle, so Infinity Edge lands a lap early. And Brittle from Bellows Breath (W) stretches any follow-up crowd control by 30%.
Your worst outcome is dying before you press Undying Rage (R): Unstoppable Force (R) goes in instead of you and eats the crowd control, while Ground Slam (E) cuts the attack speed of whoever answers you.
Kiting is the one thing that really beats you, and Thundering Smash (Q) shuts it off: a stunned target does not walk. And with Stormbringer (R) the towers go quiet for three seconds, so you finish under theirs instead of giving the kill up.
The correct answer to you is to spread out and wait: as Mega, Wallop (W) stuns an area for 1.25 seconds and GNAR! (R) pins the group against terrain. Rage Gene (P) decides the moment, though, so you cannot plan an engage around it.
Your problem is not damage, it is that they walk away from you: Ring of Frost (W) roots and Frozen Tomb (R) stuns the same target, who now stays inside all five seconds of Undying Rage (R) instead of waiting them out.
Nobody comes to stop you alone in a side lane: they come three at a time. Realm Warp (R) puts Ryze there with you and flips the count, and a target marked by Spell Flux (E) and locked in Rune Prison (W) stops walking away from you.
Two side-lane threats nobody wants to face alone: while he banks Siphoning Strike (Q) stacks on the other side of the map, they do not have enough bodies to answer both of you. And Wither (W) shuts off the marksman who would kite you.
Undying Rage (R) lets you hold a side lane anyone else would run from, but only if you know how many are coming: Destiny (R) tells you, and his teleport turns your 1v2 into a 2v2 before they close in on you.
Seismic Shove (W) throws an enemy wherever she wants: it puts them back in front of you while they are running from your crits. And anyone dashing out through Unraveled Earth (E) gets cut short and stunned, losing their only way out of your range.
Your only way to stick onto someone is Spinning Slash (E) onto a valid target: with Frost Shot (P) slowing on every single hit you barely need it. And Enchanted Crystal Arrow (R) freezes whoever wanted to wait you out from range.
Five seconds of immunity are worth as many enemies as cannot leave your range: Chain of Corruption (R) starts on one and spreads to its neighbours, so the whole team stays there. And Blighted Quiver (W) adds magic damage where they bought armor for you.
Mocking Shout (W) slows anyone who turns their back to run, and Curtain Call (R) hits hardest on targets that are slowed and low: whoever leaves your range alive dies anyway, from the other side of the map.
Smolder needs the first ten minutes to pass without a disaster so he can bank Dragon Practice (P) stacks: your side-lane pressure keeps busy the people who would go hunting him. Worth it in long games, not if you plan to close early.
Your page says you die at the edges of your own ultimate: Chronoshift (R) covers exactly that gap, rewinding you in the second Undying Rage (R) expires and they are standing there waiting. In practice you are unkillable twice in a row.
Every heal that comes from outside is Fury you do not spend on Bloodlust (Q), which means crit chance you get to keep: Aria of Perseverance (W) does exactly that. Song of Celerity (E) closes the gap and Crescendo (R) stuns the first target the wave touches.
Two separate roots in one fight: Twisted Advance (W) pins the target and Nature's Grasp (R) rolls in behind it to stop the rest. Nobody gets to disengage and wait out Undying Rage (R), which is their plan A against you.
Whoever beats you does not fight you: they back off and wait. Under Shield of Daybreak (Q) and then Solar Flare (R) they can do neither, and every second they spend standing there is Fury banking itself onto you for free.
Their plan is to walk away until Undying Rage (R) runs out: an empowered Inner Flame (Q) leaves a field on the ground that slows anyone attempting it, and Focused Resolve (W) threatens a root on two of them at the same time.
| Lane | Tier | Win% | Pick% | Ban% | Pos. |
|---|---|---|---|---|---|
| Jungle | S | 52.19% | 8.75% | 26.77% | #3 / 40 |
| Baron | C | 48.35% | 2.33% | 26.77% | #30 / 41 |
| Lane | Tier | Win% | Pick% | Ban% | Pos. |
|---|---|---|---|---|---|
| Jungle | S | 52% | 8.52% | 27.19% | #3 / 40 |
| Baron | C | 48.39% | 2.2% | 27.19% | #30 / 41 |
| Lane | Tier | Win% | Pick% | Ban% | Pos. |
|---|---|---|---|---|---|
| Jungle | A | 51.44% | 7.35% | 20.98% | #8 / 42 |
| Baron | C | 48.38% | 2% | 20.98% | #34 / 41 |
| Lane | Tier | Win% | Pick% | Ban% | Pos. |
|---|---|---|---|---|---|
| Jungle | B | 49.83% | 5% | 14.07% | #26 / 41 |
| Baron | C | 46.08% | 1.99% | 14.07% | #32 / 39 |


Tryndamere is a Fighter in Wild Rift built around one simple threat: the longer a fight runs and the lower his health drops, the more dangerous he gets. His damage is almost entirely physical, delivered through auto-attacks and crits rather than burst spells, and his signature Undying Rage can turn 'about to die' into 'about to win' for five full seconds. He plays less like a teamfight brawler and more like a duelist and side-lane split-pusher who wants 1v1s, not five-person scraps.
Skill order: E > Q > W
Without ranged harass or a true escape, treat lane phase as a farm-first matchup: last-hit with autos and use Spinning Slash mainly to reset onto minions for its cooldown refund rather than forcing early trades. Only commit to full trades once you can land a clean auto-attack window plus Mocking Shout to blunt incoming damage. Treat level 5 as your real power spike — Undying Rage turns a risky all-in into a safe one, so look for your first big fight right as it comes online rather than before it.
From mid game on, think side lane and pick-off threat more than frontline brawler: split push to pressure towers, and only join the main fight once you can dive straight to a priority target. When you do engage, use Spinning Slash as your gap closer, Mocking Shout on whoever is hitting you hardest to cut their damage and slow their escape, and save Undying Rage for the moment the fight turns lethal rather than spending it early as a safety net. Getting picked off before you can use R is Tryndamere's worst teamfight outcome, so avoid walking in as the first target.