
WR China Meta
Meta, tier list & top-player builds from the China server · live
Meta, tier list & top-player builds from the China server · live

卡莎 · 虚空之女 Marksman C
✅ Patch 7.2e · stats updated 2026-09-12 · real builds of 14 top-ranked China server players captured 2026-09-11
Difficulty Damage Toughness Utility
How the strongest players on the Wild Rift China server (国服) build Kai'Sa: live win/pick statistics by rank bracket, the most-used item and rune sets, and the real loadouts of the top ranked Kai'Sa players, captured in-game.
📖 How to play Kai'Sa


Counted on 15 real builds captured from the Chinese client, player by player. Independent from the official API above.

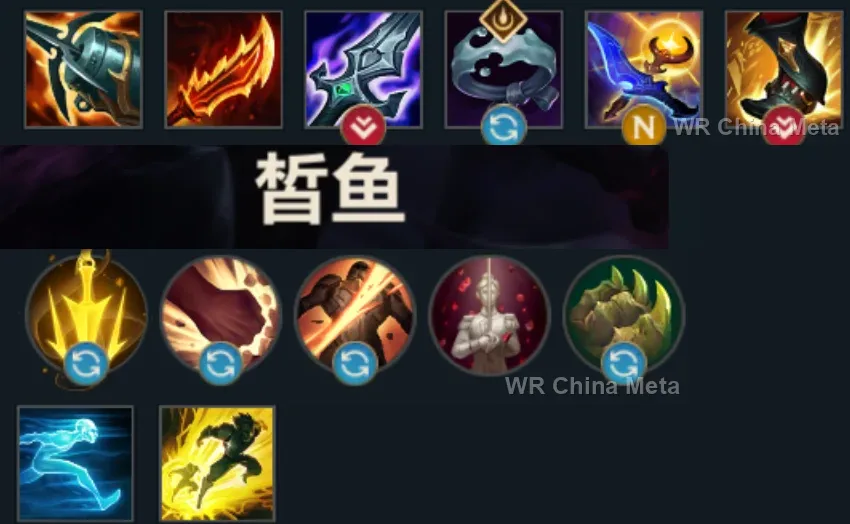
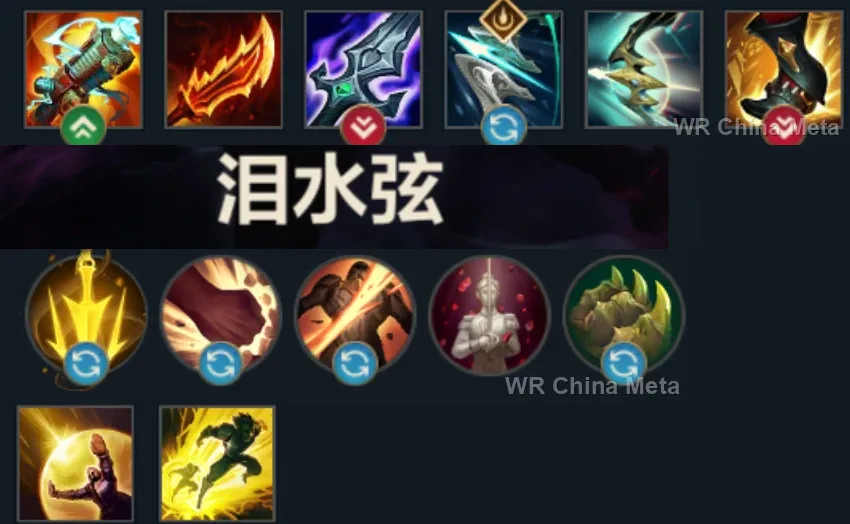
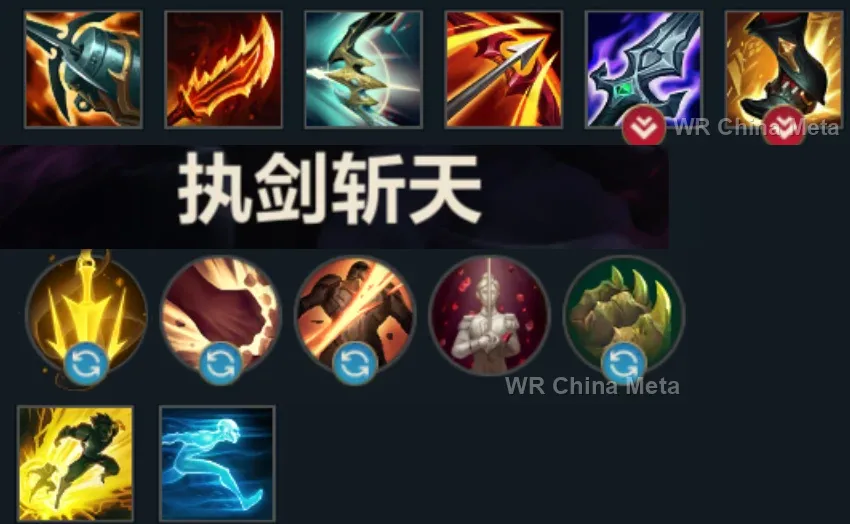
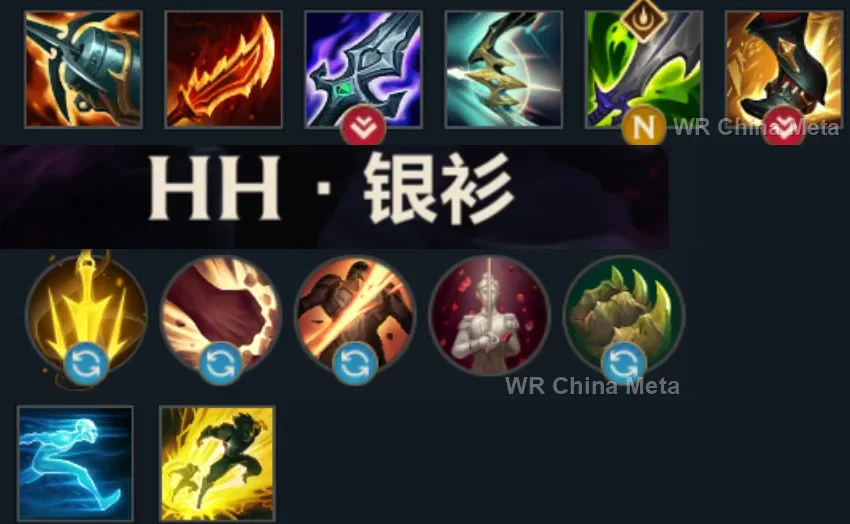
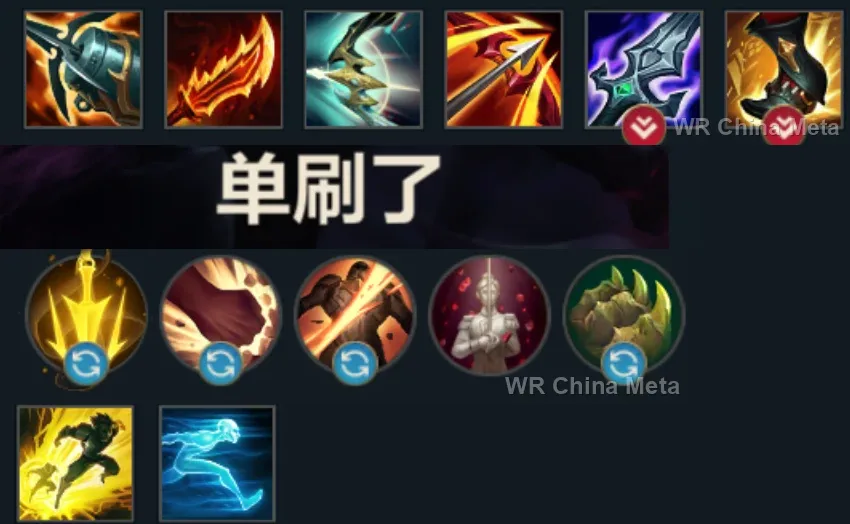
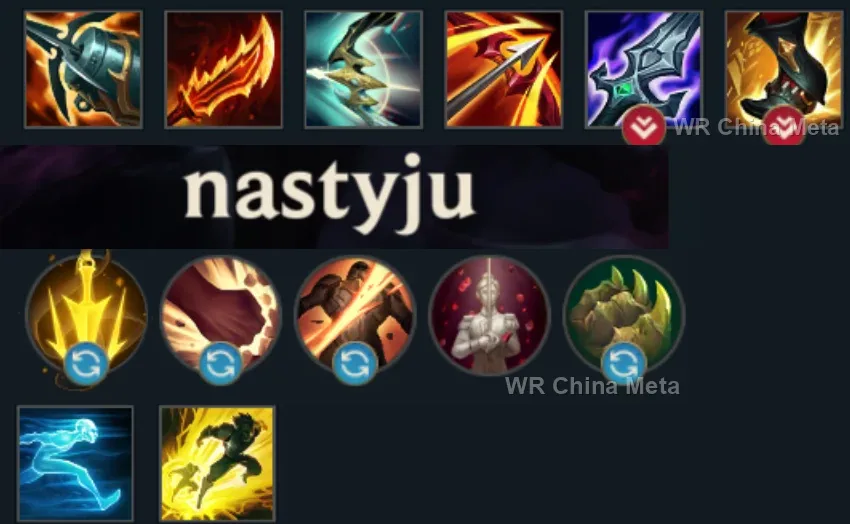
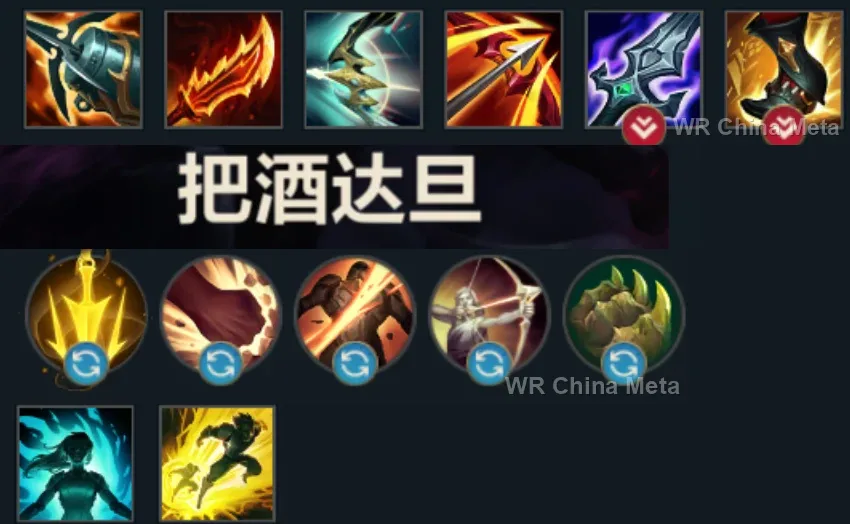
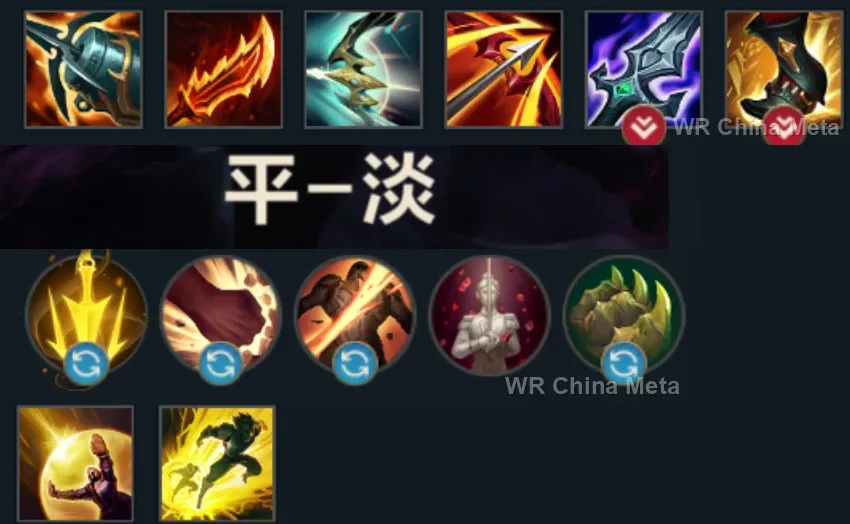
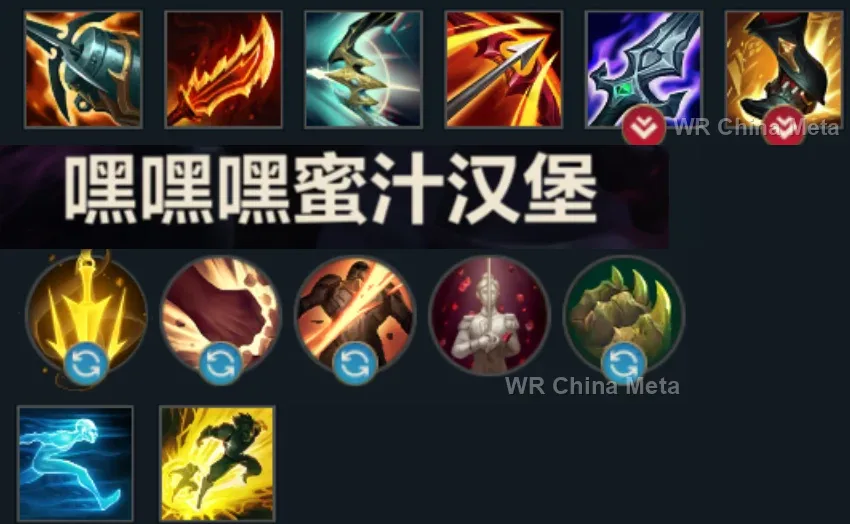
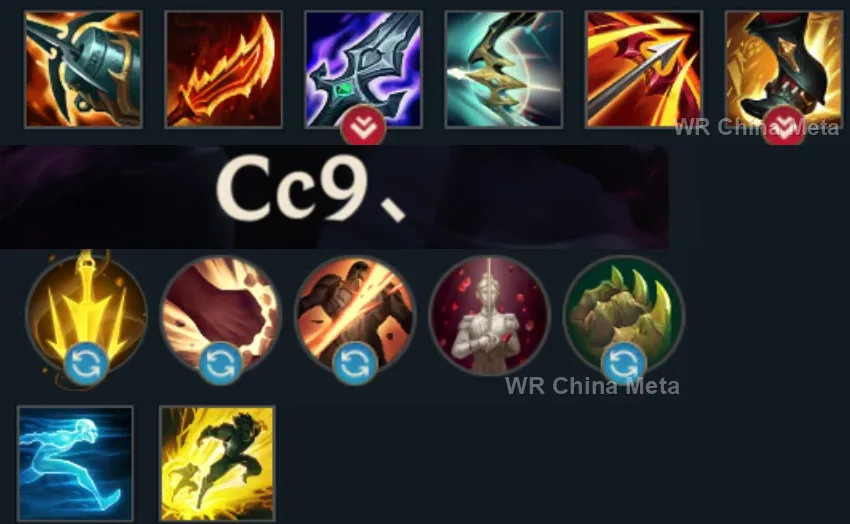
Taken from the official in-game China leaderboard. Spells, runes and items of every public top player.
14 of the top 30 players have a public match history; the others keep theirs private.
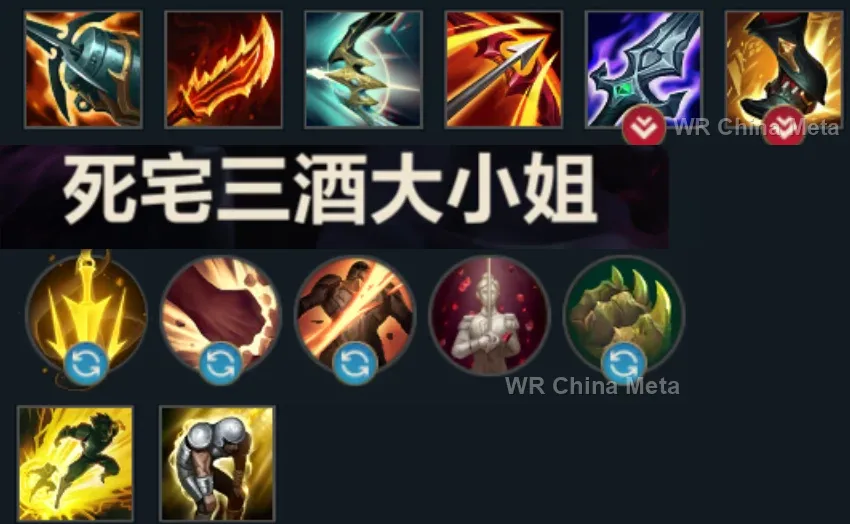
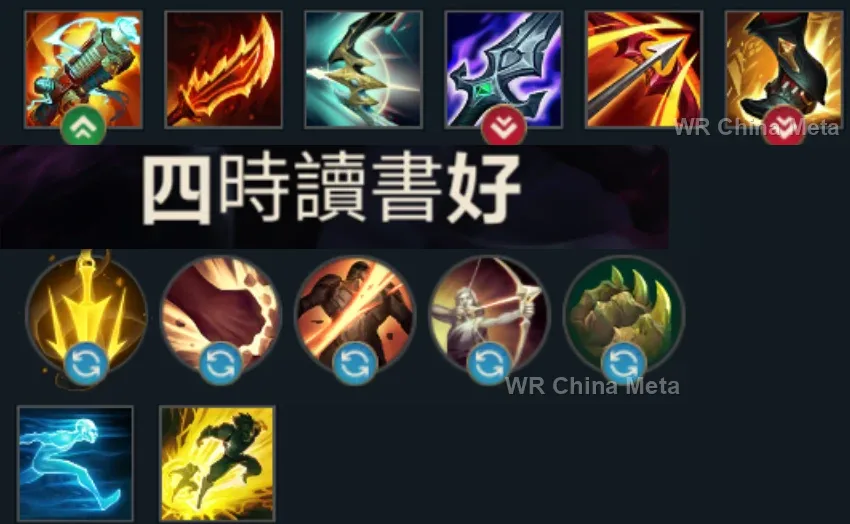
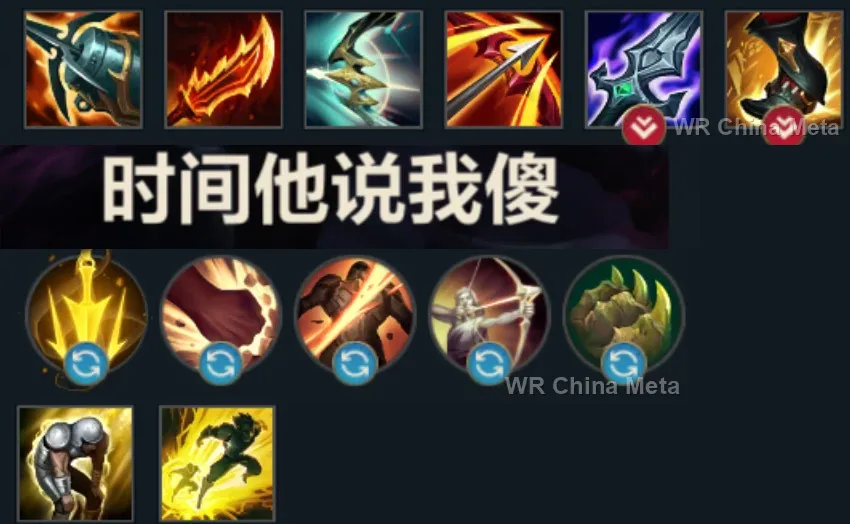
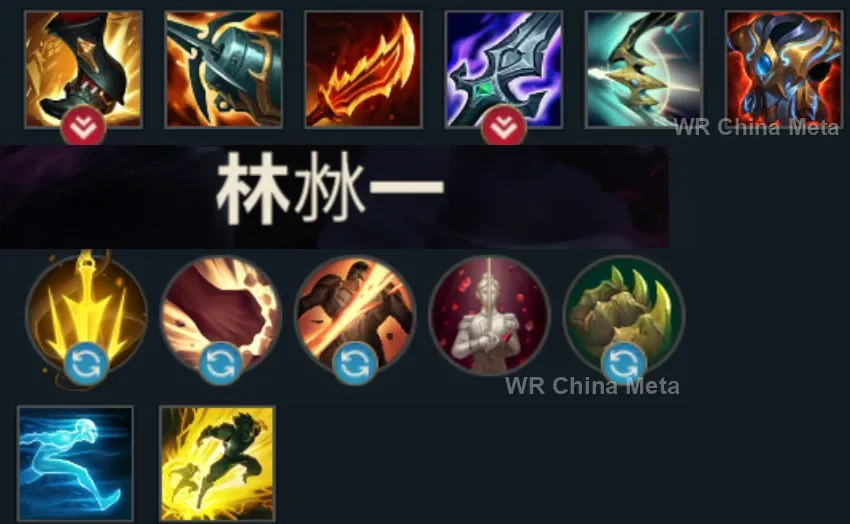
The toughest lane matchups for Kai'Sa on the Wild Rift China server, with why each is hard and exactly how to play it.
 Kai'Sa vs Draven Hard counter
Why Draven counters Kai'Sa: A ruthless early game against your scaling: before your evolutions come online he already has the axes, the passive gold and the lane.
How to play Kai'Sa into Draven: Give up on pressure: farm with W from range when needed, ask your support for peel and reach the Q evolution alive. From there you decide the fights with your R.
→ Draven Kai'Sa vs Caitlyn Unfavorable
Why Caitlyn counters Kai'Sa: She outranges you all lane long and punishes your short-range farming; traps block the angles you would want to R in from.
How to play Kai'Sa into Caitlyn: Trade only when she steps up for the Headshot: that is where you out-DPS her. Your R goes in AFTER she has spent the net, never before.
→ Caitlyn Kai'Sa vs Lucian Unfavorable
Why Lucian counters Kai'Sa: Dash-powered burst at the levels where you are most fragile: every short trade of his taxes your right to farm.
How to play Kai'Sa into Lucian: Stay behind minions: they block his Q. Trade only after his double-tap. Past 2 items, with evolved E, the 1v1 is yours.
→ Lucian Kai'Sa vs Tristana Unfavorable
Why Tristana counters Kai'Sa: Her all-in beats yours before evolutions, and the jump reset pulls her out of your counter-engage.
How to play Kai'Sa into Tristana: Respect her jump: keep E to escape, not to chase. Answer with your R when she dives your support: punish the wrong target choice.
→ Tristana Kai'Sa vs Sivir Skill matchup
Why Sivir counters Kai'Sa: The spell shield can eat your W and her endless shove keeps you under tower, but she has no way to kill you without help.
How to play Kai'Sa into Sivir: Fake the poke to burn her shield, then take the real trade. Accept farming under tower: after 2 items your curve passes hers without appeal.
→ SivirThe champions Kai'Sa works best alongside on the Wild Rift China server, lane by lane, with the reason each pairing works.
Second Skin (P) applies Plasma on its own when an ally lands the crowd control: Unstoppable Force (R) knocks up a whole group and marks all of them at once, so Killer Instinct (R) picks a target and takes you there with the shield. Ground Slam (E) slows whoever gets back up.
Until Supercharge (E) evolves you have no escape at all, and with the shortest range in bot you are the first one dived. Shadow Dash (E) taunts the assassin already on you and Stand United (R) shields you from anywhere on the map while you are already dying.
Your spikes come from finished items, not from levels: from level 7 Living Forge (P) hands you shopping from anywhere on the map and your first evolution lands a wave earlier. Brittle from Bellows Breath (W) adds 30% to any crowd control - that is your Killer Instinct (R) window.
In Mega form he only has to connect: Wallop (W) stuns the whole group for 1.25 seconds and GNAR! (R) into a wall turns the slow into a full stun. Every enemy caught is an enemy carrying Plasma, so every one of them is a legal Killer Instinct (R) target.
Worth it against dash-based comps: with no escape you die to the first one who reaches you, and Steadfast Presence (W) roots the diver the instant he commits, marking him at the same time. Against a team that simply walks at you, though, she gives you almost nothing.
Infinite Duress (R) suppresses for a full second: the target is Plasma-marked and can neither dash nor leave, so Killer Instinct (R) is never wasted. You land on him with the shield up, which is the only way you can afford to dive their backline.
Curse of the Sad Mummy (R) is a 1.5-second area stun: Second Skin (P) marks everyone it catches, so you are not choosing whether you have a Killer Instinct (R) target, you are choosing which one. Bandage Toss (Q) opens that same fight from range.
Cease and Desist (R) is unstoppable and point-and-click: their carry gets marked and pinned, and no dash takes her out of it. It is the one setup that guarantees Killer Instinct (R) lands on a squishy instead of on the tank parked in front of you.
You have the shortest attack range of any marksman: whoever jumps you is already in contact. Frenzying Taunt (E) forces him to hit Rammus while you keep firing, and the taunt itself puts the Plasma mark you need on him.
A pick synergy: Paranoia (R) blacks out their team's vision and drops him onto a target that Unspeakable Horror (E) has already feared and therefore marked, where you follow with Killer Instinct (R). He gives you no peel at all, and with no escape that hurts.
Hero's Entrance (R) does the two things you are missing at once: it shields you from across the map while they are killing you and lands a knock-up on everyone standing on you, marking them. From there Killer Instinct (R) becomes an exit, not just an engage.
Your ultimate depends on a mark somebody else has to apply: with Pyromania (P) charged, Annie's next spell is a guaranteed stun, not a skillshot that can be dodged. Your Killer Instinct (R) window always arrives instead of only sometimes.
Command: Protect (E) puts a shield and bonus resistances on you and moves the ball onto you, so her damage zone defends your position instead of hers. Command: Shockwave (R) pulls them into one spot and marks them together: five legal Killer Instinct (R) targets.
Frozen Tomb (R) freezes whoever already reached you in place: that is pure peel, and peel is the hole in your card until Supercharge (E) evolves. Ring of Frost (W) roots the whole group around her, and every root is a Plasma stack you did not have to spend.
The Gold Card from Pick a Card (W) is a stun that cannot be dodged: it marks the target from range and opens Killer Instinct (R) without you spending Void Seeker (W). Destiny (R) tells you where the flank is coming from. On peel, though, he gives you nothing.
Zenith Blade (E) roots, Shield of Daybreak (Q) stuns, Solar Flare (R) stuns again: three separate pieces of hard crowd control, which means Plasma applied over and over without you spending anything. With her, Killer Instinct (R) is ready every time a fight starts.
Death Sentence (Q) stuns for a second and a half and hands you a marked, motionless target. And the Dark Passage (W) lantern is literally the escape you do not own until Supercharge (E) evolves: it shields you and pulls you out of a dive.
Everything he does is hard crowd control: Staggering Blow (P) roots on his first attack against each target and Depth Charge (R) knocks up everyone near the victim. That is constant Plasma without spending Void Seeker (W): he sits at 48% in China, you take him for the marks.
Grand Entrance (W) knocks up and The Quickness (R) charms the same targets: nearly two seconds of chained crowd control, so a whole group carrying the mark. And Battle Dance (E) flies to you with a shield the moment you get dived, which is the only peel you will get.
With the shortest range of any marksman you stand exactly where the poke lands: Unbreakable (E) intercepts projectiles aimed at you and cuts incoming damage by 35%. And the four-stack stun from Concussive Blows (P) marks the target for you on its own.
Rocket Grab (Q) hands you a carry ripped out of position and already marked, with Power Fist (E) knocking her up on top: a Killer Instinct (R) onto an isolated squishy. Miss the hook, though, and he is a slow tank who protects you from nothing.
| Lane | Tier | Win% | Pick% | Ban% | Pos. |
|---|---|---|---|---|---|
| Duo (ADC) | C | 48.45% | 11.51% | 0.27% | #16 / 20 |
| Lane | Tier | Win% | Pick% | Ban% | Pos. |
|---|---|---|---|---|---|
| Duo (ADC) | C | 48.32% | 11.78% | 0.29% | #16 / 20 |
| Lane | Tier | Win% | Pick% | Ban% | Pos. |
|---|---|---|---|---|---|
| Duo (ADC) | C | 48.06% | 13.15% | 0.33% | #16 / 22 |
| Lane | Tier | Win% | Pick% | Ban% | Pos. |
|---|---|---|---|---|---|
| Duo (ADC) | C | 48.58% | 15.38% | 0.35% | #16 / 22 |


Kai'Sa, the Daughter of the Void, is Wild Rift's premier evolving marksman - an AD carry who starts the game fragile and short-ranged, then permanently upgrades her own kit every time she completes a legendary item. Her damage is a genuine hybrid: physical hits from auto-attacks and Icathian Rain paired with magic damage from Void Seeker and her Plasma passive, and Killer Instinct gives her a dash-and-shield straight onto any target her team has tagged. Few marksmen ask for more patience early and reward it with more mobility and target access late.
Skill order: Q > W > E (max Icathian Rain first for farm and poke, Void Seeker second for burst damage and its cooldown refund once evolved, Supercharge last; always level Killer Instinct when it's available)
Play patient: your range and stats are at their weakest before your first evolution, so lean on safe farming with autos and Icathian Rain instead of forcing trades. Poke with Void Seeker from max range to chip health and start Plasma stacks without walking into danger, and let your support or jungler commit first rather than exposing yourself. Your first completed item is a real power spike that changes your entire trading pattern, so play toward that purchase rather than for an early kill.
From the mid game on, fight from just behind your frontline, using Icathian Rain and auto-attacks to whittle down anyone in range while you wait for a Plasma-marked target to appear. Prioritize dashing Killer Instinct onto marked squishies - the shield lets you commit to backline dives no other marksman could survive - but hold the ability until the dash is guaranteed to pay off, since whiffing it leaves you with no mobility for several seconds afterward. Keep Supercharge in reserve to disengage or reposition if a fight turns, not only as a chase or engage tool.