
WR China Meta
Meta, tier list & top-player builds from the China server · live
Meta, tier list & top-player builds from the China server · live

阿利斯塔 · 牛头酋长 Tank C
✅ Patch 7.2e · stats updated 2026-09-12 · real builds of 25 top-ranked China server players captured 2026-09-11
Difficulty Damage Toughness Utility
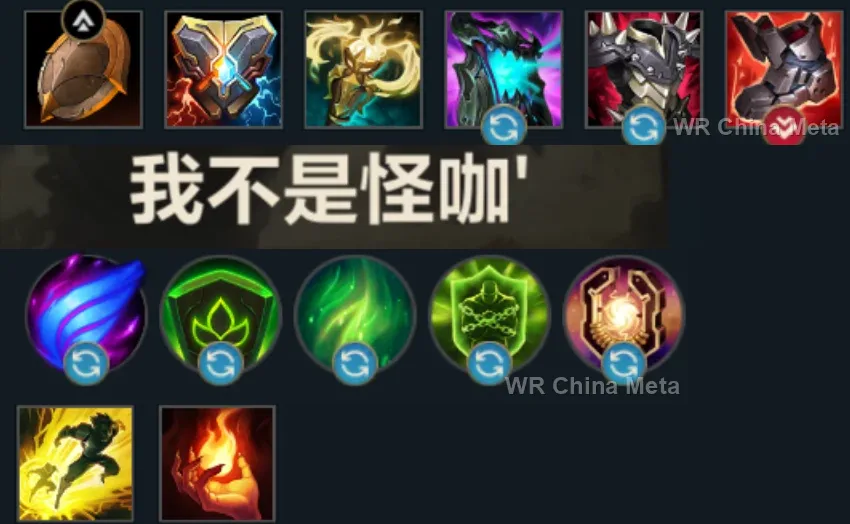
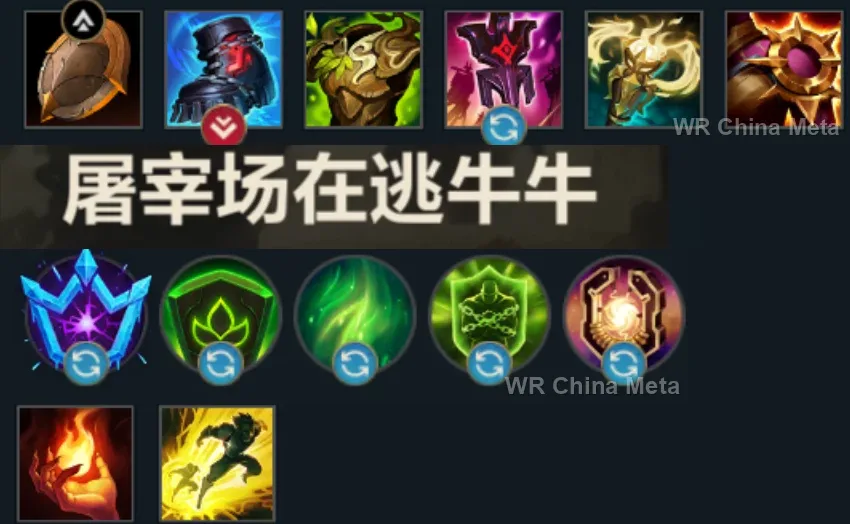
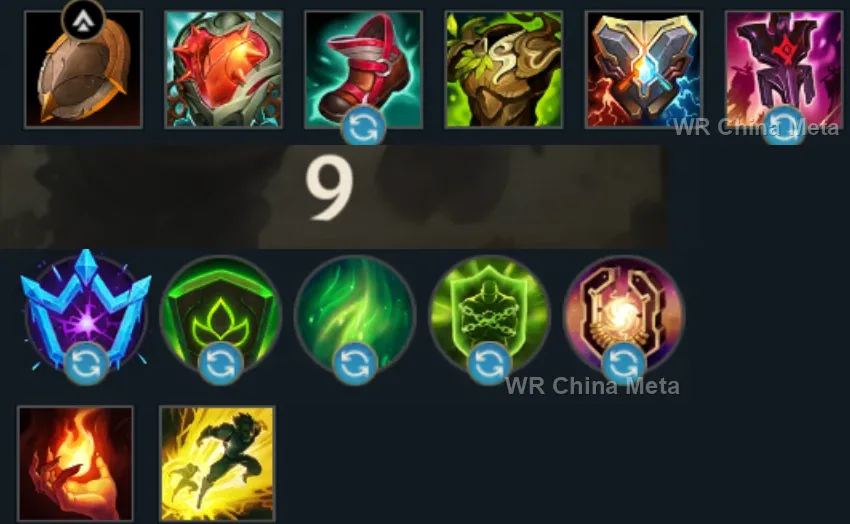
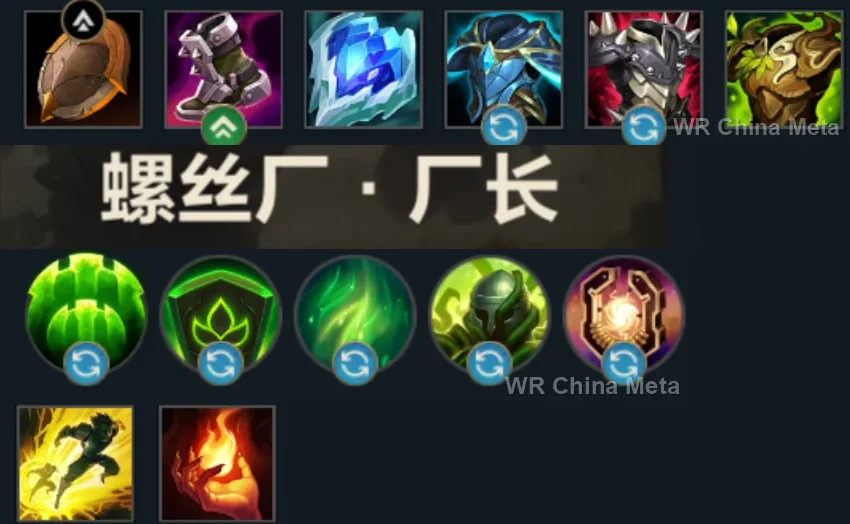
How the strongest players on the Wild Rift China server (国服) build Alistar: live win/pick statistics by rank bracket, the most-used item and rune sets, and the real loadouts of the top ranked Alistar players, captured in-game.
📖 How to play Alistar


Counted on 27 real builds captured from the Chinese client, player by player. Independent from the official API above.


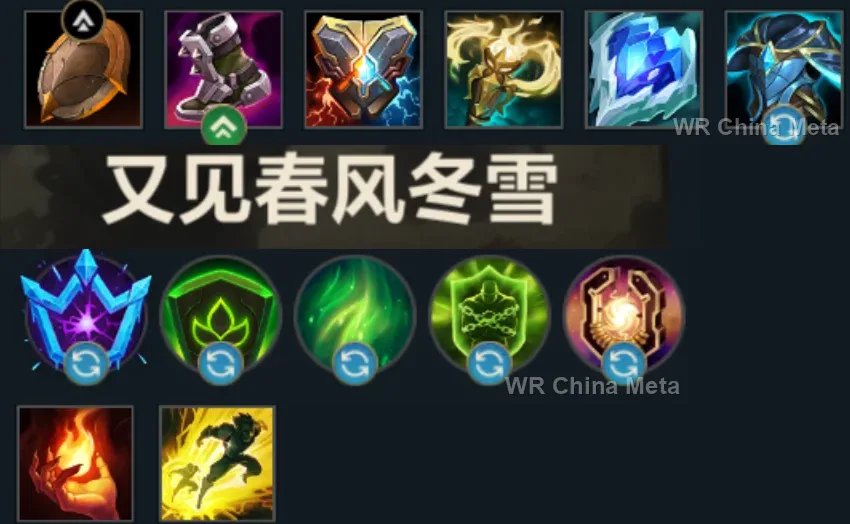
Taken from the official in-game China leaderboard. Spells, runes and items of every public top player.
25 of the top 30 players have a public match history; the others keep theirs private.
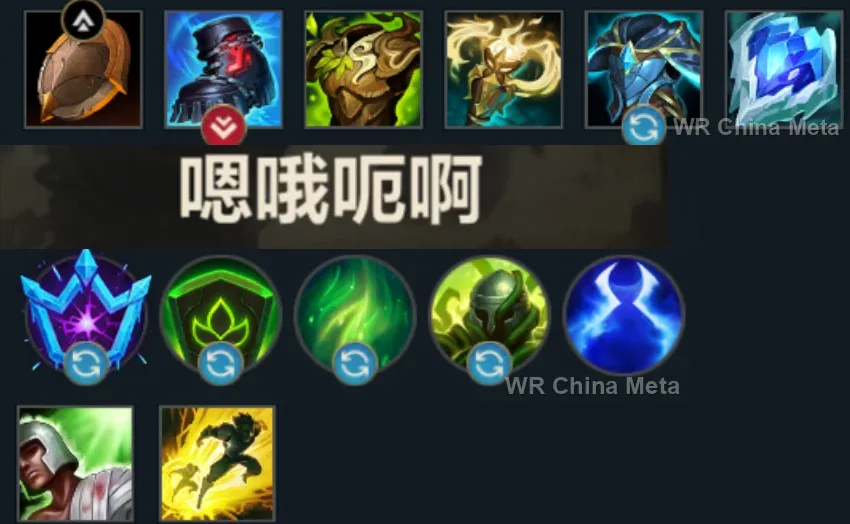
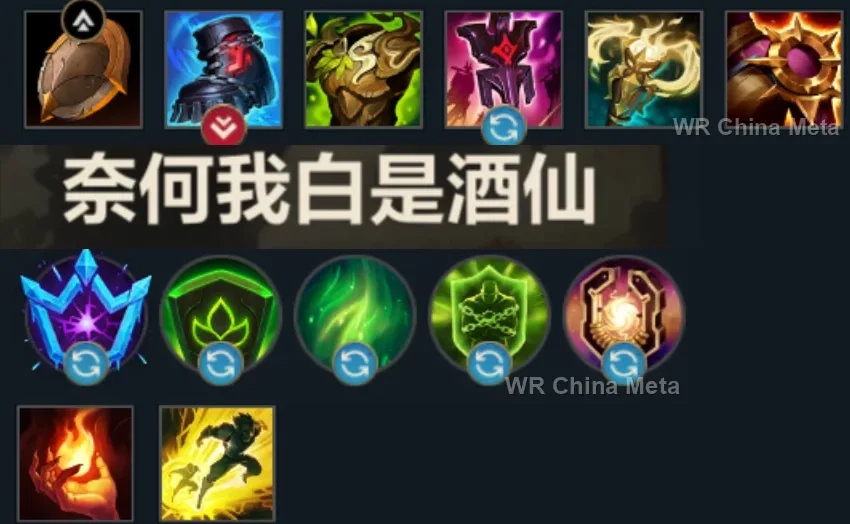
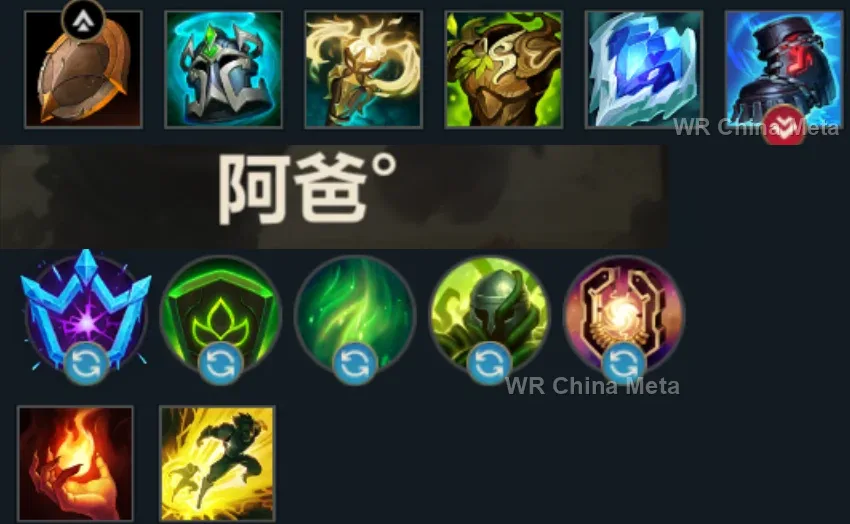
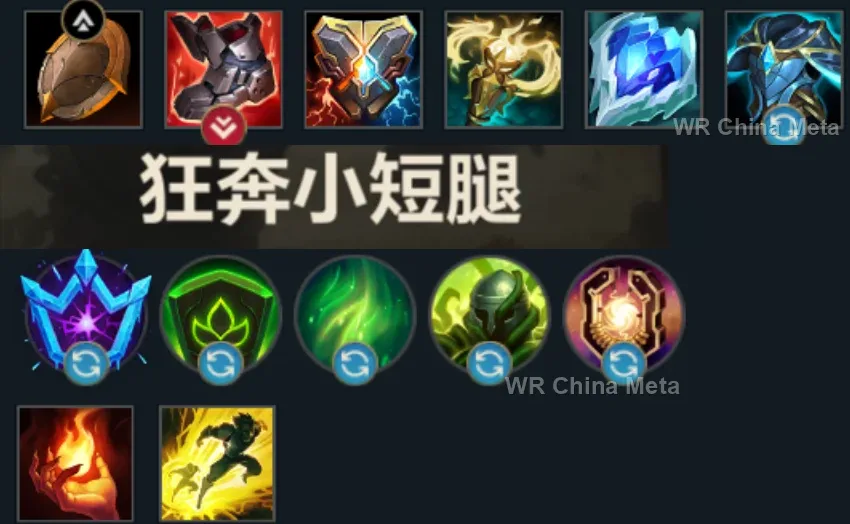
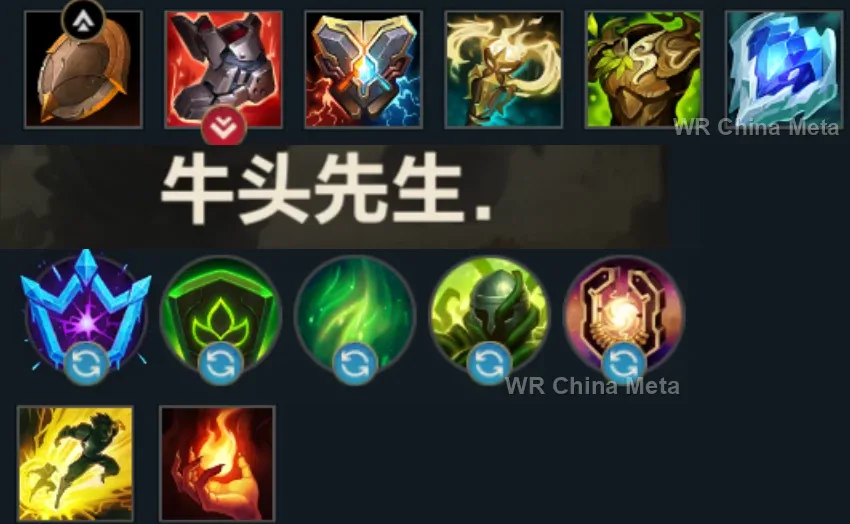
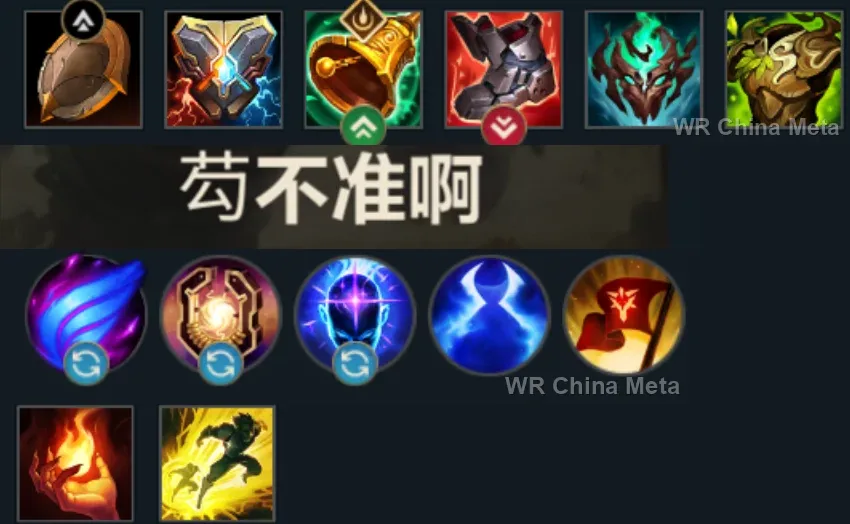
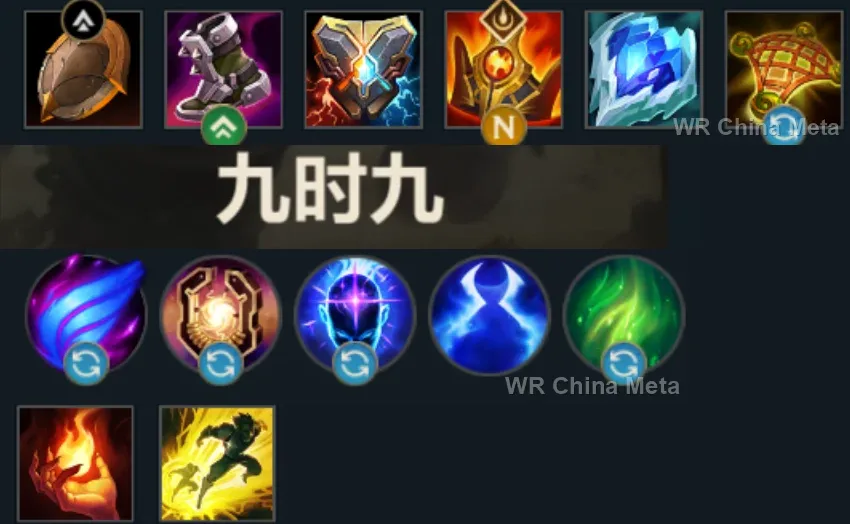
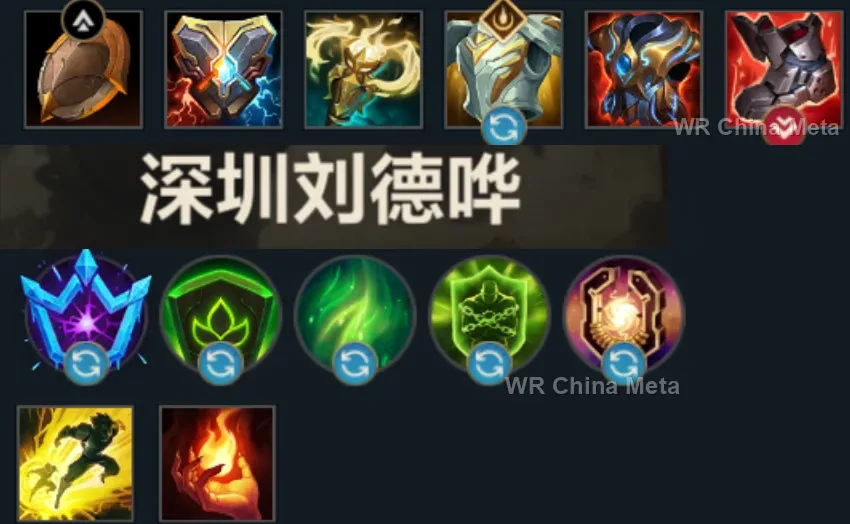
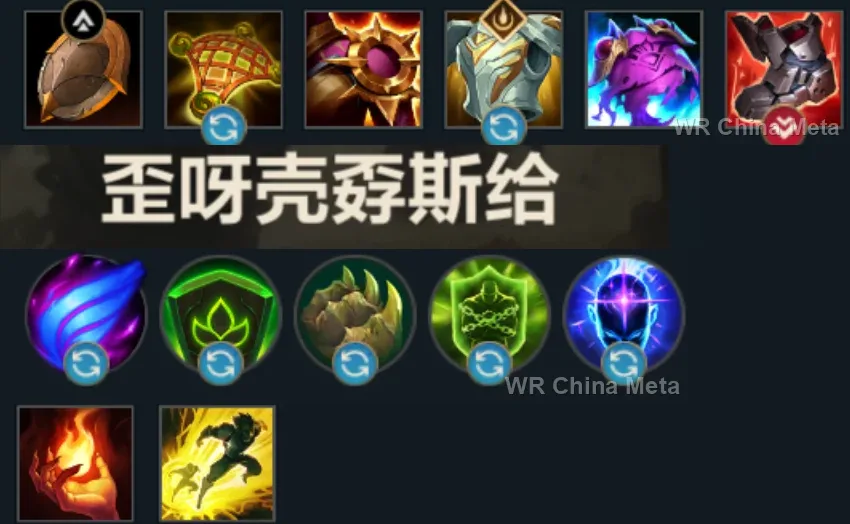
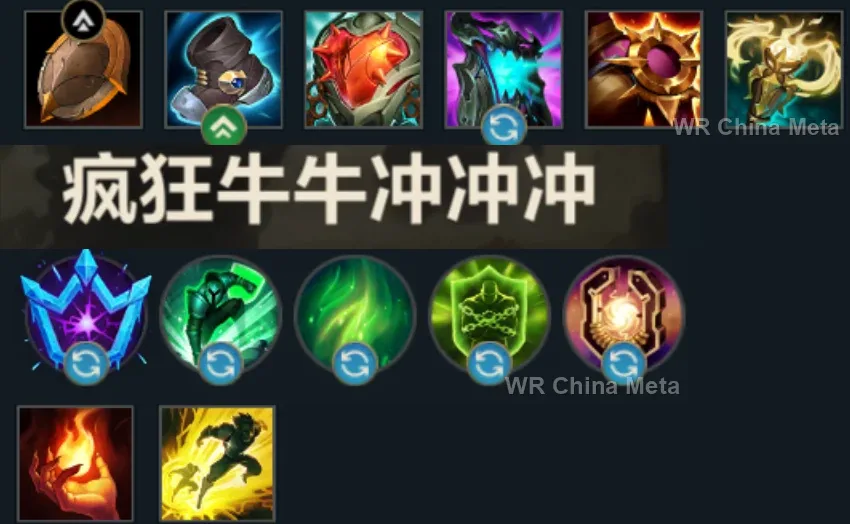
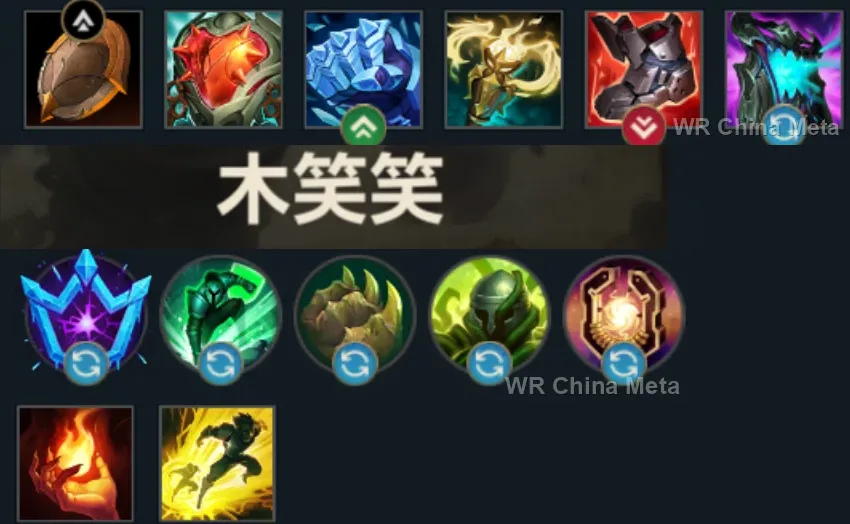
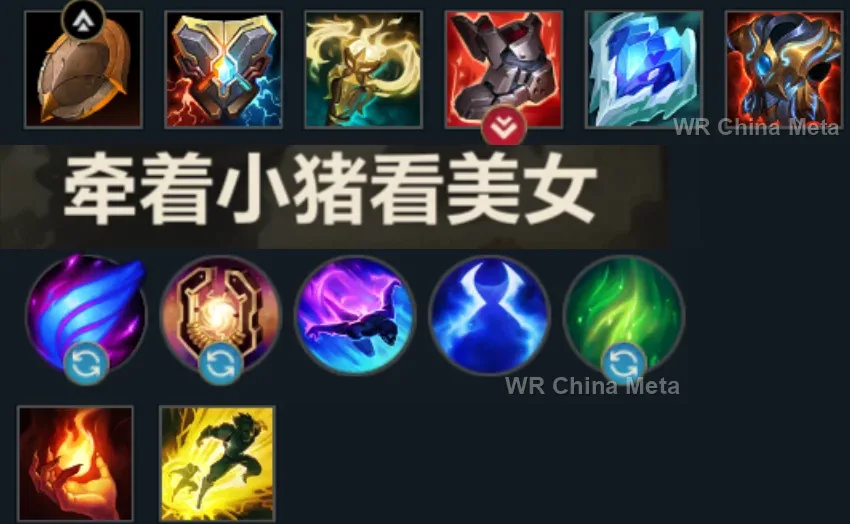
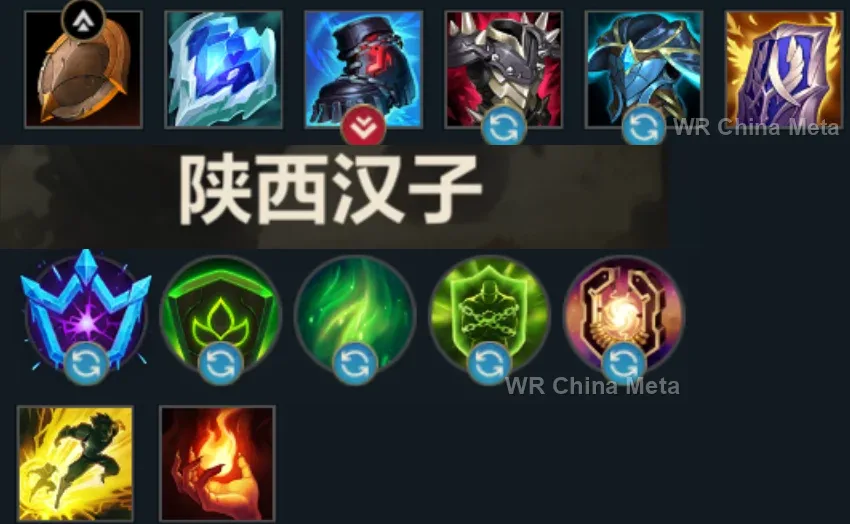
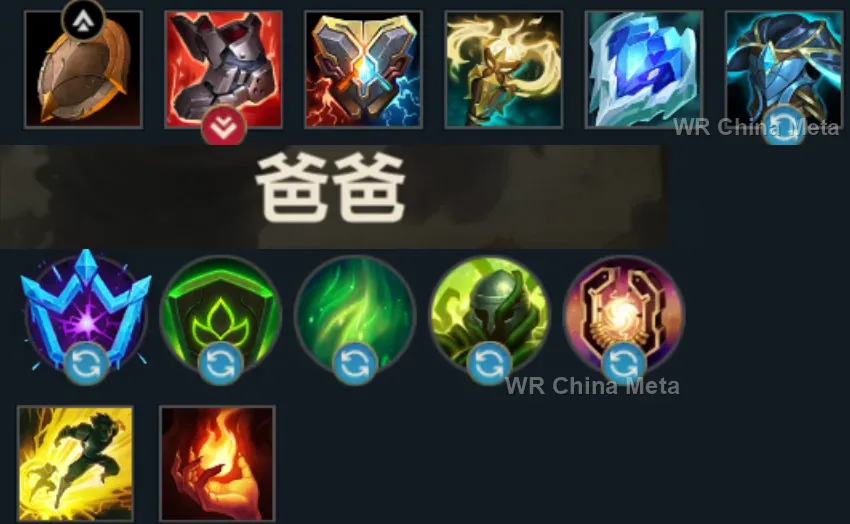
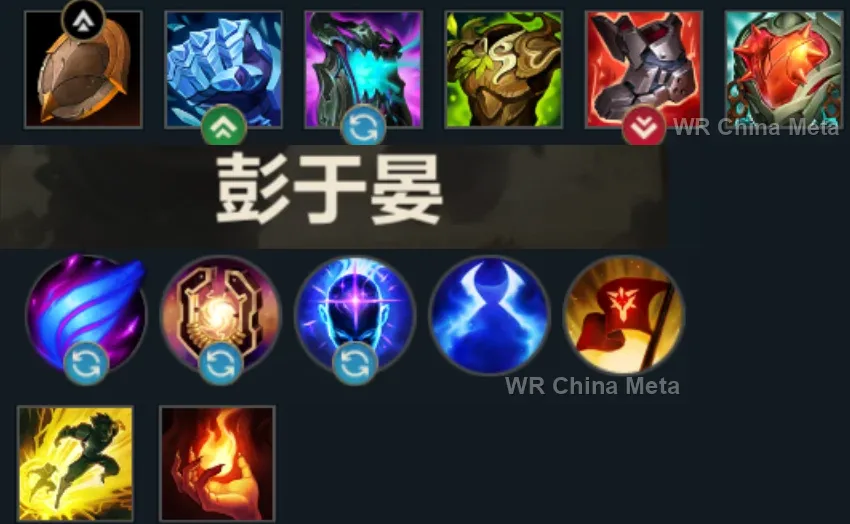
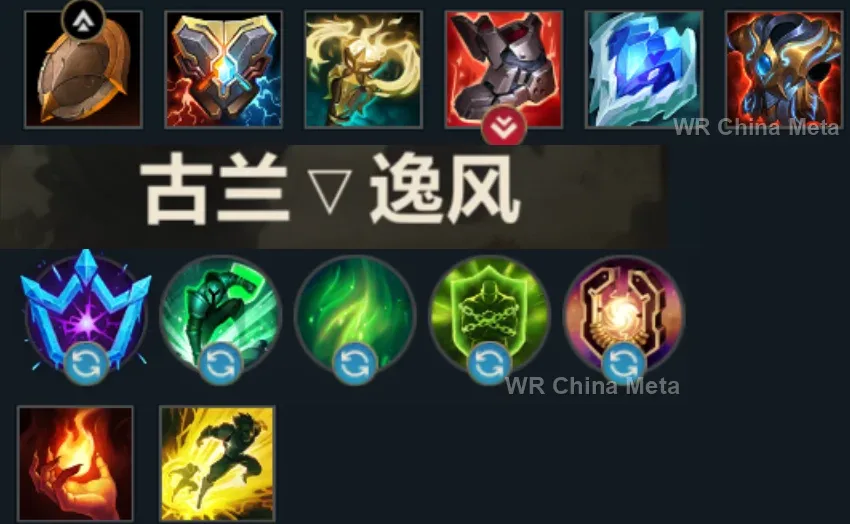
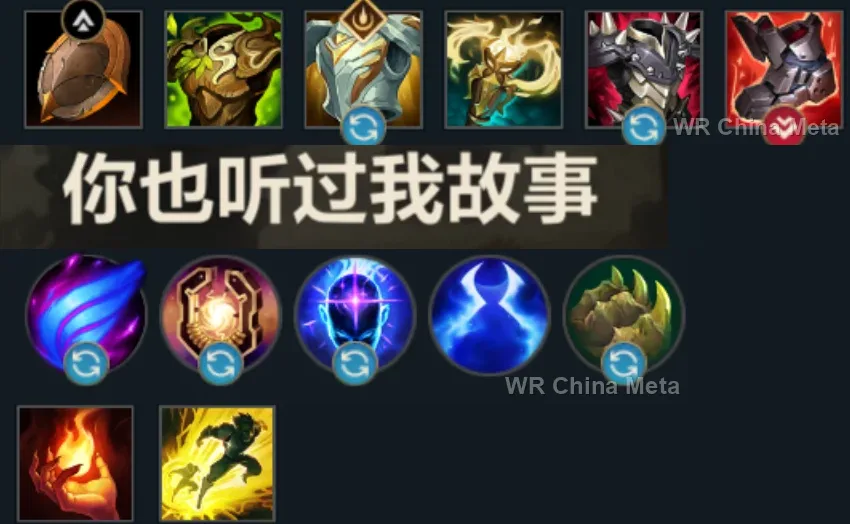
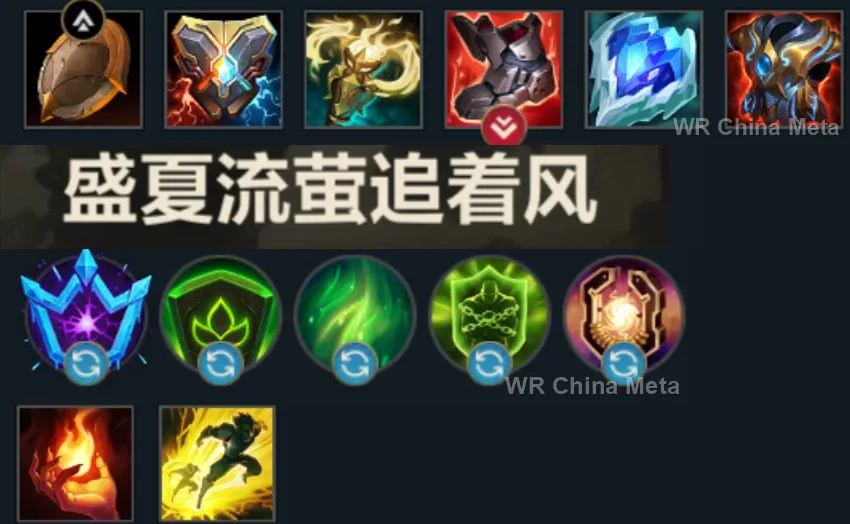
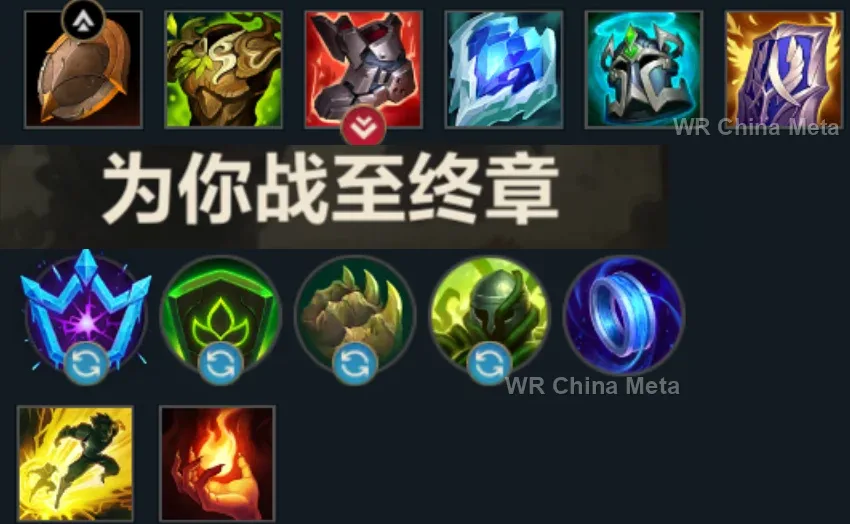
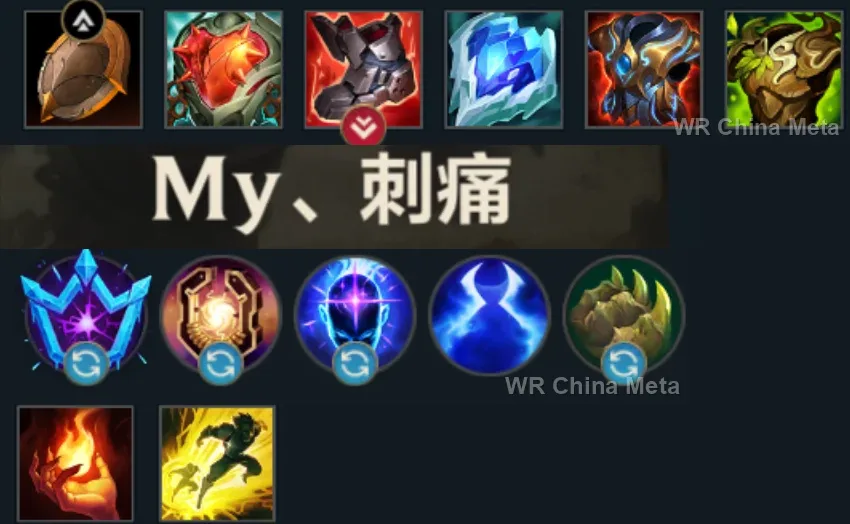
The toughest lane matchups for Alistar on the Wild Rift China server, with why each is hard and exactly how to play it.
 Alistar vs Morgana Unfavorable
Why Morgana counters Alistar: Black Shield (E) blocks the stun of your W-Q combo and her root punishes your roams: she defuses you with two buttons.
How to play Alistar into Morgana: Start from fog of war, or right after the shield is spent. And remember: comboing Morgana herself still removes her from the fight — often that is enough.
→ Morgana Alistar vs Janna Unfavorable
Why Janna counters Alistar: Her R blows your whole delivered combo away: you go in, get pushed back, and her ADC walks away untouched.
How to play Alistar into Janna: Do W-Q as one motion: done fast enough it cannot be interrupted. Or engage only after her R is spent: keep count out loud.
→ Janna Alistar vs Lulu Skill matchup
Why Lulu counters Alistar: Her Polymorph (W) slotted between your W and Q switches your combo off: the window is a fraction of a second and Lulu lives for that fraction.
How to play Alistar into Lulu: When you need certainty, use Flash+W-Q: no human reaction stops it. Your Trample (E) deals damage straight through her shields.
→ Lulu Alistar vs Thresh Skill matchup
Why Thresh counters Alistar: His Flay stops your Headbutt and the Lantern retrieves your combo target: he has an answer ready for every play you make.
How to play Alistar into Thresh: Combo the target farthest from the Lantern. Your R makes you nearly immune to his peel: engage with R already active.
→ Thresh Alistar vs Braum Skill matchup
Why Braum counters Alistar: He jumps in front of your Q and freezes whoever follows you: two tanks cancelling each other while the ADCs farm in peace.
How to play Alistar into Braum: W-Q onto Braum himself: shove him out of intercept position and open the path for your team. Otherwise win with patience, waiting out his cooldowns.
→ BraumThe champions Alistar works best alongside on the Wild Rift China server, lane by lane, with the reason each pairing works.
Darius has no way to reach anyone who backs off, and everyone backs off the moment they see Hemorrhage (P) climbing: Headbutt (W) shoves the target back onto him and Pulverize (Q) holds it there to the fifth stack, which means to Noxian Guillotine (R).
Unstoppable Force (R) knocks the group up and, the instant they land, Pulverize (Q) sends them up again: nearly three seconds where nobody plays, and you still have Headbutt (W) for whoever tries to slip out.
Searing Charge (E) is his only guaranteed knock-up and anyone with a dash steps out of it: against a target already locked by Pulverize (Q), nobody steps out. And Brittle from Bellows Breath (W) adds 30% to your own crowd control.
Fate Sealed (R) catches a whole line, but only if the enemies stay lined up: Pulverize (Q) pins them where they stand. And when Soul Unbound (E) snaps him back into his body, the moment he gets punished, you are the one clearing whoever was waiting.
Facebreaker (E) only stuns when it catches enemies on both sides, otherwise it is just a slow: Pulverize (Q) keeps them bunched so his stun stops being a gamble. Sett sits under 49% in China, though.
Your level-3 lockdown deals no damage: the third hit of Three Talon Strike (Q) does, and it is a guaranteed knock-up that lands the moment Pulverize (Q) ends. With Audacious Charge (E) he gets there before the target touches the ground.
Infinite Duress (R) suppresses for a full second, but he has to reach the target first: Pulverize (Q) and Headbutt (W) hand it over standing still. And under 35% health Blood Hunt (W) throws him straight at whoever you just set up.
Cease and Desist (R) gets Vi onto their carry, but unsupported she trades her life for one kill: you go in with her, Pulverize (Q) clears whoever answers and Unbreakable Will (R) keeps you inside, still disrupting.
Grand Starfall (R) comes in from across the map, but the circle it paints on the ground is visible and people walk out of it. Pinned by Pulverize (Q) and Trample (E) they don't, and Pantheon lands with Mortal Will (P) already armed.
Moonfall (R) has to be charged up close and it is visible from a distance: anyone mobile steps out before it detonates. Pulverize (Q) and Headbutt (W) take that option away, and Diana lands on a group already frozen in place.
Yasuo has no Last Breath (R) unless somebody puts a target in the air: Pulverize (Q) knocks up everyone around you and Headbutt (W) displaces another one right after. That is two windows per engage, with no ultimate spent.
Hero's Entrance (R) is cast on an ally: you go in first, he lands on top of you and knocks up everything that was answering you. Two engages on the same spot, and the second one comes from across the map.
Annie's problem is range: Disintegrate (Q) and Incinerate (W) are short and she has to walk in for the full combo. Pulverize (Q) buys her exactly those seconds, and Summon: Tibbers (R) finishes the job.
Sleepy Trouble Bubble (E) travels slowly and never connects on a free-moving target: inside Pulverize (Q) it always does, and from there Paddle Star! (Q) and her empowered attack delete a carry.
Demonic Ascension (R) re-arms every six seconds for as long as he stays inside the fight: Pulverize (Q) keeps the group where his drain reaches. And Vision of Empire (W) deals 50% more damage to anyone already locked down.
Death Lotus (R) hits the three closest champions and a single crowd control shuts it off: Pulverize (Q) hands her three bunched targets and nobody in a position to interrupt. Katarina is at 46.8% in China, though.
If she picks you as her Oathsworn at the start, Fate's Call (R) launches you into their team: you knock up everyone you hit on impact, and Pulverize (Q) follows straight out of it. She has no lockdown of her own at all — you are it.
Samira is worth nothing until she reaches point-blank range, and hard crowd control stops her before she does: Pulverize (Q) and Headbutt (W) hand her a target locked down at melee range, and she alternates hits and abilities up to the S rank that fires Inferno Trigger (R).
Deadly Flourish (W) turns into a real root on anyone an ally has just damaged: the ticks from Trample (E) are enough. And Curtain Call (R) wants a target that is already held still, which is the one thing you produce.
Bullet Time (R) is a stationary three-second channel and it only pays off on enemies who cannot move: Pulverize (Q) hands her the whole group airborne in one spot. Make It Rain (E) is all the peel she owns — you bring the rest.
Draven wants to take every single trade but has no dash and no escape: Pulverize (Q) opens the all-in and Triumphant Roar (P) heals you both while you soak the damage. When someone reaches him, Headbutt (W) shoves them off.
Allied crowd control applies Second Skin (P) Plasma on its own: the Trample (E) stun marks the target and Killer Instinct (R) brings her in with a shield. Without an engage like yours her ultimate has nowhere to go, but she sits at 48.2% in China.
| Lane | Tier | Win% | Pick% | Ban% | Pos. |
|---|---|---|---|---|---|
| Support | C | 49.42% | 4.07% | 0.64% | #25 / 34 |
| Lane | Tier | Win% | Pick% | Ban% | Pos. |
|---|---|---|---|---|---|
| Support | C | 49.3% | 4.15% | 0.65% | #26 / 34 |
| Lane | Tier | Win% | Pick% | Ban% | Pos. |
|---|---|---|---|---|---|
| Support | C | 49.19% | 4.45% | 0.67% | #27 / 33 |
| Lane | Tier | Win% | Pick% | Ban% | Pos. |
|---|---|---|---|---|---|
| Support | B | 48.35% | 4.65% | 0.43% | #17 / 33 |


Alistar is a Tank whose value comes from setting up kills, not securing them himself: his damage is low and entirely magic, so in Wild Rift he wins fights by deciding who gets locked down rather than by out-damaging anyone. His passive heals him and nearby allies off incoming damage, Pulverize and Headbutt chain into each other to keep a target airborne and displaced, and Trample rewards him for staying in a fight with a stacking stun on his next auto-attack. It's a simple game plan to learn — engage, chain control, survive — which makes him one of the more approachable Tanks to pick up, even though timing the combo well takes real practice.
Skill order: Q > E > W (take R whenever it's available) — max Pulverize first for knockup uptime and the lowest cooldown, then Trample second since its stun proc scales with rank, leaving Headbutt for last since a single point already covers its dash-and-shove utility.
Lane phase is about staying attached and looking sustainable rather than forcing damage: activate Trample when you're trading so Triumphant Roar has incoming damage to convert into healing for you and your lane partner, and let Trample's chip damage do some of the work on its own. Don't burn Pulverize or Headbutt just to contest a wave — save them for the moment the enemy overextends, your jungler arrives, or you can land the full knockup-into-shove combo on their priority target. Because your own damage is so low this early, a good Alistar looks for all-in windows rather than trying to win a straight trade, and missing your engage usually means backing off rather than fighting it out with abilities on cooldown.
From mid-game on, Alistar's job in a teamfight is to identify the single most valuable target — usually the backline carry — and either drag them out of position with Headbutt or dive in and Pulverize to lock down everyone clustered around them, trusting his team to follow the crowd control rather than trying to win the fight with his own damage. Save Unbreakable Will for the moment the enemy actually answers your engage: it exists to let you eat a counter-all-in and keep disrupting, not to be burned early as a shield. Positioning is everything since his own damage is so low — Alistar wins fights by deciding who gets isolated and removed, then simply staying alive in the middle of it long enough for his team to close things out.