
WR China Meta
Meta, tier list & top-player builds from the China server · live
Meta, tier list & top-player builds from the China server · live

黑默丁格 · 大发明家 Mage C
✅ Patch 7.2e · stats updated 2026-09-12 · real builds of 18 top-ranked China server players captured 2026-09-11
Difficulty Damage Toughness Utility
How the strongest players on the Wild Rift China server (国服) build Heimerdinger: live win/pick statistics by rank bracket, the most-used item and rune sets, and the real loadouts of the top ranked Heimerdinger players, captured in-game.
📖 How to play Heimerdinger







Counted on 19 real builds captured from the Chinese client, player by player. Independent from the official API above.


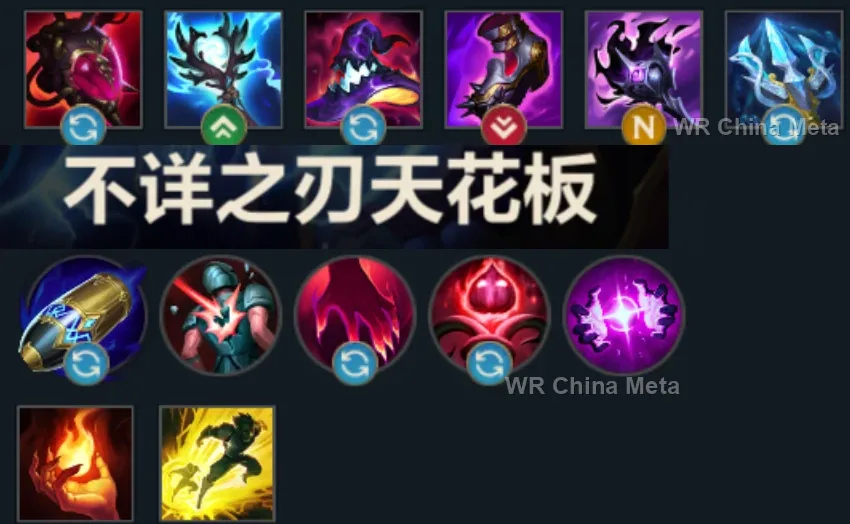
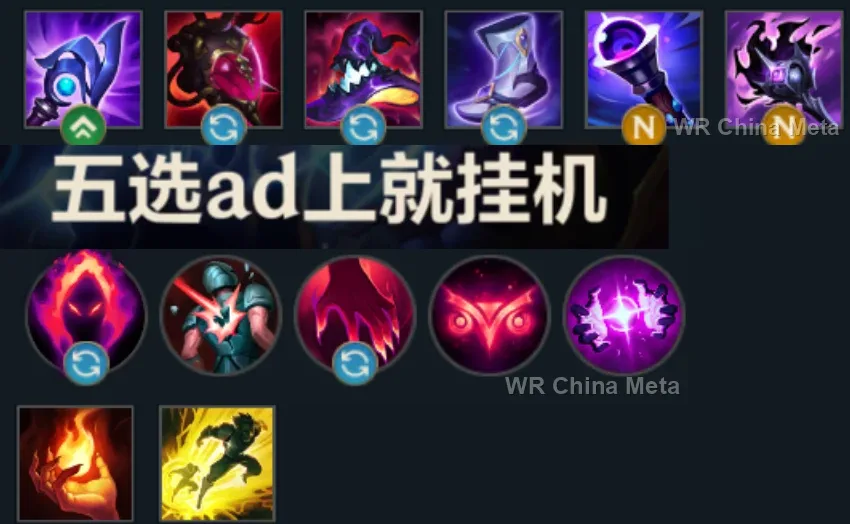
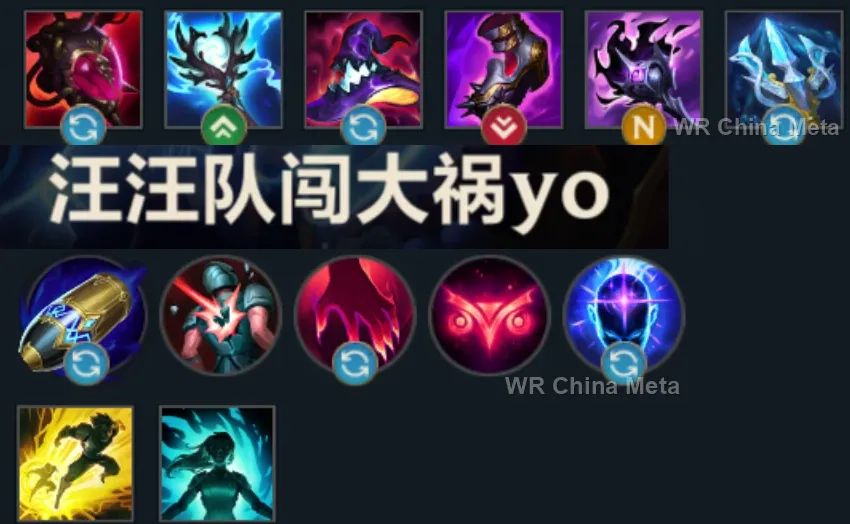
Taken from the official in-game China leaderboard. Spells, runes and items of every public top player.
18 of the top 30 players have a public match history; the others keep theirs private.
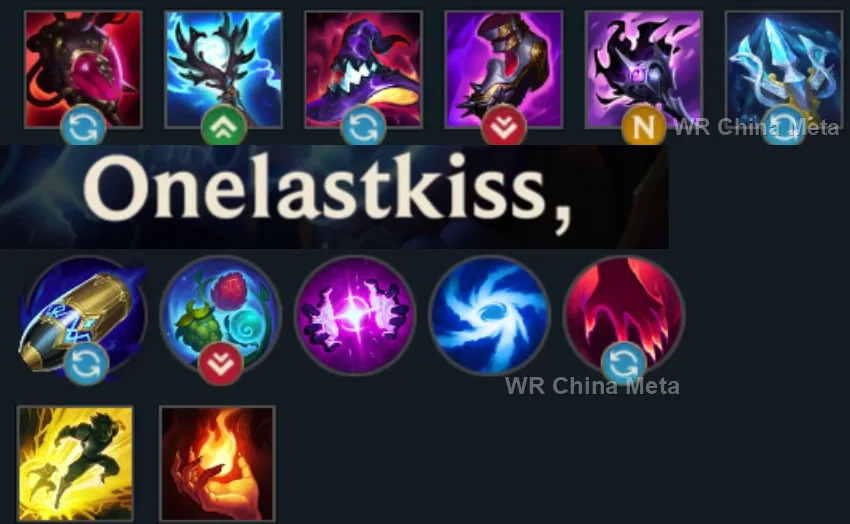
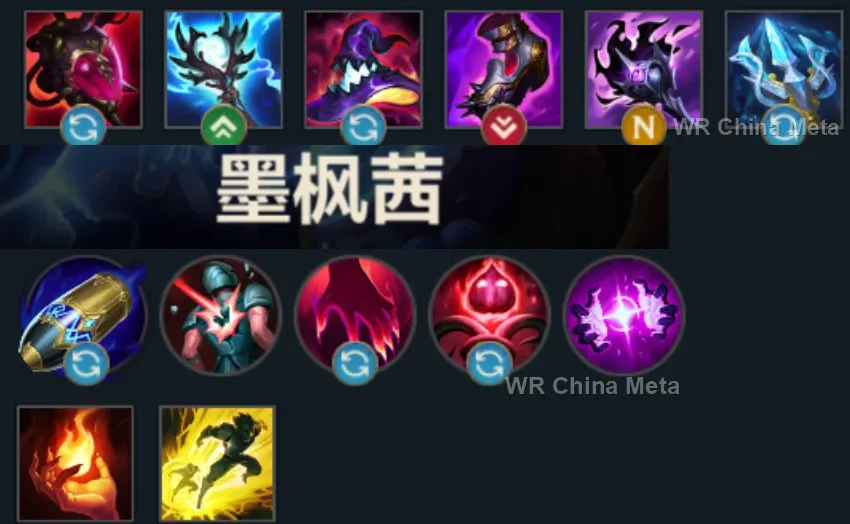
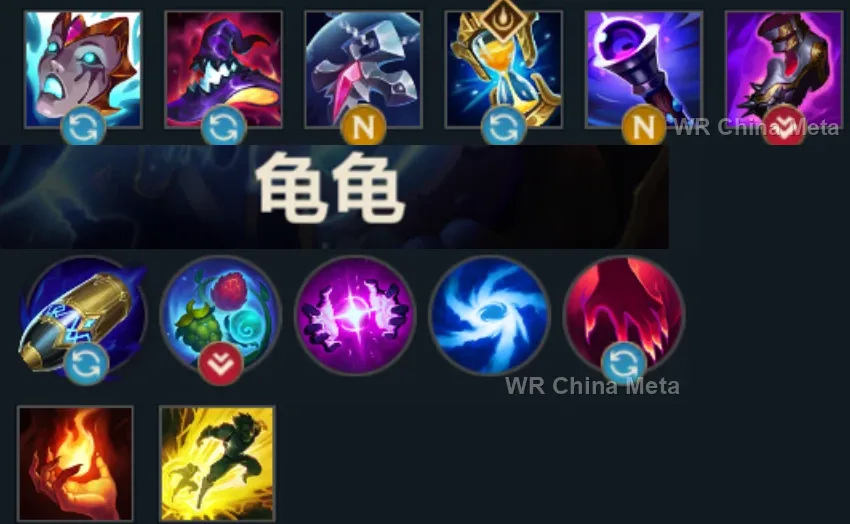
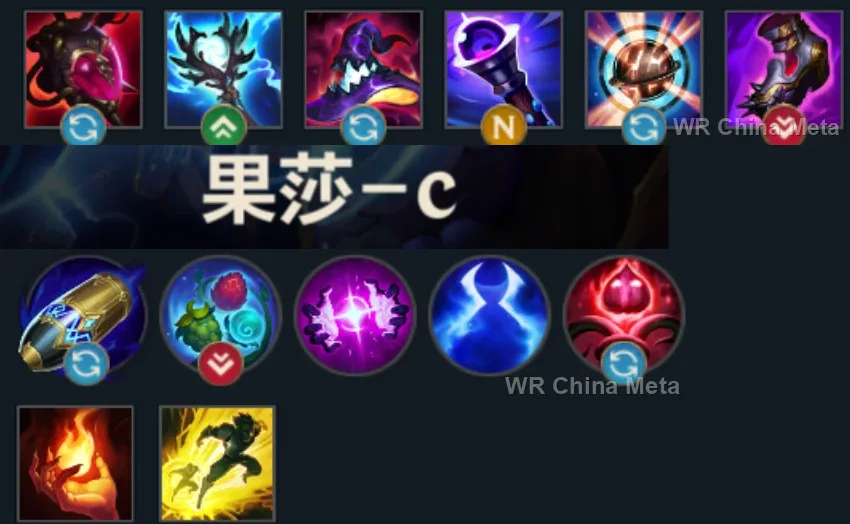
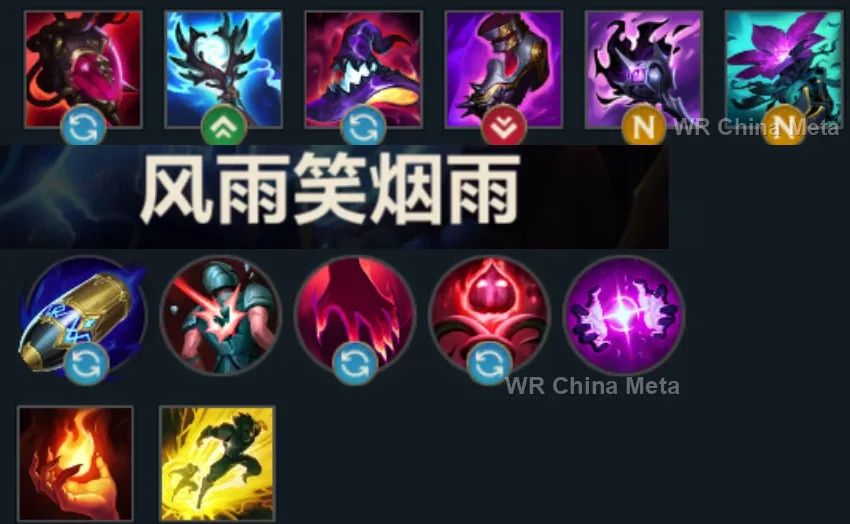
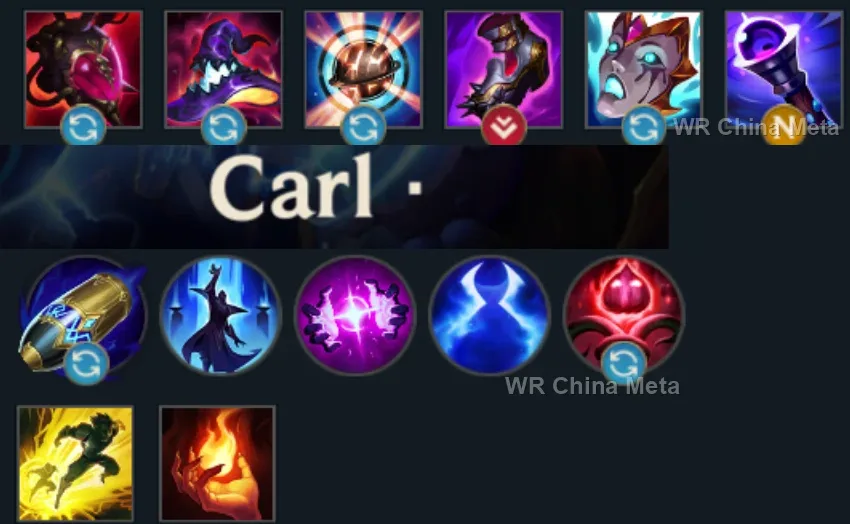
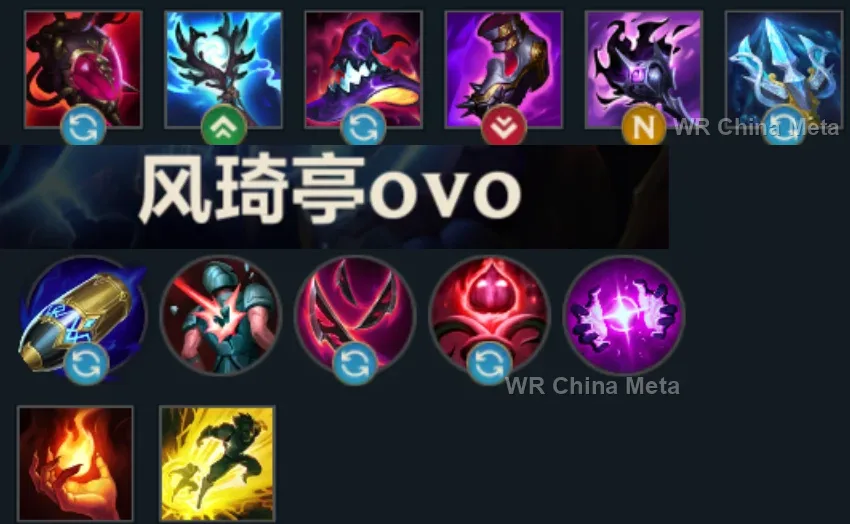
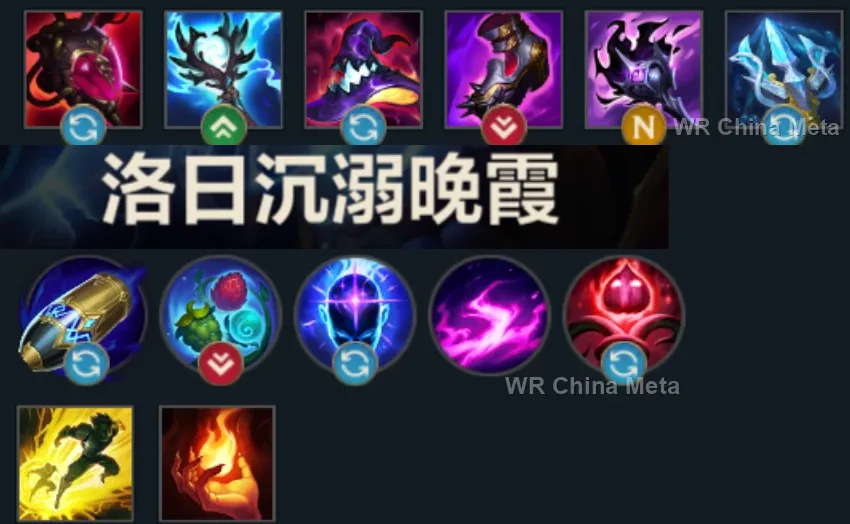
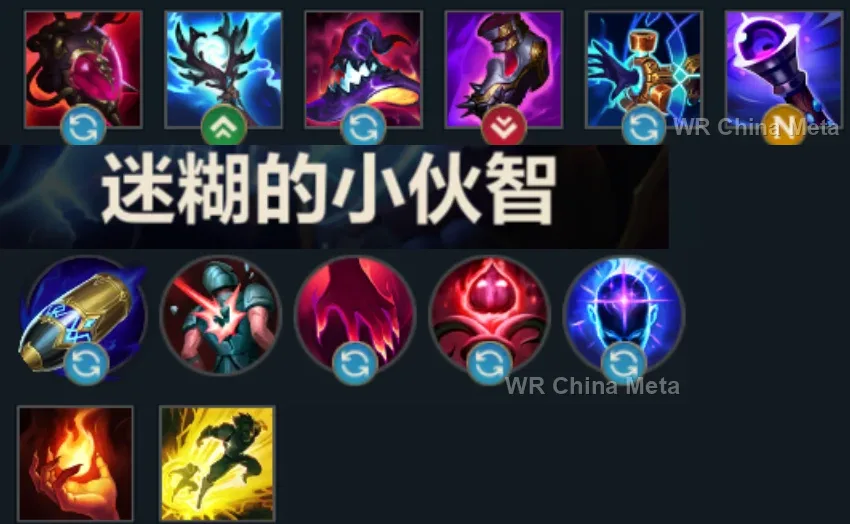
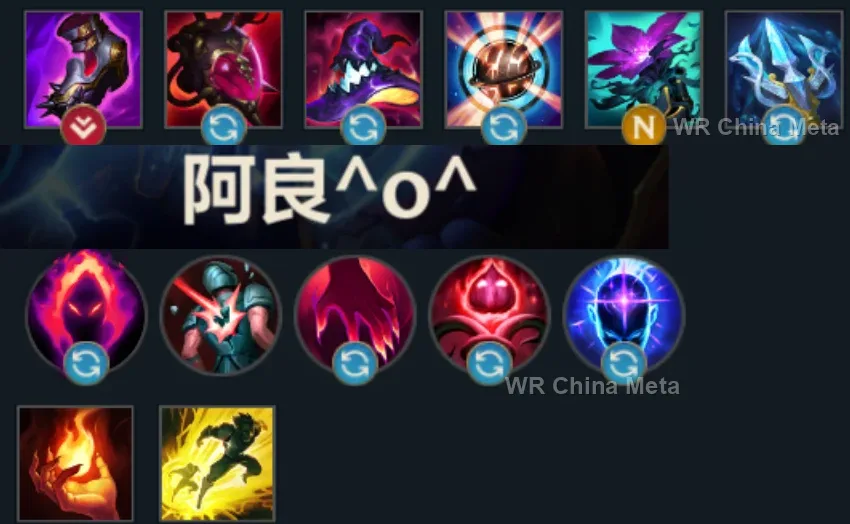
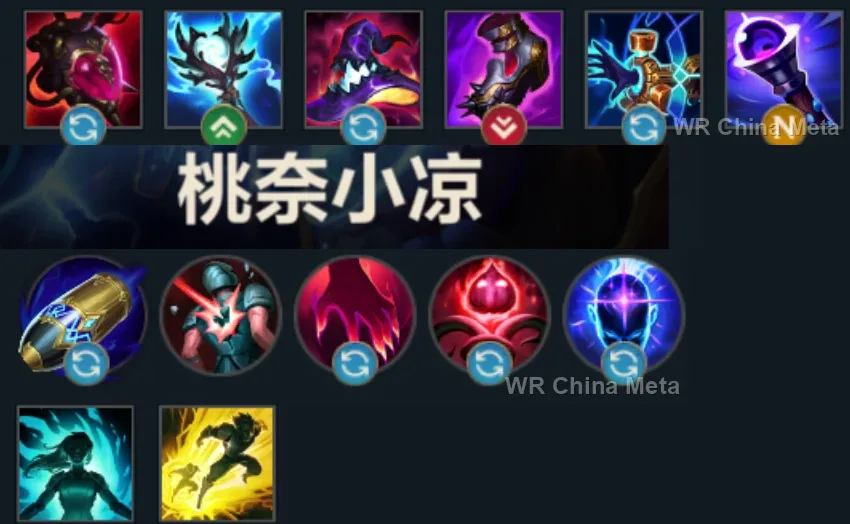
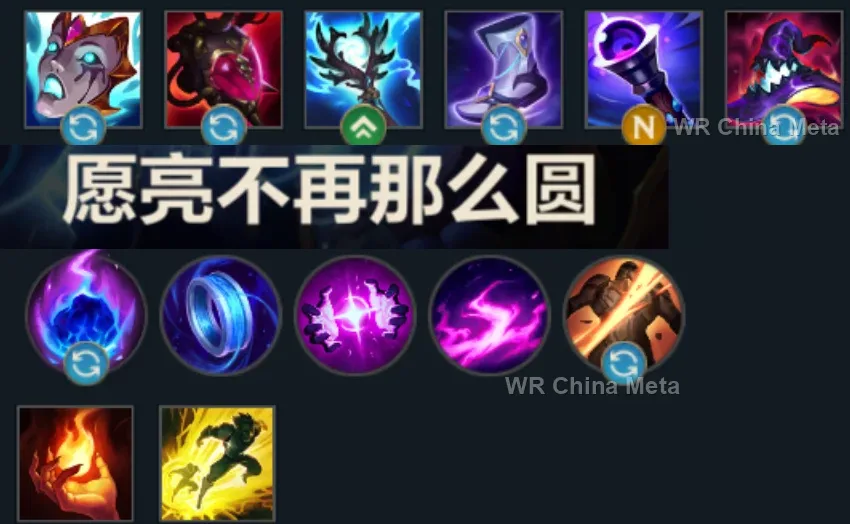
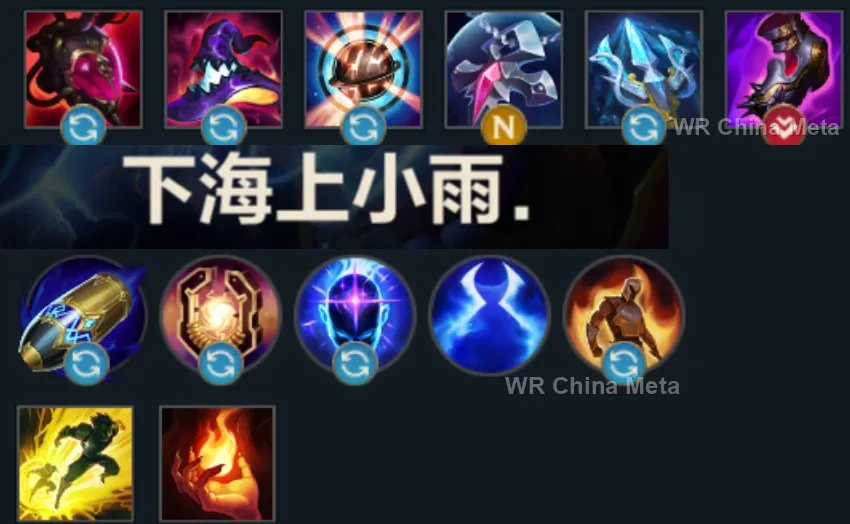
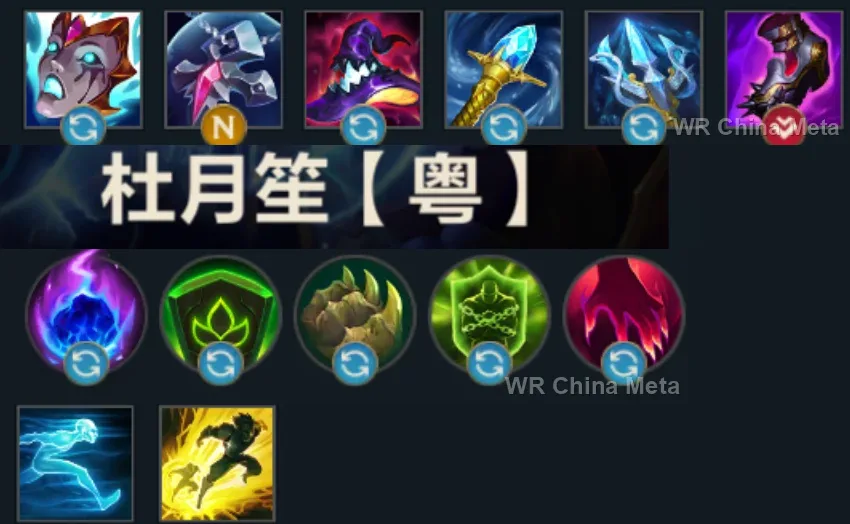
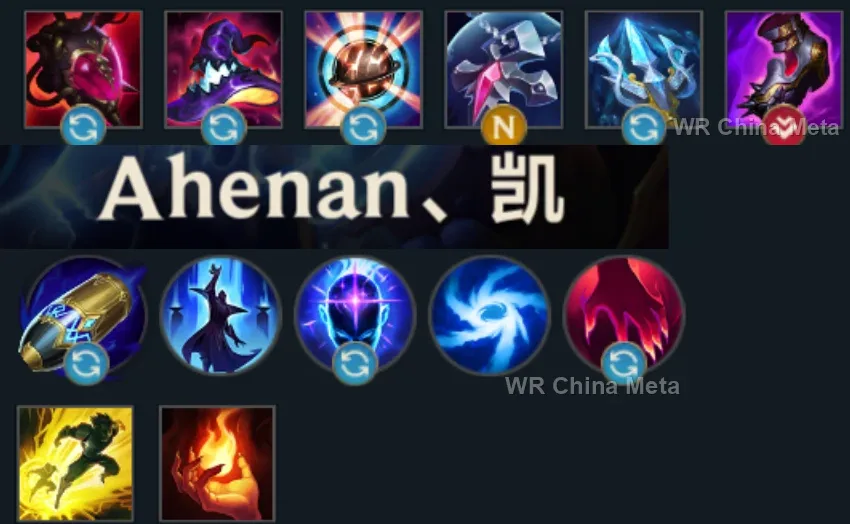
The toughest lane matchups for Heimerdinger on the Wild Rift China server, with why each is hard and exactly how to play it.
 Heimerdinger vs Fizz Unfavorable
Why Fizz counters Heimerdinger: He jumps over the turrets straight onto you and his E dodges the grenade: your fortress has one entrance you cannot wall off.
How to play Heimerdinger into Fizz: Turrets BEHIND you, grenade on his landing spot. Survive levels 5-9 and, once you have items, the turrets melt him.
→ Fizz Heimerdinger vs Ziggs Unfavorable
Why Ziggs counters Heimerdinger: His bombs clear your turrets from out of their range: he dismantles your whole plan without ever risking anything.
How to play Heimerdinger into Ziggs: Spread turrets, never clustered. Poke with aligned rockets while he stands still casting. In the 2v2 with your jungler you are far stronger: call him.
→ Ziggs Heimerdinger vs Kassadin Skill matchup
Why Kassadin counters Heimerdinger: The turrets chew through his shield and the grenade punishes his jump: you annoy him more than almost any other mid.
How to play Heimerdinger into Kassadin: Zone him off minions with the turret triangle. After his 9 never wander alone: your R-empowered turret belongs with the team.
→ Kassadin Heimerdinger vs Ahri Skill matchup
Why Ahri counters Heimerdinger: Her dash goes around the fortress, but to Charm you she must step into the triangle, and that costs her half her health.
How to play Heimerdinger into Ahri: Grenade on the corner where her dash will end. Re-place the triangle every wave: an old fortress is a solved fortress.
→ Ahri Heimerdinger vs Corki Skill matchup
Why Corki counters Heimerdinger: The Package and mixed poke dismantle turrets from range: it is an artillery war, and his guns shoot farther.
How to play Heimerdinger into Corki: Turrets out of his Valkyrie's flight path. When the Package launches, back off and re-place: never gift him the whole cluster.
→ CorkiThe champions Heimerdinger works best alongside on the Wild Rift China server, lane by lane, with the reason each pairing works.
Your H-28 G Evolution Turret (Q) nest sits on the chokepoint and Unstoppable Force (R) piles their whole team inside it: enemies stunned and clumped are the one condition where the CH-2 Electron Storm Grenade (E) centre cannot be dodged.
Bellows Breath (W) applies Brittle and stretches whatever crowd control follows by 30%: the grenade's centre stun lasts longer and your turrets get more time to unload. From level 7 Living Forge (P) hands you his global shopping, so you never leave the nest.
Your page is blunt: any diver who actually reaches you wins the fight. The long-range Shadow Dash (E) taunt peels that diver before he arrives, and Stand United (R) drops a shield on you and teleports him to you from anywhere on the map.
Your page says high-mobility divers go around your fortress instead of through it: Steadfast Presence (W) turns their dash into a self-inflicted root, and Heroic Charge (E) pins whoever got to you anyway against a wall for 1.7 seconds.
Footwork (E) dashes onto you and leaves you the same shield he gets: the only defensive tool you will ever have, since your kit contains none. And All Out (R) knocks whoever is on top of you away from the fight and roots them, with him following to finish it.
Worth it where terrain is close by: GNAR! (R) slams the group into a wall and stuns it, and Wallop (W) adds another 1.25 seconds. Enemies pinned and clumped on top of already-charged turrets decide the fight; in open ground it is just a shove.
Your page says your damage windows depend on charged turrets and a centred grenade: Curse of the Sad Mummy (R) stuns everything near it for 1.5 seconds and hands you both for free. Cursed Touch (P) then adds true damage to every magic tick you deal.
Frenzying Taunt (E) grabs the diver who reached you and forces him to hit Rammus instead of you, which is exactly the situation your page says you always lose. And Powerball (Q) gets him there before anyone else on the map can arrive.
Cataclysm (R) builds a wall around one target: inside that arena there is no way to sidestep the CH-2 Electron Storm Grenade (E) centre, and if you spend UPGRADE!!! (R) on it the grenade bounces and catches whoever is left outside the wall.
Crescent Guard (R) knocks everyone back except his marked target and blocks ranged damage: it is both the peel you do not have and an answer to the long-range poke your page says goes around your fortress rather than through it.
It works if she applies drowsiness first: Lilting Lullaby (R) puts to sleep whoever Dream-Laden Bough (P) has already made dozy, and a sleeping team inside your turret nest does not all wake up. Without that setup the ultimate does nothing at all.
Your page says a well-timed dodge undoes an entire combo: Frost Shot (P) slows with every single hit, and a slowed target does not sidestep the CH-2 Electron Storm Grenade (E) centre. Enchanted Crystal Arrow (R) does the same job from off-screen.
Deadly Flourish (W) roots anyone an ally has just damaged, and one max-range Hextech Micro-Rockets (W) volley is all it takes to arm it. A rooted target is a target your turrets keep hitting for the whole duration of that root.
Bullet Time (R) is a stationary three-second channel her page calls a death sentence when cast blind: the grenade's centre stun opens it for her, and Make It Rain (E) keeps the group inside your turrets' range while it fires.
Chain of Corruption (R) roots the first target and spreads to its neighbours: a rooted group standing inside your H-28 G Evolution Turret (Q) nest eats everything it has charged up. And a charged Piercing Arrow (Q) contests the zone from further out than anyone.
Worth it in siege games: two long-range pokers force the enemy to come through your turrets instead of walking around them, and Trueshot Barrage (R) finishes whoever backs off. If the game is decided by hard engages, neither of you stops one.
Your page says long-range poke goes around your fortress instead of through it: Unbreakable (E) intercepts those projectiles and cuts the damage that gets through by 35%. And Glacial Fissure (R) knocks up a whole line inside your turrets' field of fire.
Your page says a well-timed interrupt undoes an entire combo: Black Shield (E) absorbs that crowd control before it reaches you. And the two-second Dark Binding (Q) root is more than enough for the grenade centre and three turrets to land together.
Whimsy (W) turns the diver who reached you into something harmless for a second, which is the only way you die, and Help, Pix! (E) gives you the shield your kit does not include. Rampant Growth (R) adds health and knocks off whoever is already on you.
Dark Passage (W) is the only exit you will ever have: the lantern pulls you out of the nest once they have already surrounded it. And The Box (R) seals the ways in with a 99% slow, which on top of your turrets is free firing time.
Nature's Grasp (R) rolls a wall of brambles that roots the whole line: over a chokepoint already covered by your H-28 G Evolution Turret (Q) nest that path stops existing. And Twisted Advance (W) is a second root on whichever target you pick.
Monsoon (R) blows away everyone who reached you and heals you while it does it: the most direct answer to the only thing that kills you. She is a 45.9% support in China, though, so it only pays off with someone who can time it.
| Lane | Tier | Win% | Pick% | Ban% | Pos. |
|---|---|---|---|---|---|
| Mid | B | 50.38% | 1.58% | 1.39% | #24 / 39 |
| Lane | Tier | Win% | Pick% | Ban% | Pos. |
|---|---|---|---|---|---|
| Mid | C | 50.4% | 1.54% | 1.39% | #28 / 38 |
| Lane | Tier | Win% | Pick% | Ban% | Pos. |
|---|---|---|---|---|---|
| Mid | B | 50.56% | 1.38% | 0.87% | #23 / 39 |
| Lane | Tier | Win% | Pick% | Ban% | Pos. |
|---|---|---|---|---|---|
| Mid | B | 52.2% | 1.2% | 0.49% | #22 / 41 |


Heimerdinger is a Mage in Wild Rift who fights through machines instead of melee range, turning the lane and nearby objectives into a minefield of automated turrets, missile volleys, and a stunning grenade. His damage mixes steady turret poke with heavy magic burst, letting him zone whole areas of the map rather than duel directly. He rewards smart setup and positioning over mechanical combos, making him one of the safer high-damage mid lane picks.
Skill order: Q > E > W
Lane behind your H-28 G Evolution Turrets rather than in melee range, since Heimerdinger has no dash or escape of his own. Place them where they zone the wave, poke with Hextech Micro-Rockets from max range to farm safely, and save the Electron Storm Grenade stun for the moment an enemy overextends past your turret line. Roaming is rare given his lack of mobility, so a safe, turret-fed lane usually matters more than rotating for kills.
By the mid game, Heimerdinger should be winning fights before they start: pre-place turrets at the chokepoint or objective the fight will happen around so they are already dealing damage the instant enemies arrive. Hold UPGRADE!!! and cast it reactively right as the fight begins, choosing whichever tool suits the situation, the Apex Turret to punish a stationary group, Rocket Swarm to poke a clumped team, or the Lightning Grenade to catch a spread engage. Stay at maximum range behind your turrets given his fragility, and save the grenade stun for divers jumping your backline or for locking down a key target during Baron and Dragon fights.