
WR China Meta
Meta, tier list & top-player builds from the China server · live
Meta, tier list & top-player builds from the China server · live

赛娜 · 涤魂圣枪 Marksman A
✅ Patch 7.2e · stats updated 2026-09-12 · real builds of 23 top-ranked China server players captured 2026-09-11
Difficulty Damage Toughness Utility
How the strongest players on the Wild Rift China server (国服) build Senna: live win/pick statistics by rank bracket, the most-used item and rune sets, and the real loadouts of the top ranked Senna players, captured in-game.
📖 How to play Senna


Counted on 25 real builds captured from the Chinese client, player by player. Independent from the official API above.


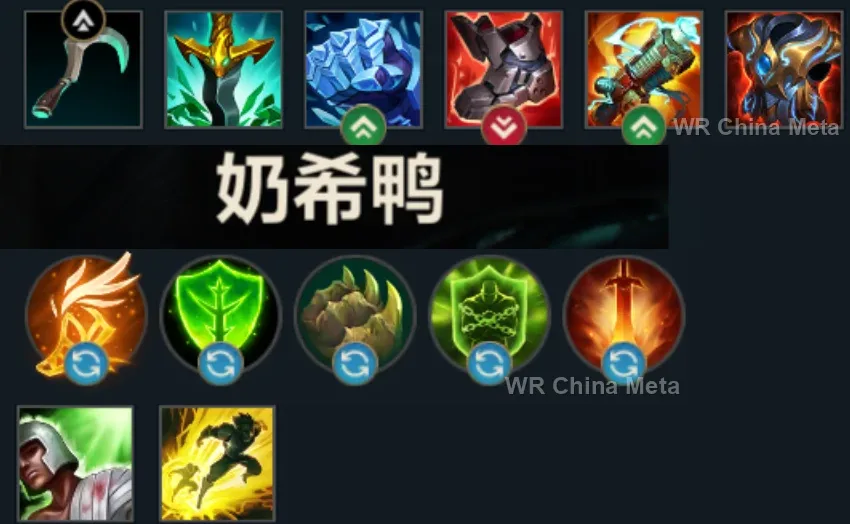
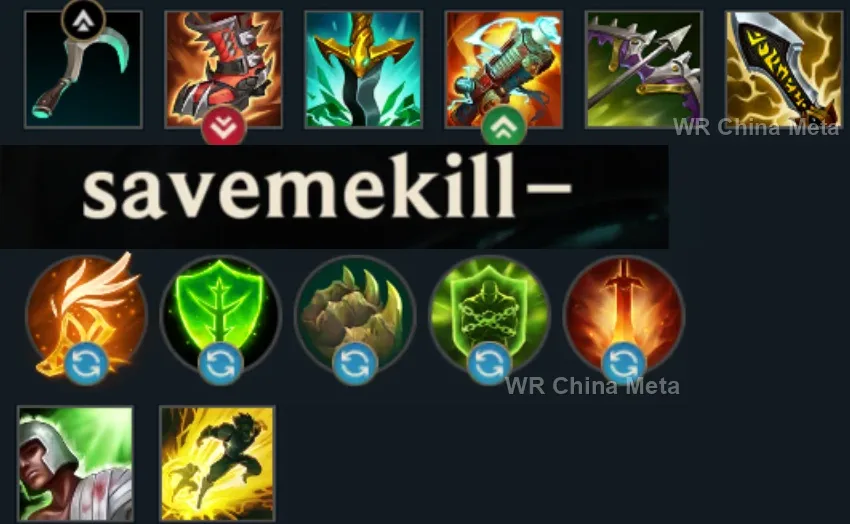
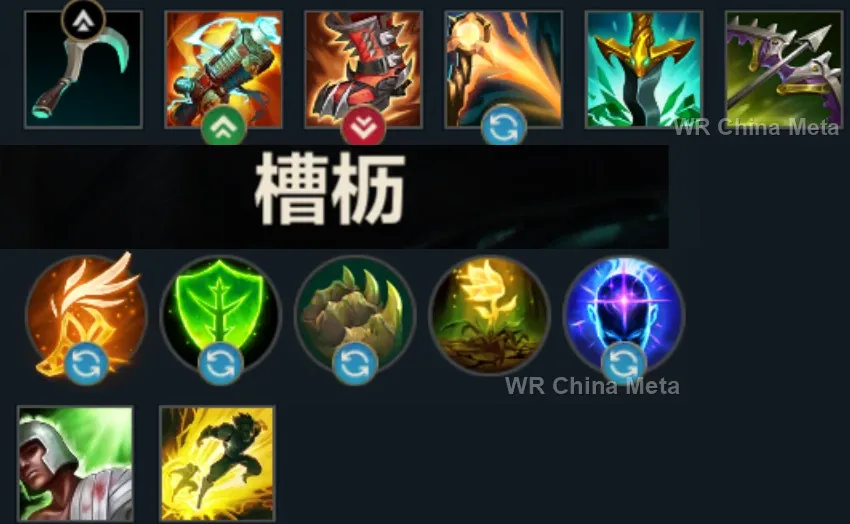
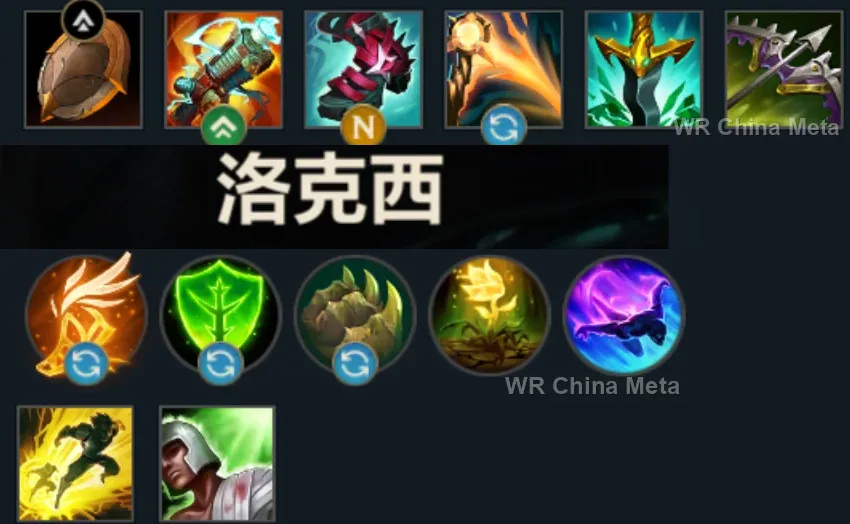
Taken from the official in-game China leaderboard. Spells, runes and items of every public top player.
23 of the top 30 players have a public match history; the others keep theirs private.
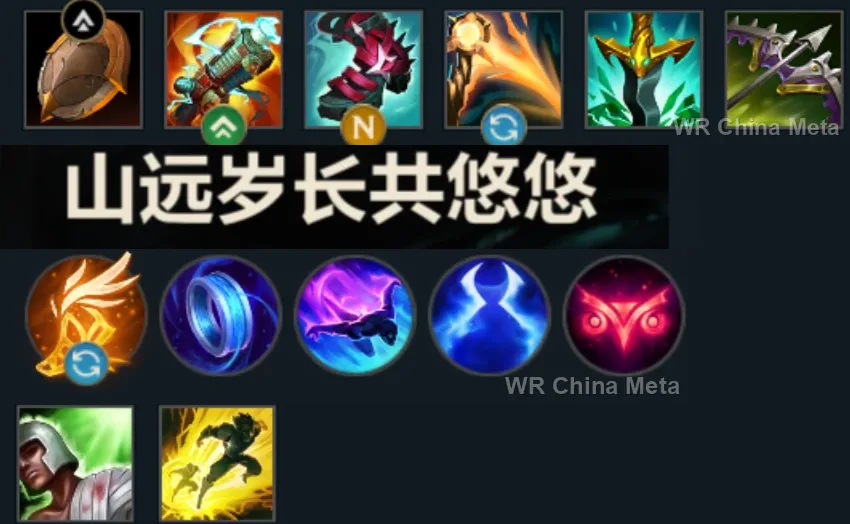
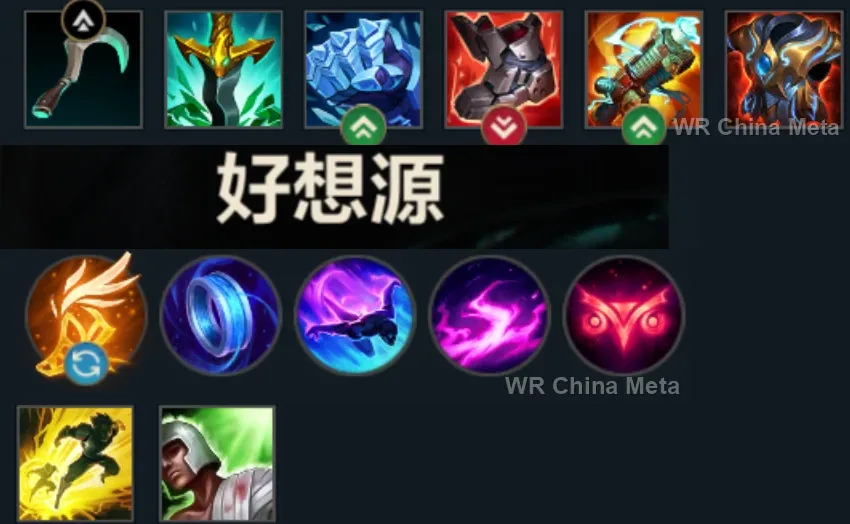
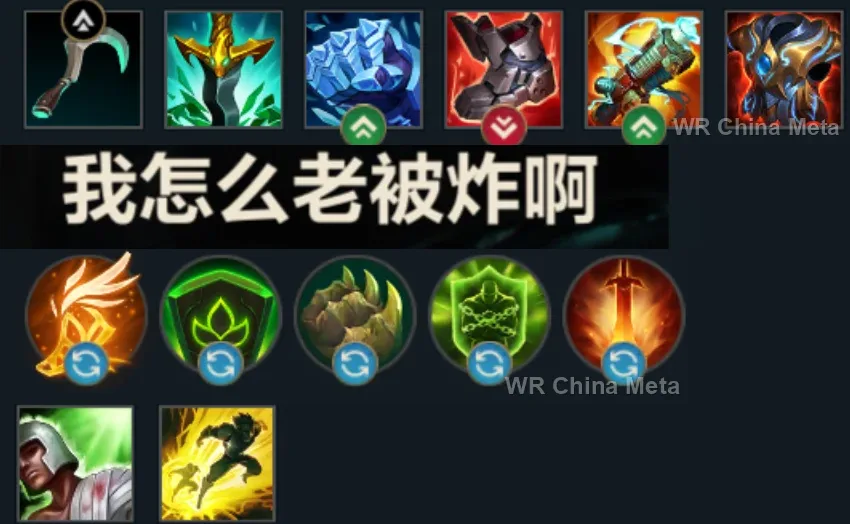
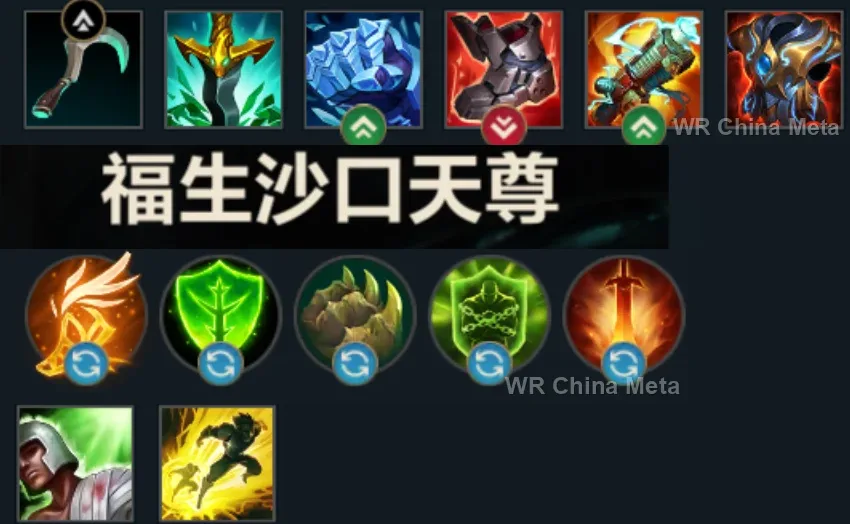
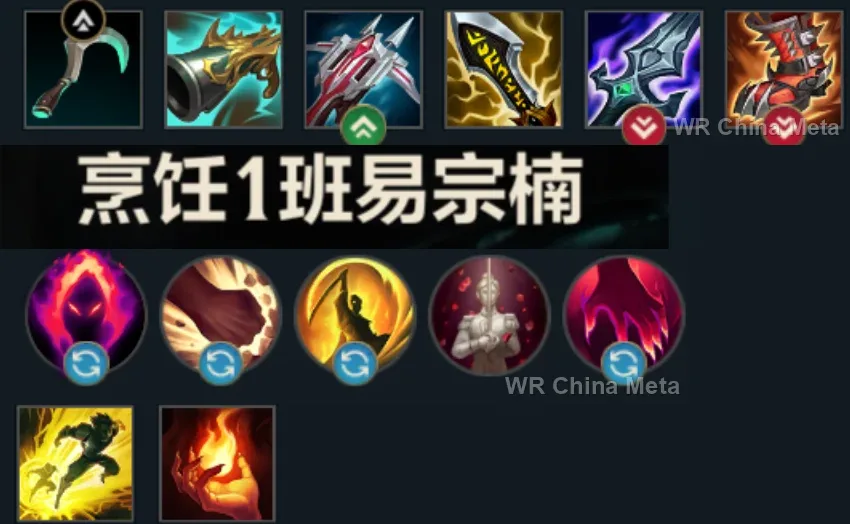
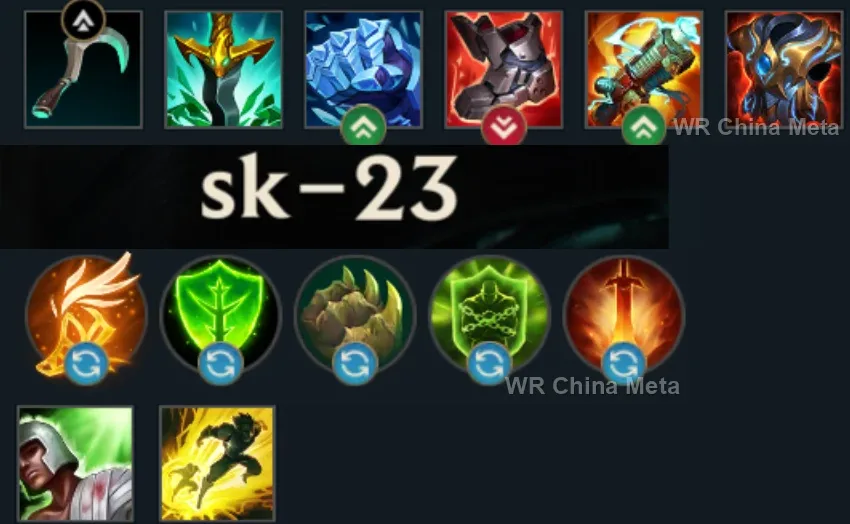
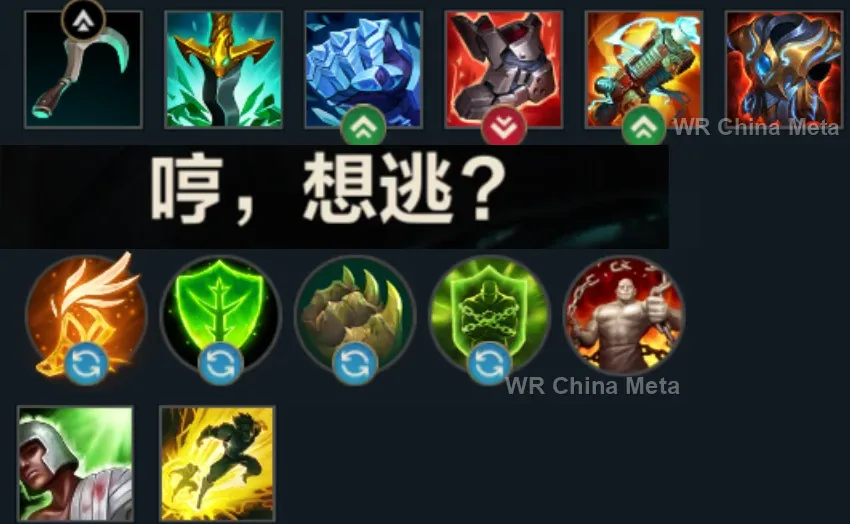
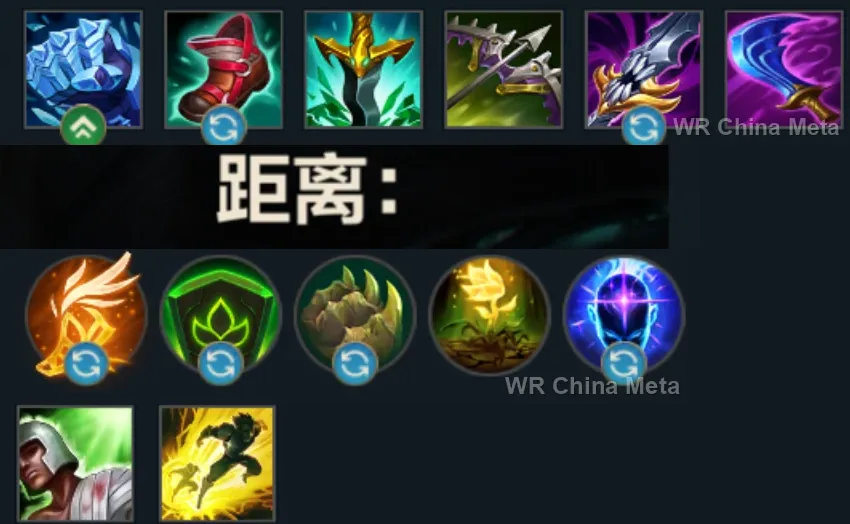
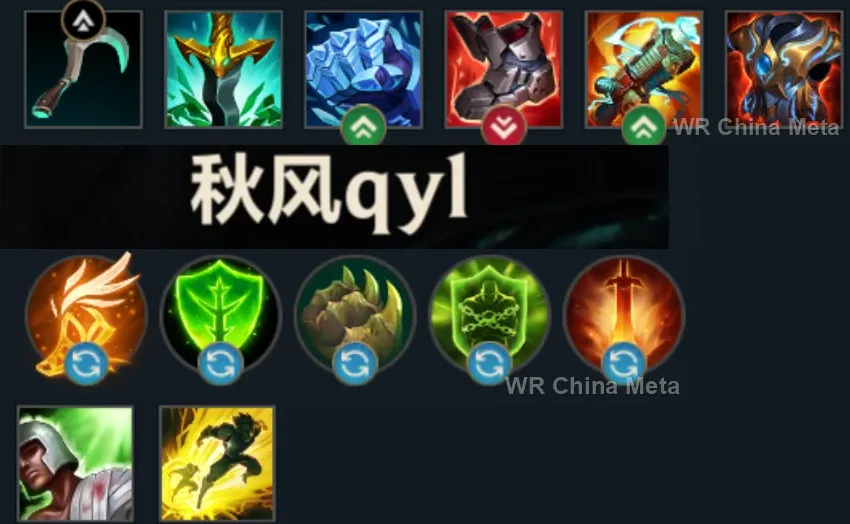
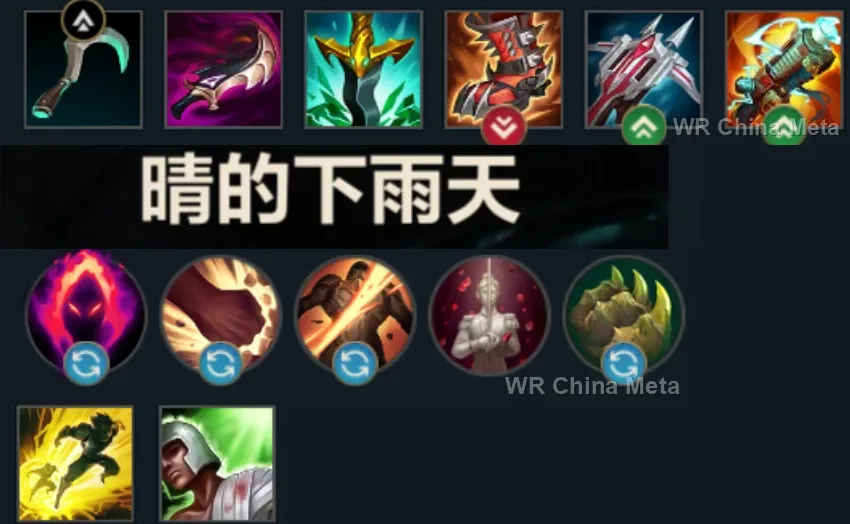
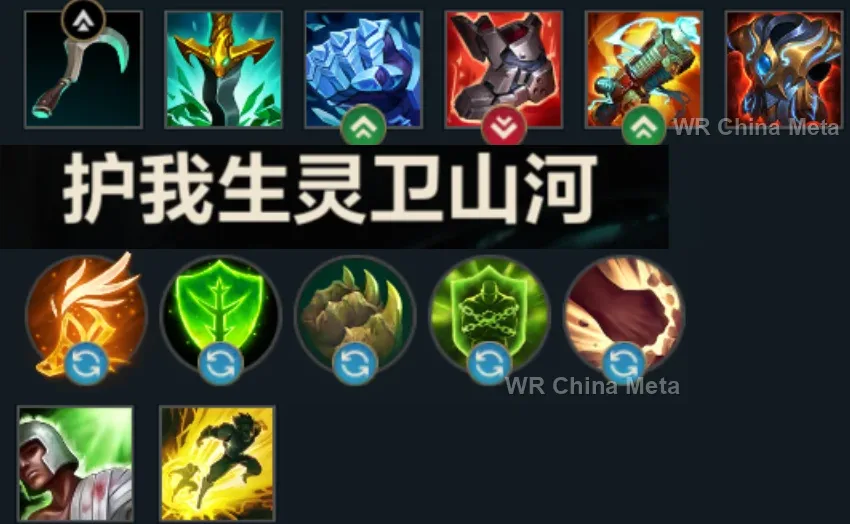
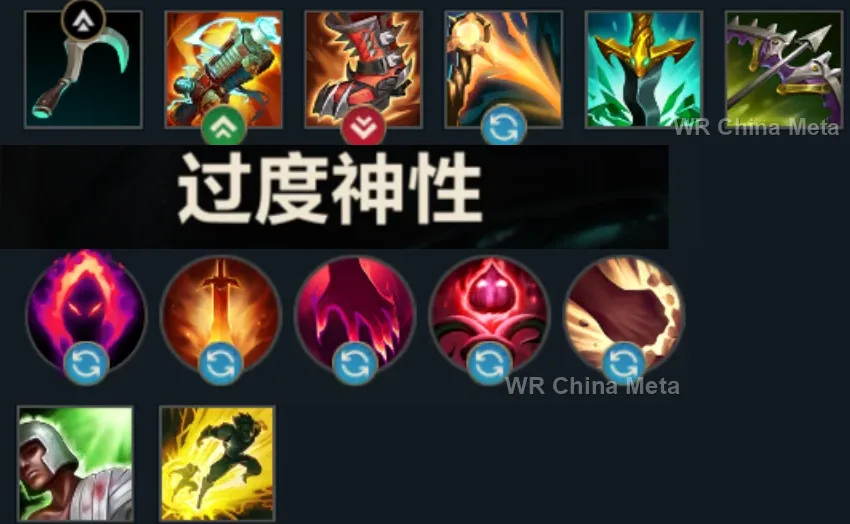
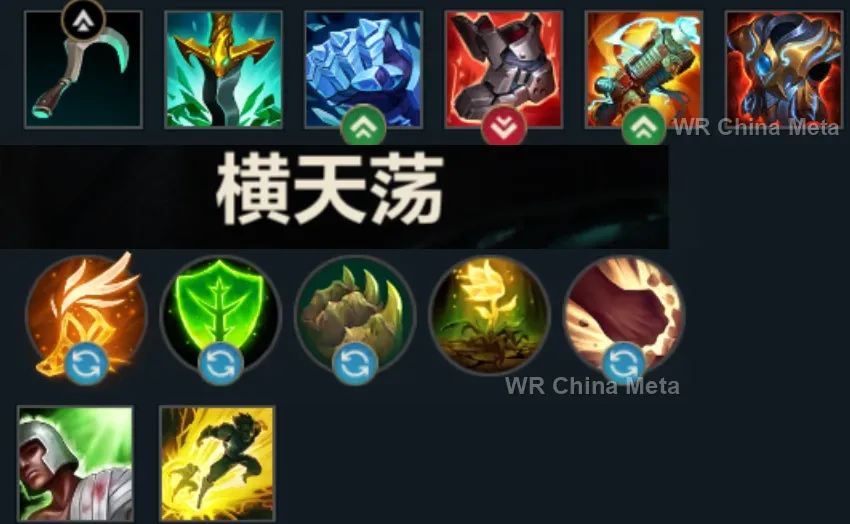
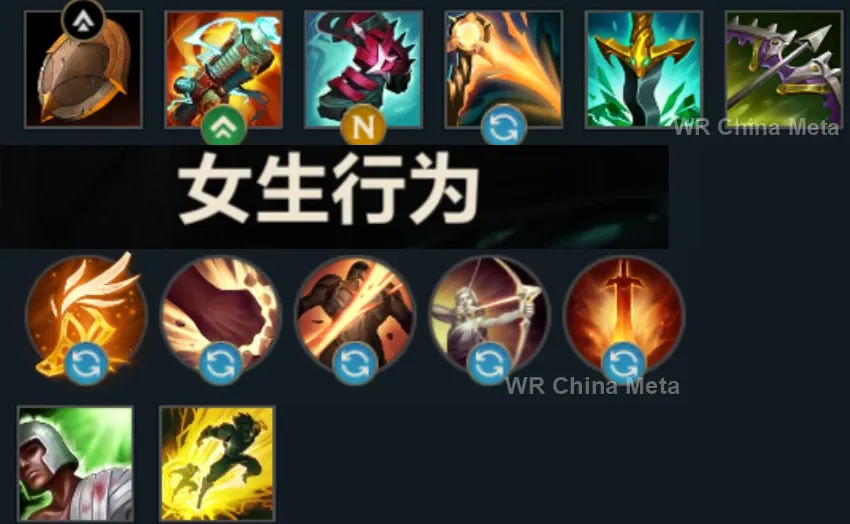
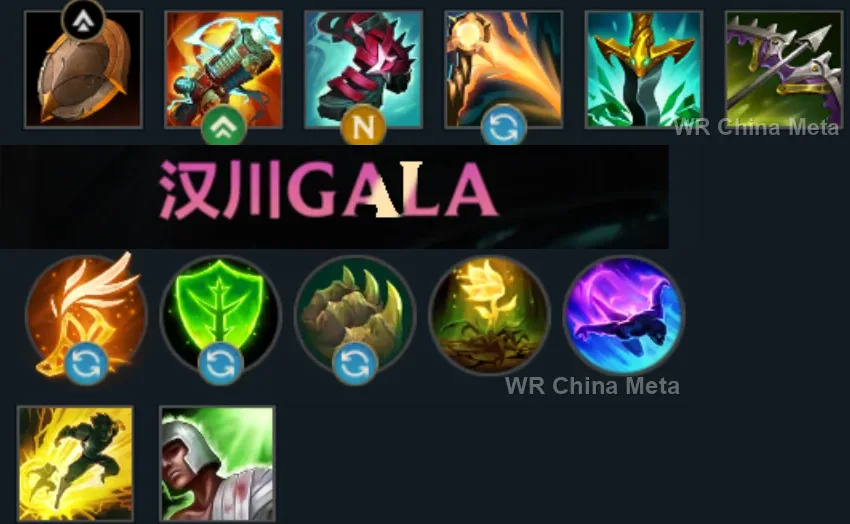
The toughest lane matchups for Senna on the Wild Rift China server, with why each is hard and exactly how to play it.
 Senna vs Samira Unfavorable
Why Samira counters Senna: You are fragile and slow: her all-in goes straight through you and your W is always one dash late.
How to play Senna into Samira: Pre-emptive W on her path, not on her. Max range at all times. Your R saves the duo from afar: hold it for her entry.
→ Samira Senna vs Zeri Unfavorable
Why Zeri counters Senna: Too fast for your roots and slow autos: she orbits you, collecting the fights you only wanted to poke.
How to play Senna into Zeri: Poke from beyond her range and bank souls. In fights stay a crossroads away: if she can touch you, you took the wrong street.
→ Zeri Senna vs Draven Unfavorable
Why Draven counters Senna: In direct trades he processes you with half his axes: your soul ramp does not get the 10 minutes it asks for.
How to play Senna into Draven: Only full-range poke, never frontal trades. The souls come regardless: what matters is collecting them alive.
→ Draven Senna vs Lucian Skill matchup
Why Lucian counters Senna: His dashes hunt your slow body, your roots hunt his fast feet: you counter each other.
How to play Senna into Lucian: W on his entry dash: the trajectory is fixed. Every trade with the root landed is yours: poke, root, punish, step back.
→ Lucian Senna vs Ashe Skill matchup
Why Ashe counters Senna: Long-range utility on both sides: her slow against your root, two kits studying each other from afar.
How to play Senna into Ashe: Whoever lands the first CC wins: throw W on the step she takes forward for Volley. Your R answers hers on the duo: keep it ready.
→ AsheThe champions Senna works best alongside on the Wild Rift China server, lane by lane, with the reason each pairing works.
Dawning Shadow (R) and Stand United (R) are two buttons that reach across the whole map: between you, a fight is never played four against five. And Shadow Dash (E) is the taunt that stops the dive you, with no dash of your own, cannot answer.
Curse of the Black Mist (E) camouflages the whole team, so he reaches a flank unseen and opens with Fate Sealed (R). His page says he dies the moment he is caught out: Piercing Darkness (Q) heals him from the far end of the fight.
His page calls a whiffed Unstoppable Force (R) close to a death sentence: inside Curse of the Black Mist (E) he walks right under them unseen. Then Dawning Shadow (R) shields the whole team following the engage in.
Brittle from Bellows Breath (W) stretches follow-up crowd control by 30%, and Last Embrace (W) is exactly the slow, telegraphed root that needs the extra duration. Call of the Forge God (R) meanwhile lines the group up on the Dawning Shadow (R) beam.
Worth it when there is terrain to work with: Hookshot (E) needs a wall in range, and Curse of the Black Mist (E) gets her to the right one unseen. Against a team that stays grouped in open ground there is no angle left to steal.
His page says that without a bush nearby he loses the Unseen Predator (P) leap and plays like a plain auto-attacker: Curse of the Black Mist (E) hands it back to him anywhere, even in mid lane. From there Savagery (Q) crits for free.
Blood Hunt (W) switches on below 50% health and its bonuses surge to 150% below 35%: Piercing Darkness (Q) keeps half their team under that line from max range. His page says allies who dive with him are on their own, and your Q heals him from outside.
Curse of the Sad Mummy (R) is only worth casting on two or more, and his page says a scattered team wastes it: inside Curse of the Black Mist (E) he arrives on a group that never saw him move. He does not even need Bandage Toss (Q).
Unseen Threat (P) refreshes every time he leaves enemy vision: Curse of the Black Mist (E) re-arms it in the middle of a teamfight, not just out of a brush. He sits at 49.3%, but that bonus hit and slow opens every kill he takes.
Devastating Charge (E) needs a run-up everyone sees coming, and under Curse of the Black Mist (E) he builds it unseen. Worth it in games played around objectives: in an open brawl his ultimate's fear just scatters the targets you wanted lined up.
Hero's Entrance (R) can be aimed at you and shields you as it lands: you are the easiest dive target on the team and you own no dash. In return his page says the landing zone shows for 2.5 seconds, and Last Embrace (W) pins whoever would walk out of it.
Destiny (R) reveals the map and teleports him in, Dawning Shadow (R) reaches anywhere: the two of you are in two fights at once. And the Gold Card from Pick a Card (W) is the guaranteed stun your Last Embrace (W), with its one-second delay, is not.
Demonic Ascension (R) leaves him standing in the middle of everyone for its whole duration, and his page says he owns no escape: Piercing Darkness (Q) heals him from max range while he drains, and Curse of the Black Mist (E) is the only way he walks out alive.
Miss Sleepy Trouble Bubble (E) and she has nothing left, her page says: on a target rooted by Last Embrace (W) the bubble always lands. And the burst that follows is the damage your poke alone never quite has to finish the kill.
Death Mark (R) is a committed, telegraphed dash: launching it from inside Curse of the Black Mist (E) takes the warning away. Worth it if you play for side-lane picks, much less so if the game is decided in 5v5s around the dragon.
His page says his only defensive tool is the bonus his passive grants when an ally heals or shields him: Piercing Darkness (Q) and Dawning Shadow (R) are precisely those two things. And the Ardent Blaze (W) mark hands 65 move speed to you as well.
Deadly Flourish (W) roots anyone an ally has just hit, and Piercing Darkness (Q) pierces the entire wave: one button hands him three rootable targets. Neither of you owns a dash, and Curse of the Black Mist (E) moves you both unseen.
Your own page says Last Embrace (W) and Dawning Shadow (R) can both be dodged: against a target slowed by every single Frost Shot (P) hit, nothing gets dodged. And two global ultimates aimed at the same objective decide fights from across the map.
No dash, no escape, and his page says he only survives on a peel-heavy team: Last Embrace (W) roots the diver and Curse of the Black Mist (E) camouflages him while he walks out of a lost position. Piercing Darkness (Q) keeps him alive meanwhile.
Charging Piercing Arrow (Q) roots him in place and is visible from a screen away: inside Curse of the Black Mist (E) he charges unseen. And Chain of Corruption (R) roots a whole line, which is exactly the line the Dawning Shadow (R) beam wants to cross.
A patience lane: his page says ganks and lane pressure push his Dragon Practice (P) stacks back, and Piercing Darkness (Q) heals him wave after wave with no recalls. But you are weak in the early levels too, so you both eat that pressure together.
| Lane | Tier | Win% | Pick% | Ban% | Pos. |
|---|---|---|---|---|---|
| Support | A | 51.19% | 4.94% | 1% | #8 / 34 |
| Lane | Tier | Win% | Pick% | Ban% | Pos. |
|---|---|---|---|---|---|
| Support | A | 51.12% | 4.88% | 1.03% | #8 / 34 |
| Lane | Tier | Win% | Pick% | Ban% | Pos. |
|---|---|---|---|---|---|
| Support | A | 51.34% | 4.65% | 0.97% | #7 / 33 |
| Lane | Tier | Win% | Pick% | Ban% | Pos. |
|---|---|---|---|---|---|
| Support | S | 52.88% | 5.98% | 0.96% | #5 / 33 |


Senna is an unconventional Marksman for Wild Rift who trades the usual auto-attack DPS pattern for long-range piercing poke, hybrid physical damage, and genuine team utility. Playing from the Dragon Lane, she chips enemies and heals allies with Piercing Darkness, permanently stacks bonus AD and range by harvesting souls through her passive Absolution, and threatens fights from across the map with her ultimate. She gives up early all-in trading power for scaling, sustain, and support value, then quietly turns into the carry.
Skill order: Q > W > E, taking R whenever it's available
Play Senna as a poke-and-farm Marksman before level 5: use Q to hit through the wave, heal yourself off the same cast, and weave in autos to keep its cooldown low, since stacking Absolution's Mist matters more early than winning any single trade. She is fragile and slow, so avoid extended all-ins against lane bullies and hold priority with poke instead of committing. Only look for a W root when you or your support or jungler can follow up on the 1-second delay, and prioritize picking up souls anywhere on the map, not just your own lane, to hit her power spikes faster.
From mid game on, Senna plays as a backline poke-and-peel Marksman: sit at max range, chip HP bars with Q, and hold R to snipe a low-health target or drop a shield on your frontline the instant a fight starts. Use W to root whoever dives your carries, and duck into E if you get focused down or need to reposition unseen. Because her only real escape is E, positioning and sightlines matter more for her than for most Marksmen, so treat every fight as poke-then-peel rather than an all-in brawl and let your team's engage do the work while you shield, root, and chip.