
WR China Meta
Meta, tier list & top-player builds from the China server · live
Meta, tier list & top-player builds from the China server · live

墨菲特 · 熔岩巨兽 Tank S
✅ Patch 7.2e · stats updated 2026-09-12 · real builds of 21 top-ranked China server players captured 2026-09-11
Difficulty Damage Toughness Utility
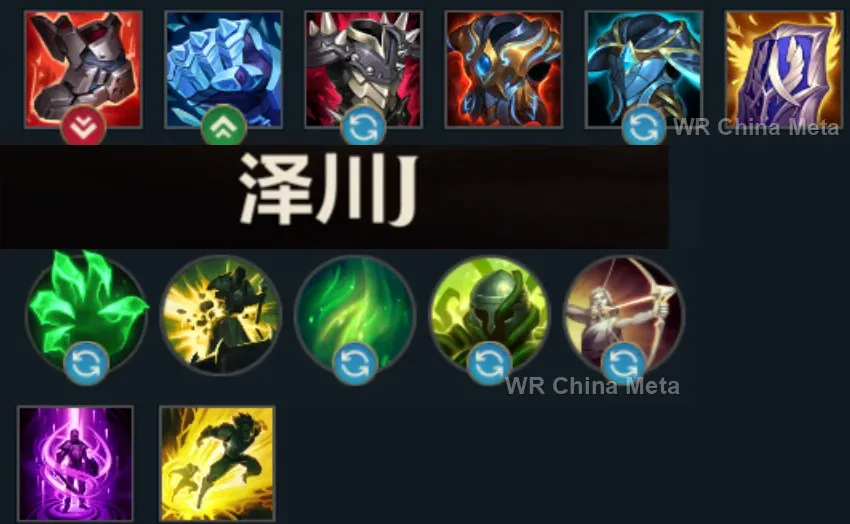
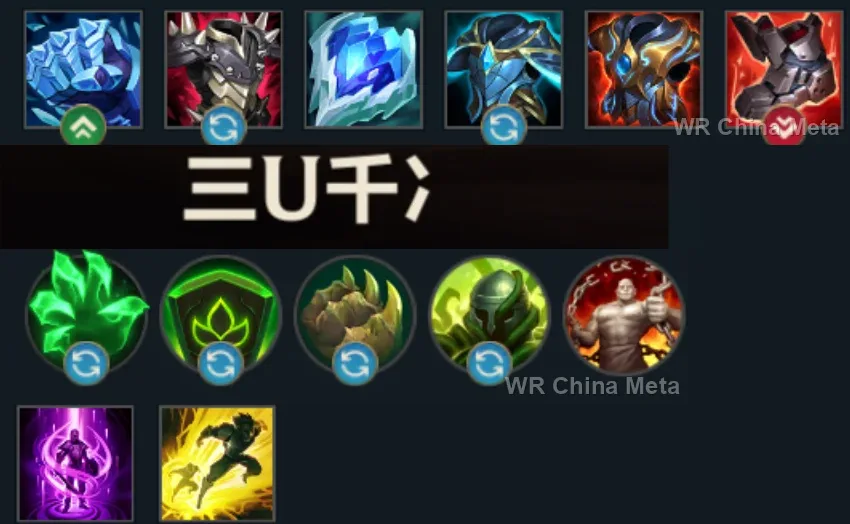
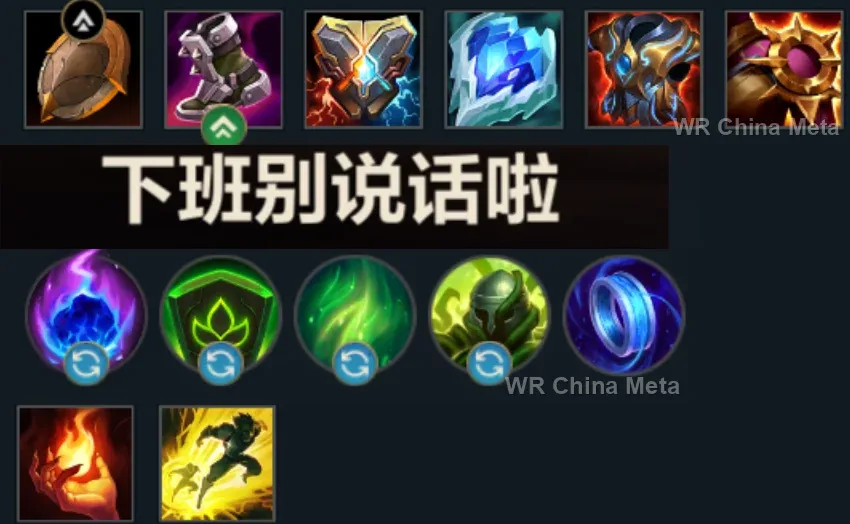
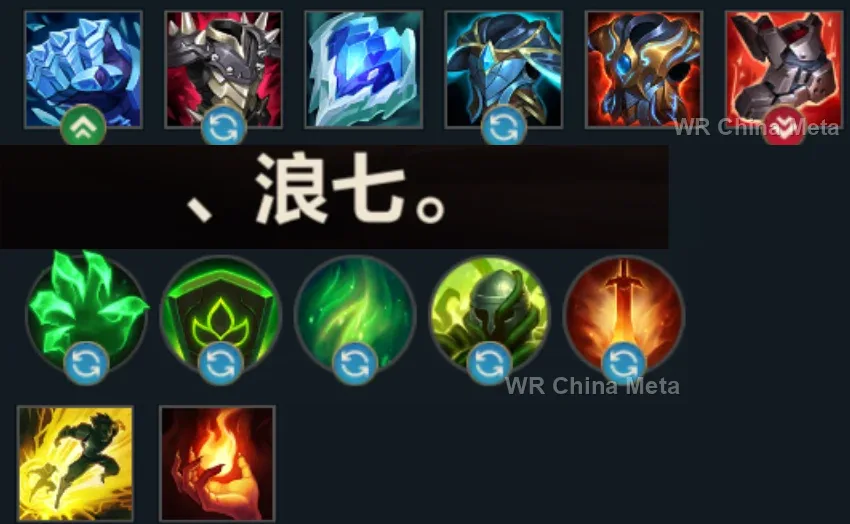
How the strongest players on the Wild Rift China server (国服) build Malphite: live win/pick statistics by rank bracket, the most-used item and rune sets, and the real loadouts of the top ranked Malphite players, captured in-game.
📖 How to play Malphite






Counted on 22 real builds captured from the Chinese client, player by player. Independent from the official API above.


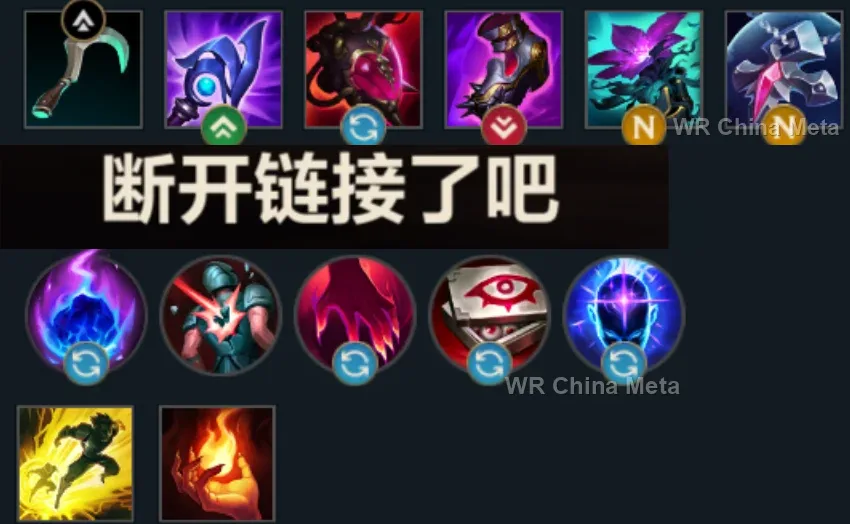
Taken from the official in-game China leaderboard. Spells, runes and items of every public top player.
21 of the top 30 players have a public match history; the others keep theirs private.
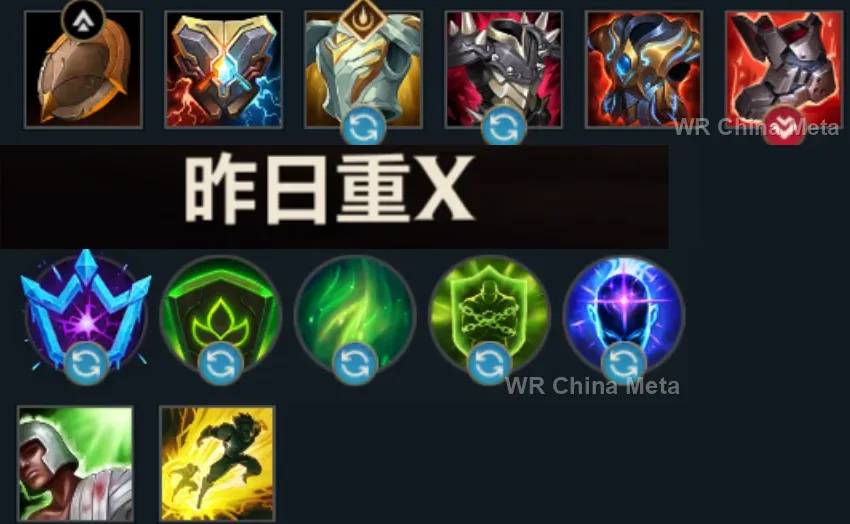
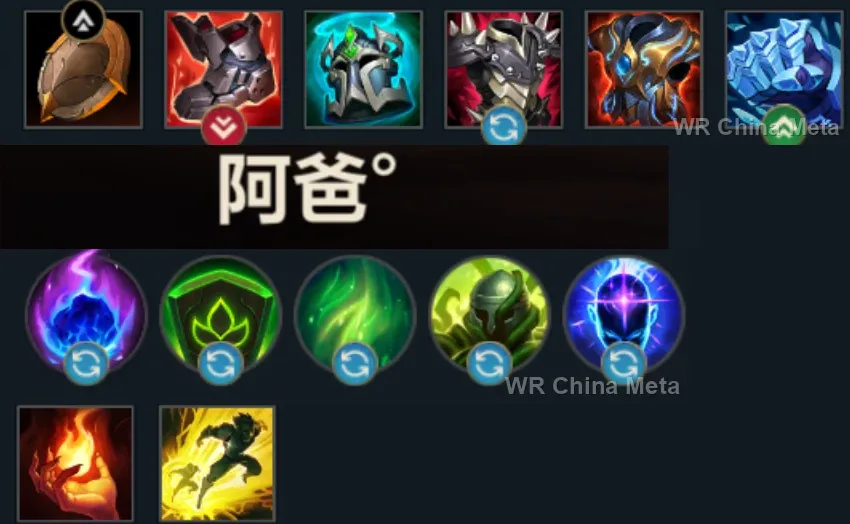
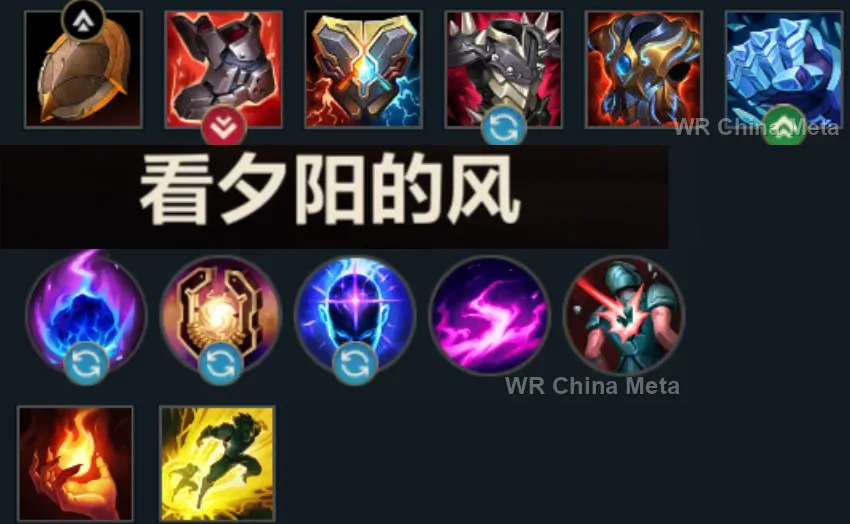
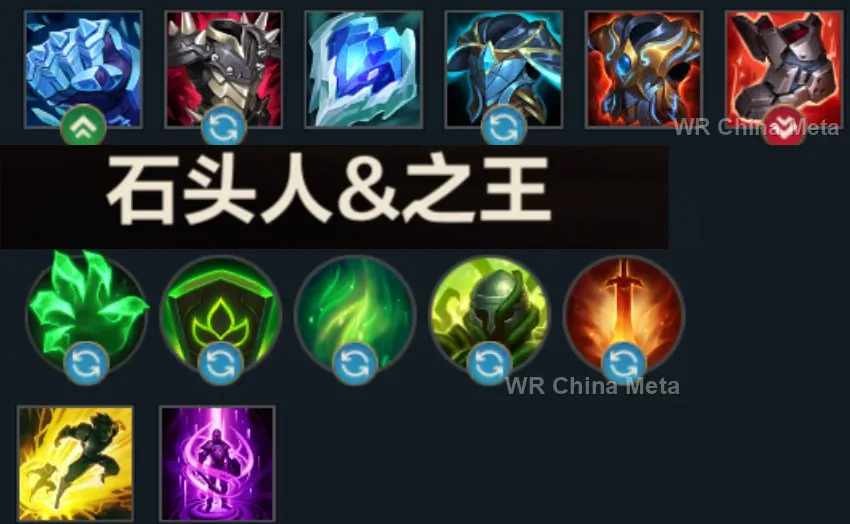
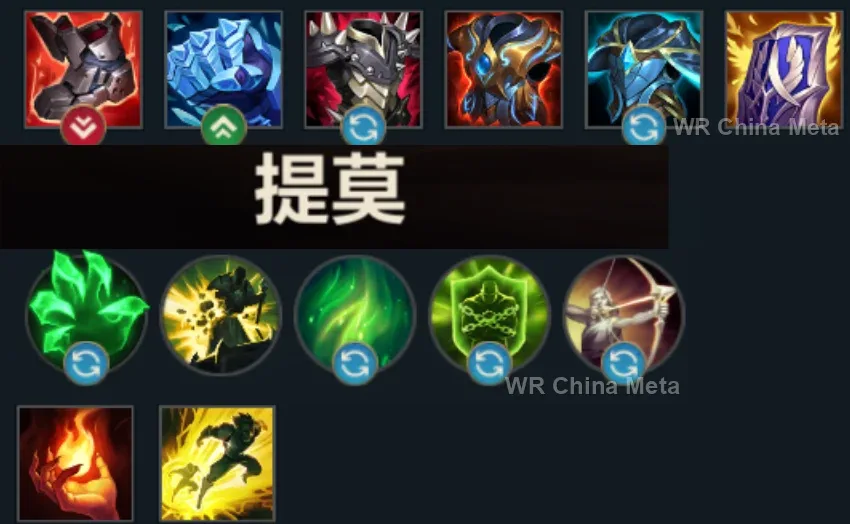
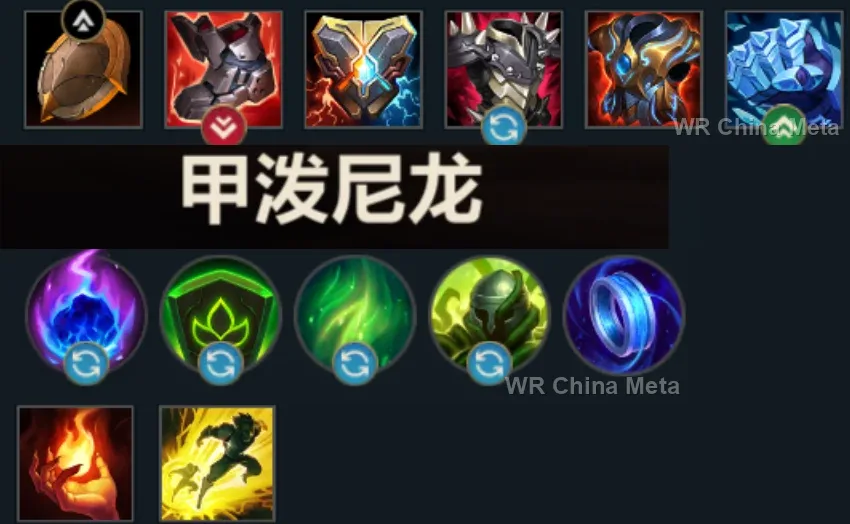
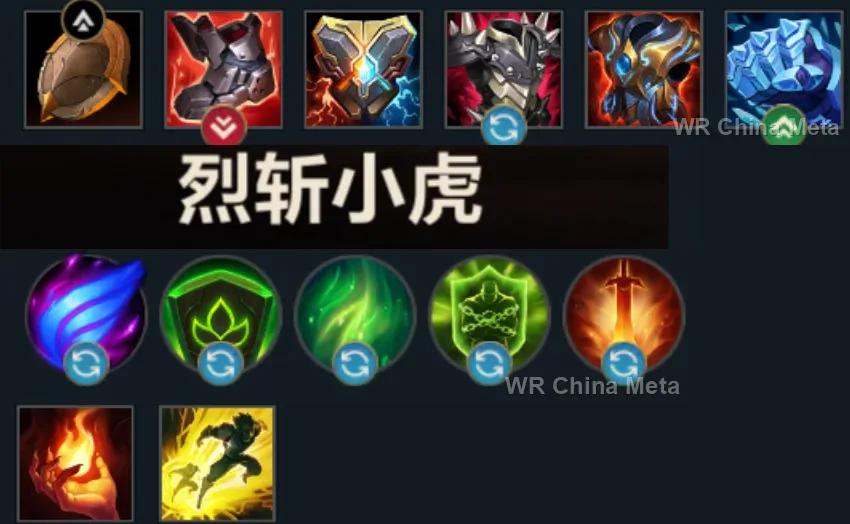
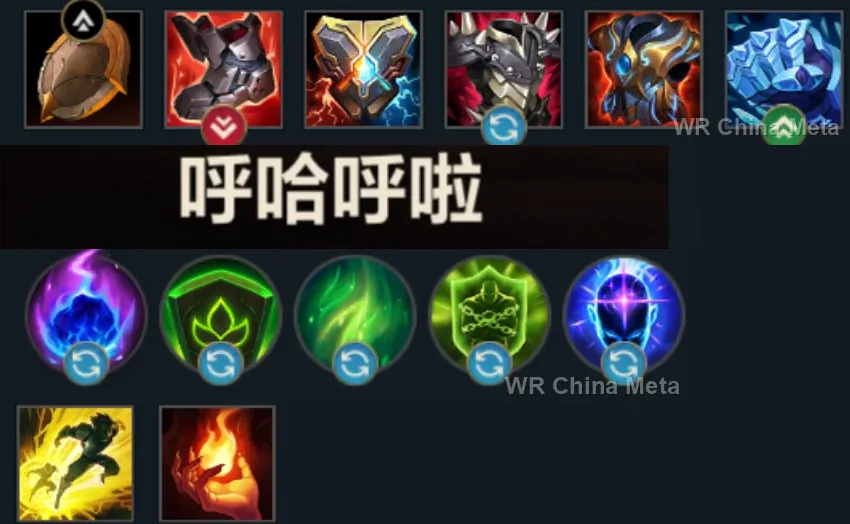
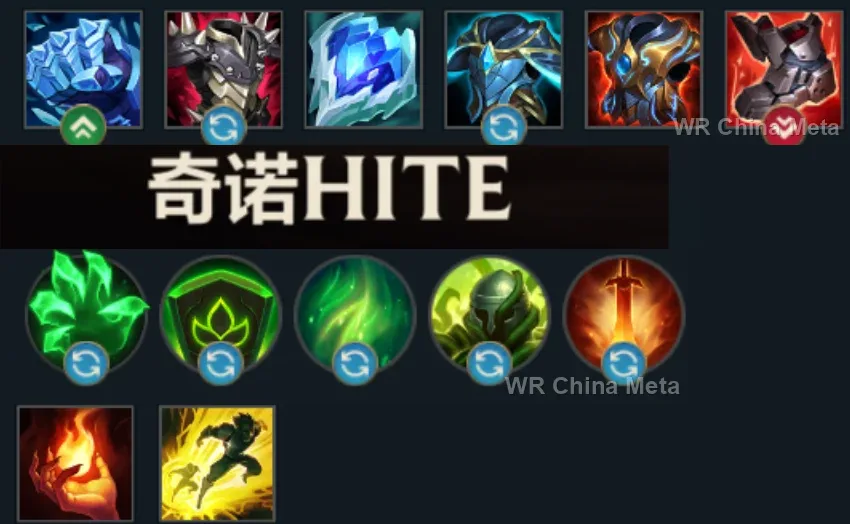
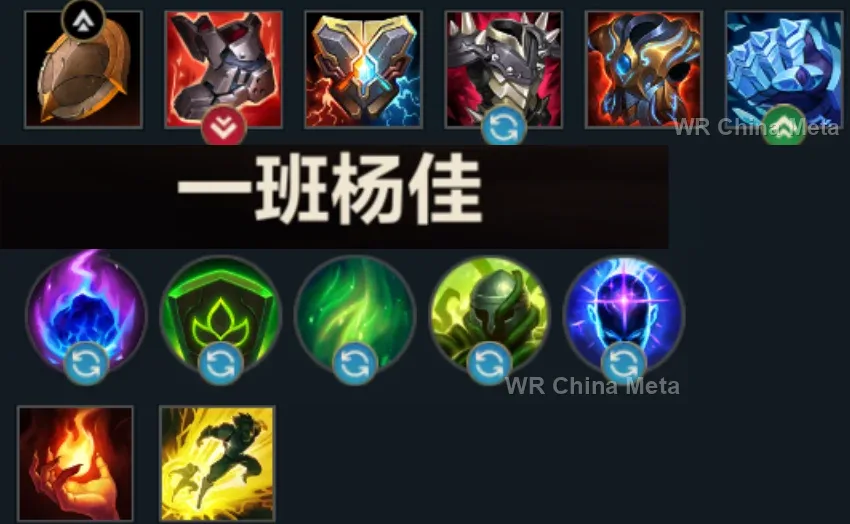
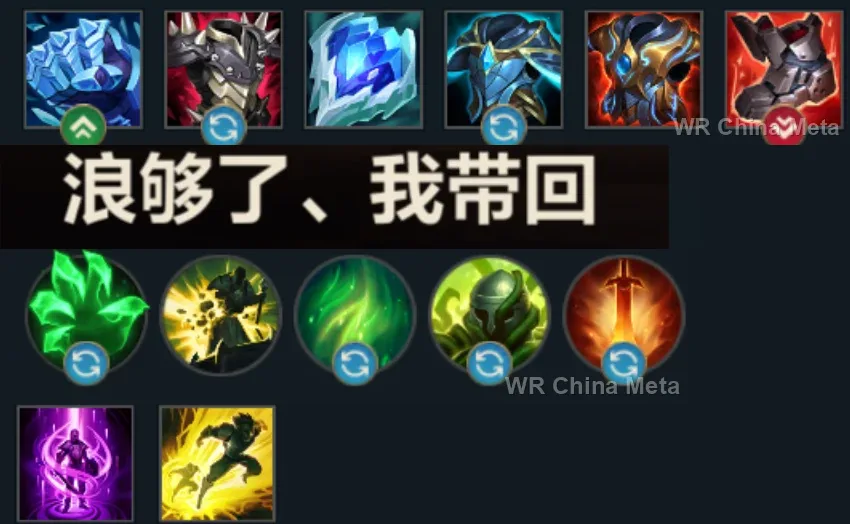
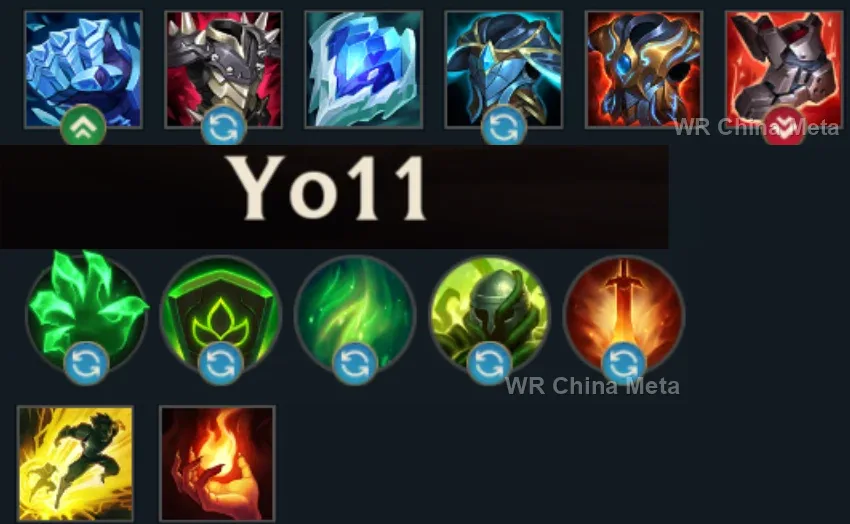
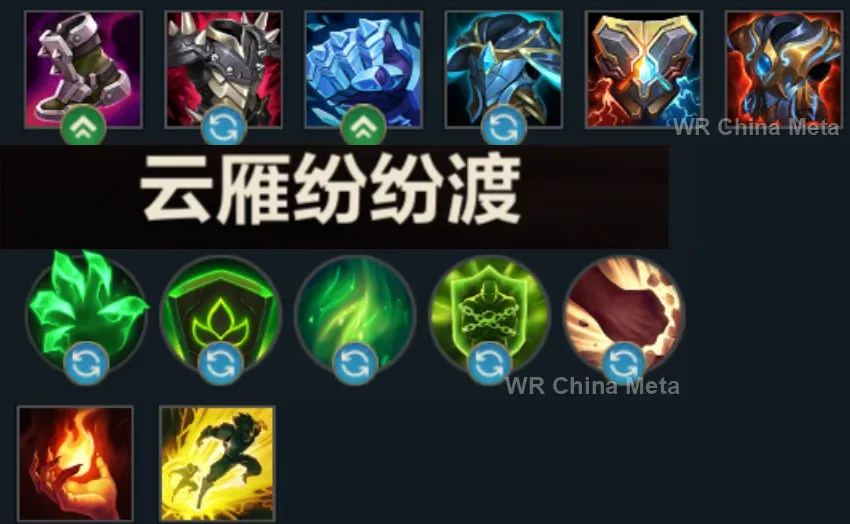
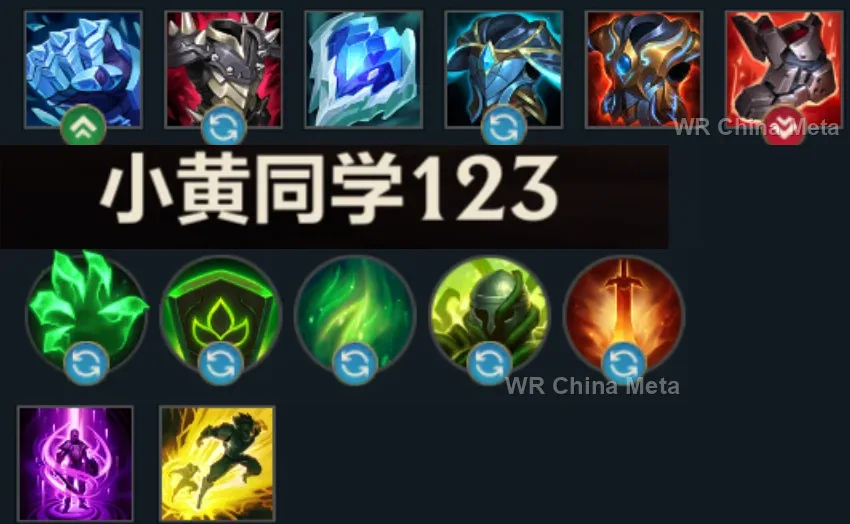
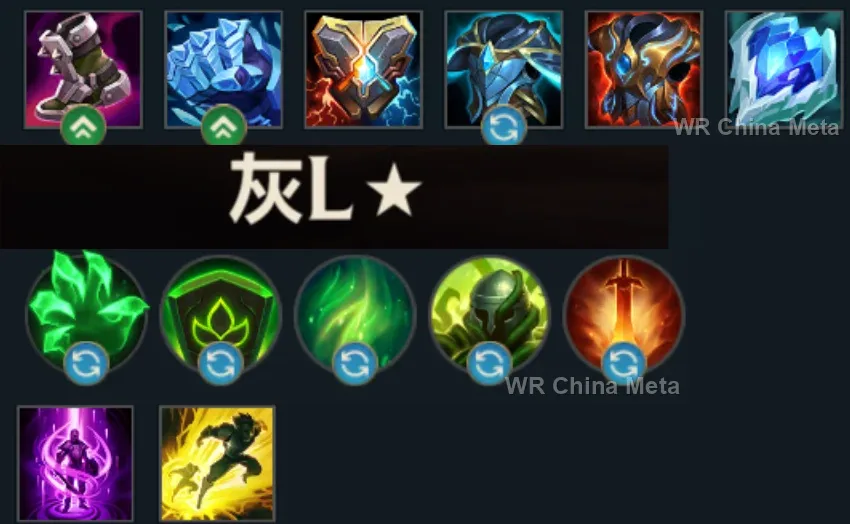
The toughest lane matchups for Malphite on the Wild Rift China server, with why each is hard and exactly how to play it.
 Malphite vs Vayne Hard counter
Why Vayne counters Malphite: Percent damage ignores your armor and kiting forever evades your stone stride.
How to play Malphite into Vayne: Q poke from afar and zero chasing. Your R belongs to the team: spend it on their carries, not on her.
→ Vayne Malphite vs Mordekaiser Unfavorable
Why Mordekaiser counters Malphite: Magic damage against your useless armor, and his R isolates you exactly where yours helps nobody.
How to play Malphite into Mordekaiser: Magic resist immediately, instead of reflexive armor. Do not trade while his passive burns. Your R is worth double his in 5v5s: arrive there even.
→ Mordekaiser Malphite vs Fiora Unfavorable
Why Fiora counters Malphite: True damage on Vitals ignores your entire identity: you are a sandbag with a single punch.
How to play Malphite into Fiora: Rotate your body to hide the Vitals and poke with Q. Never duel her: your game is R in the 5v5, hers is the side lane.
→ Fiora Malphite vs Gwen Unfavorable
Why Gwen counters Malphite: Percent magic damage in melee and Mist on your R: two denials of your only plan.
How to play Malphite into Gwen: Magic resist and distance: this is not a matchup, it is a toll. Your R MUST fly before her Mist: use it as the opening engage.
→ Gwen Malphite vs Yasuo Skill matchup
Why Yasuo counters Malphite: You are his textbook counter: armor, poke, and an R that punishes his dashes. The only risk is your own early arrogance.
How to play Malphite into Yasuo: Q every time he dashes across minions. Cast R while his passive shield is DOWN: the clean knock-up is worth double.
→ YasuoThe champions Malphite works best alongside on the Wild Rift China server, lane by lane, with the reason each pairing works.
Your knock-up into Curse of the Sad Mummy (R) stacks the lockdown long enough for anyone on your team to dump a full rotation. It's the simplest fix for your stated limit: on your own you don't do damage.
Moonfall (R) only works up close and only if enemies stay around her: your Unstoppable Force (R) keeps them knocked down and clumped in exactly that spot. Diana comes in with Lunar Rush (E) and converts your engage into the damage you don't have.
Absolute Zero (R) is a channel enemies normally cancel just by walking away - after your Unstoppable Force (R) they can't. And when your own ultimate is on cooldown, Biggest Snowball Ever! (W) opens the fight the same way.
Crowstorm (R) burns for five seconds around him, but on their own enemies just walk out of it - after your engage they can't. And he can wait camouflaged in a brush, so the first ability that touches them adds a Fear on top.
Grand Starfall (R) comes in from half a map away but telegraphs where it lands, so anyone on their feet just steps aside - your knock-up is what pins them under it. He also gives you a second long-range engage while your ultimate is down.
It only works in this order: you first, him second. Onslaught of Shadows (R) fears and scatters, so if he opens he breaks up the group you wanted stacked; fired after your engage, it stops anyone from walking back in.
Last Breath (R) can only be cast on airborne targets, and Unstoppable Force (R) is the one way to put five of them in the air at once: this isn't a stylistic synergy, it's a condition written into his kit. You open, he picks who to delete.
Slicing Maelstrom (R) pulses every half second for three seconds and keeps reapplying Mark of the Storm (P), so anyone who stays inside gets stunned again. Your knock-up is what keeps them inside - the two ultimates together lock the whole fight.
Vision of Empire (W) deals 50% bonus damage to anything already locked down, and your Unstoppable Force (R) is what switches that on. Then Demonic Ascension (R) drains everyone still around him - and you're the one who bunched them up.
Singularity (E) drags already-grouped enemies together and executes the low-health ones: its best case is a clumped, motionless team, which is exactly what your ultimate leaves behind. Falling Star (R) then closes from absurd range.
Command: Shockwave (R) pulls the enemies your ultimate just floored into a single spot, and Command: Protect (E) on you adds a shield and resistances exactly while you're walking into their team looking for the angle.
Bullet Time (R) fires twelve waves in three seconds and only pays off against grouped or crowd-controlled enemies: your Unstoppable Force (R) hands them over, motionless and lined up. It's the most direct answer to the damage you lack.
Inferno Trigger (R) can delete a grouped team in about two seconds, but it forces her to stand in the middle of them: after your engage that spot is safe, because they're on the floor and you're the one soaking. Blade Whirl (W) covers the rest.
Deadly Flourish (W) turns into a root on anyone who has just taken damage from an ally: your engage switches it on for free. And Curtain Call (R) needs targets that can't dodge - exactly the ones you leave on the floor.
Chain of Corruption (R) starts on one target and spreads to whoever stands next to them: after Unstoppable Force (R) they all do, so the chain takes the whole group. Hail of Arrows (E) keeps that same pile slowed and healing-blocked.
Kog'Maw has no dash and no blink; he only survives if the diver never reaches him. Your own card already has the combo: Ground Slam (E) to cripple the diver's attack speed, then Unstoppable Force (R) to throw him back into your team.
Bladecaller (E) only roots with three feathers on the same target, and three feathers land when the enemy isn't moving: easy after your engage, almost never before it. Worth it if you both agree to fight around your ultimate.
Your limit is that you can't close a fight on your own: Pyroclasm (R) only chains from one enemy to the next when they're stacked, and after Unstoppable Force (R) they are. Sear (Q) on a target already carrying Blaze (P) adds a 1.75-second stun.
Beat Drop (E) upgrades to a root and then a stun if the target has already been crowd-controlled, so your knock-up promotes it two steps. Encore (R) extends every time it clips a champion, and you line them up for her.
Crescendo (R) goes off while enemies are already down from your ultimate, so it extends the lockdown instead of wasting it, and Aria of Perseverance (W) keeps you standing while you soak. She's also the highest win rate support on the server.
Whiffing Unstoppable Force (R) usually gets you killed: the Dark Passage (W) lantern is the way out when the engage lands on nothing. And when it does land, The Box (R) shuts the exits on anyone trying to get back up and run.
Stranglethorns (R) knocks up after a two-second delay, the flaw that makes it dodgeable: anyone floored by Unstoppable Force (R) doesn't get those two seconds. Grasping Roots (E) holds whoever tries to crawl off the edge of the zone.
He's for when you're the team's only engage and you already know engaging will cost you your life: Chronoshift (R) puts you back on your feet afterwards, and Temporal Mirage (E) gets you into ultimate range before they scatter. With a second tank, less so.
| Lane | Tier | Win% | Pick% | Ban% | Pos. |
|---|---|---|---|---|---|
| Baron | S | 52.63% | 11.72% | 22.93% | #5 / 41 |
| Support | S | 55.18% | 8.34% | 22.93% | #6 / 34 |
| Lane | Tier | Win% | Pick% | Ban% | Pos. |
|---|---|---|---|---|---|
| Baron | S | 52.59% | 11.51% | 23.28% | #5 / 41 |
| Support | A | 55.29% | 8.69% | 23.28% | #7 / 34 |
| Lane | Tier | Win% | Pick% | Ban% | Pos. |
|---|---|---|---|---|---|
| Baron | S+ | 52.33% | 10.09% | 20.59% | #2 / 41 |
| Support | A | 55.41% | 9.94% | 20.59% | #11 / 33 |
| Lane | Tier | Win% | Pick% | Ban% | Pos. |
|---|---|---|---|---|---|
| Baron | B | 54.62% | 9.44% | 13.25% | #18 / 39 |
| Support | B | 51.37% | 8.67% | 13.25% | #16 / 33 |


Malphite is a tank champion in Wild Rift whose entire identity revolves around a single, game-warping ability: Unstoppable Force. He deals magic damage from his kit despite stacking pure armor and health, so he plays less like a bruiser and more like a walking initiation button — soak damage, wait for the right window, then dive his ultimate into the enemy backline and let your team finish the job.
Skill order: E > Q > W (max R at every level it's available)
Lane phase is about patient poke rather than early trades: throw Seismic Shard whenever it's up to chip health and slow your opponent, using the self-haste either to follow up with an auto or to reset the fight on your terms. Avoid trading into sustained damage before level 3-4, since your own output is low and Granite Shield only pays off when you're not constantly eating chip damage. Once you hit level 5, your power spike is immediate — a well-placed Unstoppable Force turns almost any short trade into a kill, or at least forces a Flash.
From the mid game onward, your job in every fight is to find the angle where Unstoppable Force catches the most priority targets — ideally their damage carries — and to open the fight from as much range as possible so your team can follow up before enemies scatter. Immediately after the knock-up, use Ground Slam to cut the backline's attack speed and mop up with Thunderclap-empowered autos on anyone still in range, then shift into your frontline job: body-block skill shots, soak damage, and lean on Seismic Shard's slow to peel divers off your own carries.