
WR China Meta
Meta, tier list & top-player builds from the China server · live
Meta, tier list & top-player builds from the China server · live

拉克丝 · 光辉女郎 Mage A
✅ Patch 7.2e · stats updated 2026-09-12 · real builds of 19 top-ranked China server players captured 2026-09-11
Difficulty Damage Toughness Utility
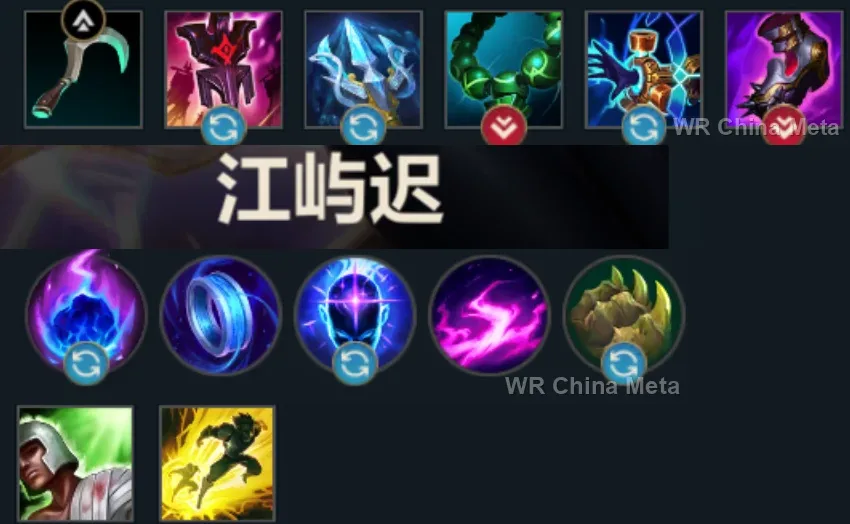
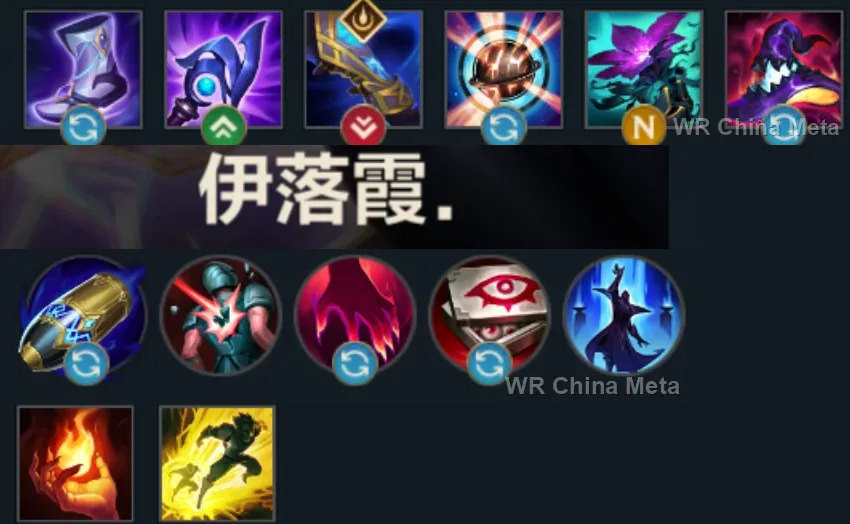
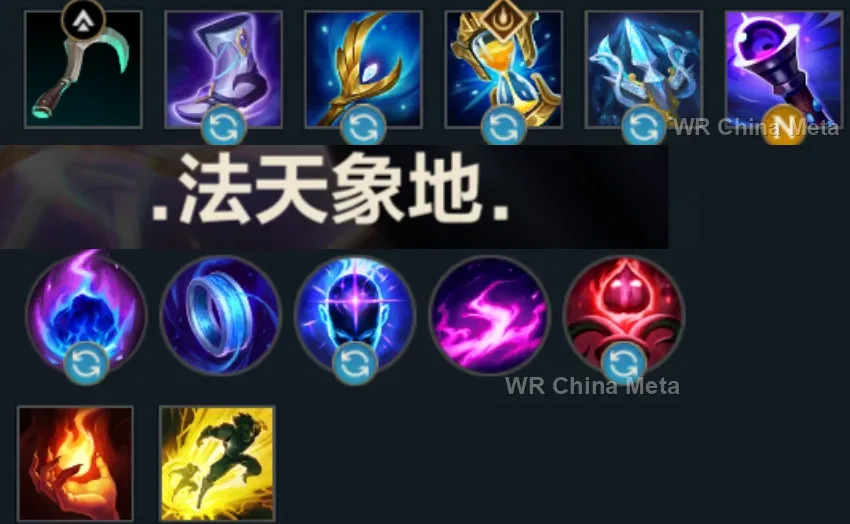
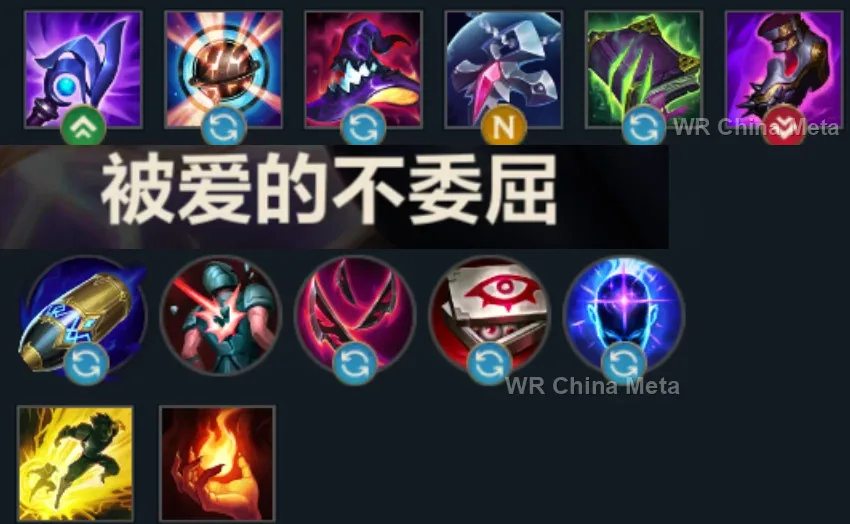
How the strongest players on the Wild Rift China server (国服) build Lux: live win/pick statistics by rank bracket, the most-used item and rune sets, and the real loadouts of the top ranked Lux players, captured in-game.
📖 How to play Lux










Counted on 20 real builds captured from the Chinese client, player by player. Independent from the official API above.


Taken from the official in-game China leaderboard. Spells, runes and items of every public top player.
19 of the top 30 players have a public match history; the others keep theirs private.
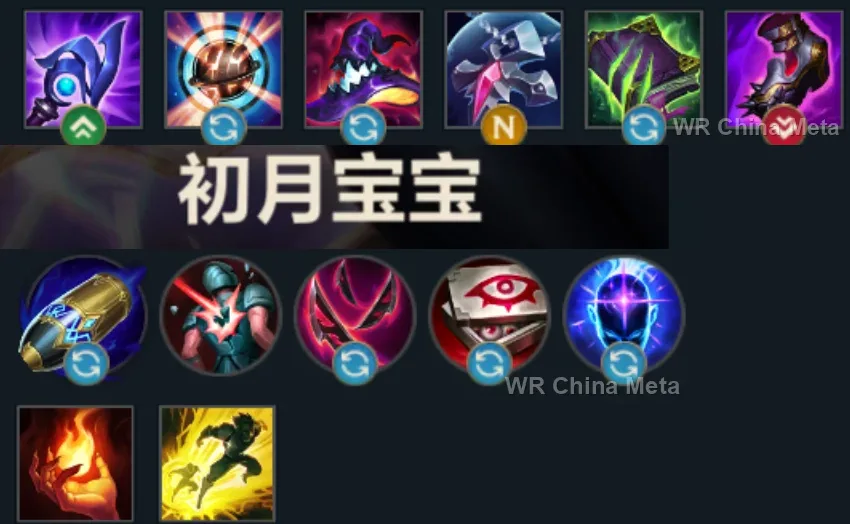
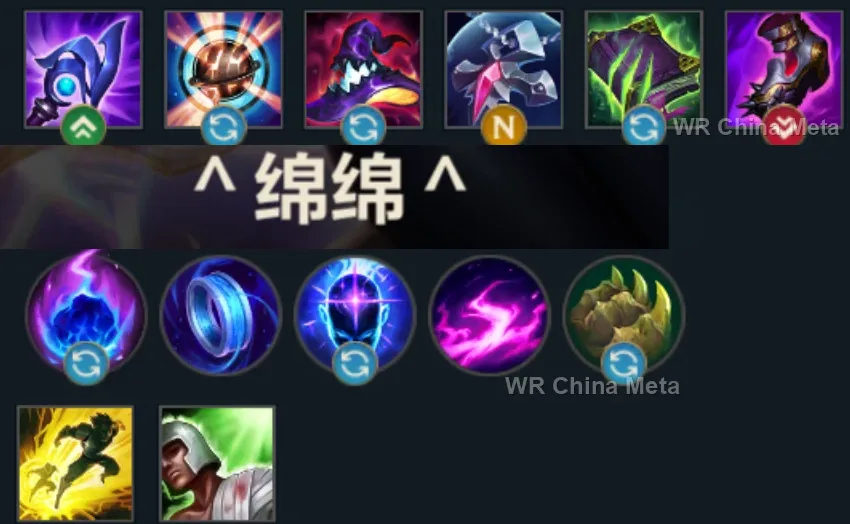
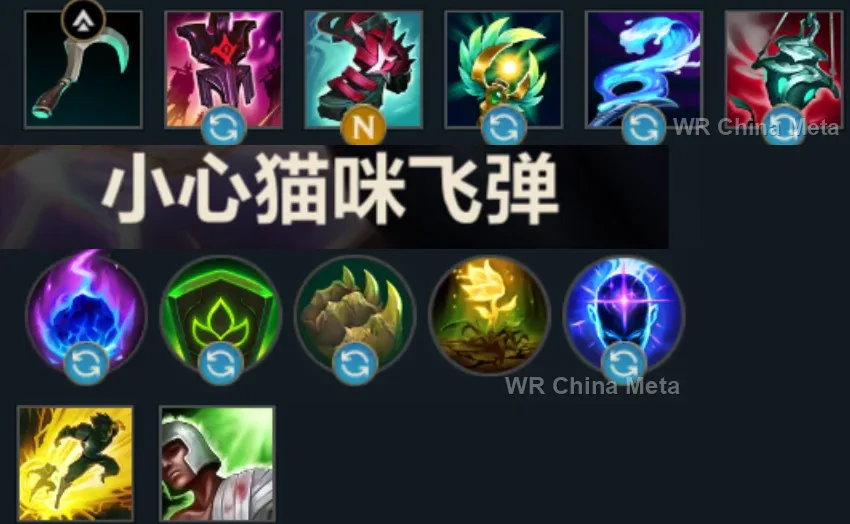
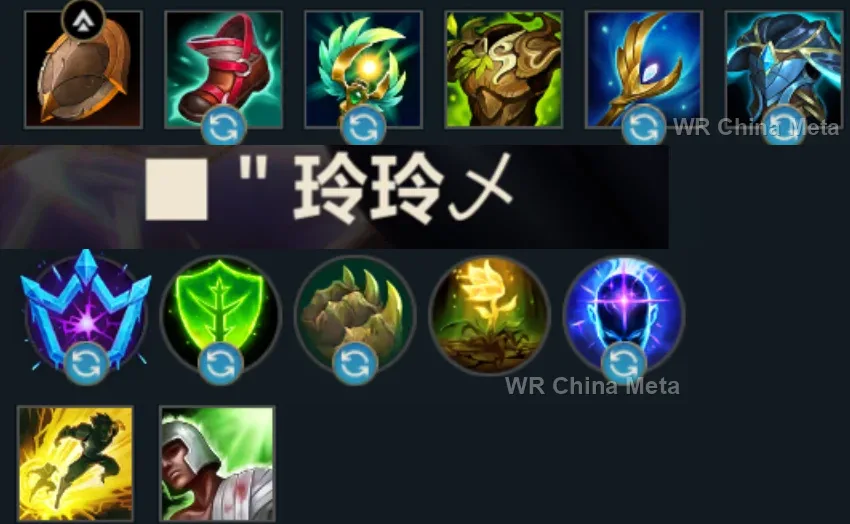
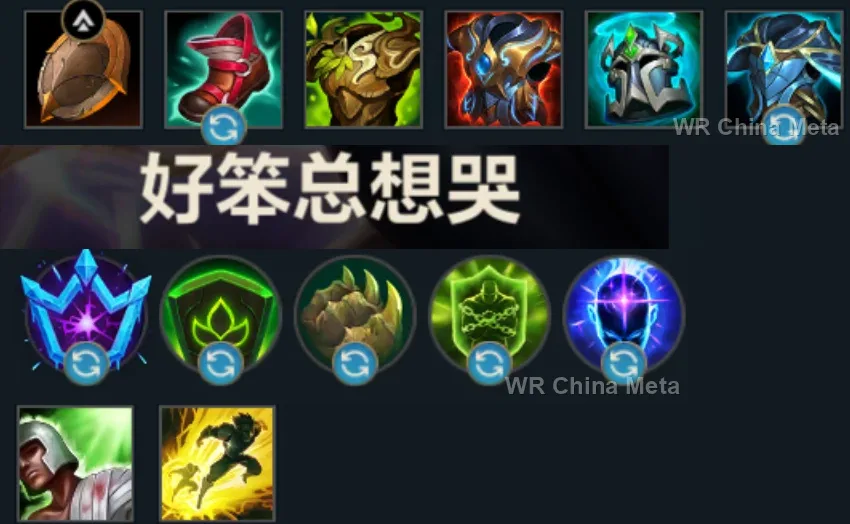
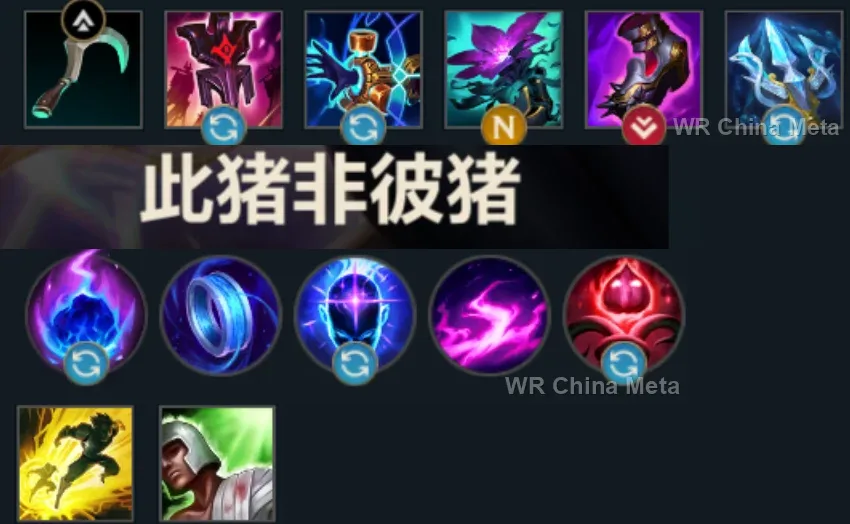
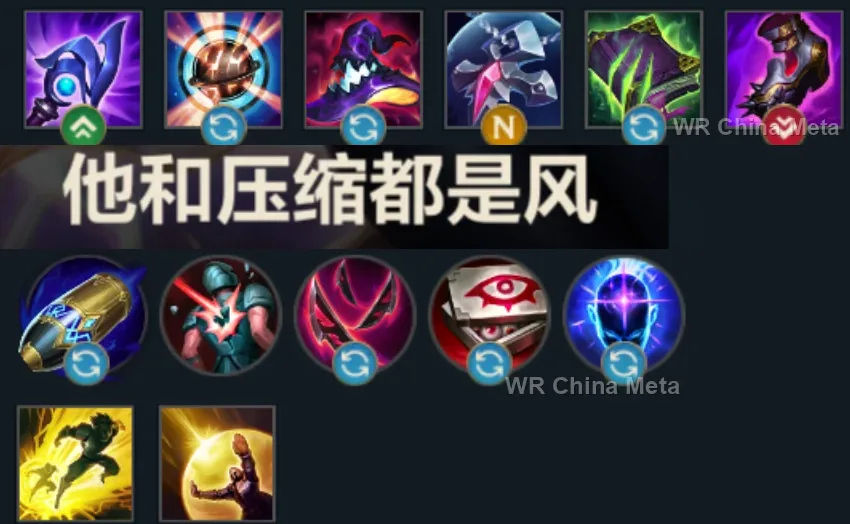
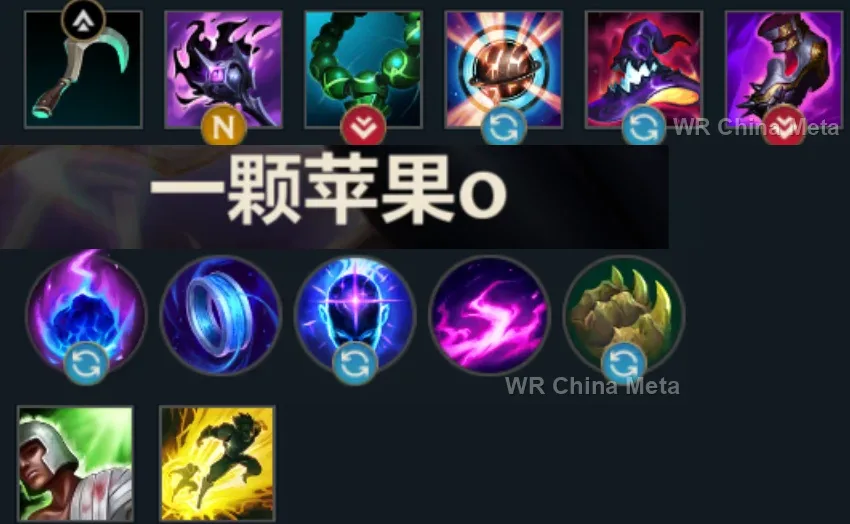
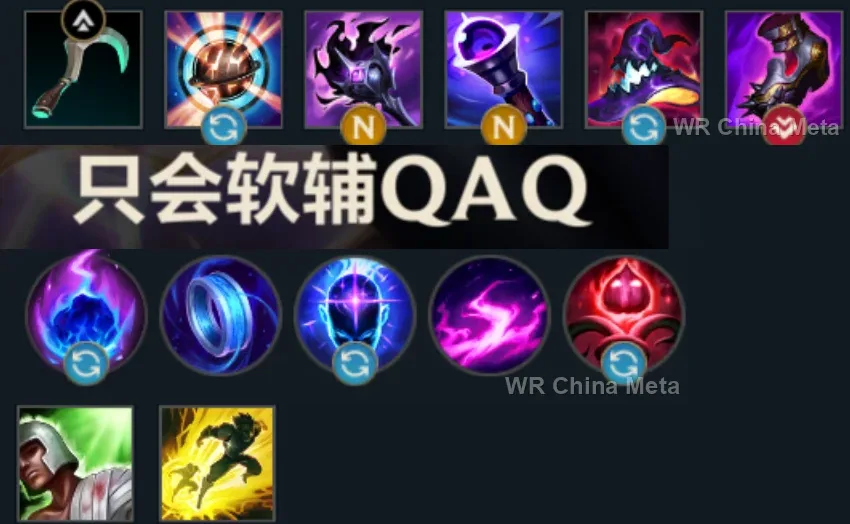
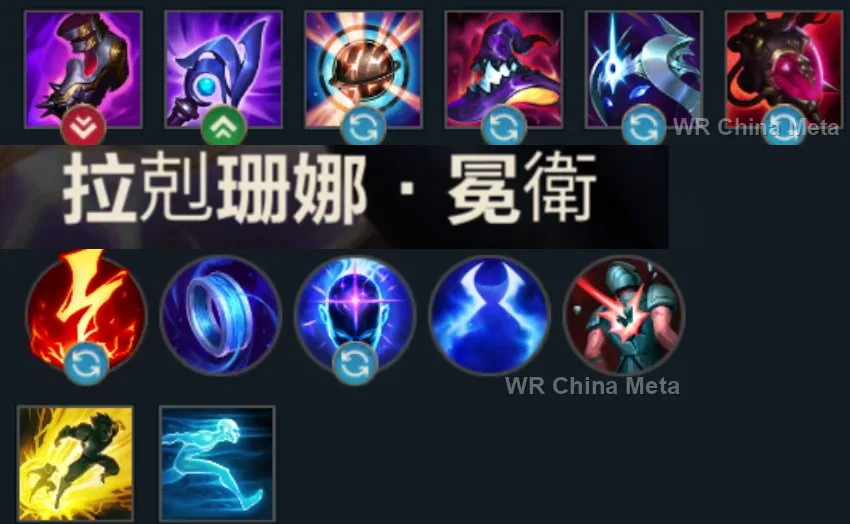
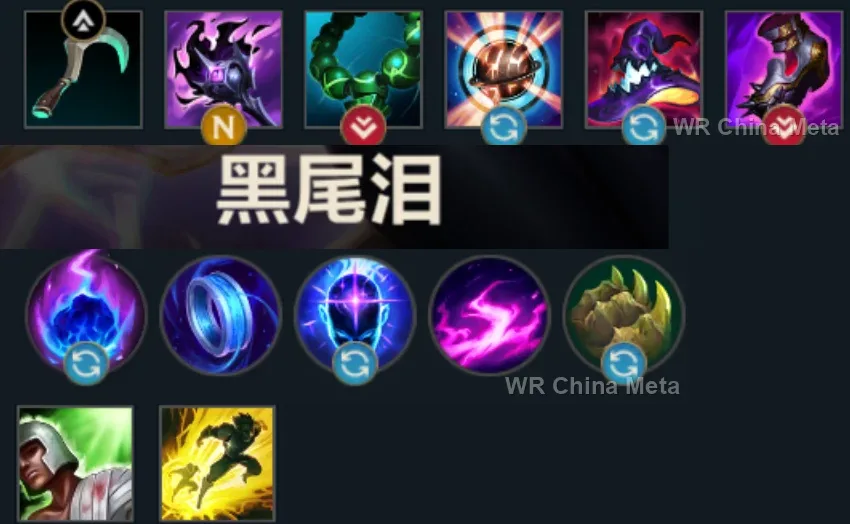
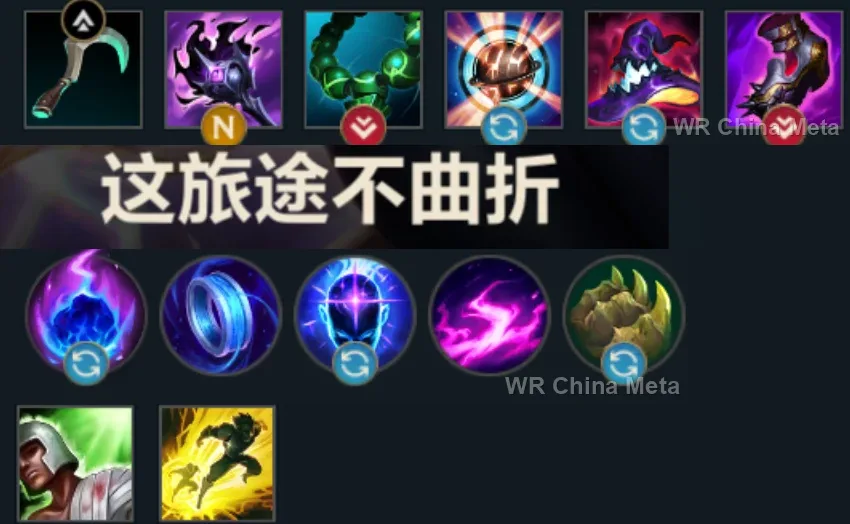
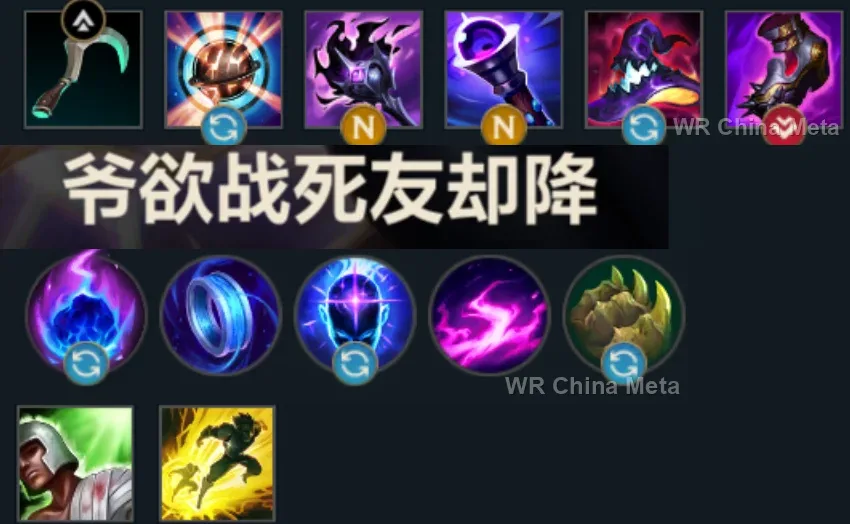
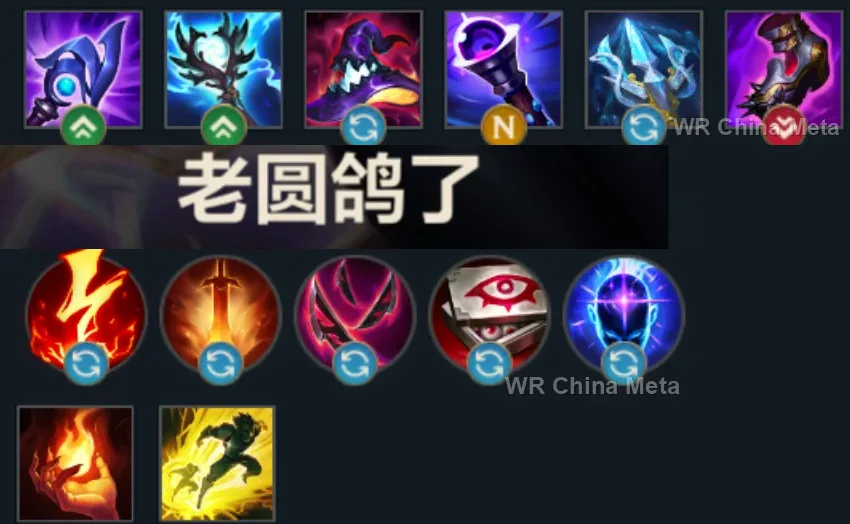
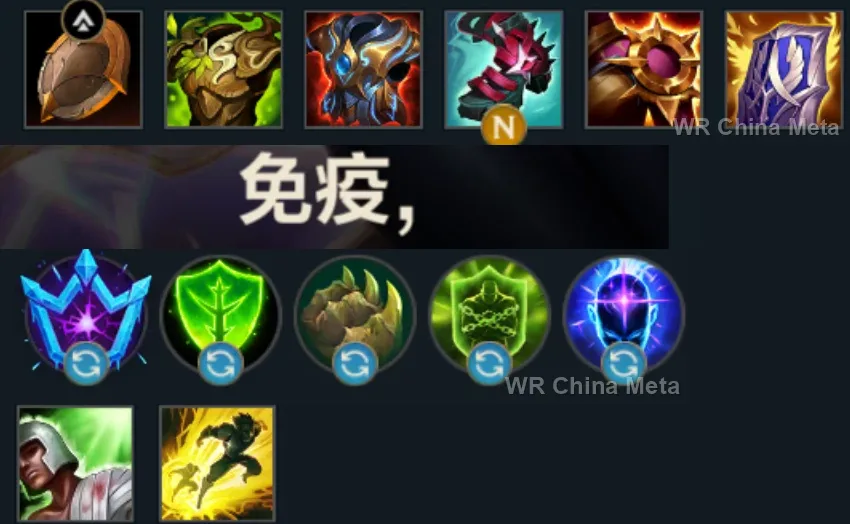
The toughest lane matchups for Lux on the Wild Rift China server, with why each is hard and exactly how to play it.
 Lux vs Yasuo Hard counter
Why Yasuo counters Lux: Wind Wall cancels your whole kit except E, and his dashes close the gap before your second root is up.
How to play Lux into Yasuo: Max distance, always. Place E on the minions he is about to dash through. Call the jungler early: a snowballing Yasuo on Lux is game over. After 5, hold R for when the Wall is spent.
→ Yasuo Lux vs Zed Hard counter
Why Zed counters Lux: Zero mobility against the perfect all-in: after 5 his R finds you even under tower, and your Q alone does not stop a full combo.
How to play Lux into Zed: Take Barrier and buy Zhonya's Hourglass early. Save Q for his RETURN from R, not his entry. From 5 onward stay within tower range.
→ Zed Lux vs Fizz Hard counter
Why Fizz counters Lux: His E dodges your root on command and the jump ignores the minion wall: your one defensive tool is exactly what he cancels.
How to play Lux into Fizz: Q ONLY after his E is spent, never before. Max range with minions always between you. Your R can snipe him while he repositions: it is your real threat.
→ Fizz Lux vs Katarina Unfavorable
Why Katarina counters Lux: Her dagger blinks slip around your root and her AoE R punishes your fragile positioning.
How to play Lux into Katarina: Root the DAGGER on the ground, not her: she has to pass through it. Constant E poke keeps her below half health and denies the entry. Zhonya's for her R.
→ Katarina Lux vs Ahri Skill matchup
Why Ahri counters Lux: Mirrored skillshots: Charm against root, first hit wins the trade. She has the mobility, you have the range.
How to play Lux into Ahri: Never move in a straight line. Your range wins if you poke her BEFORE she reaches Charm distance. Keep Q for her final dash.
→ AhriThe champions Lux works best alongside on the Wild Rift China server, lane by lane, with the reason each pairing works.
Unstoppable Force (R) knocks up several targets from outside engage range and leaves them piled up and unable to move: that is exactly the line Final Spark (R) pierces. His page says he kills nothing unless somebody converts the engage, and that somebody is you.
Brittle from Bellows Breath (W) stretches follow-up crowd control by 30%, and yours is the Light Binding (Q) root: the longer they stay put, the easier it is to land Lucent Singularity (E) and Final Spark (R) on top of it.
You have no dash, no blink and no escape: Stand United (R) shields you and drops him next to you from anywhere on the map. And on a target taunted by Shadow Dash (E), a skillshot like Light Binding (Q) simply cannot miss.
GNAR! (R) into terrain upgrades the slow into a full stun on a whole group, and Wallop (W) adds 1.25 seconds of area stun: against targets that cannot move, Final Spark (R) catches all of them in a line instead of just one.
All Out (R) rips the enemy carry away from her team and roots her far from anyone who could help: Light Binding (Q), Lucent Singularity (E) and Final Spark (R) on an isolated target are a death sentence. Footwork (E) dashes to you and shares his shield.
Curse of the Sad Mummy (R) stuns an entire group for a second and a half, and Final Spark (R) pierces everyone it touches: on a frozen pile it touches all of them. Cursed Touch (P) meanwhile adds true damage to every magic hit, and you deal no other kind.
Your problem is that everything you throw can be dodged on foot: Cataclysm (R) takes the walking away. Whoever ends up inside that arena does not leave before Light Binding (Q), Lucent Singularity (E) and Final Spark (R) have all three landed.
Frenzying Taunt (E) nails the enemy carry in place and forces her to beat on a ball of armour: a taunted target dodges nothing. He has almost no damage of his own, as his page admits, so the damage that decides that fight is you.
Infinite Duress (R) is a one-second suppress that cannot be broken: while it lasts, Light Binding (Q) and Final Spark (R) land without argument. And Blood Hunt (W) reveals the whole map, which means targets for a beam that crosses half a screen.
Cease and Desist (R) is unstoppable and point-and-click: it hands you the enemy carry ripped away from her team. Her page says that unsupported she trades her life for a single kill, and your damage from range is exactly that support.
Crescent Guard (R) knocks back everyone but his marked target and cuts damage arriving from range: against a dive onto you it is the only answer your team owns, because you have no dash. Only worth it if he chooses to peel instead of diving.
Your entire kit is a dodgeable skillshot, and Pyromania (P) is a guaranteed stun on any spell she casts: on a target that cannot move, Light Binding (Q), Lucent Singularity (E) and Final Spark (R) all land in sequence. Two bursts like that delete anyone caught.
Your one declared problem is that whoever reaches you kills you: Hero's Entrance (R) arrives from across the map, knocks up whoever is on you and shields you. And the Shield of Durand (W) taunt holds the group still along the Final Spark (R) line.
Charm (E) is 1.4 seconds of a target walking towards her with no control of their own: inside that window Lucent Singularity (E) and Final Spark (R) do not miss. It is a pick partnership rather than a protective one, though: she gives you no peel at all.
Sleepy Trouble Bubble (E) puts a target to sleep, and a sleeping target dodges nothing: Final Spark (R) is the wake-up call, and her page says the waking hit adds up to 40 true damage. Two mages who never enter melee and kill from half a screen away.
Ring of Frost (W) roots and Frozen Tomb (R) stuns on top of the root: nearly three seconds where the target does not move, which is three seconds where none of your skillshots can miss. And Frozen Tomb on herself is the panic button you do not own.
The Gold Card from Pick a Card (W) stuns for 1.25 seconds and Destiny (R) reveals the whole map: still, visible targets are all Final Spark (R) ever asks for. But he is usually on the far side of the map and brings no peel, which is what you actually lack.
Deadly Flourish (W) turns into a real root on anyone who has just taken damage from an ally: between Lucent Singularity (E) and the Illumination (P) detonations you keep it armed non-stop. And Curtain Call (R) plus Final Spark (R) kill from off-screen.
Bullet Time (R) is a stationary three-second channel that anyone with a dash simply walks around: Light Binding (Q) roots two targets in a single cast, and Make It Rain (E) layered over Lucent Singularity (E) is a zone nobody leaves on foot.
Neither of you ever has to walk up: Mystic Shot (Q) and Lucent Singularity (E) hit from outside everyone else's range, and Illumination (P) doubles every trade. And Arcane Shift (E) means he will never ask you for the peel you cannot give.
Enchanted Crystal Arrow (R) stuns for up to 3.5 seconds from off-screen: that is the window where your whole rotation lands on somebody who cannot move. And Frost Shot (P) slows on every hit, which makes Light Binding (Q) far harder to dodge.
Charging Piercing Arrow (Q) roots him in place and telegraphs the shot: on a target already held by Light Binding (Q) that risk disappears. And Chain of Corruption (R) roots an entire group, which is the perfect line for Final Spark (R).
Yordle Snap Trap (W) roots for 1.5 seconds and reveals, and your whole kit lands on somebody who cannot move. But she is at 46.5% in China and neither of you can protect the other: the first dive composition you run into deletes you both.
| Lane | Tier | Win% | Pick% | Ban% | Pos. |
|---|---|---|---|---|---|
| Support | A | 49.88% | 9.11% | 18.94% | #9 / 34 |
| Mid | B | 49.86% | 6.33% | 18.94% | #18 / 39 |
| Lane | Tier | Win% | Pick% | Ban% | Pos. |
|---|---|---|---|---|---|
| Support | A | 49.76% | 6.32% | 19.06% | #9 / 34 |
| Mid | B | 49.86% | 8.82% | 19.06% | #17 / 38 |
| Lane | Tier | Win% | Pick% | Ban% | Pos. |
|---|---|---|---|---|---|
| Support | B | 49.45% | 5.88% | 13.11% | #18 / 33 |
| Mid | B | 49.79% | 7.67% | 13.11% | #21 / 39 |
| Lane | Tier | Win% | Pick% | Ban% | Pos. |
|---|---|---|---|---|---|
| Support | B | 48.74% | 6.51% | 7.04% | #21 / 33 |
| Mid | D | 48.02% | 3.67% | 7.04% | #37 / 41 |


Lux is a long-range burst Mage built around never entering melee range, making her one of the safest playstyles in Wild Rift's mid lane. Her whole kit deals magic damage from far outside retaliation distance: root with Light Binding, detonate Illumination for bonus damage, then finish with the map-crossing Final Spark. She has one of the highest damage ceilings of any mage, but almost no mobility to back it up, so she lives or dies by landing skillshots from safety rather than trading up close.
Skill order: E > Q > W - max Lucent Singularity first for its low cooldown poke and wave clear, Light Binding second for damage and CC, Prismatic Barrier last; take Final Spark at every chance (levels 5, 9, 13).
Play Lux from max range: lean on Lucent Singularity to poke and clear waves safely when you don't have a clean read for Q, and only commit Light Binding when you're confident it lands, since a whiffed root wastes your best tool and leaves you defenseless. Avoid extended trades entirely - she has no escape, so every exchange should be won at range, not up close. Look to hit level 5 first: Final Spark turns a normal poke into a kill threat or a forced recall from a full screen away, and it's her first real power spike in lane.
From the mid-game on, Lux fights from the very back of her team, well outside engage range, using Final Spark as a pre-fight poke to whittle down a target before the main clash even starts. In the fight itself, prioritize locking down the biggest threat with Q - an overextended diver or a caught-out carry - then drop Lucent Singularity into the fight to slow multiple targets and zone a choke point. Save Final Spark's long cooldown for whichever pays off more: securing a kill on a fleeing squishy, or lining up several enemies for a piercing poke, since it hits everyone the beam touches. Keep Prismatic Barrier ready to shield yourself or a diving ally rather than getting caught trying to fight in melee range.