
WR China Meta
Meta, tier list & top-player builds from the China server · live
Meta, tier list & top-player builds from the China server · live

锤石 · 魂锁典狱长 Tank A
✅ Patch 7.2e · stats updated 2026-09-12 · real builds of 17 top-ranked China server players captured 2026-09-11
Difficulty Damage Toughness Utility
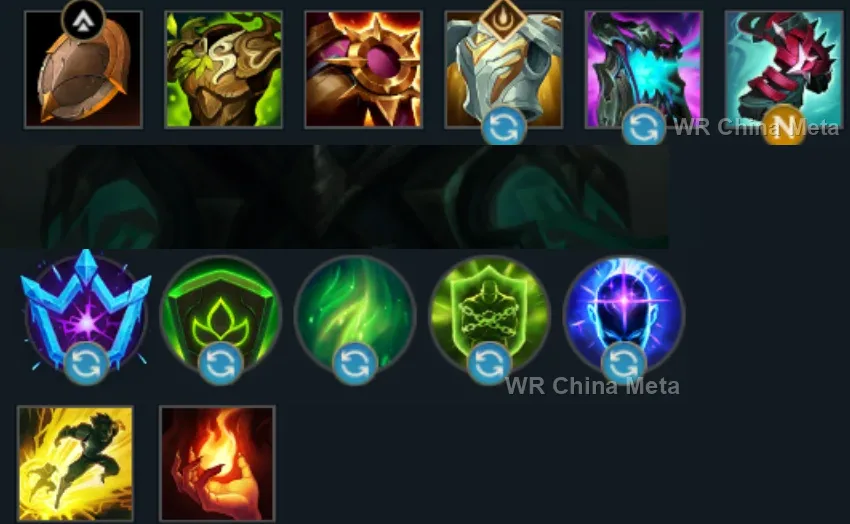
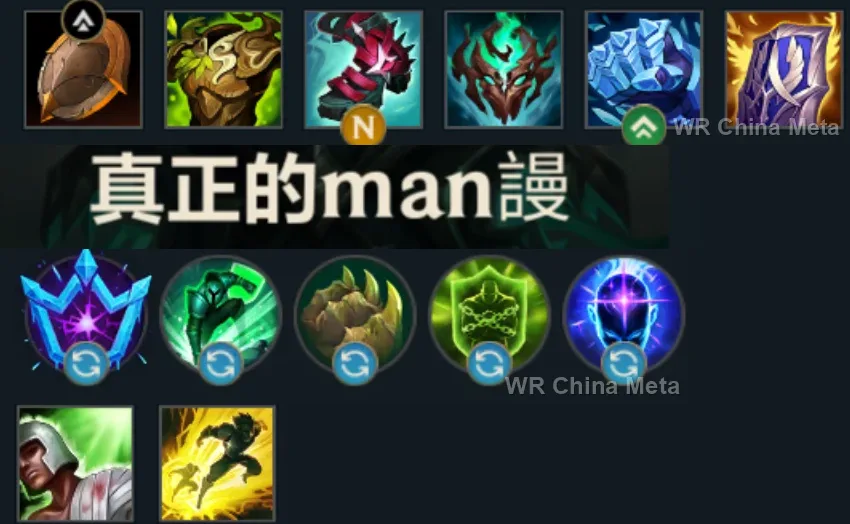
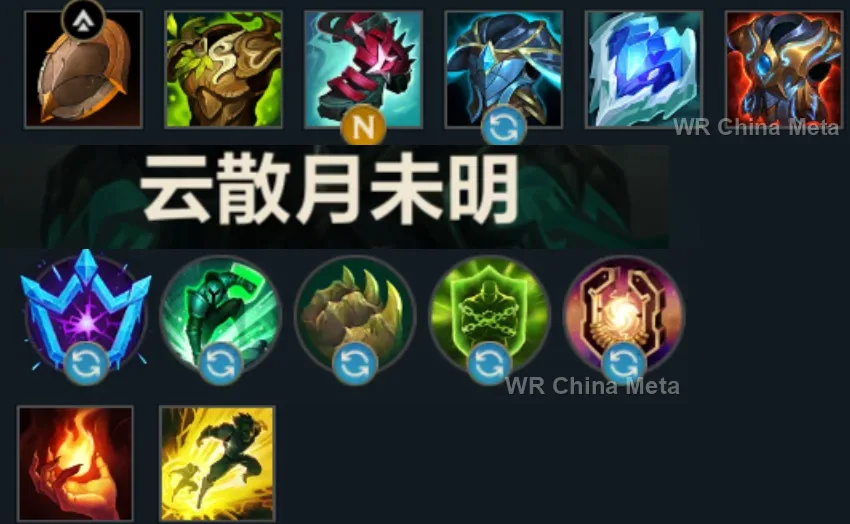
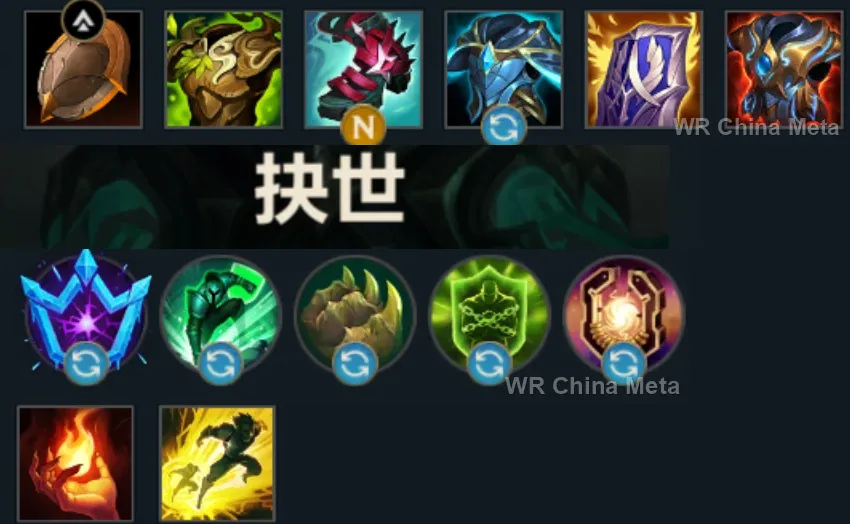
How the strongest players on the Wild Rift China server (国服) build Thresh: live win/pick statistics by rank bracket, the most-used item and rune sets, and the real loadouts of the top ranked Thresh players, captured in-game.
📖 How to play Thresh





Counted on 18 real builds captured from the Chinese client, player by player. Independent from the official API above.


Taken from the official in-game China leaderboard. Spells, runes and items of every public top player.
17 of the top 30 players have a public match history; the others keep theirs private.
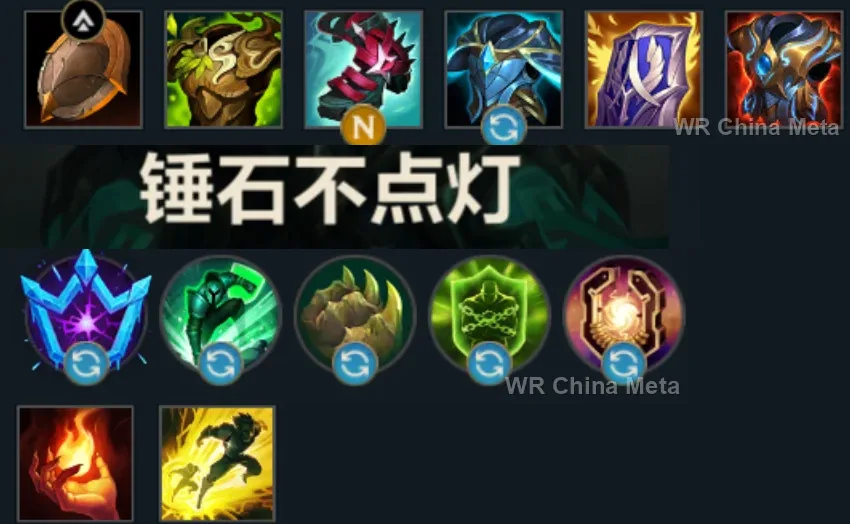
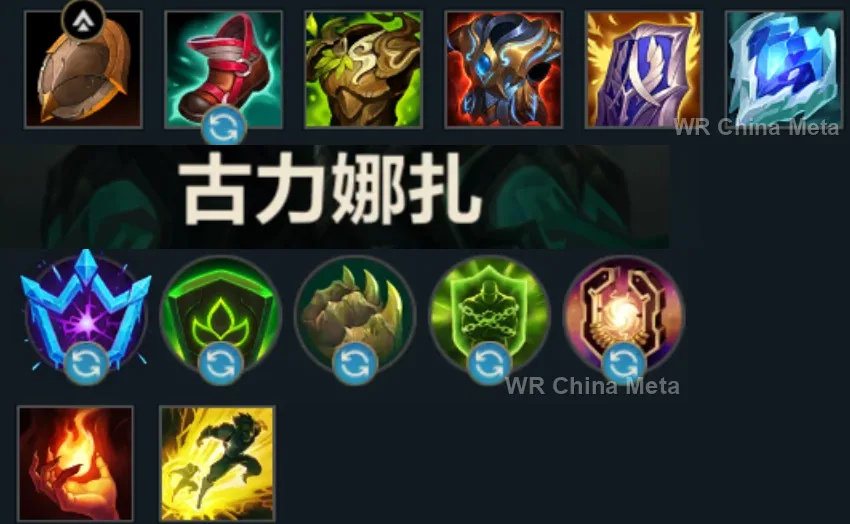
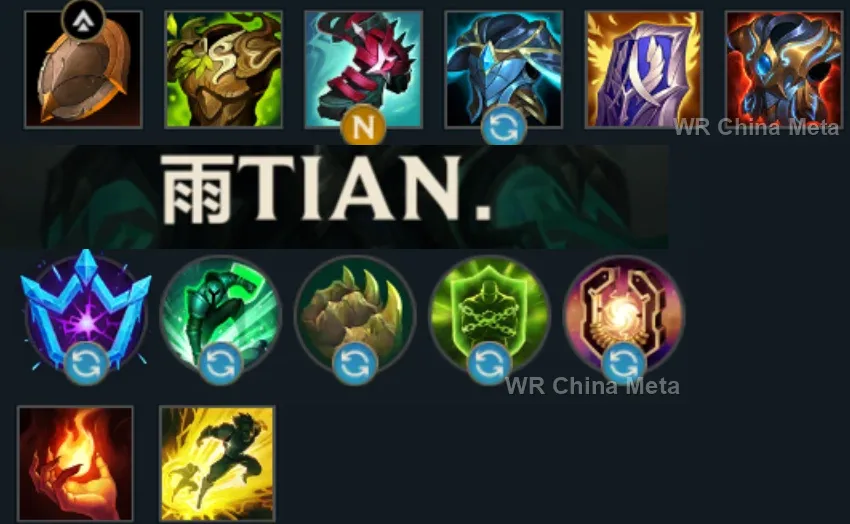
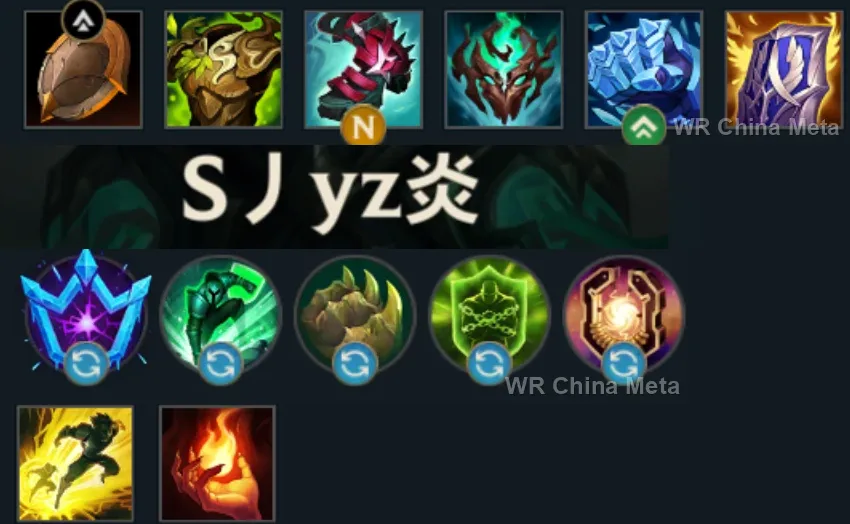
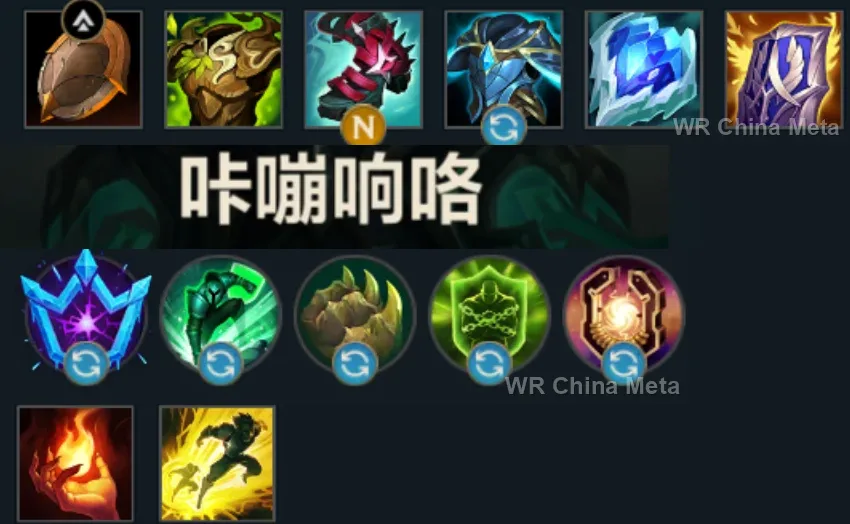
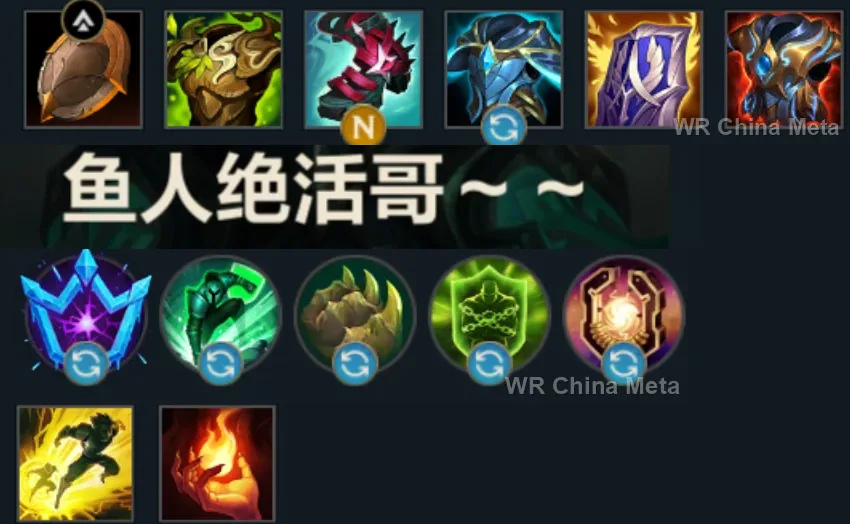
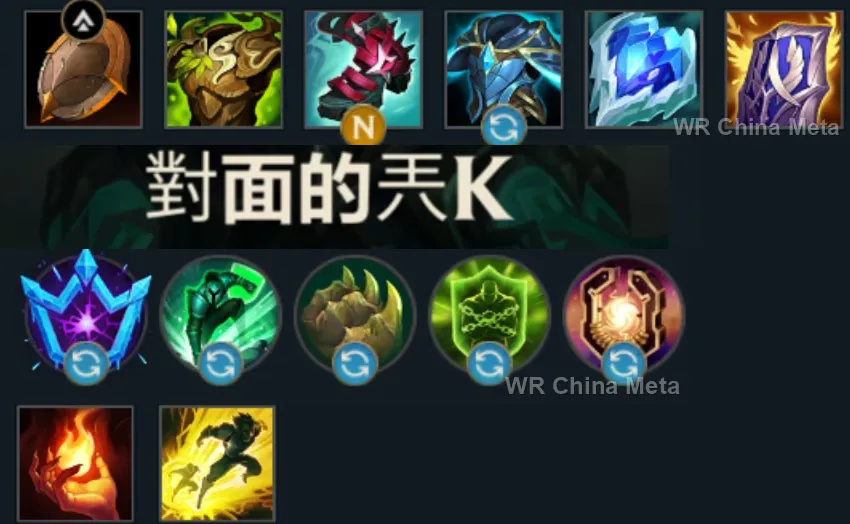
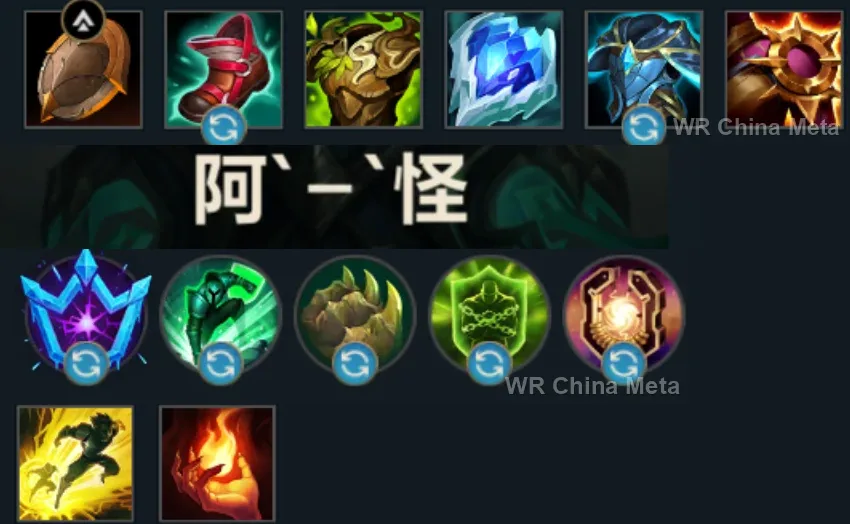
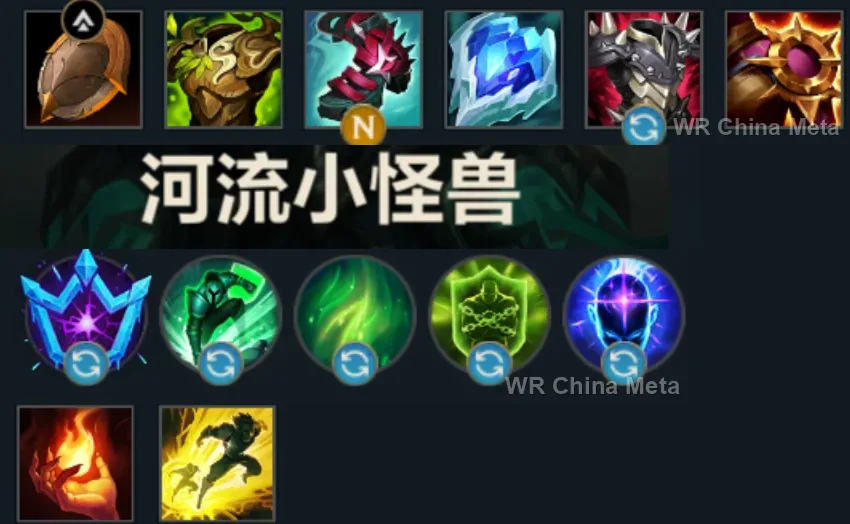
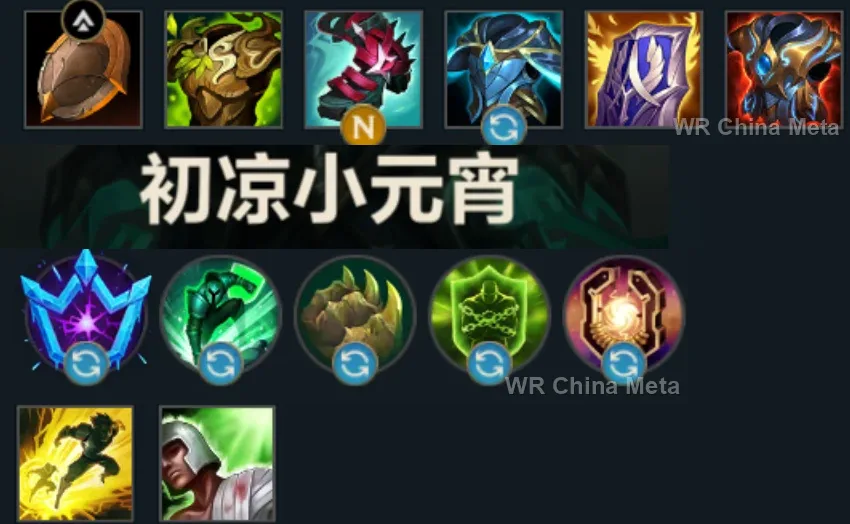
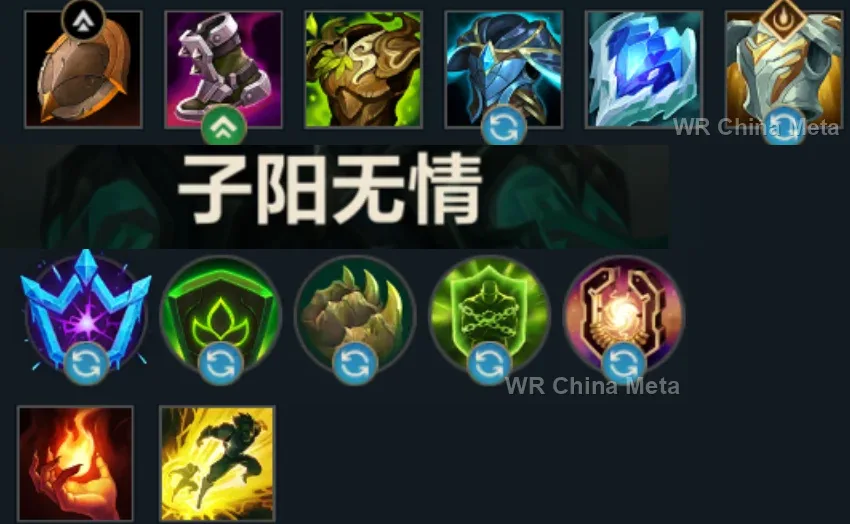
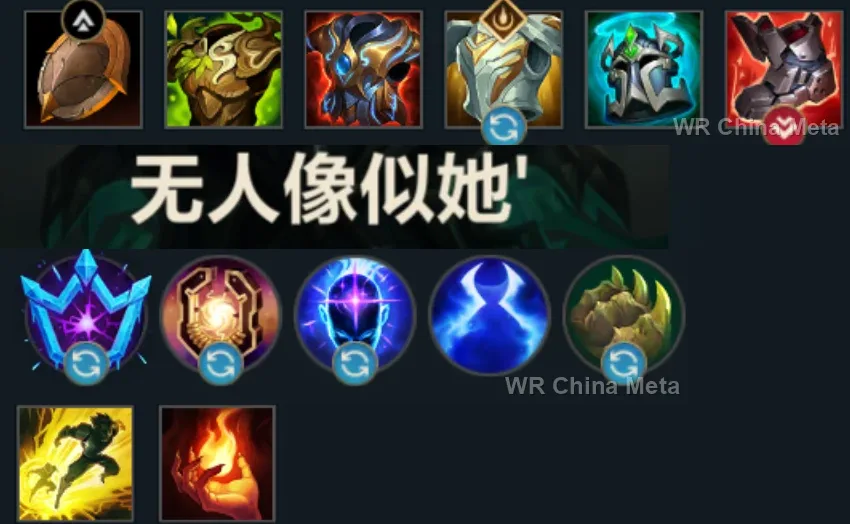
The toughest lane matchups for Thresh on the Wild Rift China server, with why each is hard and exactly how to play it.
 Thresh vs Morgana Hard counter
Why Morgana counters Thresh: Black Shield exists for you: hook, Flay and The Box become decorations while she holds it ready.
How to play Thresh into Morgana: Hook OTHER targets, or wait until poke consumes the shield. Play the duo game, not the duel with her: that alley is blind.
→ Morgana Thresh vs Sivir Unfavorable
Why Sivir counters Thresh: The ADC's Spell Shield eats your best hook: your threat dies on a single click.
How to play Thresh into Sivir: Lantern and Flay stay real: play utility. Fake the hook to trigger the shield, THEN grab for real.
→ Sivir Thresh vs Milio Unfavorable
Why Milio counters Thresh: His team cleanse unbinds whoever you hook and the fire poke taxes you while you gather souls.
How to play Thresh into Milio: Double CC in quick succession: hook plus Flay, faster than his cleanse reflex. And hook the ADC after the cleanse is already spent.
→ Milio Thresh vs Lulu Skill matchup
Why Lulu counters Thresh: Polymorph on your engage and shields on your poke: the fairy who defuses the jailer.
How to play Thresh into Lulu: Hook from fog of war: what she cannot see she cannot Polymorph in time. Lantern to your jungler: your pick game lives on third parties.
→ Lulu Thresh vs Blitzcrank Skill matchup
Why Blitzcrank counters Thresh: A duel of hooks: his pulls the target to him — worse for the victim — yours offers the team more utility.
How to play Thresh into Blitzcrank: Do not get grabbed while aiming: throw from behind minions. Your Lantern SAVES his hooked victims: keep it ready.
→ BlitzcrankThe champions Thresh works best alongside on the Wild Rift China server, lane by lane, with the reason each pairing works.
Unstoppable Force (R) piles them into one spot and The Box (R) seals the exits: nobody walks out of that. His page says he kills nothing unless someone converts the engage, and Flay (E) is what keeps the group standing there.
The Box (R) pins a group inside the cage and Fate Sealed (R) cuts through that same line, knocking them together. When he is left exposed, which his page calls fatal, the Dark Passage (W) lantern pulls him back out alive.
Bellows Breath (W) applies Brittle, stretching follow-up crowd control by 30%, so your 1.5-second Death Sentence (Q) stun runs closer to two. And the Call of the Forge God (R) ram knocks up whoever The Box (R) already sealed in.
His page says mobile champions simply stay outside Apprehend (E) range: Death Sentence (Q) drags them onto him and stuns for 1.5 seconds, and Noxian Guillotine (R) is the damage your own combo admits it does not have.
His page lists two gaps: once Stormbringer (R) is down he gets kited, and he brings almost no area control. The Box (R) and Flay (E) cover both, while Frenzied Maul (W) bites a target your hook has already locked in place.
Worth it in games played around picks rather than 5v5s: The Hextech Ultimatum (R) locks the carry in an arena her team cannot enter, and Death Sentence (Q) takes away the last step of escape before Camille even lands.
His page says Absolute Zero (R) is beaten by simply walking away: inside The Box (R), with its 99% slow, walking is not an option. That is the pairing that ends a teamfight before it really starts.
Infinite Duress (R) can be dodged or knocked out of the air, but not on a target your Death Sentence (Q) already stunned for 1.5 seconds. His page warns that allies who dive with him are on their own; the lantern answers that.
Your stated limit is that the hook locks but does not kill: an Unseen Predator (P) leap into Savagery (Q) guaranteed crit deletes a target that is already pinned, and if the leap is not enough the Dark Passage (W) lantern drags him out.
His page says that against a scattered team Curse of the Sad Mummy (R) is a wasted cooldown: The Box (R) and Death Sentence (Q) decide where they stand. Two area lockdowns back to back and the teamfight is already decided.
Cataclysm (R) walls one carry in while The Box (R) walls everyone else out: between you, their team gets split in two. His page says he looks for lanes with reliable crowd control to follow up on, and the hook is exactly that.
Javelin Toss (Q) hurts more the farther it flies, up to 225 magic damage: on a target hooked and stunned for 1.5 seconds, the full-distance spear always lands. Worth it if you play for ranged picks, not if the brawl starts anyway.
Hero's Entrance (R) telegraphs its landing zone for 2.5 seconds and his page admits an alert team just walks out of it: out of The Box (R) nobody walks anywhere. He can also fly straight onto you, and you are always in the middle.
Vision of Empire (W) deals 50% bonus damage to anything already locked down, and Death Sentence (Q) stuns for 1.5 seconds: you hand him that condition for free, without him risking Nevermove (E), the skillshot his page says he whiffs.
Her page says her short range forces her to walk in and that she dies without an escape: Death Sentence (Q) brings the target to her instead. With Pyromania (P) charged, Summon: Tibbers (R) stacks another second of stun on top of yours.
Destiny (R) reveals the whole map and teleports him into your lane: two on two under their tower, one hook becomes a death sentence. And the Gold Card from Pick a Card (W) adds 1.25 seconds on top of your own stun.
Sleepy Trouble Bubble (E) is the skillshot she cannot afford to miss, and she does nothing without it: on a target hooked and stunned for 1.5 seconds it always lands, and her burst is the damage your combo is missing.
Worth it against teams that funnel through chokepoints: Singularity (E) drags them to its centre and executes anyone already low, and inside The Box (R), at 99% slow, walking out of the black hole is not an option. Against a spread team, little.
Her page says half the enemy team simply walks out of Bullet Time (R) without a slow first: The Box (R) slows by 99% and Flay (E) shoves back anyone trying to leave, so all twelve waves actually land.
His page says it flatly: with no dash and no escape he does not survive unless the team peels for him. Flay (E) shoves divers off him, Dark Passage (W) drags him out, and Living Artillery (R) never misses a hooked target.
Deadly Flourish (W) roots anyone an ally has just damaged, so a single Flay (E) hit locks the target down twice in a row. In exchange he has zero mobility, and the Dark Passage (W) lantern is his only way out of a collapse.
Her page says she is an ordinary carry outside point-blank range: Death Sentence (Q) brings the target to her instead of forcing her to walk in, and after Inferno Trigger (R) the Dark Passage (W) lantern pulls her back out.
A snowball lane: every hook that lands is a kill, and every kill turns his League of Draven (P) Adoration stacks into gold. Stand Aside (E) knocks back and slows whoever tries to punish you after a missed Death Sentence (Q).
This one is a patience pick: his page says he is weak until Dragon Practice (P) stacks up, and that ganks and lane pressure push the whole plan back. You buy him those minutes by threatening the hook and pulling him out with Dark Passage (W).
| Lane | Tier | Win% | Pick% | Ban% | Pos. |
|---|---|---|---|---|---|
| Support | A | 49.84% | 12.5% | 14.44% | #10 / 34 |
| Lane | Tier | Win% | Pick% | Ban% | Pos. |
|---|---|---|---|---|---|
| Support | A | 49.7% | 12.63% | 15.22% | #10 / 34 |
| Lane | Tier | Win% | Pick% | Ban% | Pos. |
|---|---|---|---|---|---|
| Support | A | 50.28% | 12.95% | 17.66% | #9 / 33 |
| Lane | Tier | Win% | Pick% | Ban% | Pos. |
|---|---|---|---|---|---|
| Support | S+ | 49.95% | 13.51% | 15.37% | #2 / 33 |


Thresh is Wild Rift's high-skill-cap jailer, a Tank almost always played in the support role at bot lane. His damage is magic and mostly incidental — the real weapons are Death Sentence's hook, Dark Passage's lantern, and The Box's cage, all built to strip enemies of their positioning rather than to burst them down. Every soul his passive collects near a death adds permanent armor and ability power, so a patient Thresh only gets harder to kill and scarier to fight as the game stretches into the late game.
Skill order: Q > E > W — max Death Sentence first since every landed hook shaves 3 seconds off its cooldown, letting a good Thresh threaten engages far more often; rank Flay second for the extra trade damage and slow, and leave Dark Passage for last since the lantern is useful at rank 1 and the bigger shield matters less than Q's cooldown or E's damage.
Play from your hook's max range and only commit Death Sentence when you have a clean, uncontested line to the target — a whiffed Q leaves you with nothing to threaten until the cooldown resets. Poke with Flay's passive-charged auto attacks and its active slow rather than forcing trades, since your raw damage stays low until a hook actually lands. Use Dark Passage to help your ADC contest the wave safely or escape a bad all-in, and prioritize an early tank item like Bulwark of the Mountain so you can survive lane bullies before Damnation's soul stacks start making you tankier.
From the mid-game on, look for a flank instead of walking in from the front — a hook from an angle the enemy doesn't expect is worth more than anything you'd get from frontlining, since your personal damage rating stays low all game. Save The Box for when the enemy is grouped or funneling through a choke point; walling off their backline, or trapping their whole team inside the cage, can end the fight before it really starts. Keep the lantern ready near your own carries so you can yank an overextended ally to safety or fling a teammate into range for a pick, and only dive in yourself once the priority target is already hooked, boxed, or dead.