
WR China Meta
Meta, tier list & top-player builds from the China server · live
Meta, tier list & top-player builds from the China server · live

克格莫 · 深渊巨口 Marksman
✅ Patch 7.2e · stats updated 2026-09-12 · real builds of 22 top-ranked China server players captured 2026-09-11
Difficulty Damage Toughness Utility
How the strongest players on the Wild Rift China server (国服) build Kog'Maw: live win/pick statistics by rank bracket, the most-used item and rune sets, and the real loadouts of the top ranked Kog'Maw players, captured in-game.
📖 How to play Kog'Maw


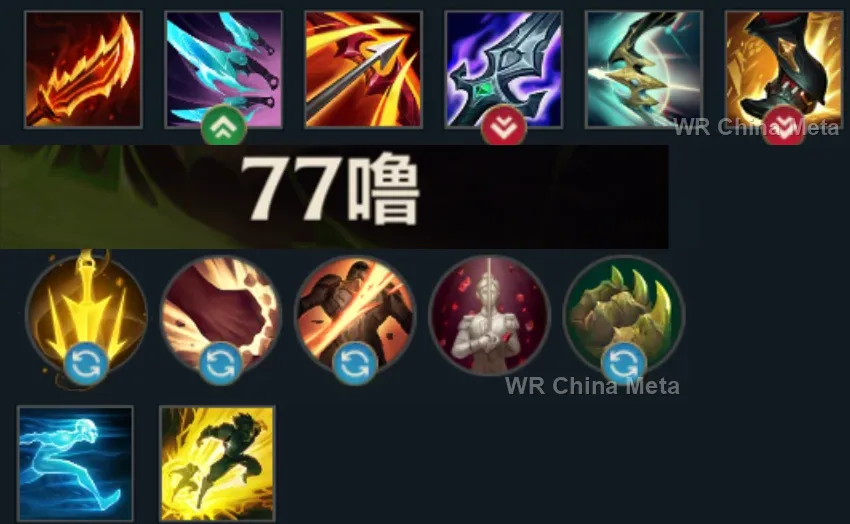
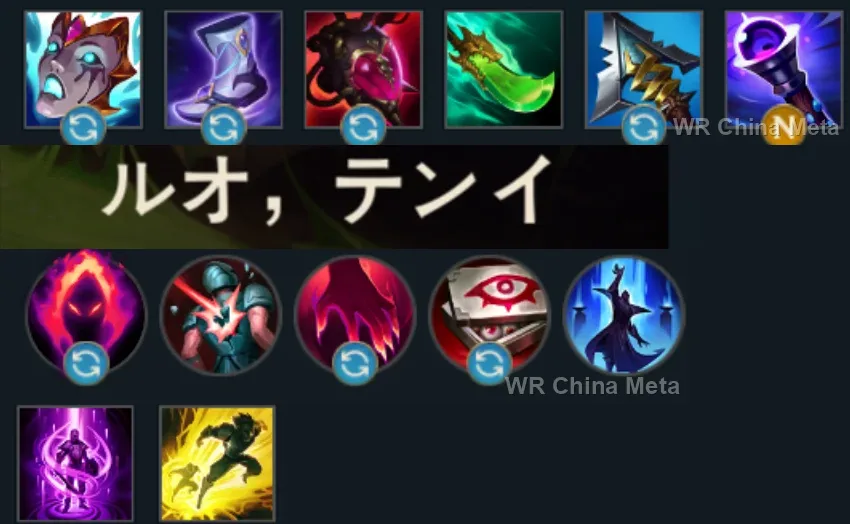
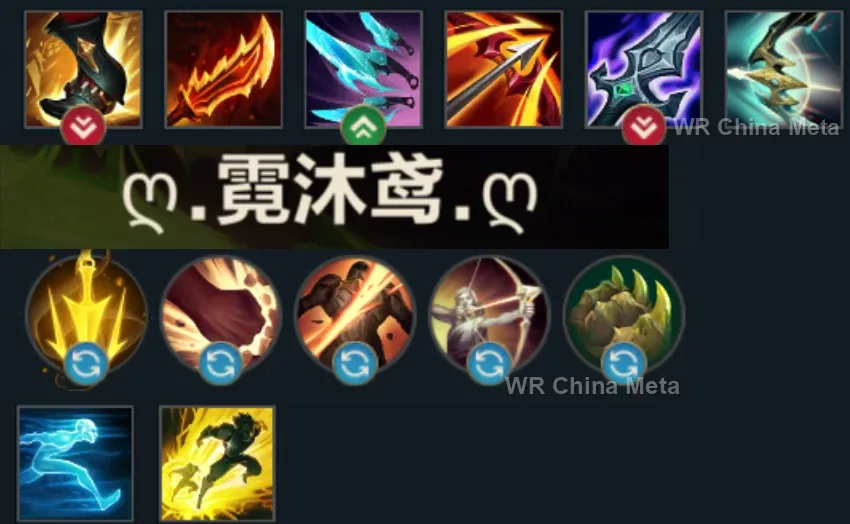
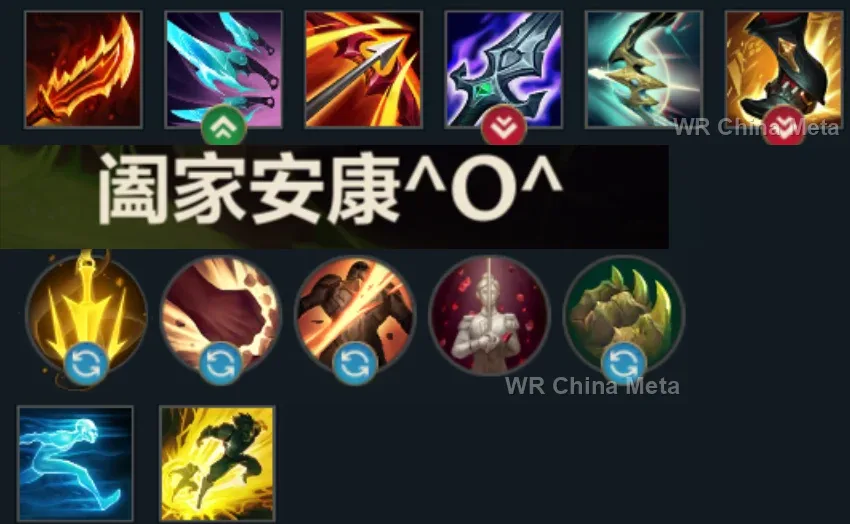
Counted on 24 real builds captured from the Chinese client, player by player. Independent from the official API above.


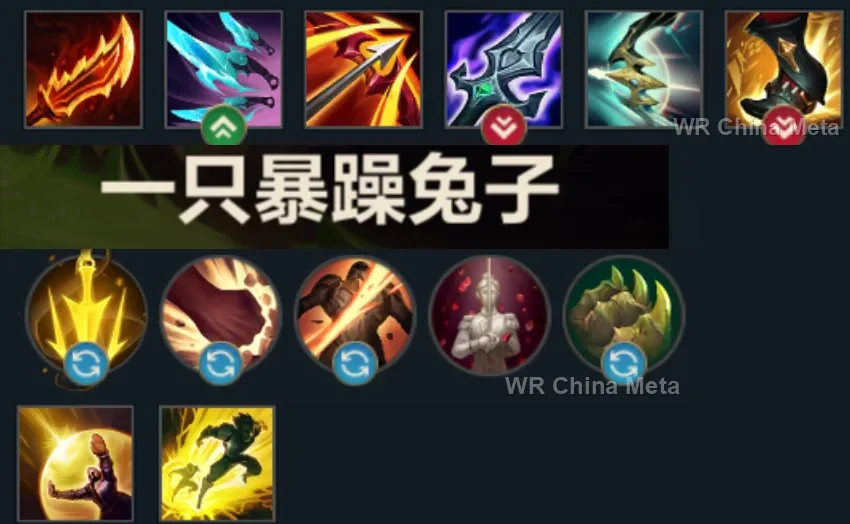
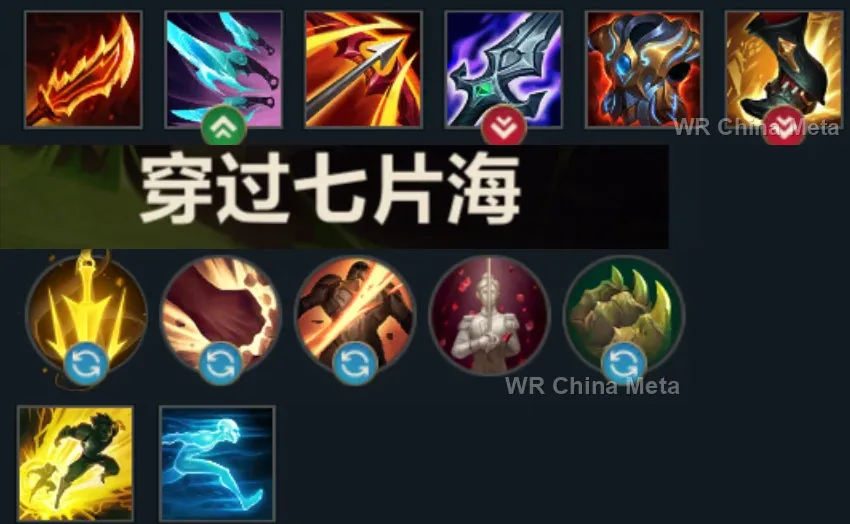
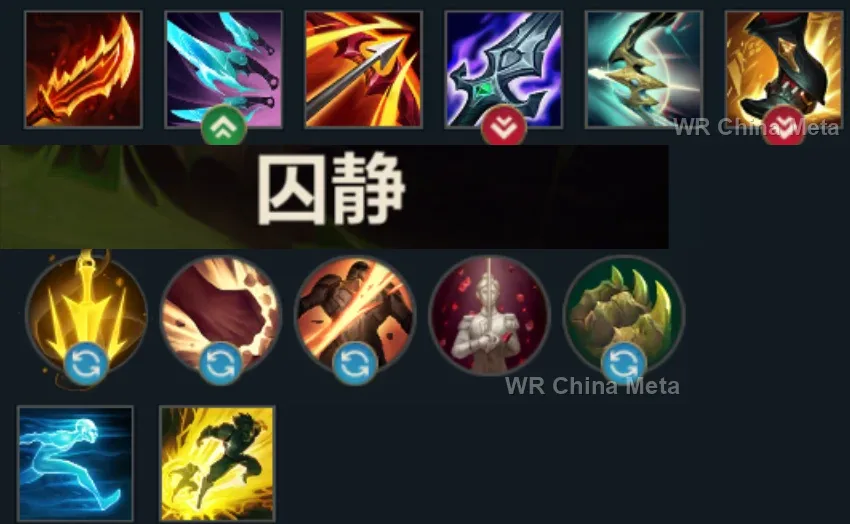
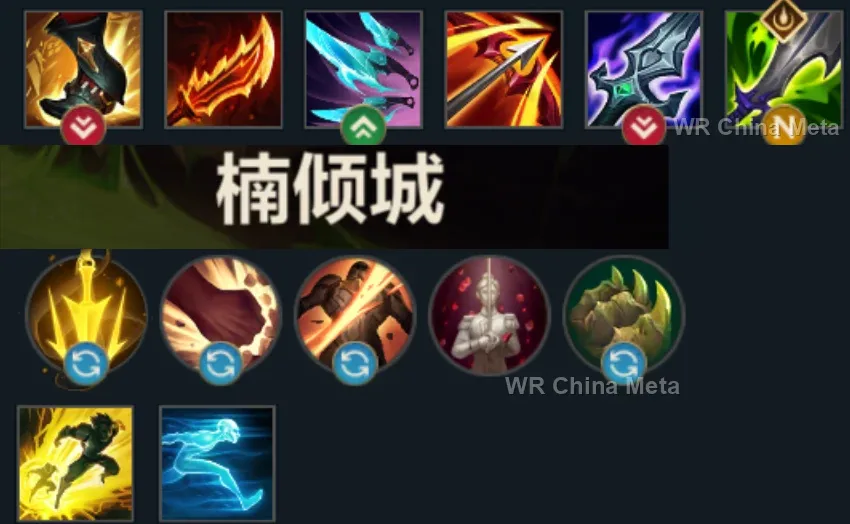
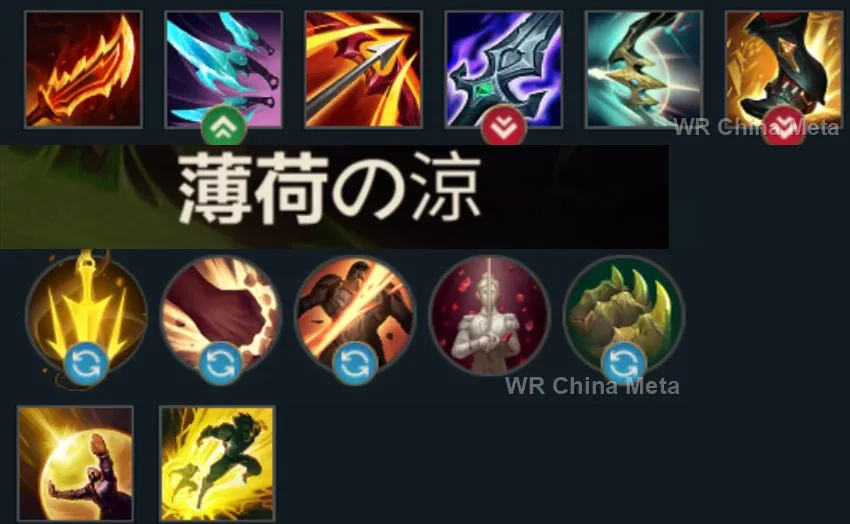
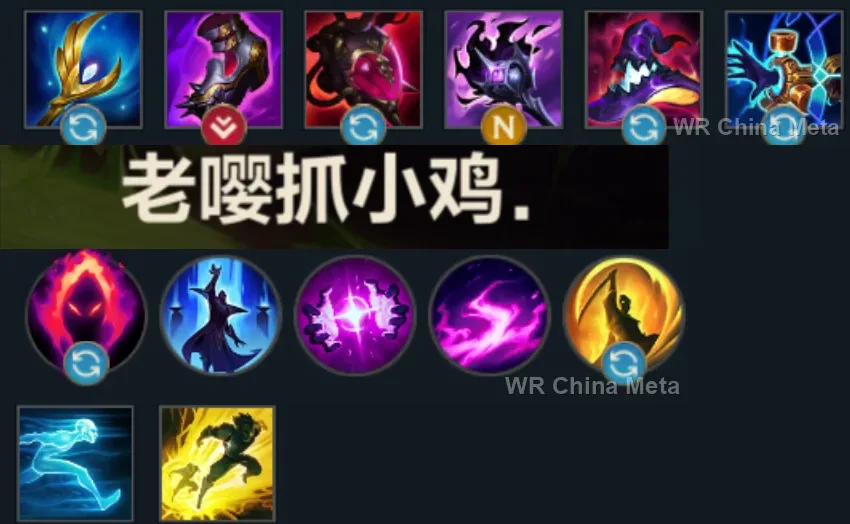
Taken from the official in-game China leaderboard. Spells, runes and items of every public top player.
22 of the top 30 players have a public match history; the others keep theirs private.
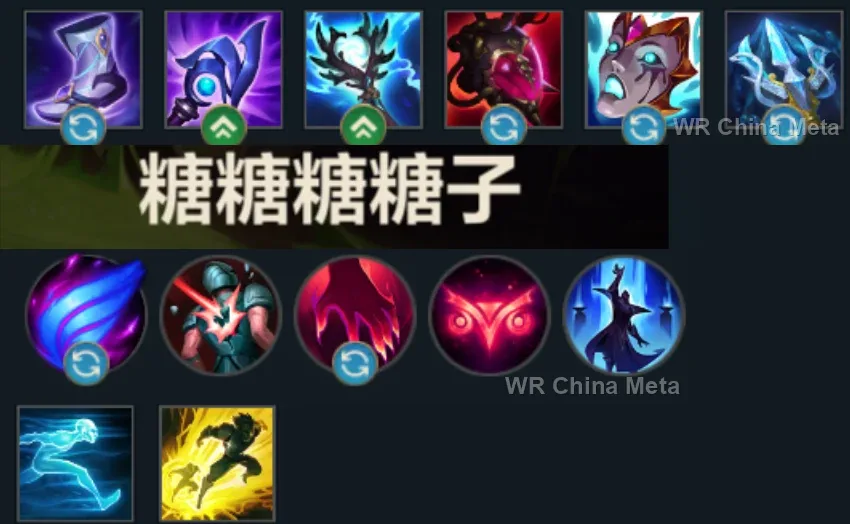
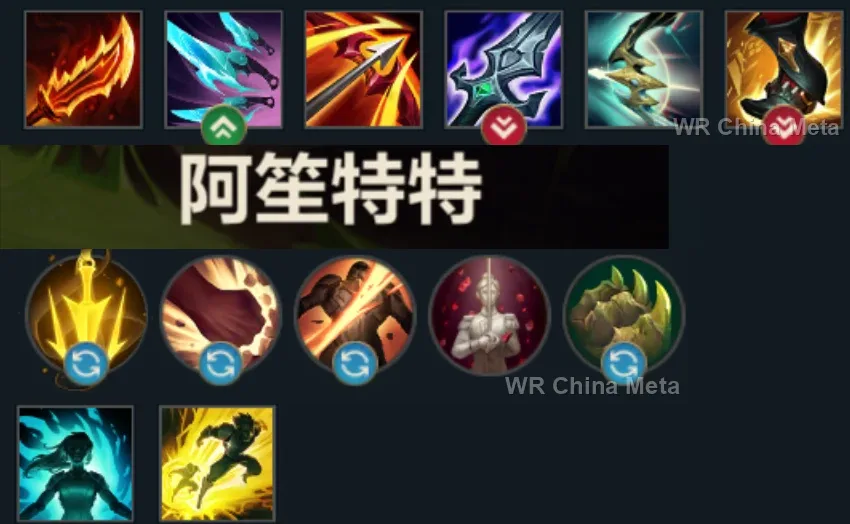
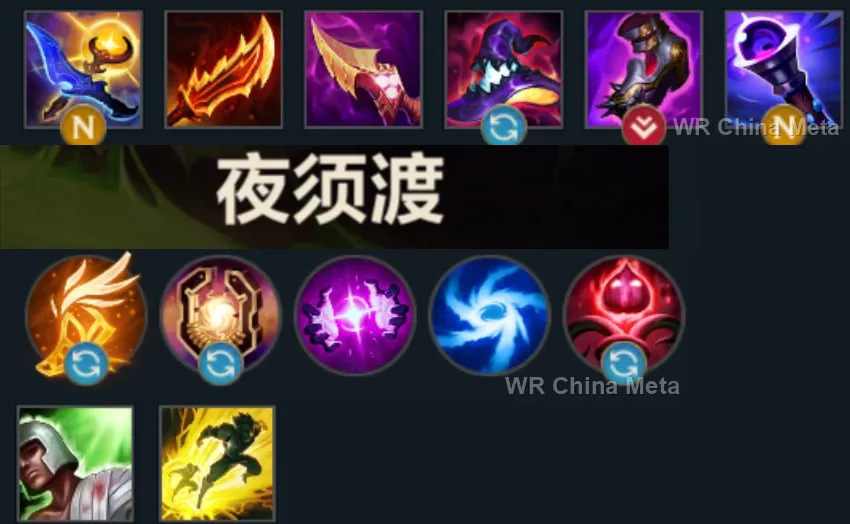
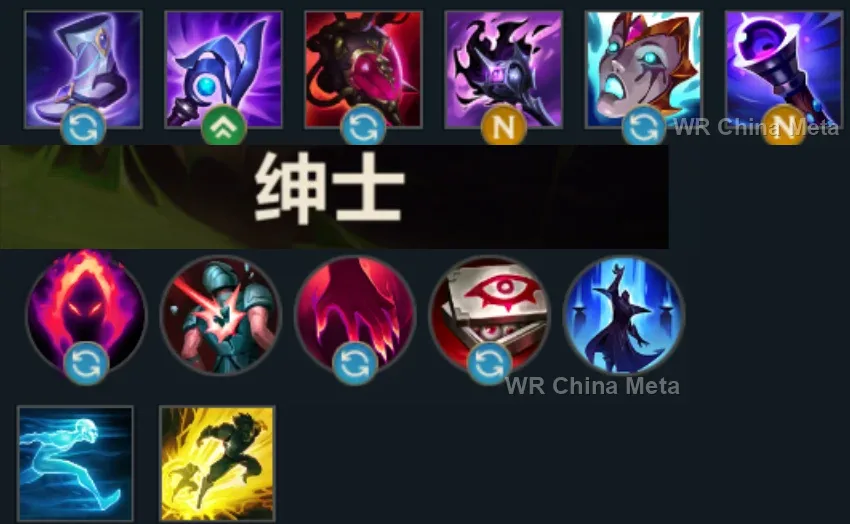
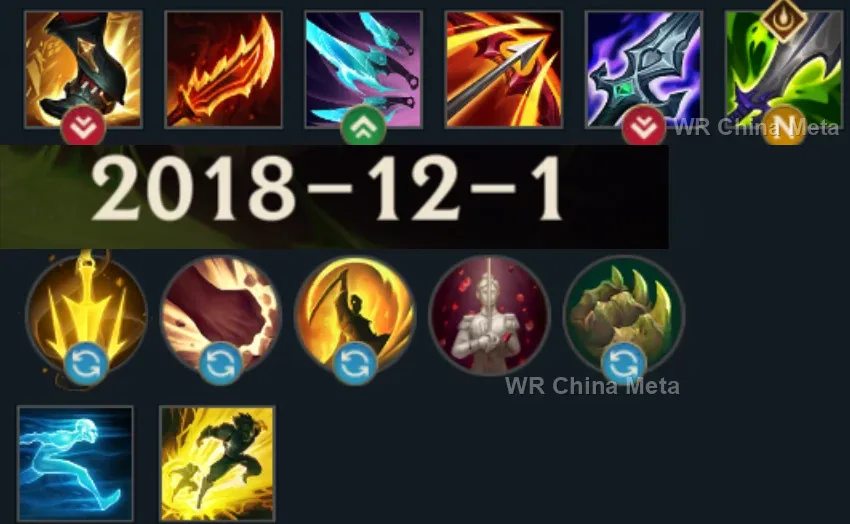
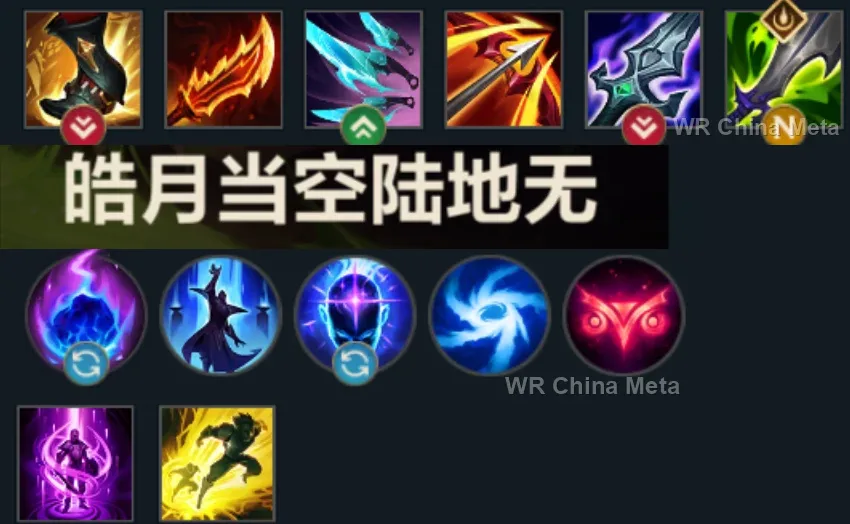
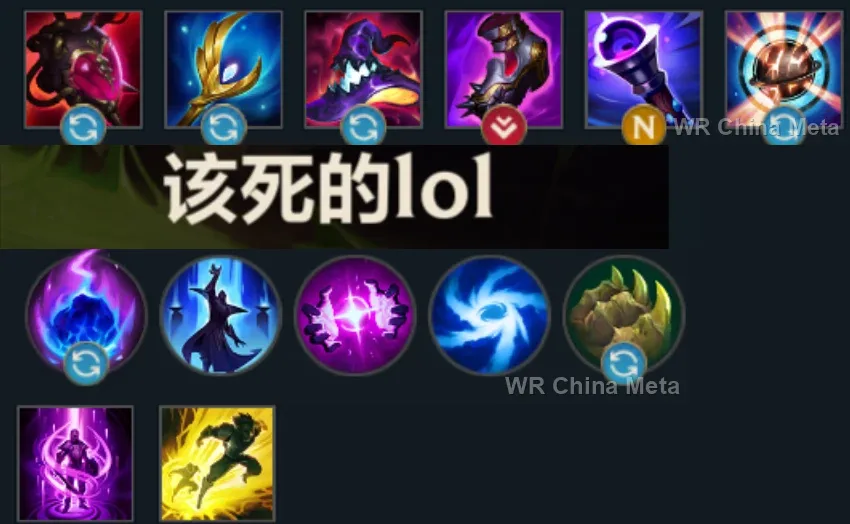
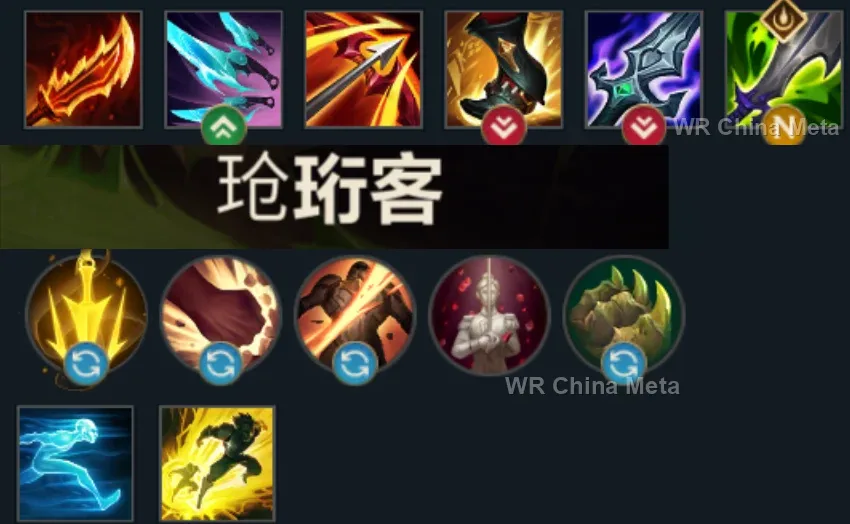
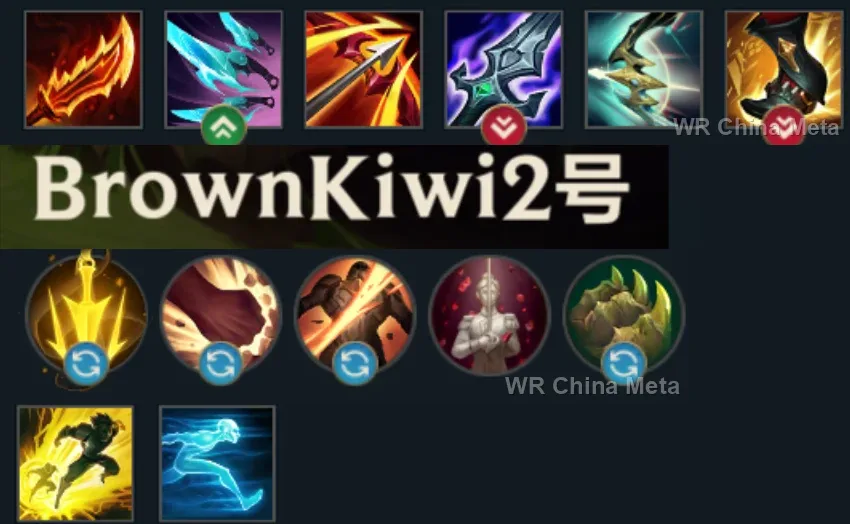
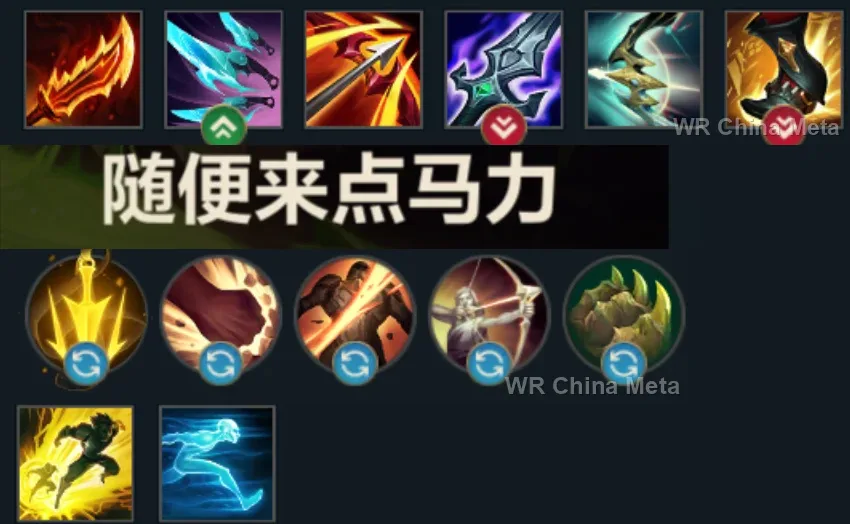
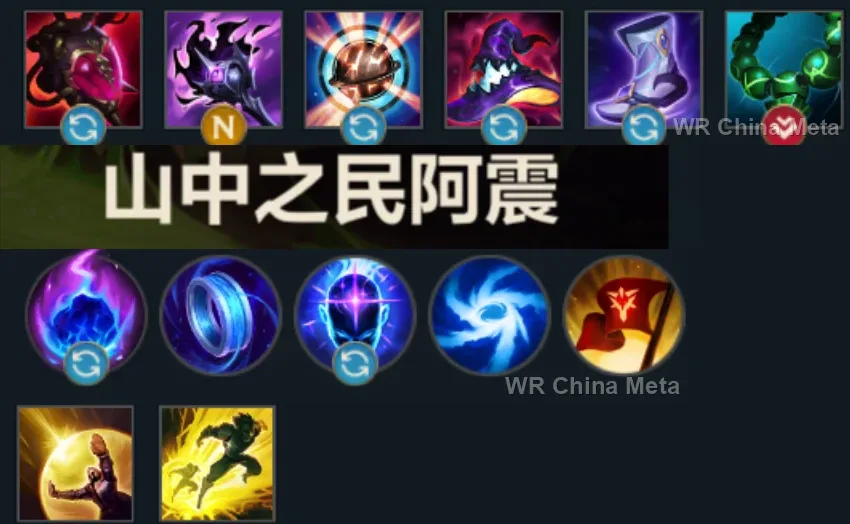
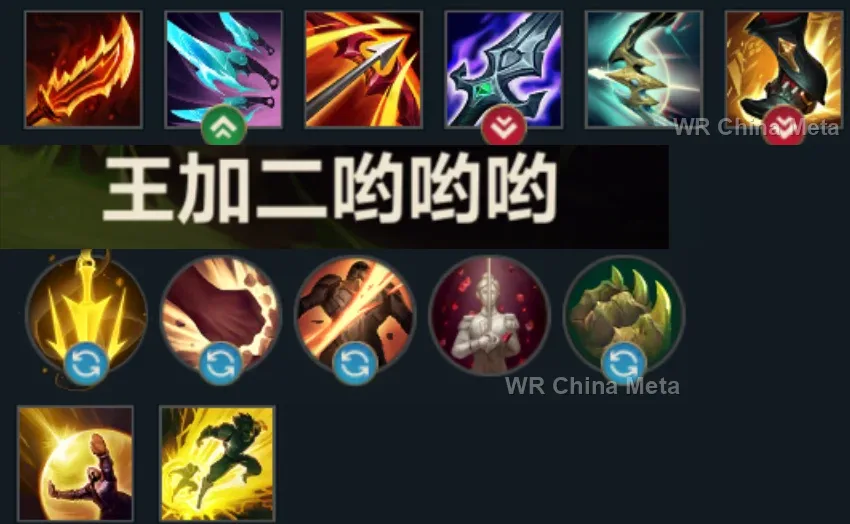
The toughest lane matchups for Kog'Maw on the Wild Rift China server, with why each is hard and exactly how to play it.
 Kog'Maw vs Zed Hard counter
Why Zed counters Kog'Maw: You are his dream target: immobile, fragile, no escapes. His R on you is a pre-signed contract.
How to play Kog'Maw into Zed: Move with teammates, always. Buy Guardian Angel and stand behind TWO bodies: without team peel this matchup is lost at draft.
→ Zed Kog'Maw vs Samira Unfavorable
Why Samira counters Kog'Maw: She dashes and resets straight into your team, and the appetizer is you: your W extends your range, not your life.
How to play Kog'Maw into Samira: Focus everything on her when she enters: if the team holds her still for one second, your DPS melts her before the reset.
→ Samira Kog'Maw vs Tristana Unfavorable
Why Tristana counters Kog'Maw: She jumps on your face exactly while your W wants you standing still: your maximum damage requires an immobility she punishes.
How to play Kog'Maw into Tristana: Slow her landing spot with E and walk backwards while firing. In this matchup your support lives only for you.
→ Tristana Kog'Maw vs Draven Unfavorable
Why Draven counters Kog'Maw: He executes you in the first 5 minutes, before your ramp exists: axes do not wait for your late game.
How to play Kog'Maw into Draven: Concede everything but experience: defensive support and farm under tower. Every minute past the twelfth is yours: get there with your team.
→ Draven Kog'Maw vs Ezreal Skill matchup
Why Ezreal counters Kog'Maw: Poke versus ramp-up: he scratches you from afar, you melt him if he stays 3 seconds inside your W range.
How to play Kog'Maw into Ezreal: Dodge the Qs behind minions and grow. In fights neither of you can stand still, but at equal presence the DPS is yours.
→ EzrealThe champions Kog'Maw works best alongside on the Wild Rift China server, lane by lane, with the reason each pairing works.
When a diver reaches you, which is the only way you die, Stand United (R) shields you and lands Shen next to you from anywhere on the map, and Shadow Dash (E) taunts him before he finishes the combo. You never stop firing.
Your damage only exists while you stand still at max range with Bio-Arcane Barrage (W) up: Unstoppable Force (R) knocks up the whole group and hands you exactly that window, everyone clumped and stuck under Living Artillery (R).
Your damage scales exponentially with AP items, and Living Forge buys and upgrades without recalling: from level 7 a nearby ally gets that too, so you never give up a wave to shop. Call of the Forge God (R) holds enemies still in front of you.
All Out (R) grabs the diver who reached you and slams him away from his own team, rooted: the threat physically leaves the fight instead of just being slowed. Footwork (E) can also dash to you and leave you the same shield.
Your damage only exists while nobody moves: GNAR! (R) slams a group into a wall and stuns it, Wallop (W) adds 1.25 more seconds of area stun. Those are the seconds Bio-Arcane Barrage (W) spends firing into a frozen group.
Steadfast Presence (W) turns a diver's gap-closer into a self-inflicted root, and an uncharged Keeper's Verdict (R) punts him off you instantly. Worth it against dash-based compositions, much less so against anything else.
Curse of the Sad Mummy (R) stuns a whole group for 1.5 seconds: that is your perfect window, because you only deal damage standing still at max range with Bio-Arcane Barrage (W) up while nobody can move.
Crescent Guard (R) is not only an engage: it blocks incoming ranged damage and locks one target down, so Xin Zhao can stay next to you and peel instead of diving. Without that peel you do not survive a long fight.
Frenzying Taunt (E) peels whoever jumped you off your back and forces them to hit Rammus for the whole duration. He cannot kill anything alone; with Bio-Arcane Barrage (W) up you delete them while they are stuck punching an armoured ball.
Lamb's Respite (R) is three seconds where nobody inside the circle can die: you keep firing with Bio-Arcane Barrage (W) while the diver burns his entire burst for nothing, and it heals you 150 when it ends.
Biggest Snowball Ever! (W) knocks up and Absolute Zero (R) buries the enemy team in a heavy slow: a group that cannot move is all you need to stand at max range and fire without ever repositioning.
Infinite Duress (R) is a one-second suppress nobody breaks: if the diver is on you, that is the best peel there is. But Warwick wants to dive too, so it only reaches you if he has decided that you are his job.
Hero's Entrance (R) covers the only thing that kills you, a diver who reaches you: Galio lands from across the map with a shield on you and a knock-up on whoever was on top of you, and you keep firing behind Shield of Durand (W).
Black Shield (E) fully blocks the first crowd control aimed at you, hook or stun alike: that is the exact moment you die, and with the shield on you simply keep firing. Dark Binding (Q) then roots a target for two seconds for Living Artillery (R).
Wither (W) strips movement and attack speed from whoever jumps you, which is a death sentence for a diver. Nasus holds the front with Fury of the Sands (R) while you stay planted at max range, the only place you actually deal damage.
Command: Protect (E) parks the Ball on you: shield, armour and magic resist right where you stand. From there Command: Shockwave (R) fires from your exact position, yanking everyone who was walking at you into a single spot.
Ring of Frost (W) roots and Frozen Tomb (R) stuns on top of the root: close to three full seconds of lockdown on the diver who reached you, which is the only way you die. Meanwhile you never move and never stop firing.
Unraveled Earth (E) stuns anyone who dashes through the field and Weaver's Wall (R) closes the road to you outright: pure anti-dive. Great against teams that reach you with a dash, much less against one that simply walks at you.
Rampant Growth (R) gives you a chunk of bonus health and knocks up whoever just jumped you, which is the only way you die; Whimsy (W) polymorphs the diver for the second you need to walk back to max range.
Unbreakable (E) intercepts projectiles, eats the first frontal hit outright and cuts the rest by 35%: that is the defence you lack while standing still at max range. Your fast Bio-Arcane Barrage (W) attacks also stack Concussive Blows into a stun.
Icathian Surprise delays your death by four seconds, it does not prevent it: Dark Passage (W) does. The lantern shields you and pulls you out of the dive, and The Box (R) walls off anyone still walking at you.
Tidecaller's Blessing (E) loads bonus magic damage and a slow onto your next attacks, and Bio-Arcane Barrage (W) attack speed spends them all in an instant. Tidal Wave (R) knocks up and slows whoever is walking at you.
Empowered Inspire (E) hands you a big shield and a burst of movement speed, the two things your kit does not own: eating the first hit and repositioning. Focused Resolve (W) roots whoever is walking at you before he arrives.
Your problem is reaching your first AP item alive: Astral Infusion (W) and Starcall (Q) keep you in lane without ever recalling. Later on, Equinox (E) silences the dash or the ultimate of anyone trying to jump on you.
| Lane | Tier | Win% | Pick% | Ban% | Pos. |
|---|---|---|---|---|---|
| Duo (ADC) | C | 49.1% | 1.37% | 1.37% | #19 / 22 |
| Lane | Tier | Win% | Pick% | Ban% | Pos. |
|---|---|---|---|---|---|
| Duo (ADC) | S | 49.61% | 1.43% | 0.95% | #4 / 22 |


Kog'Maw is a Marksman in Wild Rift built around corrosive magic damage rather than crit — the current China server (国服) build runs him as a full AP siege weapon, not a traditional on-hit ADC. He starts weak and painfully fragile in lane, but once Bio-Arcane Barrage is active and his AP core lands, he outranges and out-damages almost anyone in the game from a position of near-total safety. Every point of his kit is pure offense, which is exactly why positioning is the hardest and most important part of playing him.
Skill order: W > E > Q — and always rank Living Artillery (R) the moment it becomes available.
Play Kog'Maw as a poke mage, not a brawler — he has no tools to win a straight fight before level 5 or before his first AP item lands. Use Caustic Spittle to shred and chip from range, and hold Void Ooze to punish overextensions or to disengage rather than to initiate. Respect hard lane bullies who can punish him before his ramp exists, and against poke-heavy opponents only trade back when you can land Q's shred and follow with a full auto-attack rather than just eating chip damage passively. Prioritize surviving to your first power spike over contesting every last-hit.
From the mid-game onward, Kog'Maw wants to fight from the edge of the map, not the middle of it. Pre-poke with Living Artillery on anything under 40% HP for a near-execute, keep Bio-Arcane Barrage active and auto-attack from maximum range while your frontline holds the fight, and treat any incoming gap-closer as your cue to kite, not to trade. Assassins and divers who can close the distance in a single move punish exactly the stationary positioning that W rewards, so the instant one of them commits, back off immediately instead of finishing your combo. Target whoever is already low or already out of position with R, and let your team's engage draw attention while you stay at the very back and let the fight come to you.