
WR China Meta
Meta, tier list & top-player builds from the China server · live
Meta, tier list & top-player builds from the China server · live

诺提勒斯 · 深海泰坦 Tank B
✅ Patch 7.2e · stats updated 2026-09-12 · real builds of 25 top-ranked China server players captured 2026-09-11
Difficulty Damage Toughness Utility
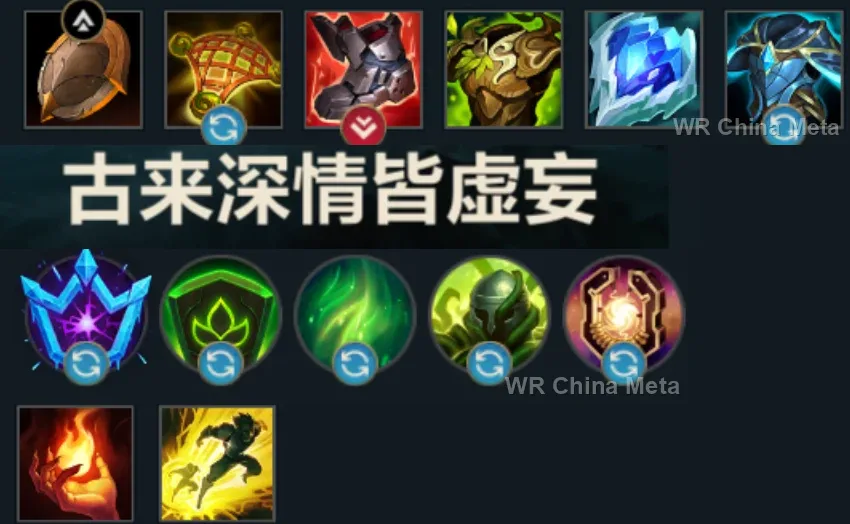
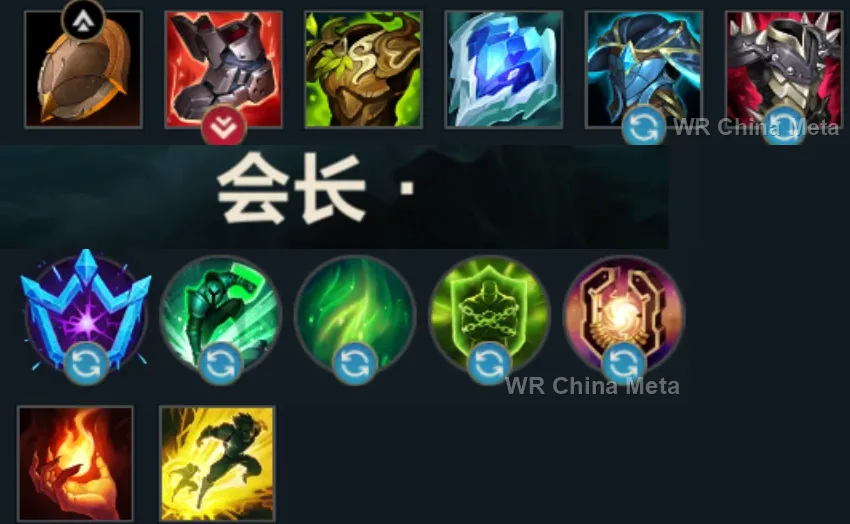
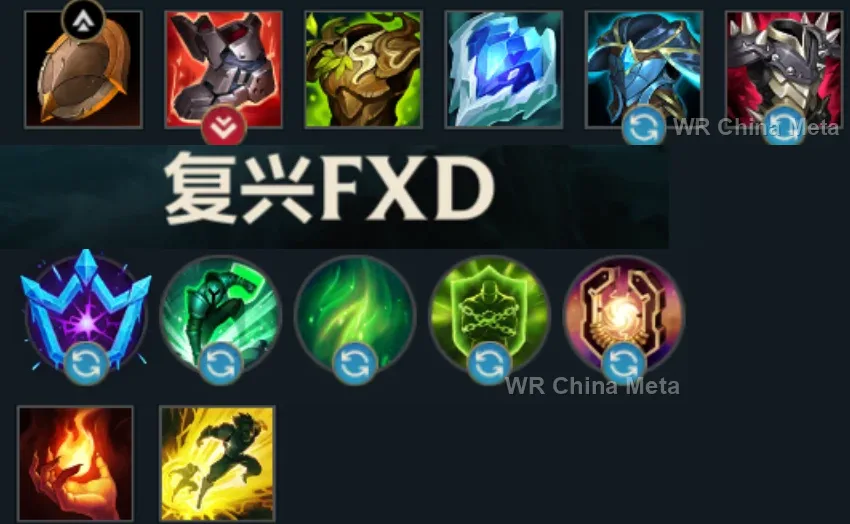
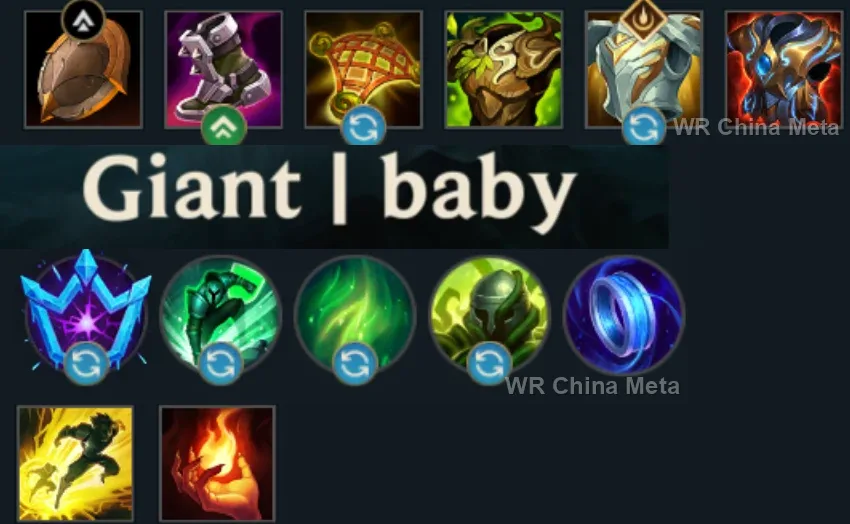
How the strongest players on the Wild Rift China server (国服) build Nautilus: live win/pick statistics by rank bracket, the most-used item and rune sets, and the real loadouts of the top ranked Nautilus players, captured in-game.
📖 How to play Nautilus


Counted on 26 real builds captured from the Chinese client, player by player. Independent from the official API above.


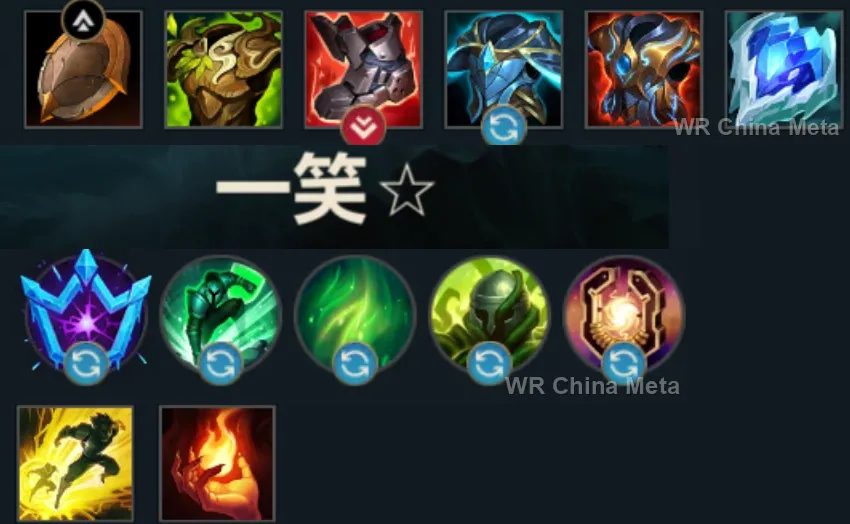
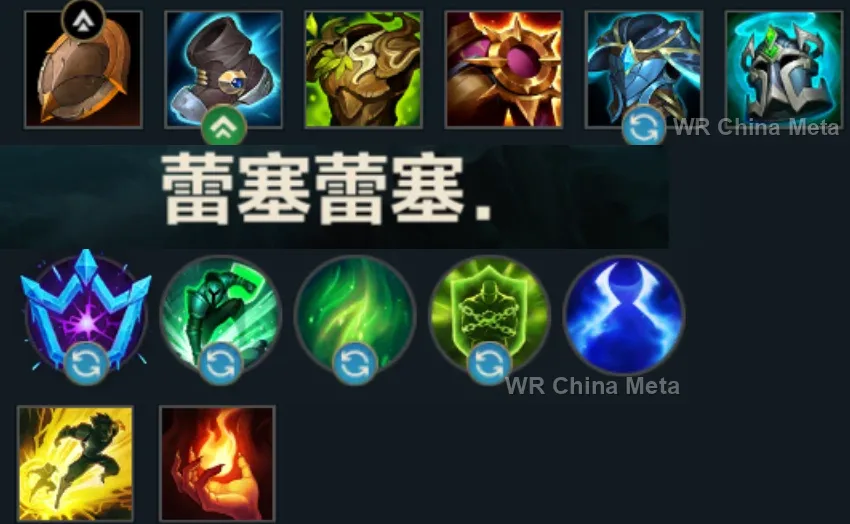
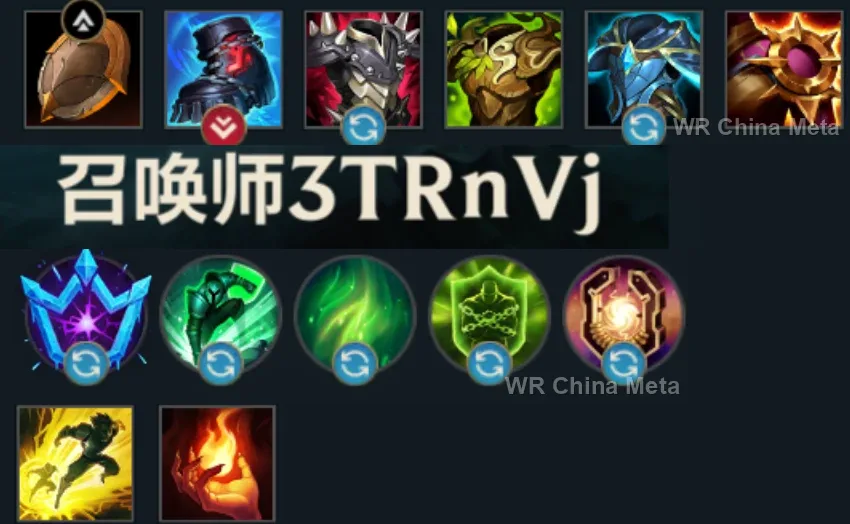
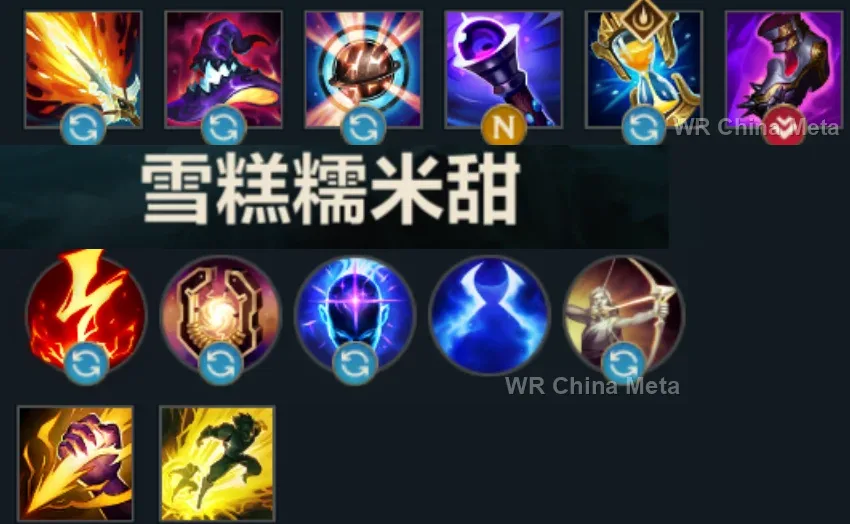
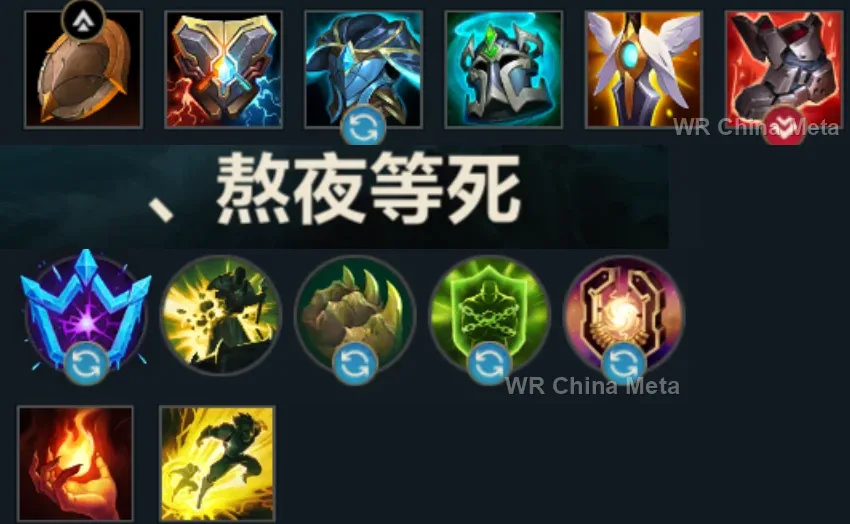
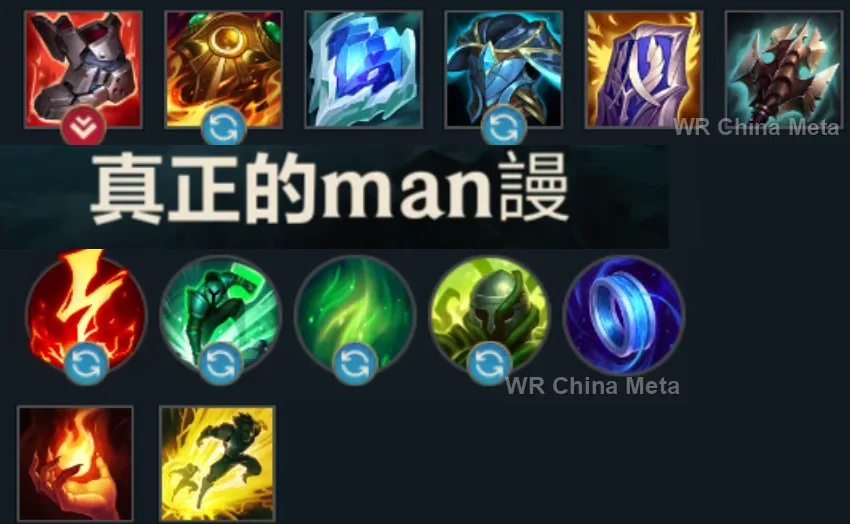
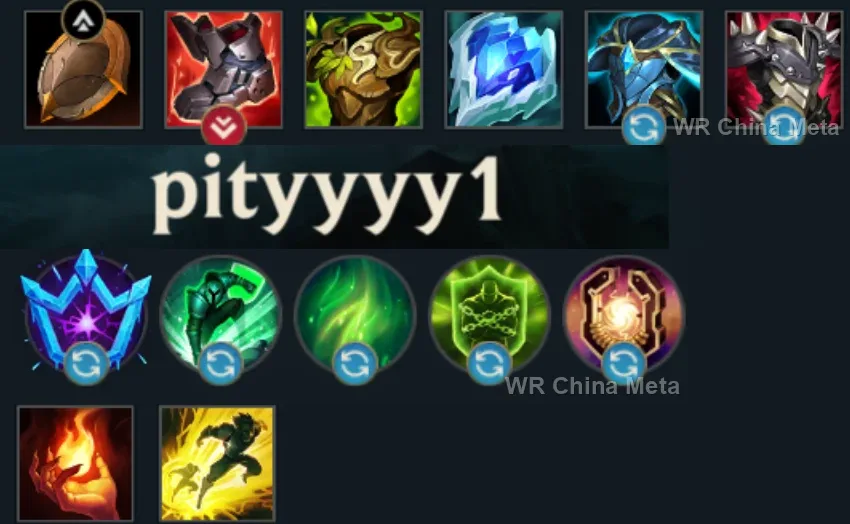
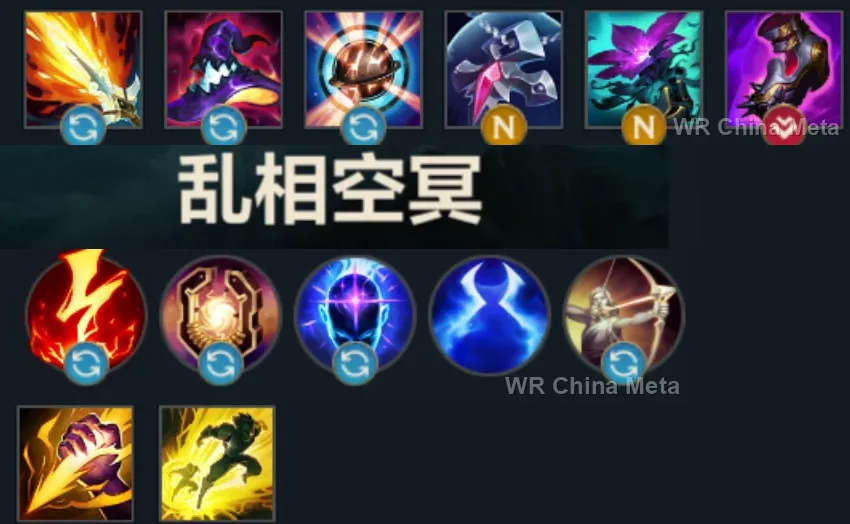
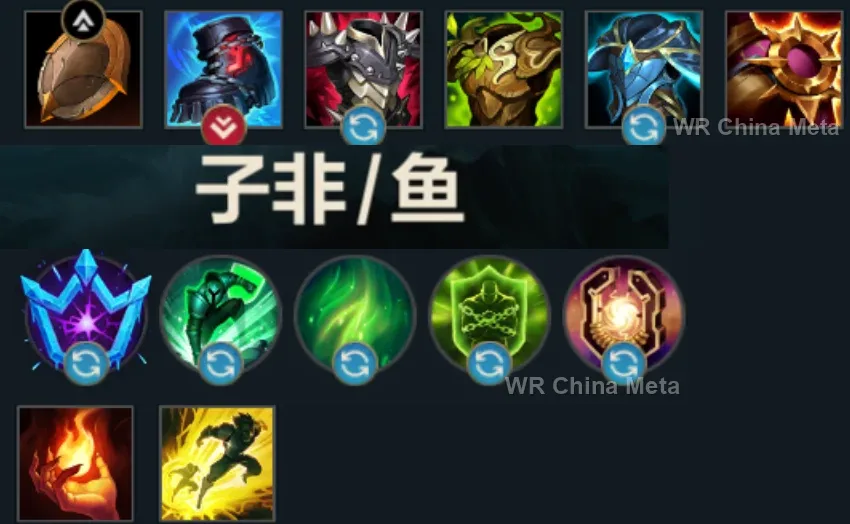
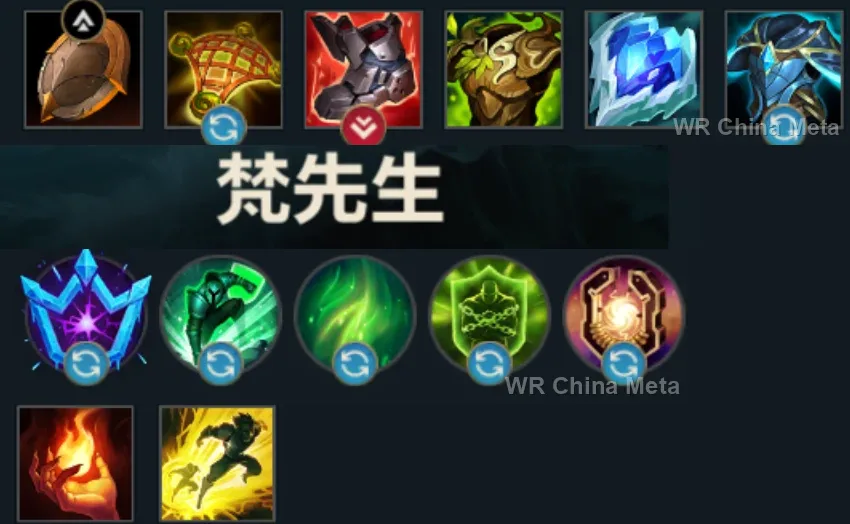
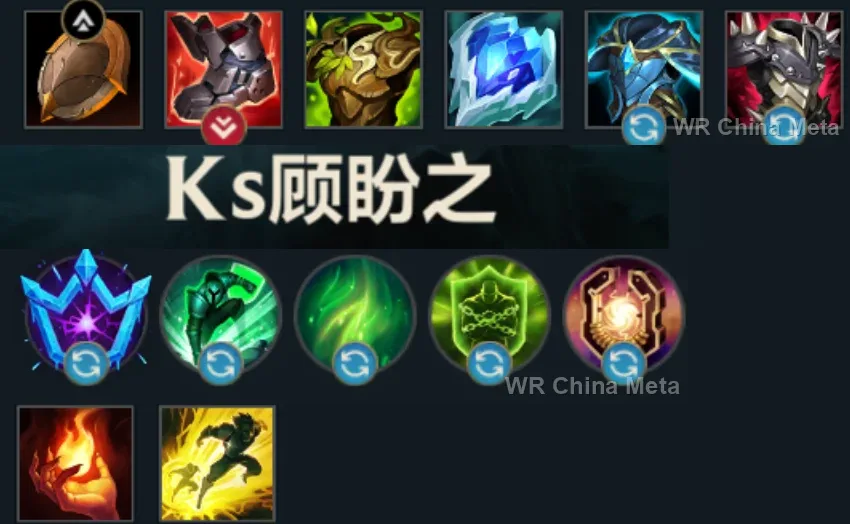
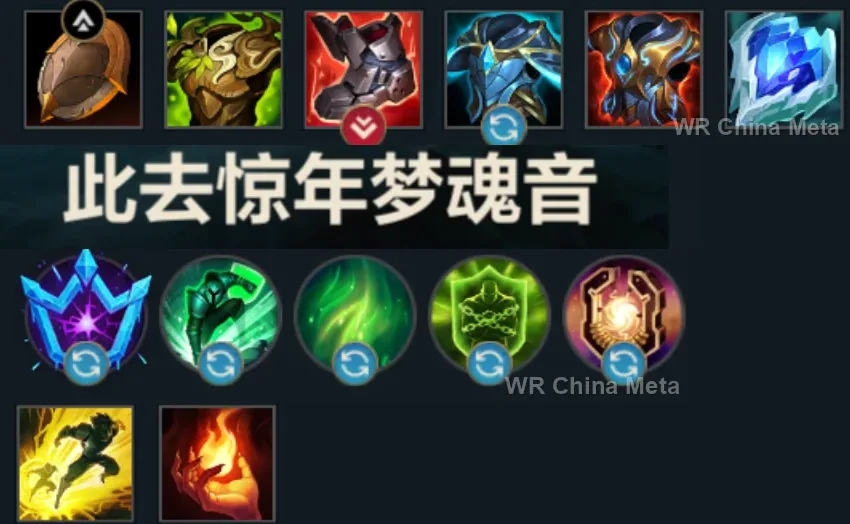
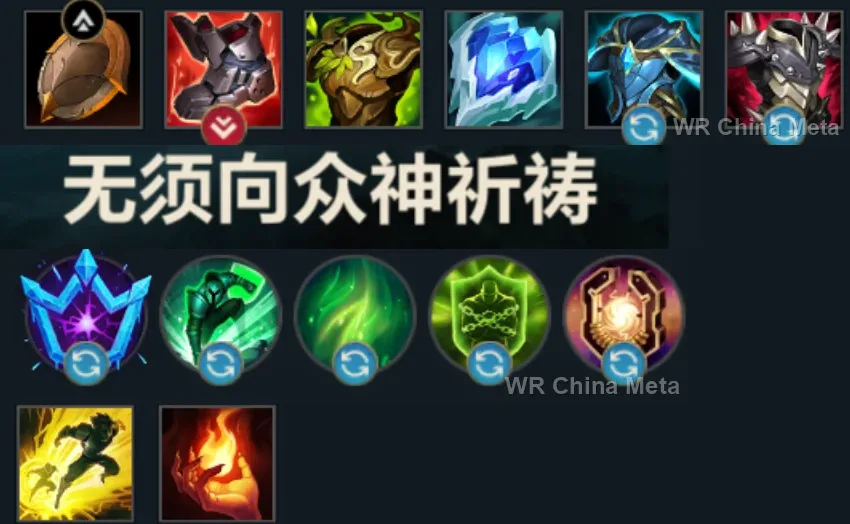
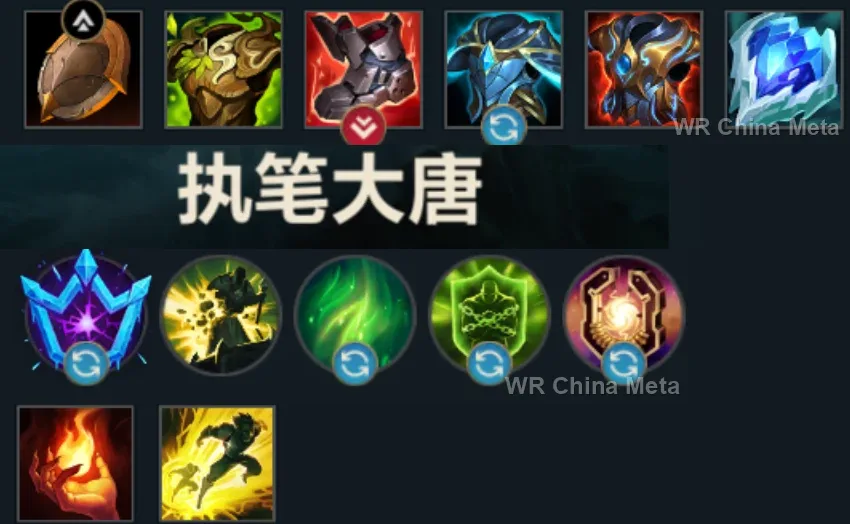
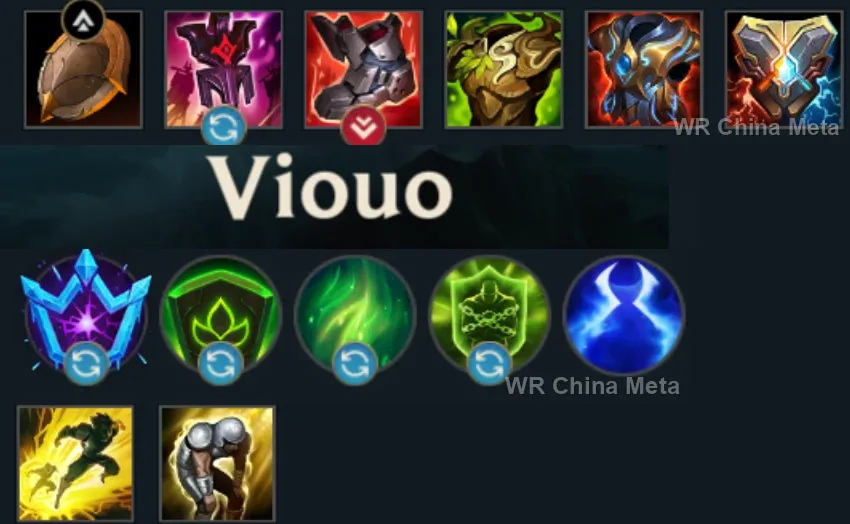
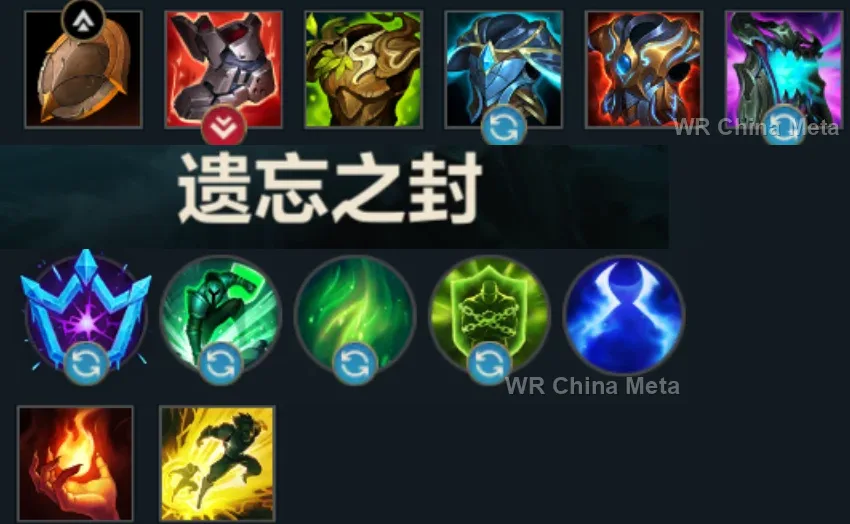
Taken from the official in-game China leaderboard. Spells, runes and items of every public top player.
25 of the top 30 players have a public match history; the others keep theirs private.
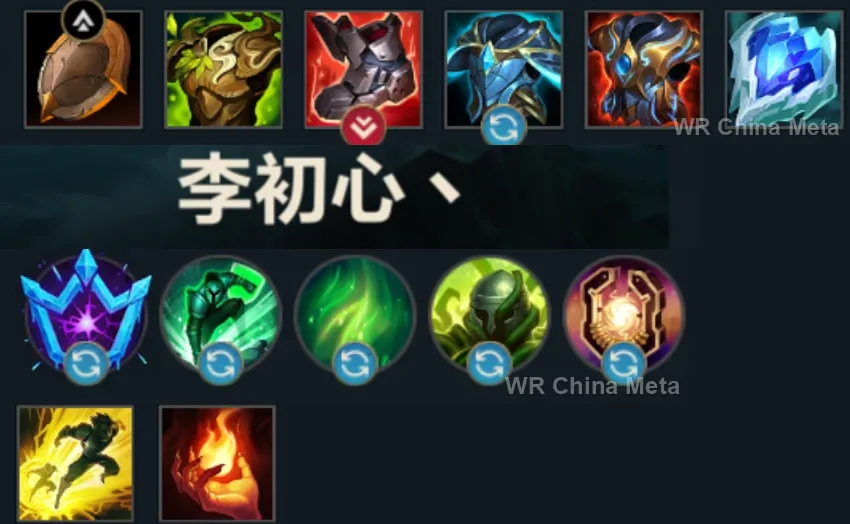
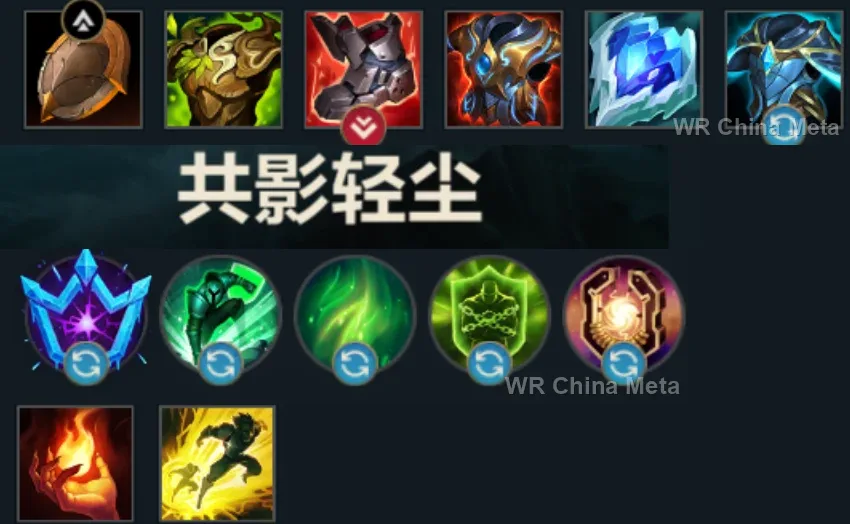
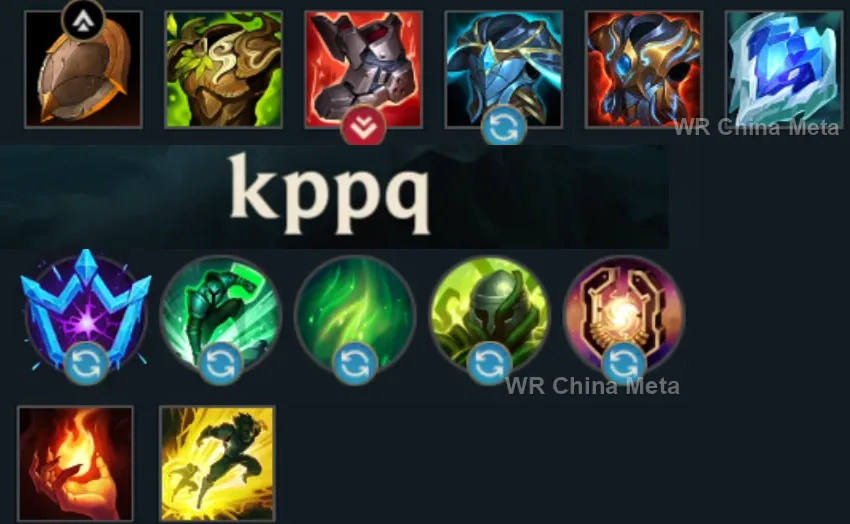
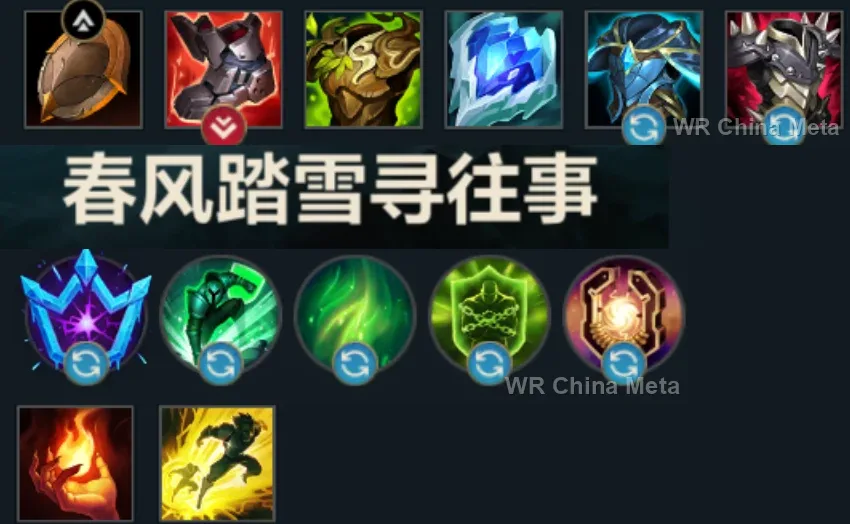
The toughest lane matchups for Nautilus on the Wild Rift China server, with why each is hard and exactly how to play it.
 Nautilus vs Morgana Hard counter
Why Morgana counters Nautilus: Black Shield cancels hook AND point-and-click stun: she defuses you twice with one button.
How to play Nautilus into Morgana: Burn the shield with W poke and attacks, then hook. R the ADC while the shield sits on her: something always gets through.
→ Morgana Nautilus vs Sivir Unfavorable
Why Sivir counters Nautilus: The Spell Shield absorbs the hook or the R: half your kit bounces off a yellow bubble.
How to play Nautilus into Sivir: The anchor attack (your passive slow) cannot be blocked: walk her down. Cast R AFTER she has spent the bubble.
→ Sivir Nautilus vs Janna Unfavorable
Why Janna counters Nautilus: Disengage made wind: the tornado interrupts your follow-up and her R blows your whole dive back.
How to play Nautilus into Janna: Engage ONLY once the tornado is spent. Hook from fog of war: she cannot defuse what she never sees charging.
→ Janna Nautilus vs Milio Skill matchup
Why Milio counters Nautilus: The cleanse against your CC chain: your strength — so much control — becomes a test for his one button.
How to play Nautilus into Milio: Stretch the chain: hook, attack and R spaced out in time, so one cleanse cannot wipe three waves. When possible, hook Milio first.
→ Milio Nautilus vs Alistar Skill matchup
Why Alistar counters Nautilus: A mirror of engage tanks: whoever goes in first exposes their own ADC to the other's answer.
How to play Nautilus into Alistar: Play counter-engage: your hook punishes HIS entry better than the reverse. R his ADC while he is busy diving.
→ AlistarThe champions Nautilus works best alongside on the Wild Rift China server, lane by lane, with the reason each pairing works.
His page says mobile champions stay outside Apprehend (E) range unless something drags them in: Dredge Line (Q) hauls one onto him and Staggering Blow (P) roots it on the first auto. Held still, Hemorrhage (P) climbs to five stacks and Noxian Guillotine (R) resets.
His page says whiffing Unstoppable Force (R) is close to a death sentence: Riptide (E) slows the group a beat earlier so nobody drifts out of it. And the moment his knock-up ends, Depth Charge (R) is the second lockdown, the targeted one nobody dodges.
His page says mobile opponents simply walk out of the telegraphed The Darkin Blade (Q) swings, and the edge that adds the knock-up and 60% damage is the easiest part to avoid. Nobody leaves a target Depth Charge (R) is holding, and Infernal Chains (W) shuts the door.
His page says Volcanic Rupture (Q) and Searing Charge (E) both need a skillshot or a charge into terrain, and that anyone with a dash walks out of the punish: Riptide (E) and Depth Charge (R) take the dash out of the equation, and Call of the Forge God (R) lands on a frozen group.
Depth Charge (R) is targeted and undodgeable, so it hands him the carry motionless with no guesswork, and Riptide (E) keeps the group packed. But his page says Rage does not fill on command: the two ultimates only line up when they happen to.
The full-distance Javelin Toss (Q) is all of her damage, and her page says a dodged spear leaves her with no answer: Depth Charge (R) is targeted, undodgeable, and holds them in the air. From there Takedown (Q) in Cougar form finishes what the spear opened.
His page says Absolute Zero (R) is beaten by walking out of the radius: Riptide (E) slows the whole pack and Depth Charge (R) stuns them where the channel is about to blow. Meanwhile you are the body soaking the fire he would eat standing still.
Her page says the Moonfall (R) channel is visible from a distance and that mobile targets are gone before it detonates: Depth Charge (R) pins them all inside it, and on a target that cannot move Crescent Strike (Q) never misses the mark.
His page says Infinite Duress (R) gets dodged or knocked out mid-air: on a target Staggering Blow (P) has just rooted, it cannot be dodged at all. And he does nothing for his team, so the peel for your carry has to come from you.
His problem is reaching something that does not move: Staggering Blow (P) roots on the first auto, Depth Charge (R) stuns everyone nearby too, and Highlander (R) does the rest. But he sits at 47.8% in China and gives you no protection back.
Her page says every point of her damage depends on landing a skillshot, and Sleepy Trouble Bubble (E) is the slowest one she owns: on a target Staggering Blow (P) has rooted it cannot be dodged, and Paddle Star! (Q) plus the empowered auto follow on their own.
Vision of Empire (W) deals 50% more against anything already locked down, and his page says that condition rides on the Nevermove (E) return wave, which mobile targets just walk out of. You hand it over three times a fight: root, slow and Depth Charge (R).
Sear (Q) is a skillshot with obvious travel time, and his page says mobile champions simply walk through it: on a target Staggering Blow (P) has rooted it always lands, and the 1.75-second stun goes off. He has no dash and no shield: you are the body in front.
Life Form Disintegration Ray (R) has to be steered by hand and only pays on targets that cannot move: Depth Charge (R) hands him a frozen group and Riptide (E) slows the rest. Every locked second is another Organic Deconstruction (P) stack, which turns the beam into true damage.
Depth Charge (R) is targeted and knocks up the carry along with everyone beside her: that is a guaranteed Last Breath (R) on more than one head. But his page says he has nothing to protect allies with, and he is under a 50% win rate in China.
Fate's Call (R) launches her bonded ally in and only knocks enemies up if he connects: when you are the projectile, you land with Depth Charge (R) already in hand. Her page says she has no hard crowd control of her own, and Sentinel (W) pays when you both hit the same target.
Bullet Time (R) is three stationary seconds, and her page says anyone with a dash just dances around it: Depth Charge (R) stuns the target and everyone beside them, Riptide (E) slows the rest. Twelve volleys into a team that cannot move ends the fight.
Deadly Flourish (W) only roots someone an ally has just damaged, and Riptide (E) touches the entire group: the condition is always armed. Then Depth Charge (R) holds the target still while Curtain Call (R) unloads all four shots, the last one a crit.
Charging Piercing Arrow (Q) roots him in place and telegraphs the shot, so against anyone moving it never goes off: on a target Depth Charge (R) is holding, the full charge always lands. And Chain of Corruption (R) wants the bunched group Riptide (E) slows.
Her page says she has no shield and no defensive cooldown, and that her early game is standing still and hitting: Staggering Blow (P) roots the first thing that reaches her without spending anything, and Depth Charge (R) takes the diver off the board for a full second.
Her page says allied crowd control applies Second Skin (P) Plasma on its own and that without a marked target Killer Instinct (R) has nowhere to go: you mark for her constantly without her spending Void Seeker (W). She is C tier at 48.2% though, with a rough laning phase.
| Lane | Tier | Win% | Pick% | Ban% | Pos. |
|---|---|---|---|---|---|
| Support | B | 50.12% | 17.07% | 4.53% | #19 / 34 |
| Lane | Tier | Win% | Pick% | Ban% | Pos. |
|---|---|---|---|---|---|
| Support | B | 50.12% | 16.94% | 4.64% | #20 / 34 |
| Lane | Tier | Win% | Pick% | Ban% | Pos. |
|---|---|---|---|---|---|
| Support | C | 50.24% | 15.38% | 3.78% | #25 / 33 |
| Lane | Tier | Win% | Pick% | Ban% | Pos. |
|---|---|---|---|---|---|
| Support | C | 50.27% | 13.28% | 2.82% | #23 / 33 |


Nautilus is a Tank in Wild Rift whose entire identity is locking one enemy down and never letting go: his passive adds a stagger-root to every auto-attack, and his three magic-damage abilities chain into a pull, a slow, and a knockup-stun that's brutal to escape. He trades away kill pressure (the lowest damage rating in his kit) for elite tankiness (the highest survivability rating in his kit), letting him walk into an entire enemy team, land his combo, and walk back out. Played as an engage-first Tank — most commonly support, though he flexes into other frontline roles — he wins games by turning one clean pick into a lopsided fight.
Skill order: Q > E > W
Nautilus isn't a poke laner — with damage the weakest part of his kit, he wins the lane through timed trades, not chip damage. Look for short exchanges where an auto-attack (for the passive root) flows into Riptide's slow and damage, then disengage before the enemy can answer; save Dredge Line for punishing a real overextension rather than throwing it at minions, since missing it costs you your whole engage for its full cooldown. Pop Titan's Wrath right before trading or before eating poke — the shield plus the empowered auto swings short trades in your favor. Once Depth Charge comes online at level 5, any clean Dredge Line hook becomes a near-guaranteed kill on an overextended target.
In the mid-to-late game, Nautilus's job is to remove one enemy from the fight, not to out-damage anyone — his weak damage numbers mean he will never win a straight duel with a real carry. Hunt for Depth Charge on the biggest threat when they're standing near an ally, since the secondary knockup-stun catches everyone in the blast for what's effectively a double stun from one cast. Open with Riptide to slow anyone trying to peel, use Dredge Line to close distance or fish for a stray target, and hold the Titan's Wrath shield for the moment the enemy's burst combo lands, building into Frozen Heart or Force of Nature to answer whichever damage type is winning the game. Against other engage-heavy tanks like Alistar, the fight often comes down to who commits first, since whichever of you engages exposes your own carries to the other's answer — so bait their cooldowns before you dive.