
WR China Meta
Meta, tier list & top-player builds from the China server · live
Meta, tier list & top-player builds from the China server · live

阿木木 · 殇之木乃伊 Tank S+
✅ Patch 7.2e · stats updated 2026-09-12 · real builds of 26 top-ranked China server players captured 2026-09-11
Difficulty Damage Toughness Utility
How the strongest players on the Wild Rift China server (国服) build Amumu: live win/pick statistics by rank bracket, the most-used item and rune sets, and the real loadouts of the top ranked Amumu players, captured in-game.
📖 How to play Amumu



Counted on 28 real builds captured from the Chinese client, player by player. Independent from the official API above.


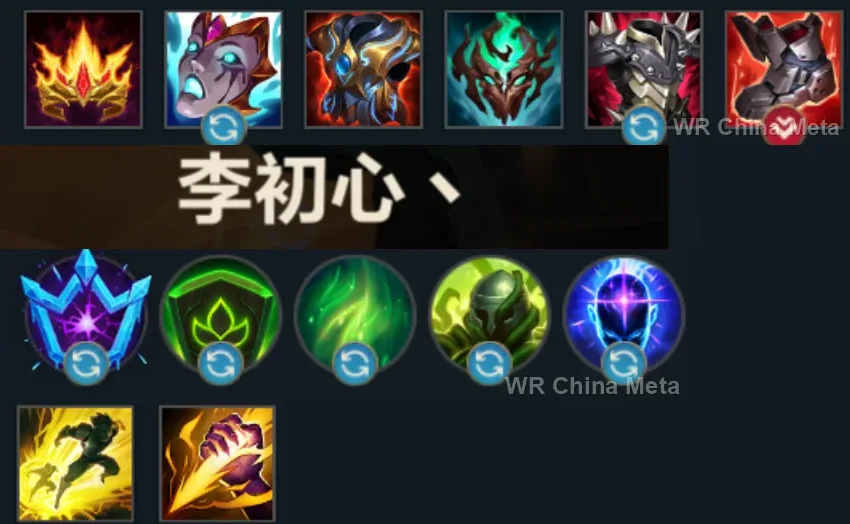
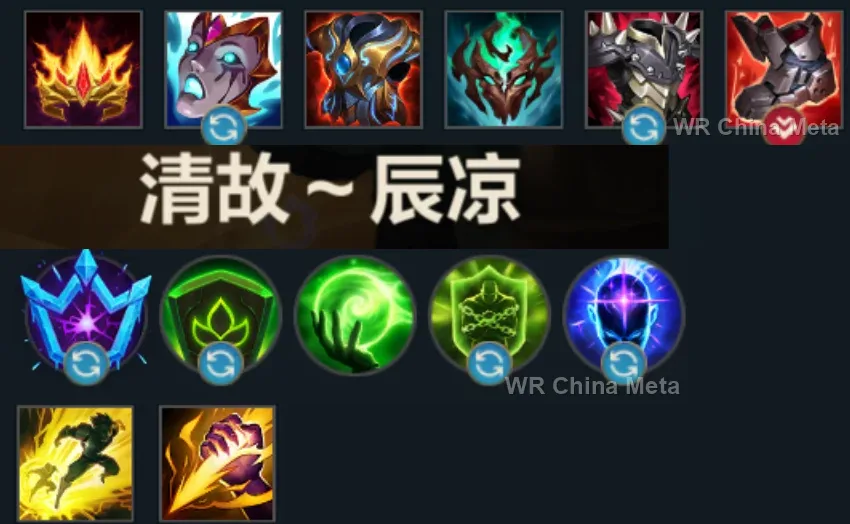
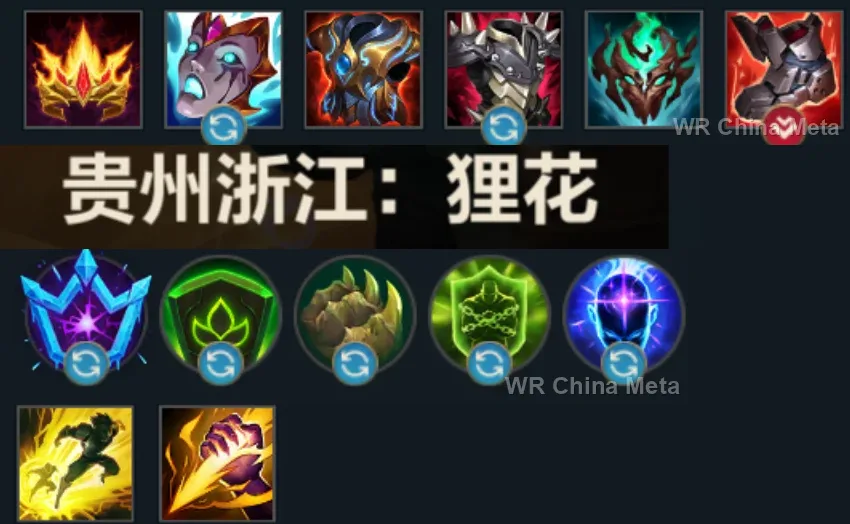
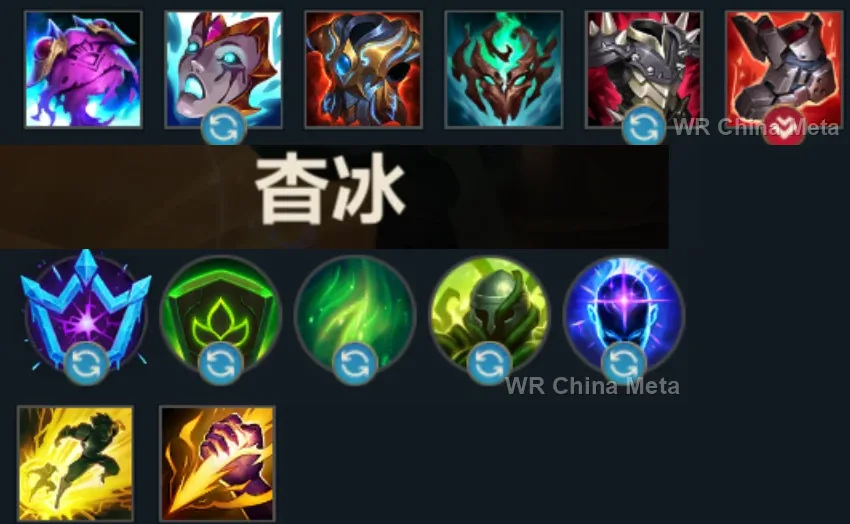
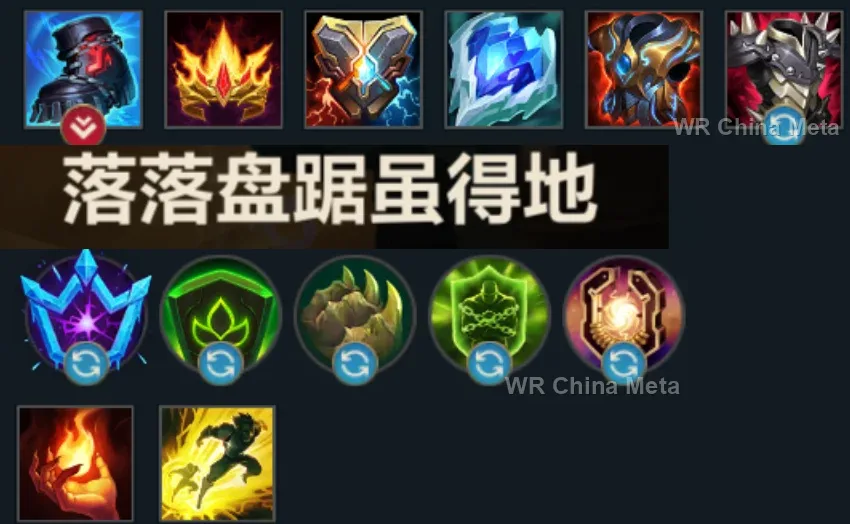
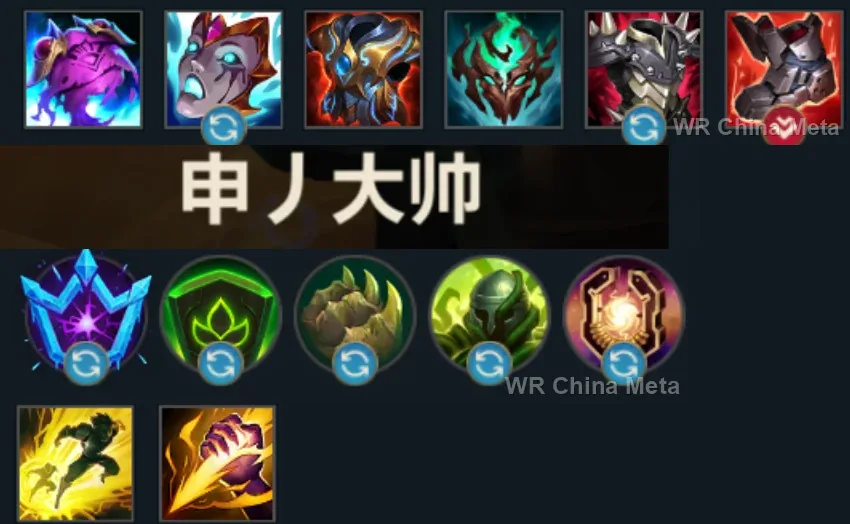
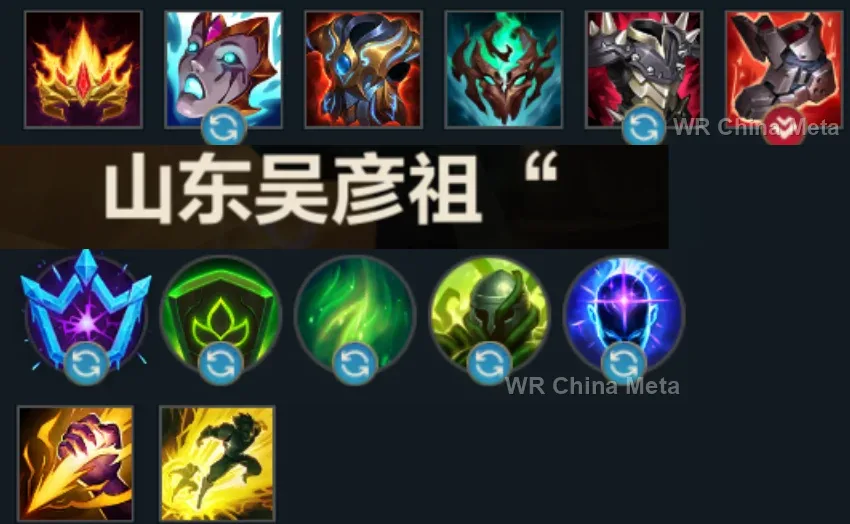
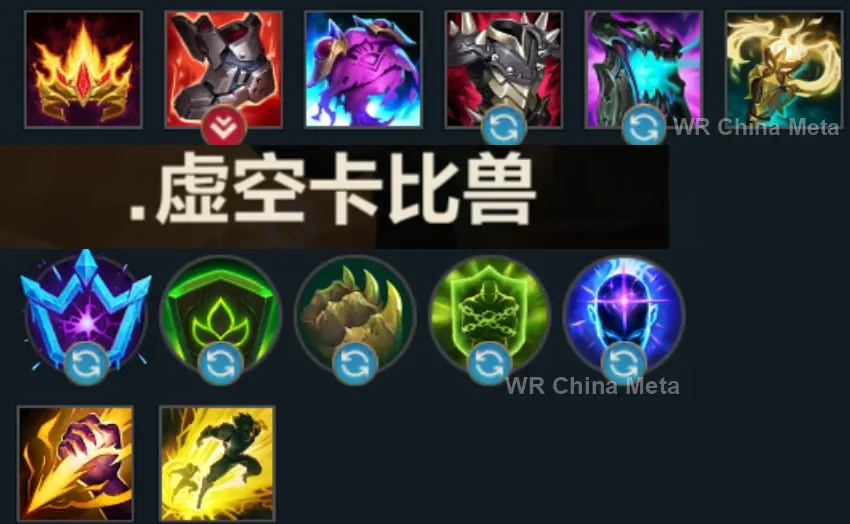
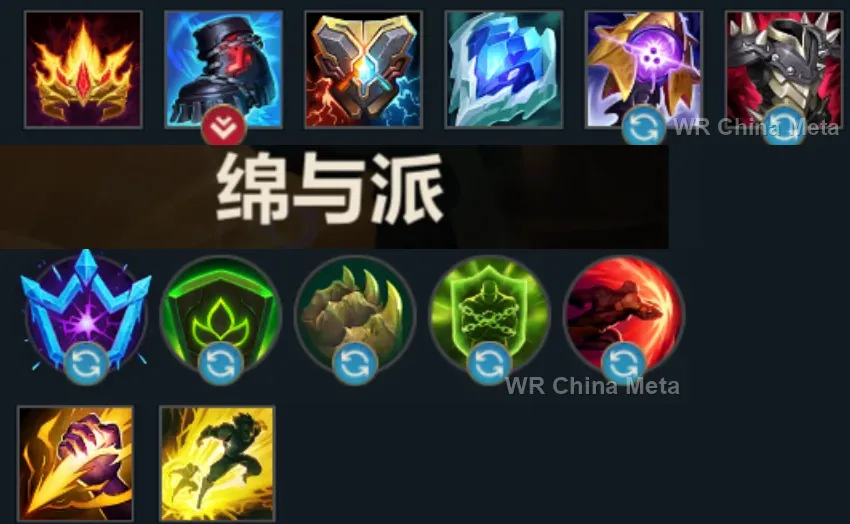
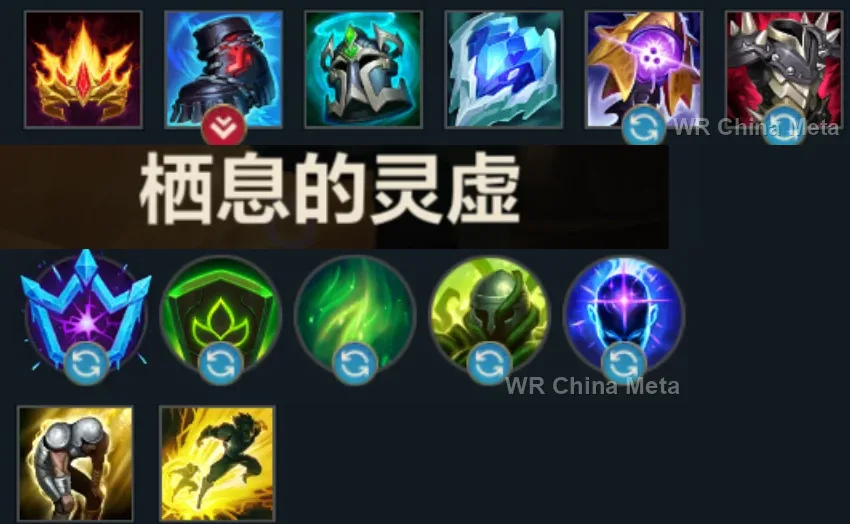
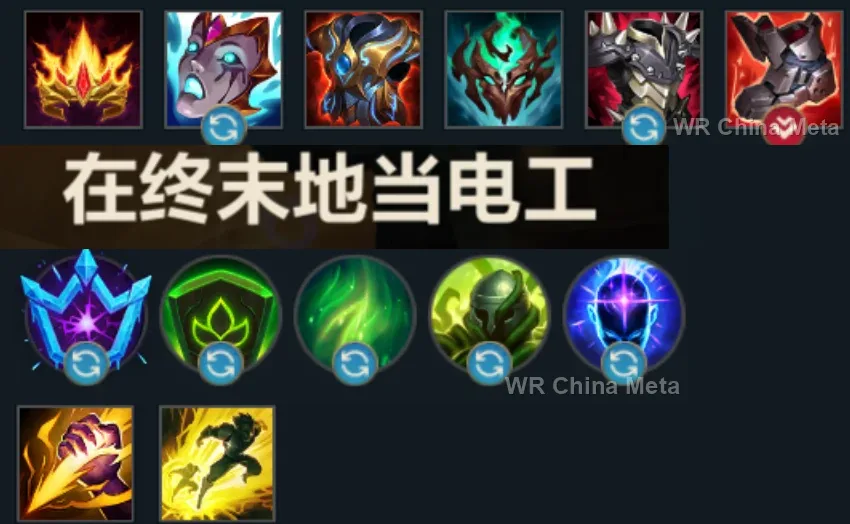
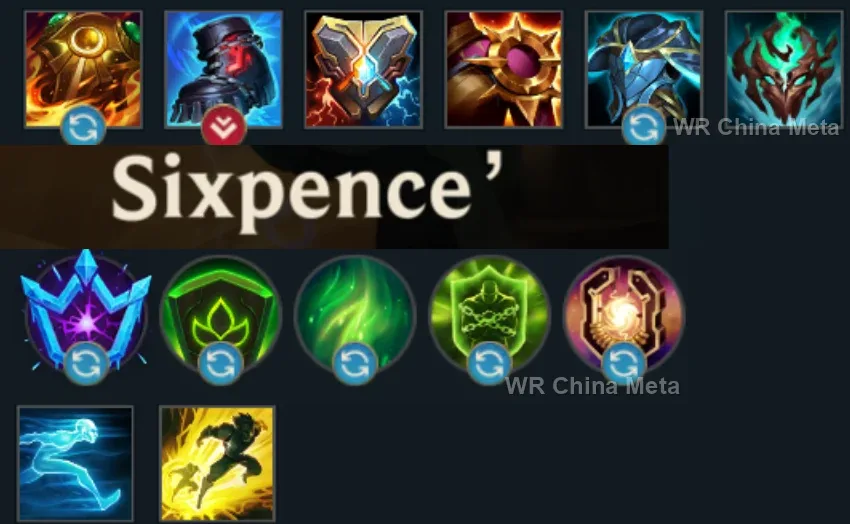
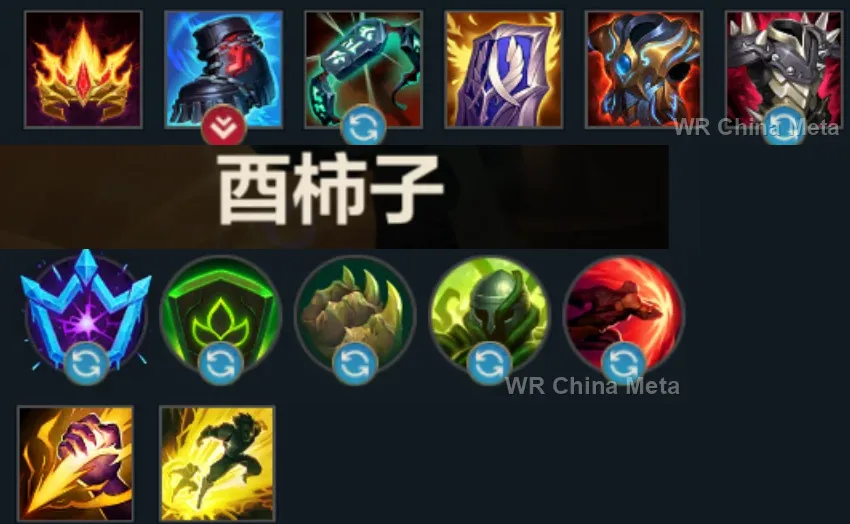
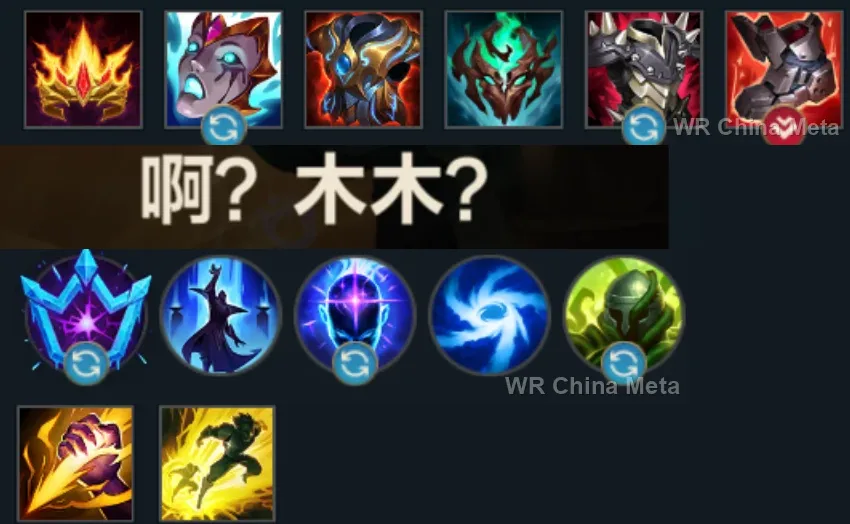
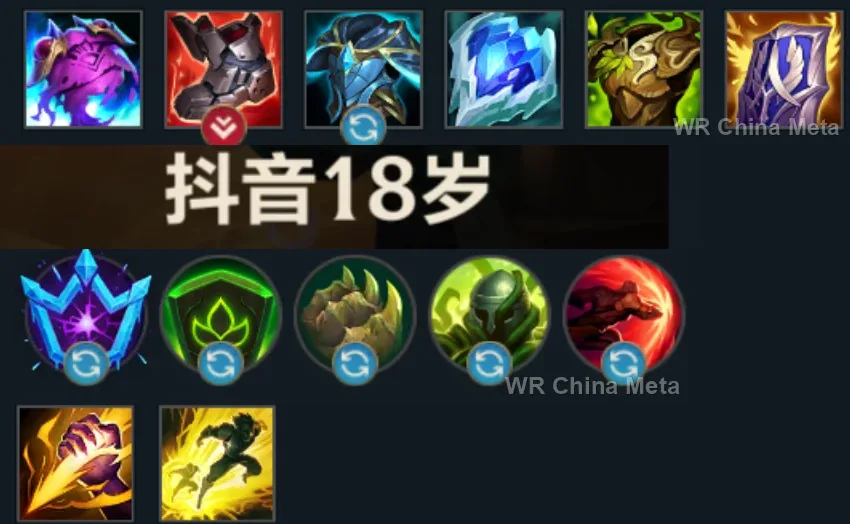
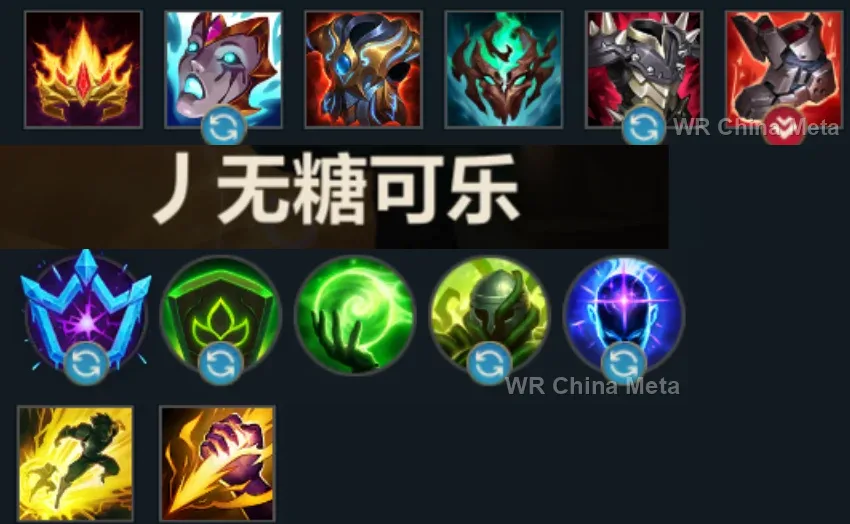
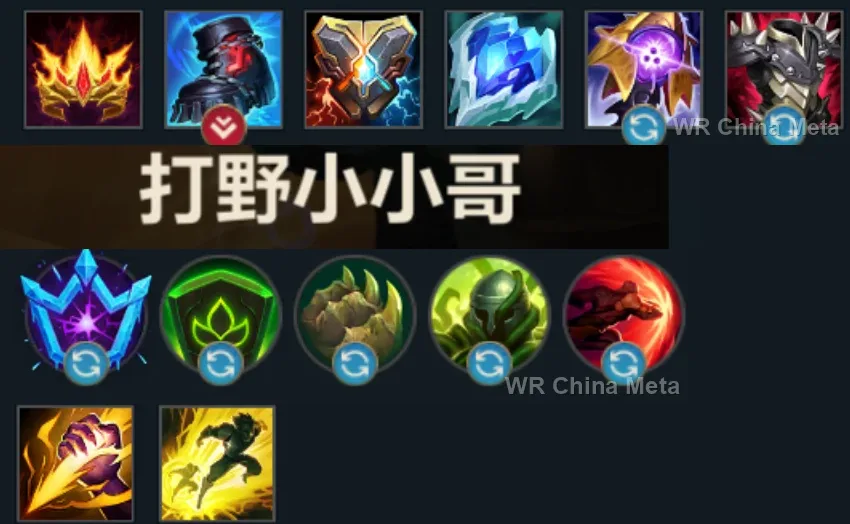
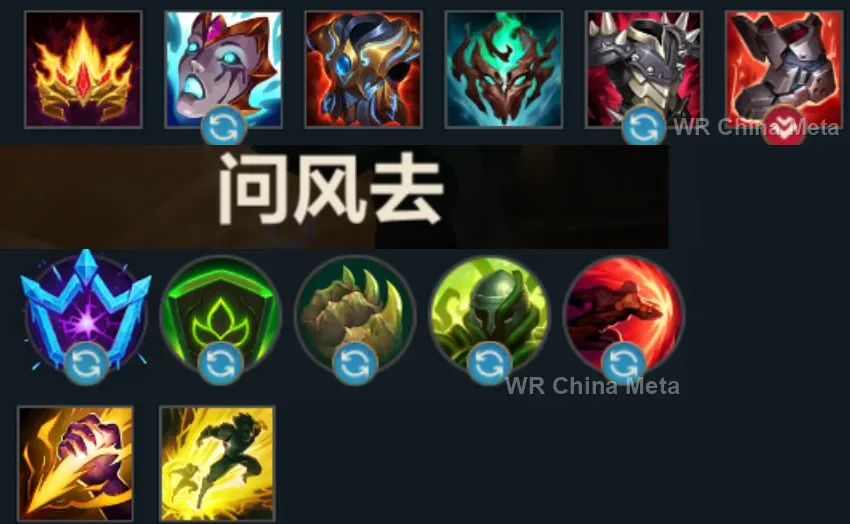
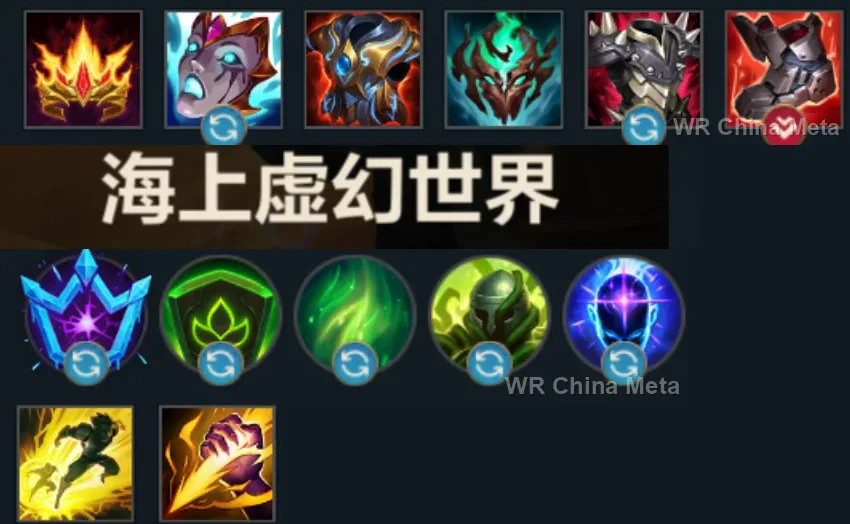
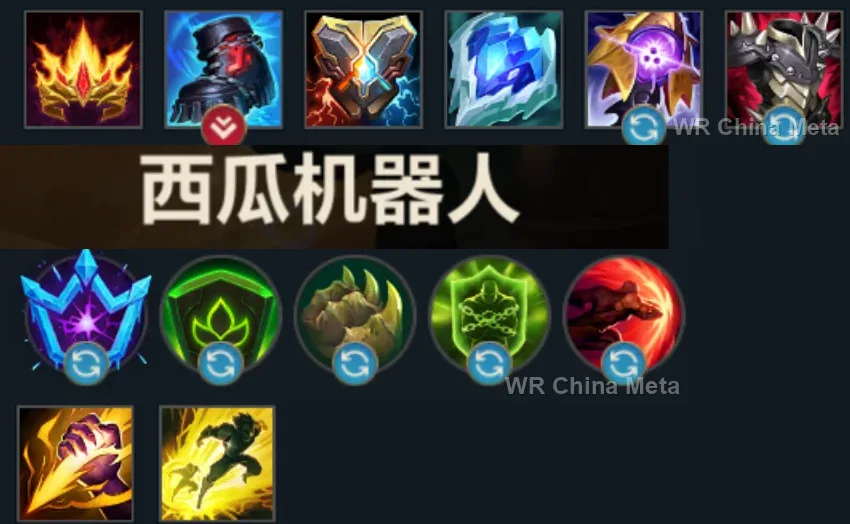
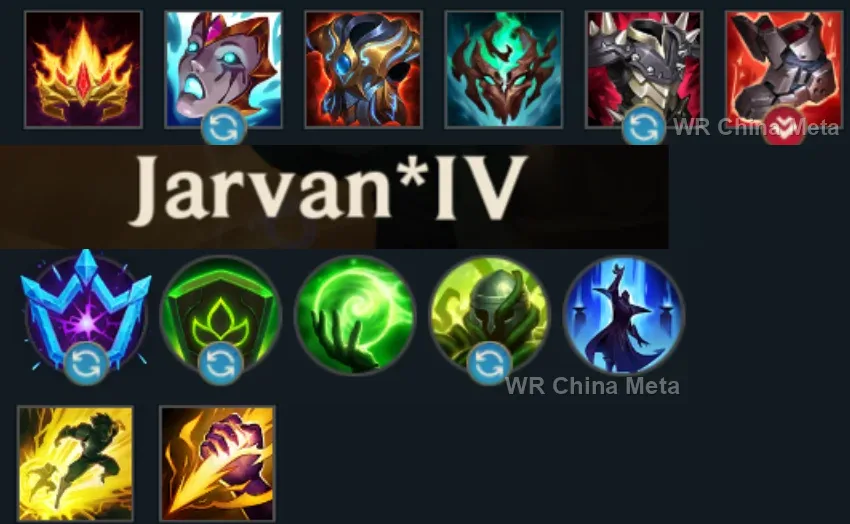
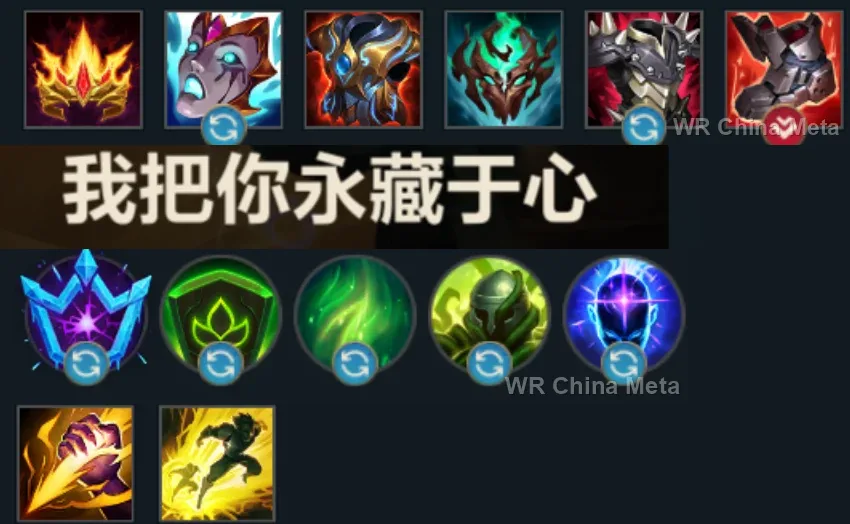
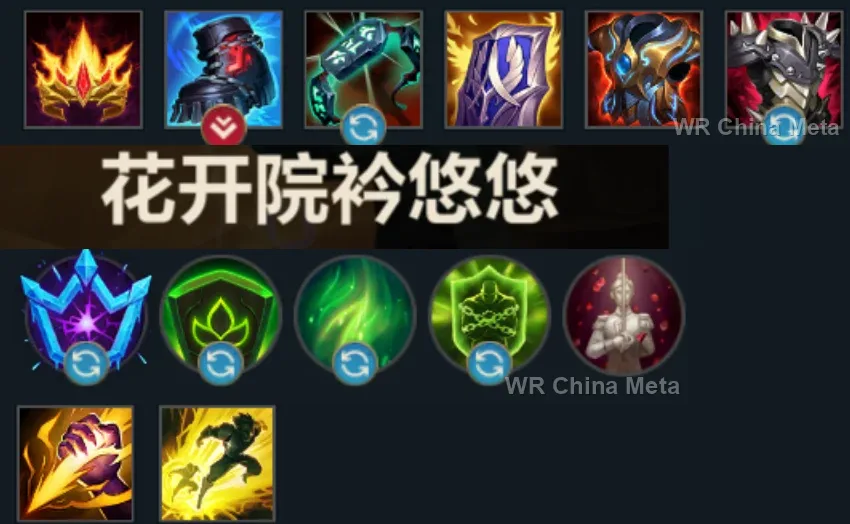
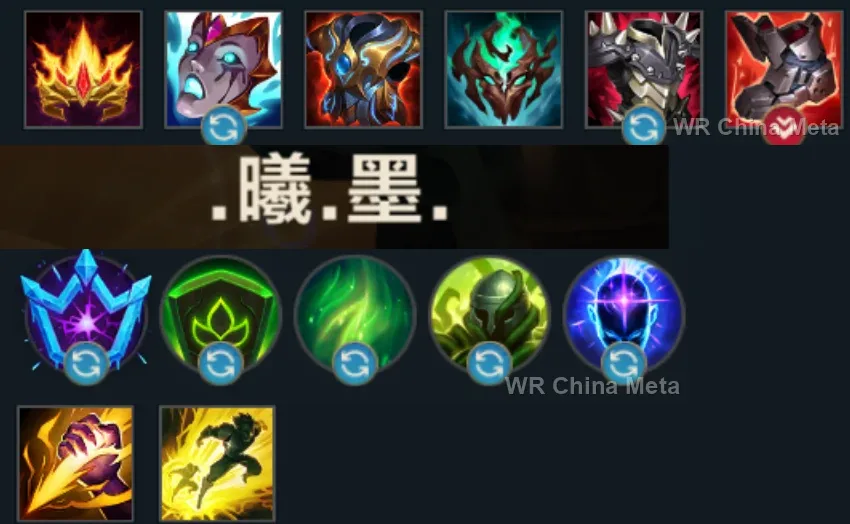
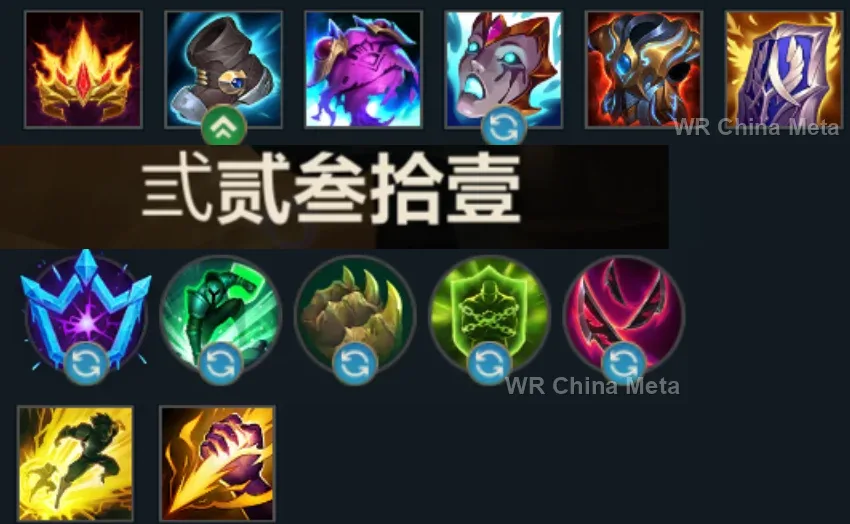
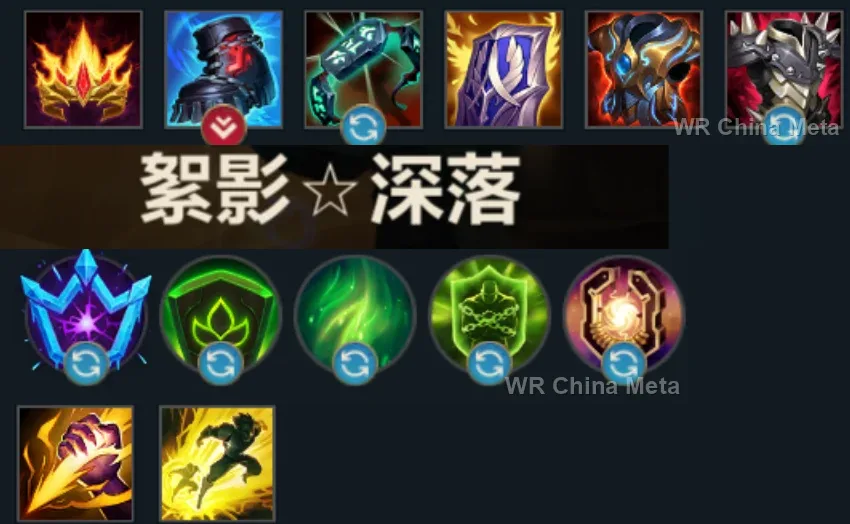
Taken from the official in-game China leaderboard. Spells, runes and items of every public top player.
26 of the top 30 players have a public match history; the others keep theirs private.
The toughest lane matchups for Amumu on the Wild Rift China server, with why each is hard and exactly how to play it.
 Amumu vs Kindred Unfavorable
Why Kindred counters Amumu: She kites you with hops and her R saves the whole team exactly on your R-plus-tears combo: she can cancel your teamfight single-handedly.
How to play Amumu into Kindred: Use Q only after her hop is spent, and cast your R AFTER her zone ends: the order of the two ultimates decides the fight. Farm in peace: in 5v5s you are worth double.
→ Kindred Amumu vs Lee Sin Unfavorable
Why Lee Sin counters Amumu: He invades you in the first minutes, when Amumu is at his weakest: your first jungle clears are slow and defenseless.
How to play Amumu into Lee Sin: Start at the buff opposite his and concede the first scuttle without fighting. Your R is worth an entire teamfight: get the game there and you flip it.
→ Lee Sin Amumu vs Rammus Skill matchup
Why Rammus counters Amumu: A tank mirror: he counters physical champions, you bring AoE CC for everyone. In a duel nobody kills anybody.
How to play Amumu into Rammus: It is a utility race: you win by arriving at fights with the better engage. Q into R before he can touch your carries.
→ Rammus Amumu vs Nunu & Willump Skill matchup
Why Nunu & Willump counters Amumu: He contests your objectives with Consume-Smite and the snowball punishes your slow engage.
How to play Amumu into Nunu & Willump: Your instant Q INTERRUPTS the snowball: keep it ready. On objectives move with the whole team: your 5v5 beats his dragon control.
→ Nunu & Willump Amumu vs Warwick Skill matchup
Why Warwick counters Amumu: In duels his sustain always wins, and duels are exactly what Amumu must never accept.
How to play Amumu into Warwick: Refuse every 1v1: farm and wait for teamfights. Answer his engage with Q plus R: his fear (R) is not enough against your AoE.
→ WarwickThe champions Amumu works best alongside on the Wild Rift China server, lane by lane, with the reason each pairing works.
Unstoppable Force (R) right after Curse of the Sad Mummy (R) chains a second AoE lockdown onto the same pile: the group stays frozen well past your 1.5 seconds, sitting inside the Despair (W) puddle.
Bellows Breath (W) makes enemies Brittle and stretches whatever crowd control follows by 30%, so your stun simply lasts longer; then the Call of the Forge God (R) recast knocks up the whole pile you just nailed down.
The Equalizer (R) is a strip of magic damage and slow that enemies simply walk out of: your AoE stun nails them inside it for the full burn instead of just the first tick.
Fate Sealed (R) cuts through everything in its path but demands clumped, motionless enemies, which is exactly what you leave behind with Curse of the Sad Mummy (R); he lands behind the last target hit and finishes the carry.
Cyclone (R) has to be cast from inside the pile and can be recast a few seconds later: inside Curse of the Sad Mummy (R) nobody leaves its radius, and its damage scales off max health exactly like Despair (W) does.
GNAR! (R) only upgrades into a full stun when it slams enemies into terrain, and that is the part that usually misses: against your motionless pile he can hardly get it wrong. He has to reach the fight in Mega form, though.
Hero's Entrance (R) lands on an ally but telegraphs the zone for 2.5 seconds, which is all enemies need to step out: cast onto you right after Bandage Toss (Q), your stun keeps them there and he arrives with a knock-up and a shield.
She puts Command: Protect (E) on you before you dive, so the ball is already where the fight starts: the moment Curse of the Sad Mummy (R) locks the group down, Command: Shockwave (R) drags every one of them into a single point.
Brand spends the game waiting for two or three enemies to stand close so Pyroclasm (R) can bounce between them: you build that moment for him, and Cursed Touch (P) makes a marked target take bonus true damage from any magic damage.
Slicing Maelstrom (R) demands he stay in the middle of the pile, and outside that channel Kennen has no defensive tool at all: your stun pays for the three seconds of pulses that re-mark and re-stun everyone.
Vision of Empire (W) deals 50% more damage to anything already locked down, so your stun turns it into a real nuke; and Demonic Ascension (R) needs him standing among the enemies, which is only survivable while they can't move.
Singularity (E) drags enemies together and Falling Star (R) lands on whoever failed to walk away: two abilities you dodge on foot, made automatic by your stun. He roams a lot, though, so it mostly pays off around objectives.
Bullet Time (R) is a stationary three-second channel that anyone with a dash simply sidesteps: inside Curse of the Sad Mummy (R) nobody sidesteps anything, and every wave can crit the whole group.
Samira has to get to melee range and climb to S-rank before Inferno Trigger (R) even exists: a stunned group is the safest place to do it, and the ultimate's ten shots delete a clump in about two seconds.
Kog'Maw has no dash of any kind: anything that reaches him ends the fight on the spot. You are the front line he needs to stay alive, and against stunned targets every Living Artillery (R) lands without having to predict it.
Curtain Call (R) wants a clean line and targets that stay put, and its four shots stop on the first champion they hit: inside your stun he fires on a sure thing, and Deadly Flourish (W) roots anyone you have already damaged.
MMOOOMMMM! (R) hits hardest at its centre and anyone with legs walks out of the flame before the second tick: stunned, nobody walks anywhere, and he stays inside healing himself while the group burns.
Contaminate (E) detonates the venom across the whole pile and Spray and Pray (R) pierces the entire line: your stun buys him the seconds he needs to stand still and shoot. He is still under a 49% win rate in China, though.
Crescendo (R) is a second wave of AoE stun: fire it into the pile as yours is running out and the enemies never get to move again. Between waves her auras heal the tank who dove in first.
Encore (R) extends every time it clips a champion, so it pays double against enemies stuck together; and Beat Drop (E) escalates from a plain slow into a root or a stun when the target has already eaten crowd control — yours.
Black Shield (E) on you before the dive eats the stun that would cut Bandage Toss (Q) short; and Soul Shackles (R) needs her to stay next to the enemy until the second pulse, which only your lockdown makes possible.
Stranglethorns (R) only knocks up whoever is still inside the zone two seconds after the cast, which is exactly why it usually gets dodged: between your stun and Tantrum (E) slow, nobody gets out.
Final Spark (R) pierces everything it touches but it is a beam you avoid by walking: against your frozen pile it catches them in a row, and Cursed Touch (P) adds true damage to every magic hit she lands. Still a sub-49% support.
| Lane | Tier | Win% | Pick% | Ban% | Pos. |
|---|---|---|---|---|---|
| Jungle | S+ | 55.59% | 2.86% | 0.08% | #2 / 40 |
| Lane | Tier | Win% | Pick% | Ban% | Pos. |
|---|---|---|---|---|---|
| Jungle | S+ | 55.67% | 2.91% | 0.08% | #2 / 40 |
| Lane | Tier | Win% | Pick% | Ban% | Pos. |
|---|---|---|---|---|---|
| Jungle | S+ | 56.07% | 2.82% | 0.06% | #2 / 42 |
| Lane | Tier | Win% | Pick% | Ban% | Pos. |
|---|---|---|---|---|---|
| Jungle | A | 56.01% | 2.61% | 0.09% | #11 / 41 |


Amumu is a Tank jungler in Wild Rift built entirely around area-of-effect magic damage and hard crowd control rather than raw single-target burst. He's one of the simplest champions in the game to pick up — no skillshots to read, no intricate combo timing — but in the right hands he can delete a clumped enemy team by himself with back-to-back AoE stuns and a damage pool that scales off max HP. He won't win a straight 1v1 trade, but his value comes from forcing fights on his own terms and punishing any team that groups up.
Skill order: W > E > Q (always take R at 5/9/13)
Amumu's early jungle clears are slow and he has no escape besides a target-dependent Q, so avoid contesting camps against dive-heavy junglers like Lee Sin and instead path toward lanes where you can set up a kill. Use Despair to soften camps efficiently and lean on Tantrum's passive damage reduction rather than trading damage directly with monsters. From level 3 onward, look for a gank the moment your laner has priority — Bandage Toss the extended target, and even without your ultimate, a 1-second stun next to your ally's damage is often enough to close out a kill. Play around your own jungle timers rather than forcing early skirmishes; Amumu's real power spike is level 5, not level 1.
From the mid-game on, Amumu wins fights by forcing the enemy to clump and then punishing that mistake — flank from a bush or fog of war and open Curse of the Sad Mummy the instant multiple enemies are within range, rather than walking in from the front like a second-wave tank. Prioritize whichever backline carry you can reach cleanly with Bandage Toss; pulling a fed marksman or mage out of position is usually worth more than stunning the frontline. Drop Despair right on top of your own stun so the percent-HP damage starts ticking immediately, and save Tantrum's slow for anyone trying to walk out of the puddle before the fight ends. Against a team that refuses to group, patience matters more than aggression — burning your ultimate on one or two targets often costs you the whole fight.