
WR China Meta
Meta, tier list & top-player builds from the China server · live
Meta, tier list & top-player builds from the China server · live

瑟提 · 腕豪 Fighter A
✅ Patch 7.2e · stats updated 2026-09-12 · real builds of 23 top-ranked China server players captured 2026-09-11
Difficulty Damage Toughness Utility
How the strongest players on the Wild Rift China server (国服) build Sett: live win/pick statistics by rank bracket, the most-used item and rune sets, and the real loadouts of the top ranked Sett players, captured in-game.
📖 How to play Sett


Counted on 24 real builds captured from the Chinese client, player by player. Independent from the official API above.


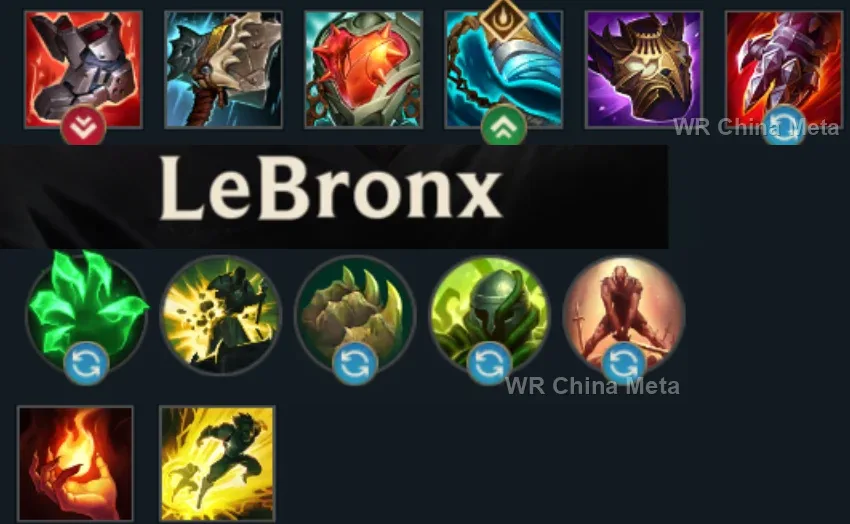
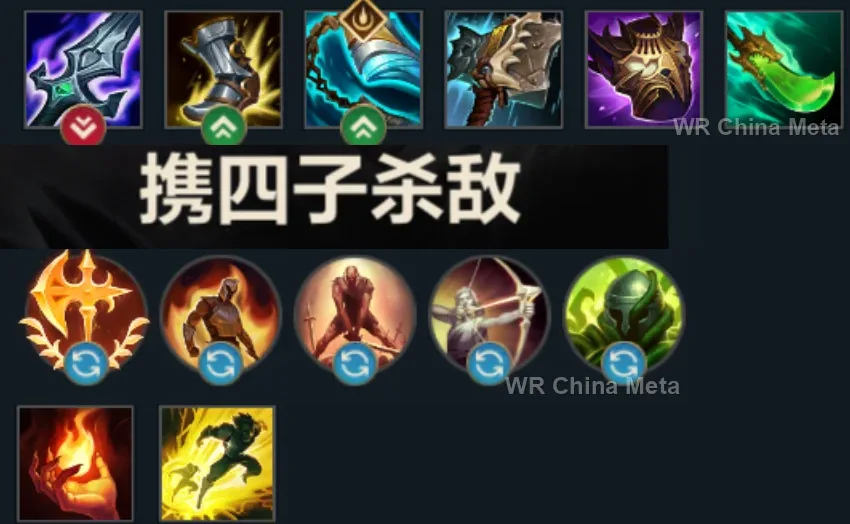
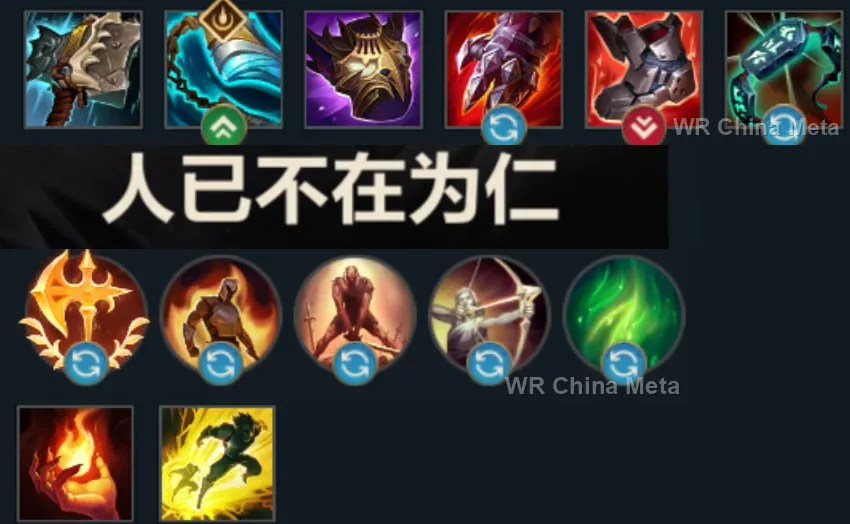
Taken from the official in-game China leaderboard. Spells, runes and items of every public top player.
23 of the top 30 players have a public match history; the others keep theirs private.
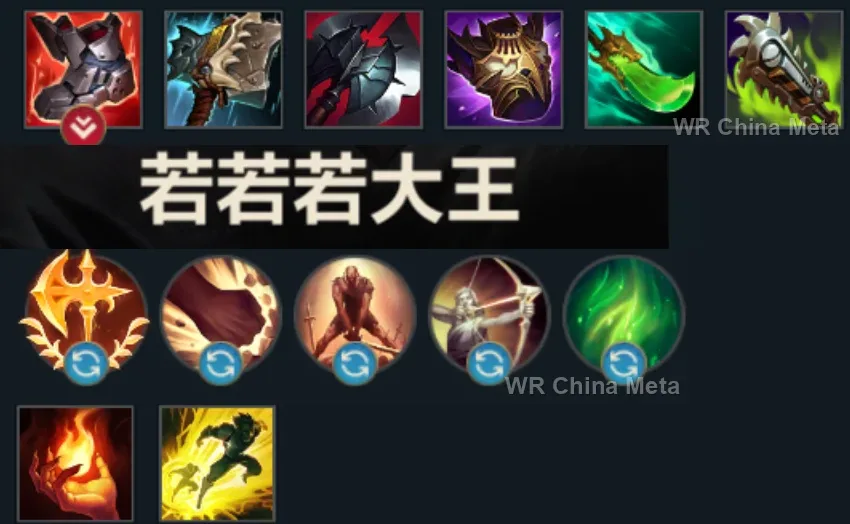
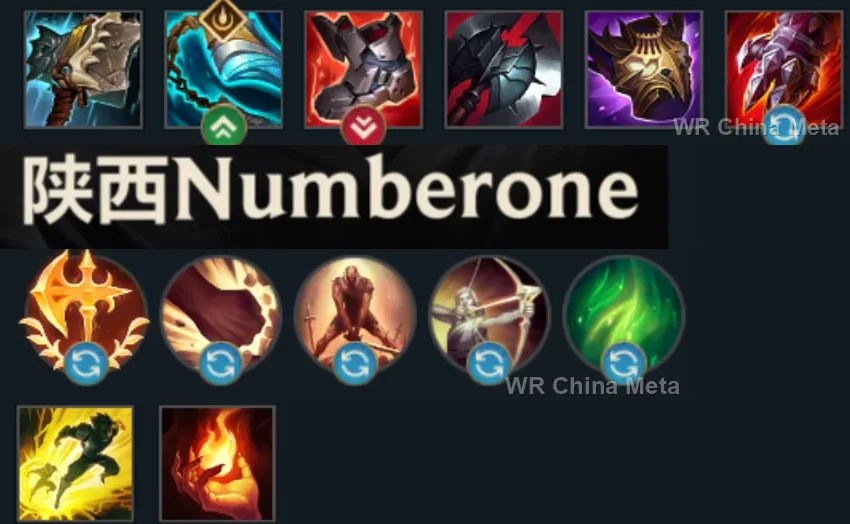

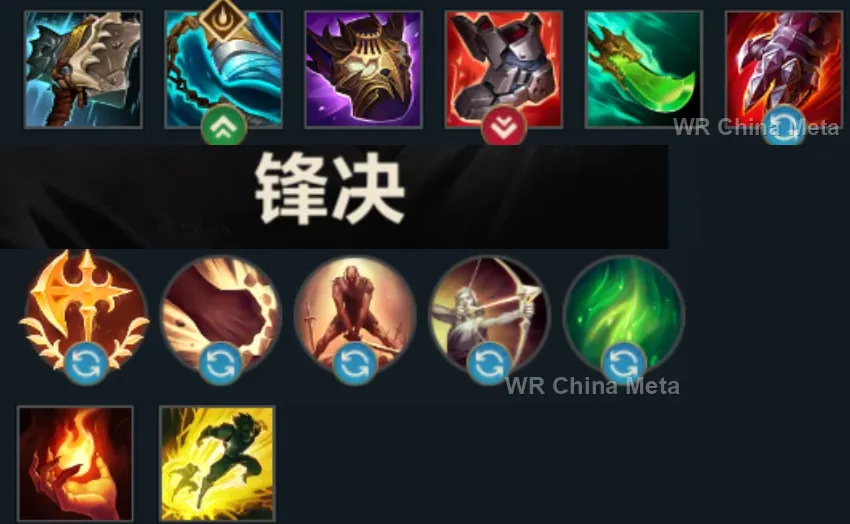
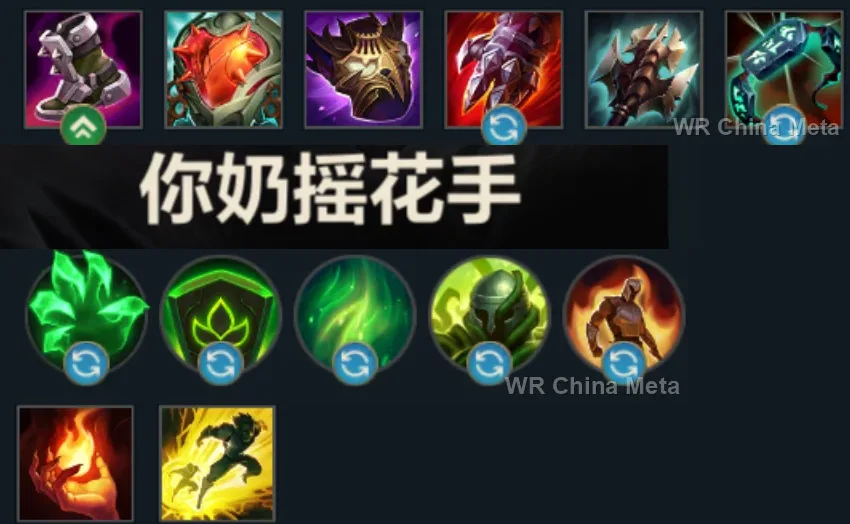
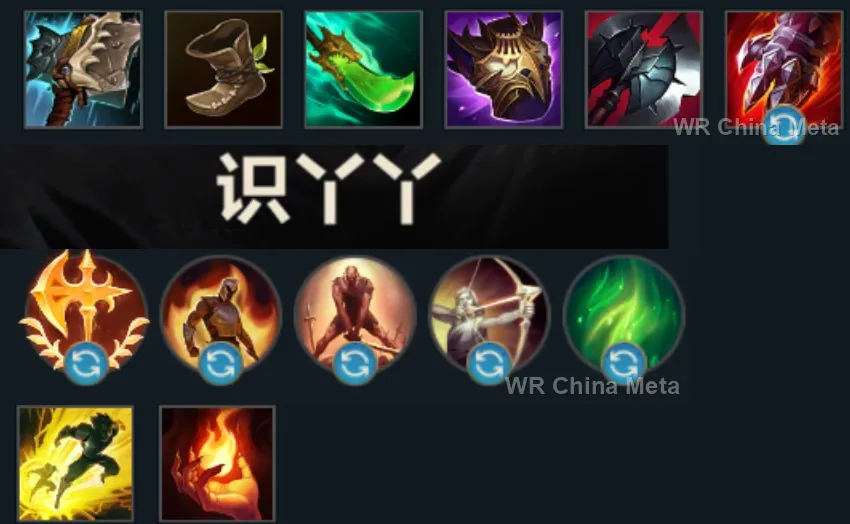
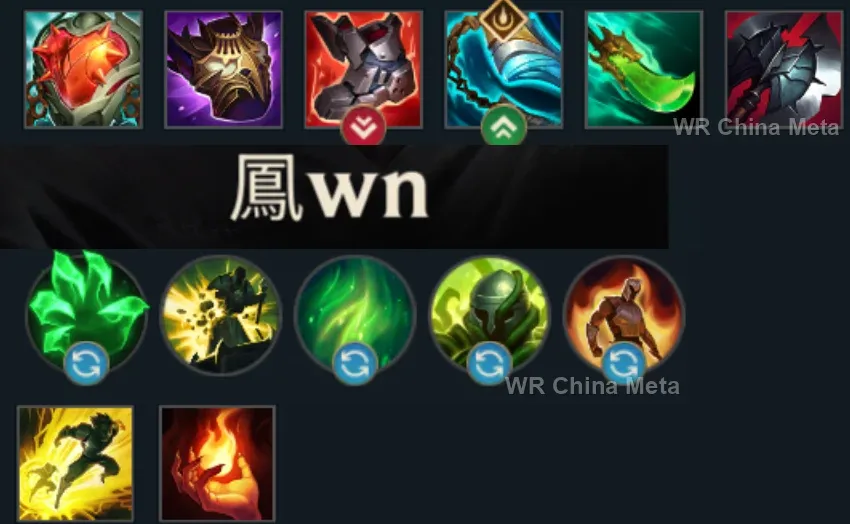
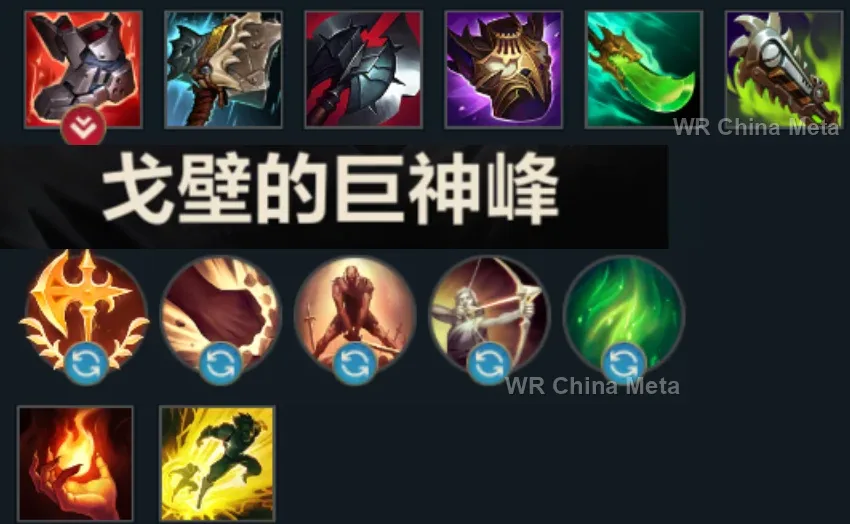




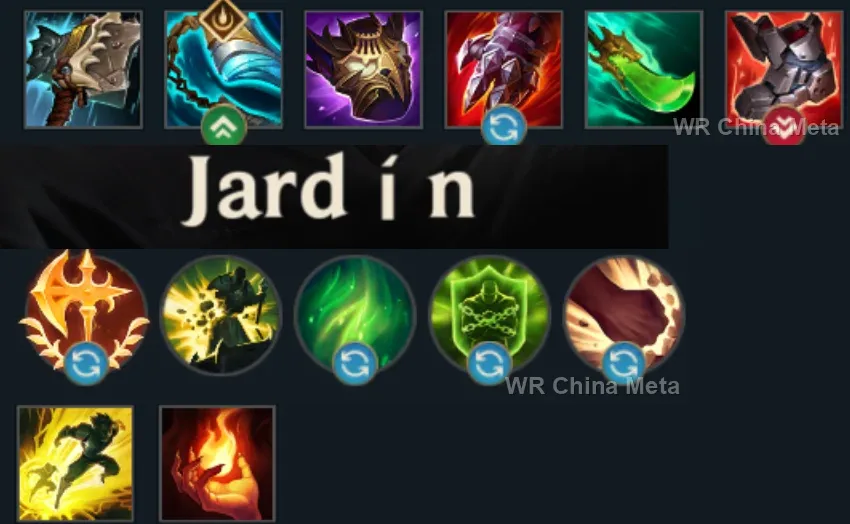







The toughest lane matchups for Sett on the Wild Rift China server, with why each is hard and exactly how to play it.
 Sett vs Vayne Hard counter
Why Vayne counters Sett: Range, Tumble and Condemn against a boxer with no real gap closer: you literally never touch her.
How to play Sett into Vayne: Freeze in front of your tower and live off the W shield. Your R on her in ganks is guaranteed: call the jungler, often.
→ Vayne Sett vs Teemo Unfavorable
Why Teemo counters Sett: The blind shuts off your punch and the kiting your slow stride: the clown dancing around the bouncer.
How to play Sett into Teemo: Your W is true damage and NOT a basic attack: charge it with his poke and fire it into his face. E-grab him when he walks up to plant mushrooms.
→ Teemo Sett vs Fiora Unfavorable
Why Fiora counters Sett: Riposte on your heavily telegraphed W and Vitals on your big body: you are her favorite punching bag.
How to play Sett into Fiora: Instant W, uncharged, to break her Riposte timing. Back to the wall. Your R delivers her to your team: use it early.
→ Fiora Sett vs Jax Skill matchup
Why Jax counters Sett: His Counter Strike eats your jabs but not your W: it comes down to your Grit timing against his jumps.
How to play Sett into Jax: W during his Counter Strike: it goes through. E-pull when he lands from the jump. Once he has 2 items stop dueling: drag him into your team.
→ Jax Sett vs Malphite Skill matchup
Why Malphite counters Sett: Rock versus fists: he never dies but never kills you either, and your W at least speaks to him in true damage.
How to play Sett into Malphite: Accept the draw: farm and use W to absorb his poke. In fights your R picks the target: throw their carry into the middle of your team.
→ MalphiteThe champions Sett works best alongside on the Wild Rift China server, lane by lane, with the reason each pairing works.
Your page says Facebreaker (E) without bodies on both sides is just a slow: Unstoppable Force (R) stacks them into one spot for you. And he, who kills nobody alone, finally has someone converting the engage with a full-Grit Haymaker (W).
Apprehend (E) drags a group toward him and hands it to you already packed for a Facebreaker (E) stun. His page says mobile champions simply stay out of his reach: The Show Stopper (R) picks one up and drops them at his feet for Noxian Guillotine (R).
Brittle from Bellows Breath (W) stretches the next piece of crowd control by 30%: the Facebreaker (E) stun and the 99% slow from The Show Stopper (R) both run longer. Call of the Forge God (R) meanwhile knocks the group up and leaves it packed for you.
GNAR! (R) slams a whole group into terrain: your page tells you to use terrain to sandwich targets, and he leaves them right there for you, stunned and stacked. From that point Facebreaker (E) and Haymaker (W) just unload into the pile.
Mega Adhesive (W) and Fling (E) answer your worst problem, which is that kiters with slows keep you at arm's length all game. It only counts when he decides to group, though: his page describes an elite proxy farmer who lives far from his team.
His page says he loses any straight duel outright: The Show Stopper (R) removes the one body that would hit him back. And after Curse of the Sad Mummy (R) the enemies are stationary and packed together, which are exactly the two conditions Facebreaker (E) needs to stun.
Infinite Duress (R) is a one-second suppress that cannot be broken: it is the one condition where the Haymaker (W) windup can be neither dodged nor parried. And The Show Stopper (R) hands him the carry he could never reach on his own.
Cataclysm (R) builds a wall around a target, and your page says terrain counts as the second side for Facebreaker (E): inside the arena the stun is guaranteed. Watch who he walls in, though, because on the wrong target the two of you are the prisoners.
Moonfall (R) detonates a slow on everyone around her, and that is the only way you, with no real gap closer, ever reach whoever is kiting you. She in turn is painfully fragile once Pale Cascade (W) is down: Facebreaker (E) peels off whoever turns on her.
Frenzying Taunt (E) holds a target still long enough for a full-Grit Haymaker (W) to land, which against anything mobile almost never happens. Worth it when their team has one real threat: against two carries, one of them is always left free.
Command: Protect (E) attaches to you, shields you and hands you armour and magic resist: you are the one walking in first and eating everything to load Grit. And the Ball travels with you, so Command: Shockwave (R) yanks the group into one point right where you stand.
Hero's Entrance (R) can land on you as you engage, knocking up everyone around you and handing you the pile Facebreaker (E) is asking for. His page says the marker is easy to walk out of: after your stun, nobody is walking anywhere.
Demonic Ascension (R) lives on enemies who stay close to him, and The Show Stopper (R) delivers one bodily, lifted out of their team and dropped inside the demon. Nevermove (E) in return roots the target before you have to chase it down.
Singularity (E) drags grouped enemies to its centre: that is the pile Facebreaker (E) needs to stun instead of slow, and it executes whoever Haymaker (W) already ground down. He has no escape, though, and you are the body keeping divers off him.
The Gold Card from Pick a Card (W) is 1.25 seconds of point-and-click stun, which is exactly the window where Haymaker (W) cannot be dodged. Worth it in games played for picks: his page says he brings no crowd control outside that card.
Her page says enemy crowd control and distance shut her down completely: Facebreaker (E) clamps two enemies right in front of her and The Show Stopper (R) hands her one bodily. Every takedown resets Wild Rush (E), so your engage opens the next one.
Bullet Time (R) is a stationary three-second channel her page admits people simply walk around: a Facebreaker (E) stun plus the 99% slow from The Show Stopper (R) is the window where nobody moves at all. Peel is the one thing she has none of.
Her page says allied crowd control applies Second Skin (P) Plasma by itself: every Facebreaker (E) stun marks two targets for her, and Killer Instinct (R) is a dash plus a shield onto anything marked. She sits at 48.2%, but your engage is her way in.
A snowball lane: every Facebreaker (E) that lands is a kill, and every kill turns his League of Draven (P) Adoration stacks into gold. Stand Aside (E) knocks back whoever tries to punish you when your grab only caught one side.
Deadly Flourish (W) roots anyone an ally has just damaged: one Knuckle Down (Q) punch is enough and the target is locked down twice in a row. And he has zero mobility, so Facebreaker (E) is the peel that shoves divers off him.
Arc of Judgment (W) slows almost to a standstill, and that is how you reach whoever is kiting you. But she wants a support who protects her while she stands still and hits: it only works if you agree to stay in front of her instead of diving in.
| Lane | Tier | Win% | Pick% | Ban% | Pos. |
|---|---|---|---|---|---|
| Baron | A | 49.68% | 9.89% | 2.61% | #13 / 41 |
| Support | A | 50.37% | 1.92% | 2.61% | #13 / 34 |
| Lane | Tier | Win% | Pick% | Ban% | Pos. |
|---|---|---|---|---|---|
| Baron | A | 49.52% | 10.01% | 2.76% | #14 / 41 |
| Support | A | 50.35% | 1.96% | 2.76% | #13 / 34 |
| Lane | Tier | Win% | Pick% | Ban% | Pos. |
|---|---|---|---|---|---|
| Baron | A | 49.27% | 10.52% | 2.62% | #9 / 41 |
| Support | B | 49.44% | 2.04% | 2.62% | #17 / 33 |
| Lane | Tier | Win% | Pick% | Ban% | Pos. |
|---|---|---|---|---|---|
| Baron | S | 48.44% | 11.99% | 1.9% | #5 / 39 |
| Support | C | 50% | 2.39% | 1.9% | #24 / 33 |


Sett, known in Wild Rift as the Boss, is a brawling Fighter who converts the beating he takes into the damage he deals — his passive alternates left and right punches for bonus damage, and his signature Haymaker turns stored-up punishment into a shield and a true-damage haymaker. He fights at point-blank range, mixing physical damage from his fists and Q with true damage from W, and scales off both AD items and max HP rather than just one. He's built to walk into the middle of a fight and out-trade whoever's standing there, making him a strong lane bully early and a hard-to-kill teamfight anchor later.
Skill order: W > E > Q
Play Sett like a boxer working an opponent into the ropes: walk up with Knuckle Down already active so you arrive with move speed and two empowered punches ready to throw. Don't shy away from damage in trades — every hit you take banks Grit for Haymaker, so absorb a couple of hits and release W once you've stored enough for a shield that swings the exchange your way. Look to land Facebreaker against a wall, ward, or the enemy jungler for the bonus stun, and snowball any all-in you win before level 5, since The Show Stopper turns your next dive or gank into a near-guaranteed kill.
By the mid game Sett wants to be in the thick of the fight, not on its edge — walk in first, soak the opening damage to load Grit, and look for The Show Stopper on whichever enemy will hurt the most to remove: a stacked tank for the bonus-health scaling, or an exposed carry to take out of the fight entirely. Land Facebreaker across as many bodies as you can catch for the stun, then release Haymaker once Grit is capped, since the shield alone can eat a full combo from an enemy carry. Don't panic-ult early — a 99% slow for a full second is close enough to a stun that timing The Show Stopper to catch someone out of position wins fights far more often than using it as a reflexive escape-denial button.