
WR China Meta
Meta, tier list & top-player builds from the China server · live
Meta, tier list & top-player builds from the China server · live

劫 · 影流之主 Assassin C
✅ Patch 7.2e · stats updated 2026-09-12 · real builds of 14 top-ranked China server players captured 2026-09-11
Difficulty Damage Toughness Utility
How the strongest players on the Wild Rift China server (国服) build Zed: live win/pick statistics by rank bracket, the most-used item and rune sets, and the real loadouts of the top ranked Zed players, captured in-game.
📖 How to play Zed





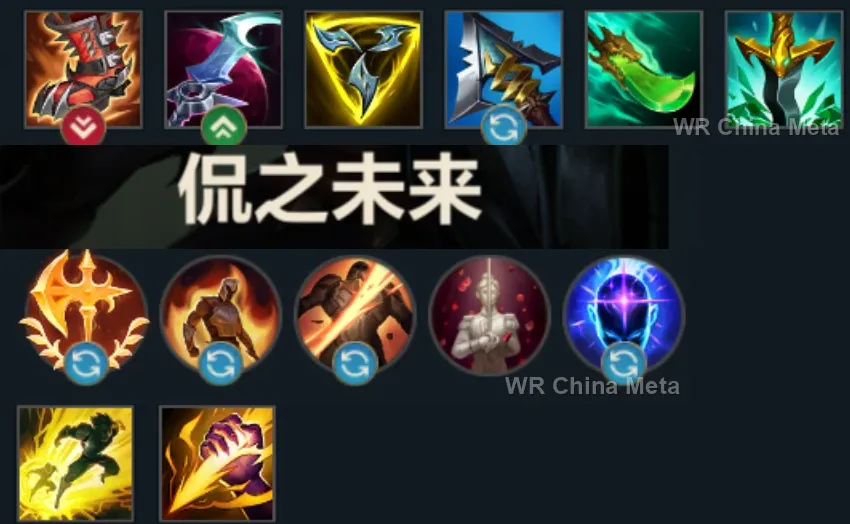
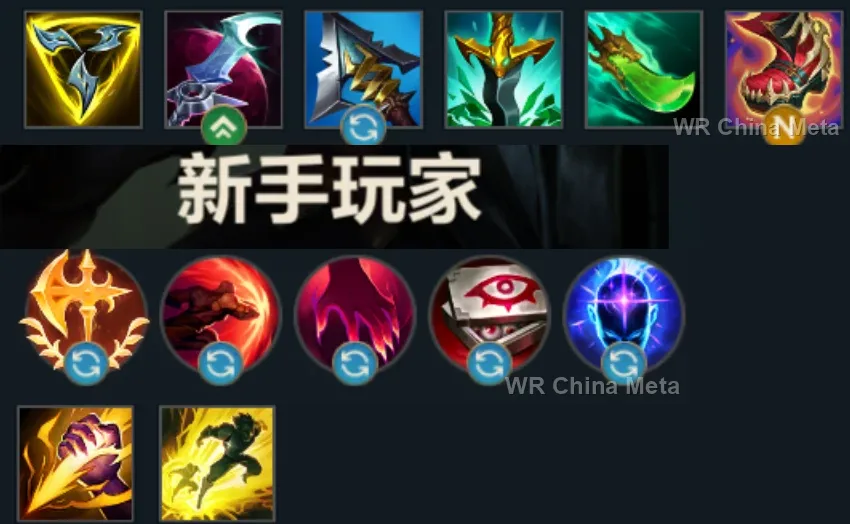
Counted on 15 real builds captured from the Chinese client, player by player. Independent from the official API above.


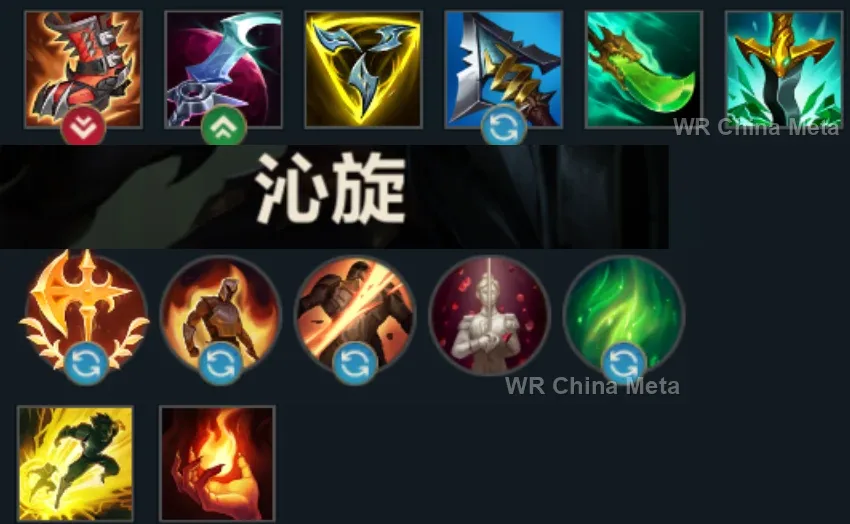
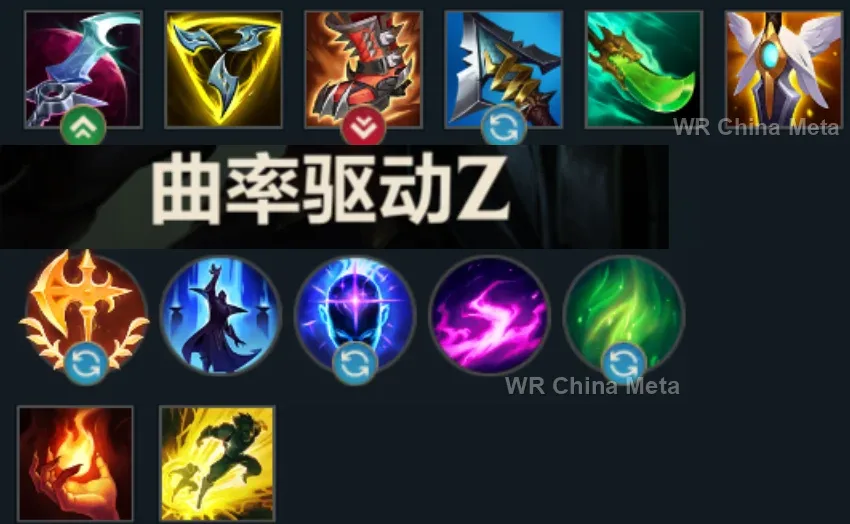
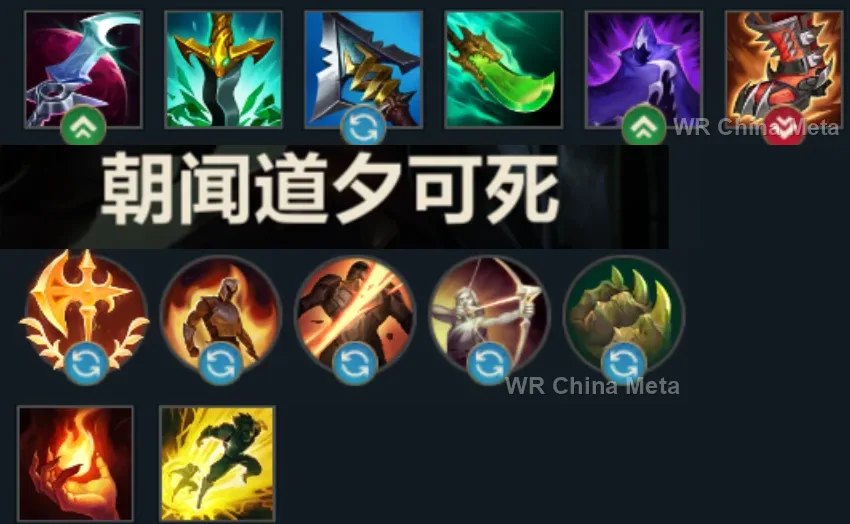
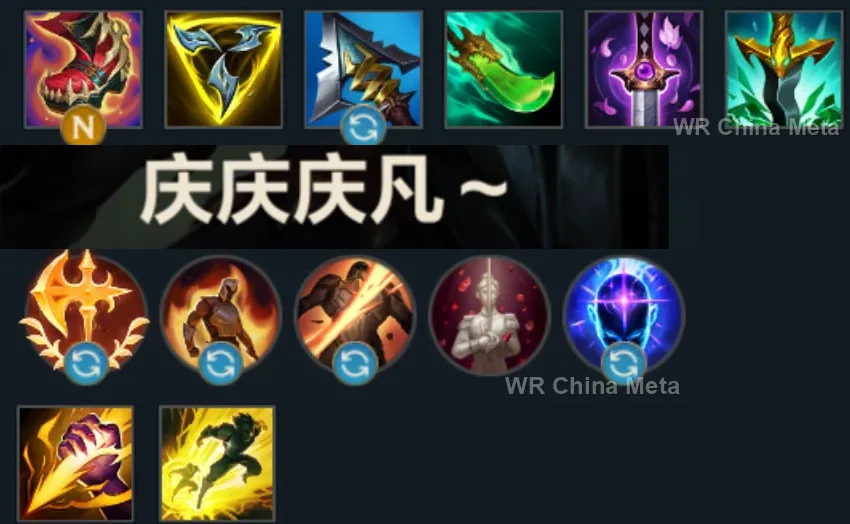
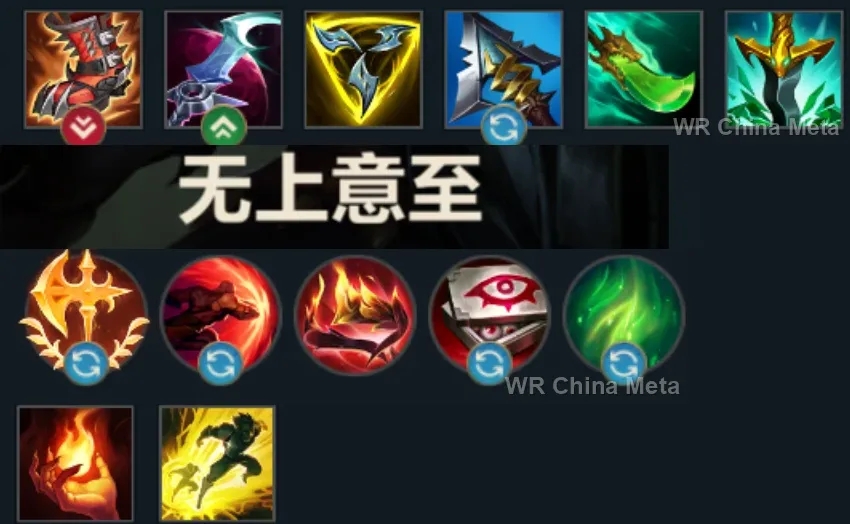
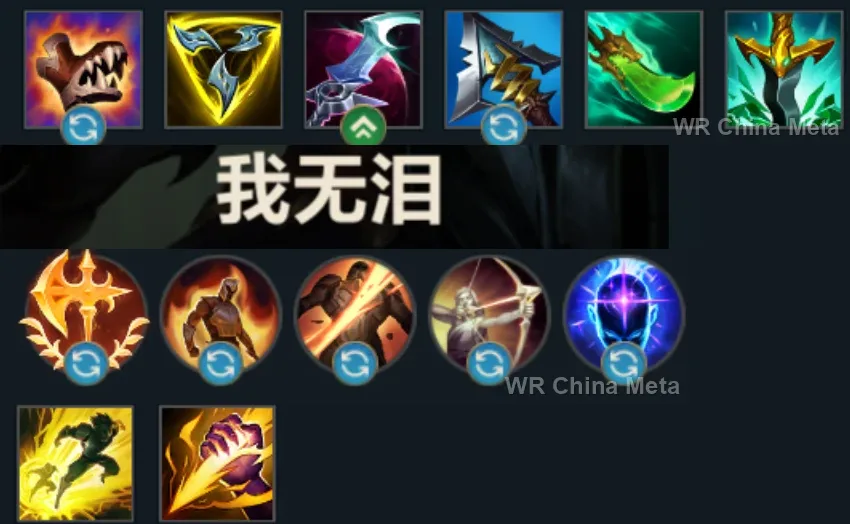
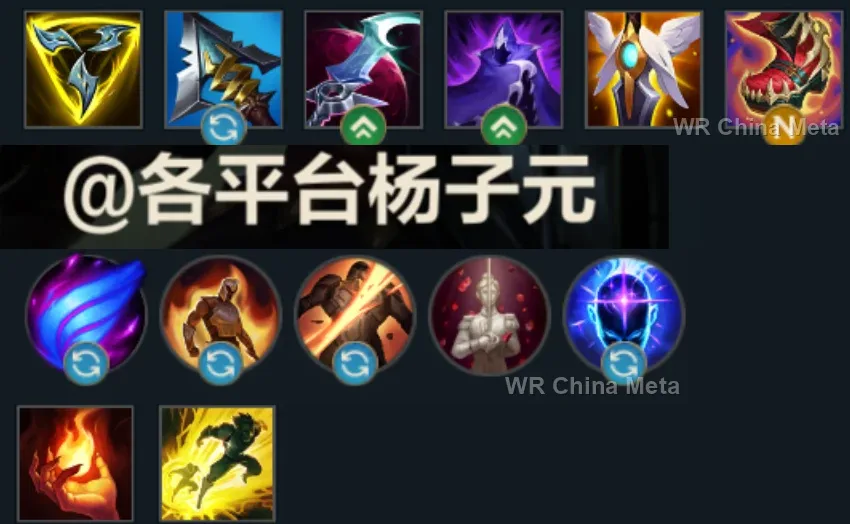
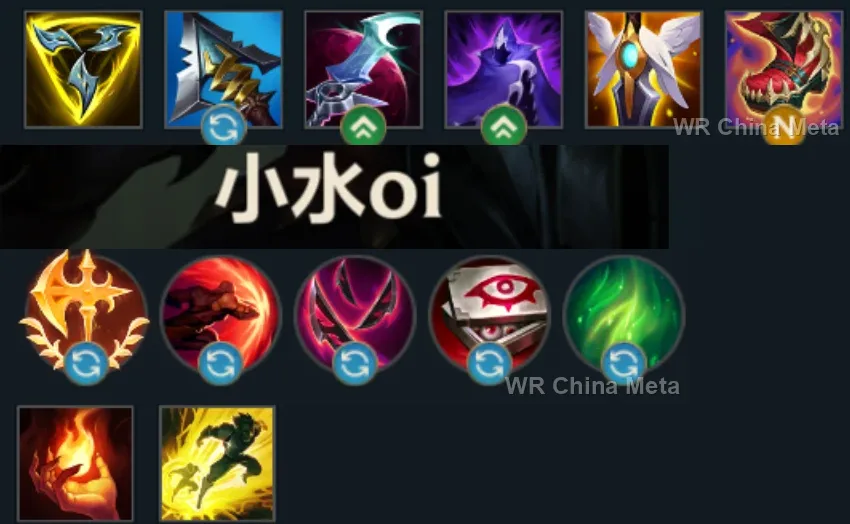
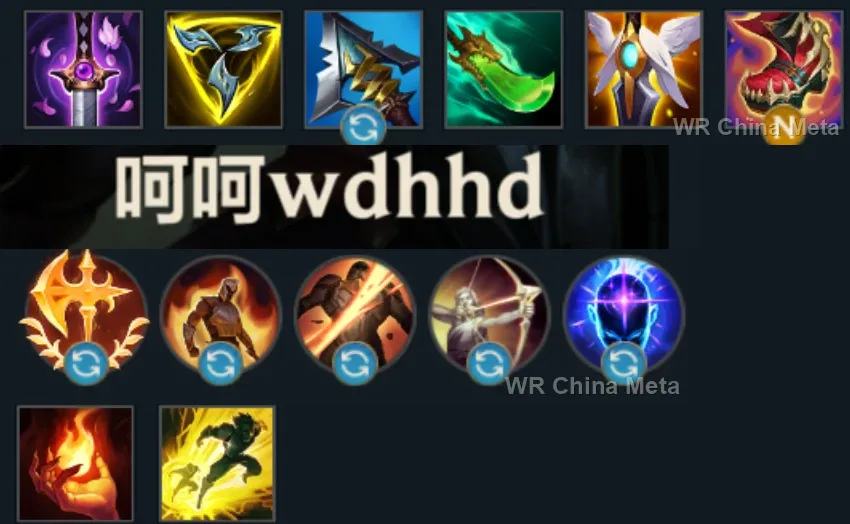
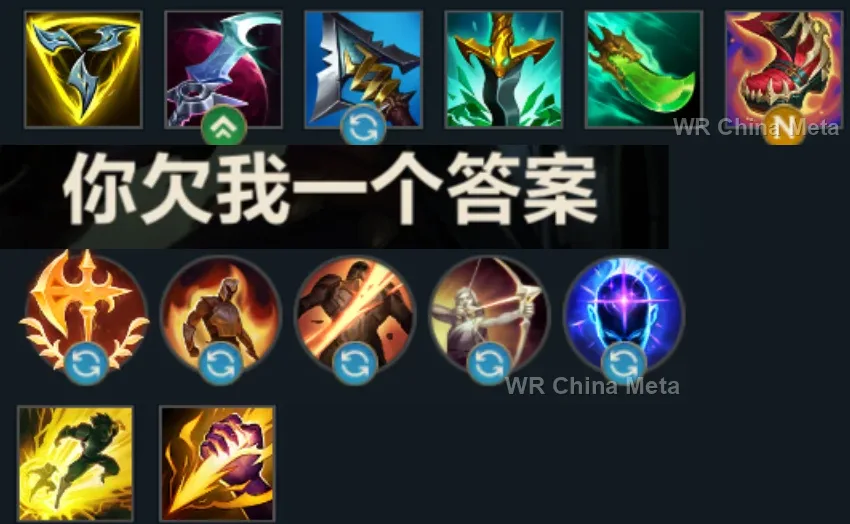
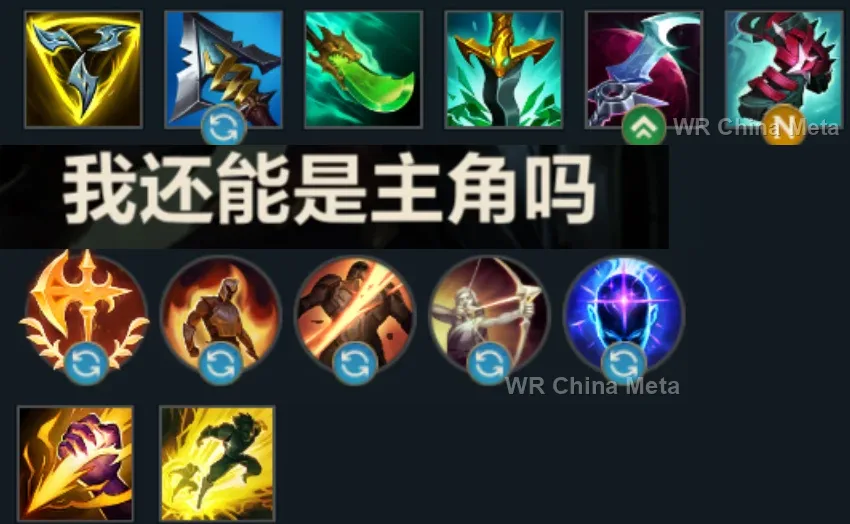
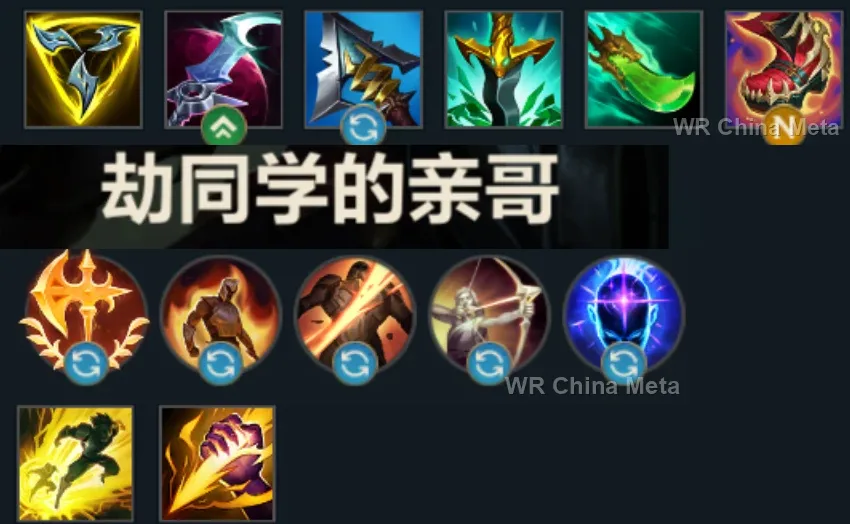
Taken from the official in-game China leaderboard. Spells, runes and items of every public top player.
14 of the top 30 players have a public match history; the others keep theirs private.
The toughest lane matchups for Zed on the Wild Rift China server, with why each is hard and exactly how to play it.
 Zed vs Lissandra Hard counter
Why Lissandra counters Zed: Her E slides her out of your all-in, the ground root stops the shadow combo and self-R cancels your R — a Zhonya's with a free stun attached.
How to play Zed into Lissandra: Poke with Q without committing: her R has a long cooldown, count it. All-in only when E and R are down. In the mid game splitpush far away from her.
→ Lissandra Zed vs Malphite Hard counter
Why Malphite counters Zed: Your entire kit is physical and he laughs at it: he pokes you from range and his R punishes your R on anyone nearby.
How to play Zed into Malphite: This is not your lane: farm with Q, stay above half health and roam. Your value lies in the other lanes, with Black Cleaver as soon as possible.
→ Malphite Zed vs Kayle Unfavorable
Why Kayle counters Zed: Weak before 5, yes, but her R gifts immunity exactly against your R: every wasted ultimate is a lost teamfight. After 9 she kites you from out of sight.
How to play Zed into Kayle: Bully her relentlessly at levels 1-5 and tax every cs. Force her R with the W-E-Q combo BEFORE casting yours, or spend it on someone else.
→ Kayle Zed vs Diana Unfavorable
Why Diana counters Zed: Shield against your burst, magic damage against your assassin's armor, and an R that finds you even in the shadow: she beats you in chaotic fights.
How to play Zed into Diana: Win on poke: repeated Qs from beyond her Q range. Do not trade while her shield is ready. In 5-man fights she must die before she lights up.
→ Diana Zed vs Ahri Skill matchup
Why Ahri counters Zed: The classic skill matchup: her Charm punishes a predictable R entry, but dodge it and your pressure is higher all game.
How to play Zed into Ahri: Enter with R BEHIND her, or after the Charm is burned. Use W as bait: the sudden swap breaks her aim. Snowball the first kill.
→ AhriThe champions Zed works best alongside on the Wild Rift China server, lane by lane, with the reason each pairing works.
All Out (R) roots the enemy carry and knocks them away from their team, and against terrain Wall Shatter throws them further still: an isolated target, held in place with nobody left to peel, is the condition Death Mark (R) exists for.
Your page calls you a split-pusher: Stand United (R) is what turns a side-lane 1v2 into a fight you survive. And the Shadow Dash (E) taunt strips the target of the dash they normally use to walk out of Death Mark (R).
Vanguard's Edge (R) splits the field in two with a wall of blades: the carry stays on your side, her team on the other. That is the direct answer to what your page calls your limit, chaotic teamfights where you isolate nobody.
You take him for the attention, not the damage: Unstoppable Force (R) opens the fight from the front and while their team is airborne nobody can peel the carry as you come in from the flank. Without a clean window your page says you are just another squishy body.
Mega Adhesive (W) into Fling (E) is near-total lockdown: the target ends up rooted in the glue with no dash left to cancel Death Mark (R), and thrown backwards on top of that, away from anyone who could peel.
Your page says Death Mark (R) is a telegraphed dive that enemy crowd control cancels: the one-second suppress of Infinite Duress (R) strips the target of dashes, cleanses and reactions. You land on them when they are already locked.
Cease and Desist (R) is unstoppable and point-and-click: the carry cannot dodge it, nobody can peel it off her and she gets carried away from her team. Her page says the ultimate only gets her killed without damage behind it, and you are that damage.
Paranoia (R) blinds the entire enemy team's vision: nobody sees where the flank comes from, which is the one condition your page says you need. And Unspeakable Horror (E) holds the target still while the mark ticks down.
Cataclysm (R) walls the carry in: inside that ring there is nobody left to cancel your dive with a stun, which your page says is exactly what wastes Death Mark (R). You go in, execute, and leave through Living Shadow (W).
Crescent Guard (R) knocks back everyone except his marked target: that is the forced isolation your page says you never find in chaotic teamfights. The carry is left alone in the middle, and Death Mark (R) does the rest.
Enchanted Crystal Arrow (R) lands from off-screen and stuns: on a frozen target there is nothing left to telegraph, which is your ultimate's stated flaw. And Frost Shot (P) slows with every hit, so Razor Shuriken (Q) does not miss.
Every point of your damage is physical and one armour item blunts you: Blighted Quiver (W) layers magic damage onto every hit, so the enemy cannot itemise armour alone. Chain of Corruption (R) meanwhile roots the group and opens your window.
Deadly Flourish (W) roots anyone an ally has just damaged, and a single Razor Shuriken (Q) thrown from the shadow down the lane is enough to arm it. That root is the window where Death Mark (R) can no longer be cancelled.
Your page says you live on snowball: League of Draven (P) turns every takedown into bonus gold, so the lead keeps running even while you push a side lane. And Stand Aside (E) knocks aside and slows whoever was trying to walk out.
A composition choice, not a combo: he sets up nothing for you. But you peel for nobody and you leave once the mark detonates, so the team needs a carry who saves herself, and Arcane Shift (E) is that exit.
Death Sentence (Q) rips the carry out of her formation and hands her to you stunned: isolated, held, with nobody beside her. And when Living Shadow (W) is already spent, the Dark Passage (W) lantern is the second exit your kit does not own.
Rocket Grab (Q) does the job that normally falls to you: it rips the carry out of her team and drops her alone in the middle of yours. Power Fist (E) knocks her up right after, and the Static Field (R) silence removes the ability she would have escaped with.
Your page says one piece of crowd control at the wrong moment cancels Death Mark (R) and strands you among them with nothing: Black Shield (E) absorbs the first one that touches you. And Dark Binding (Q) roots for two seconds, nearly the whole 2.8-second mark.
Two roamers instead of two farmers: Bone Skewer (Q) into Phantom Undertow (E) hands you a target held in place, and the moment they drop below half health Contempt for the Weak (P) starts adding magic damage to every hit of yours.
Worth it against teams that buy armour early, since every point of your damage is physical: Deadly Spines (Q) and Stranglethorns (R) are magic and force them to spend on magic resist too. Grasping Roots (E) meanwhile roots the target from range.
| Lane | Tier | Win% | Pick% | Ban% | Pos. |
|---|---|---|---|---|---|
| Mid | C | 50.03% | 3.77% | 1.47% | #30 / 39 |
| Jungle | D | 48.27% | 1.55% | 1.47% | #39 / 40 |
| Lane | Tier | Win% | Pick% | Ban% | Pos. |
|---|---|---|---|---|---|
| Mid | C | 50.07% | 3.72% | 1.52% | #27 / 38 |
| Jungle | D | 47.98% | 1.59% | 1.52% | #38 / 40 |
| Lane | Tier | Win% | Pick% | Ban% | Pos. |
|---|---|---|---|---|---|
| Mid | C | 50.37% | 3.88% | 1.53% | #29 / 39 |
| Jungle | D | 48.42% | 1.82% | 1.53% | #39 / 42 |
| Lane | Tier | Win% | Pick% | Ban% | Pos. |
|---|---|---|---|---|---|
| Mid | B | 48.97% | 4.81% | 2.21% | #21 / 41 |
| Jungle | C | 47.84% | 2.61% | 2.21% | #31 / 41 |


Zed is a physical damage Assassin in Wild Rift built around a single job: erasing one high-value target before they can react. His Living Shadow clone lets him fake positioning, double up his poke, and slip away through a swap instead of a flash, while Death Mark turns a few seconds of contact into a delayed execution. He's at his best hunting squishy carries who wander out of position, but the whole kit depends on that combo landing clean.
Skill order: Q > E > W
Before level 5 this is a poke-and-farm lane, not an all-in lane — you have no real escape until Death Mark, so lead trades with the shadow (W) so Q and E hit twice, then reset instead of chasing a bad fight. Prioritize safe CS over long exchanges, and use the shadow to threaten a roam or check a side bush without giving up lane presence. Level 5 is the first real spike: once Death Mark is up, a clean combo can solo-kill an opponent who overextends, so start looking for that window immediately.
Zed isn't a frontline fighter — play from the flank, let the front lines crash together, and wait for the moment a priority target (their main damage source, not the tank) steps out of position. Only commit Death Mark when you can follow through with the full combo and either finish the kill or swap safely out; a whiffed ultimate leaves you stranded with no defensive tools of your own. Once the mark detonates, spend your remaining shadow charge on disengaging rather than sticking around, since nothing in the kit helps you survive a second wave of retaliation.