
WR China Meta
Meta, tier list & top-player builds from the China server · live
Meta, tier list & top-player builds from the China server · live

巴德 · 星界游神 Support B
✅ Patch 7.2e · stats updated 2026-09-12 · real builds of 21 top-ranked China server players captured 2026-09-11
Difficulty Damage Toughness Utility
How the strongest players on the Wild Rift China server (国服) build Bard: live win/pick statistics by rank bracket, the most-used item and rune sets, and the real loadouts of the top ranked Bard players, captured in-game.
📖 How to play Bard





Counted on 23 real builds captured from the Chinese client, player by player. Independent from the official API above.


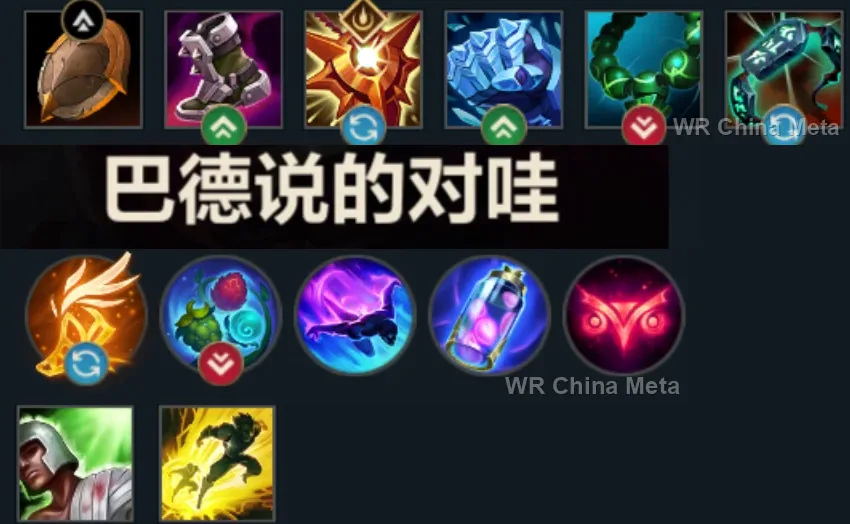
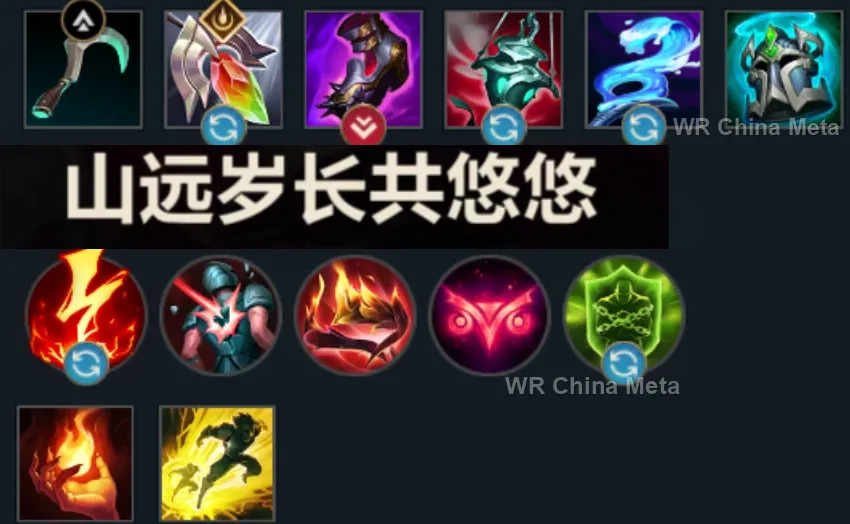
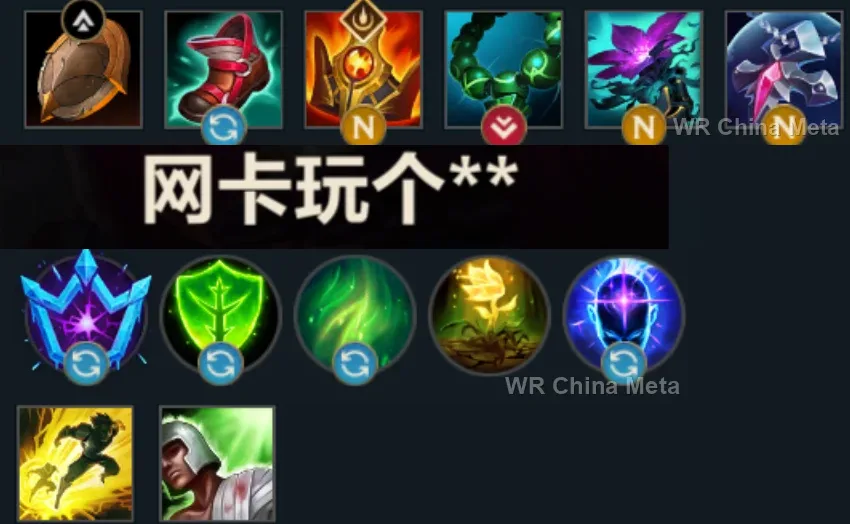
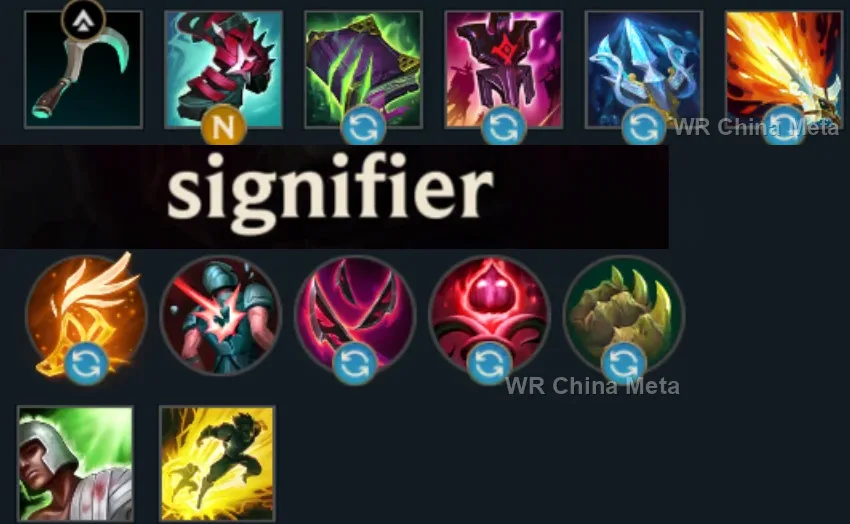
Taken from the official in-game China leaderboard. Spells, runes and items of every public top player.
21 of the top 30 players have a public match history; the others keep theirs private.
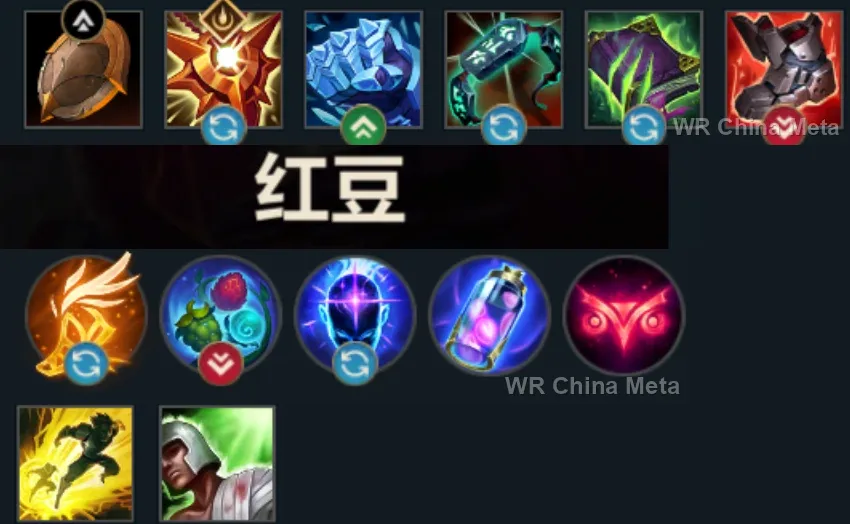
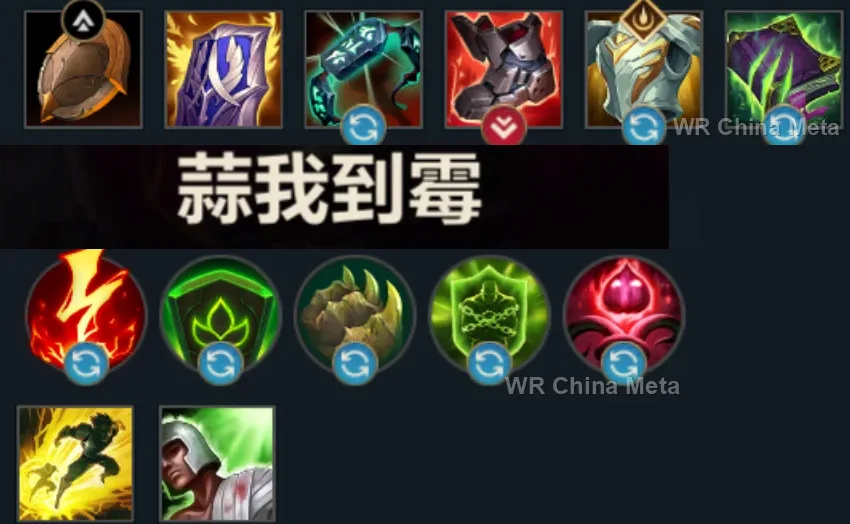
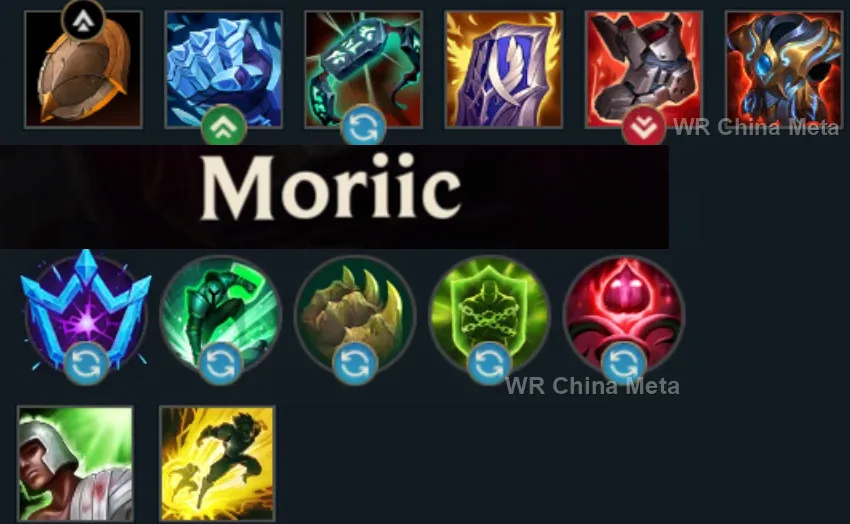
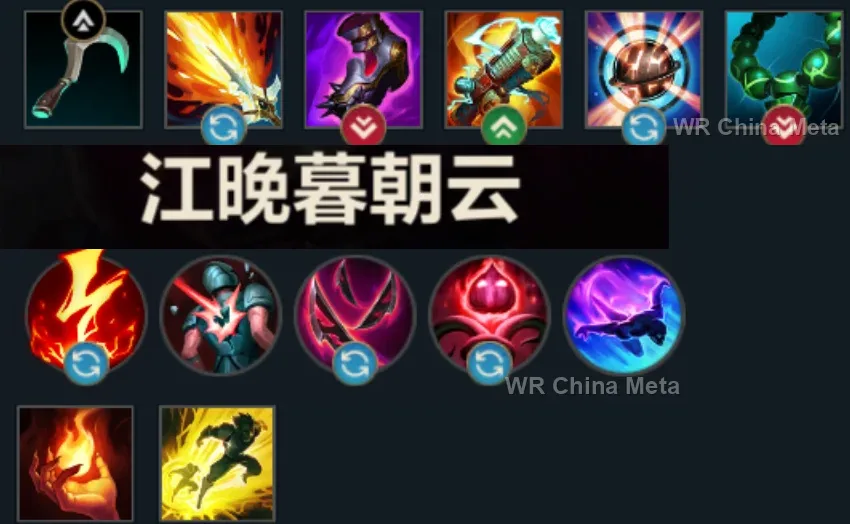
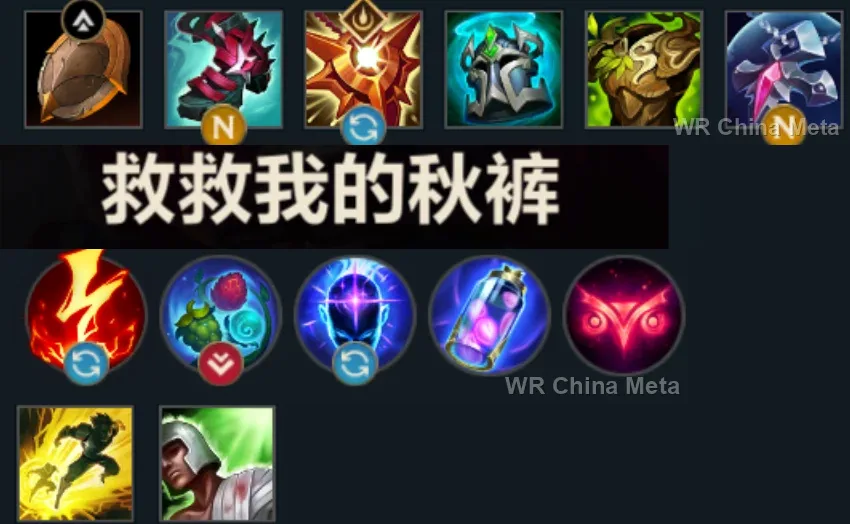
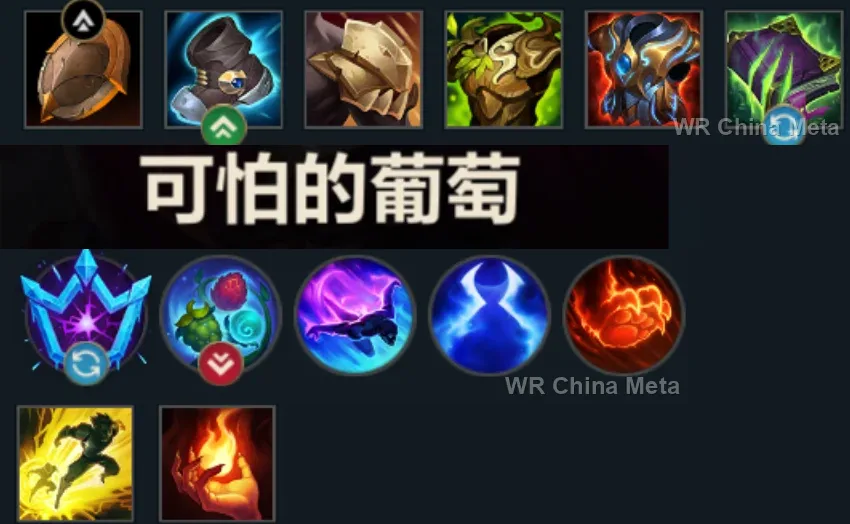
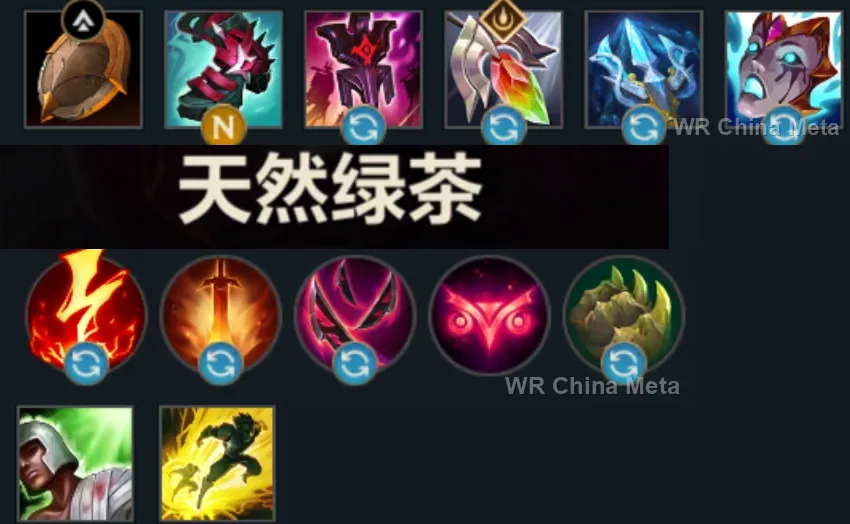
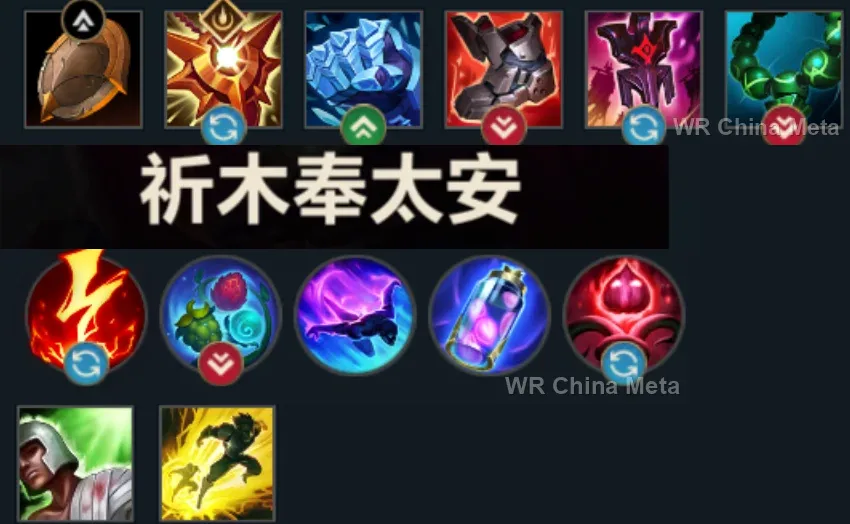
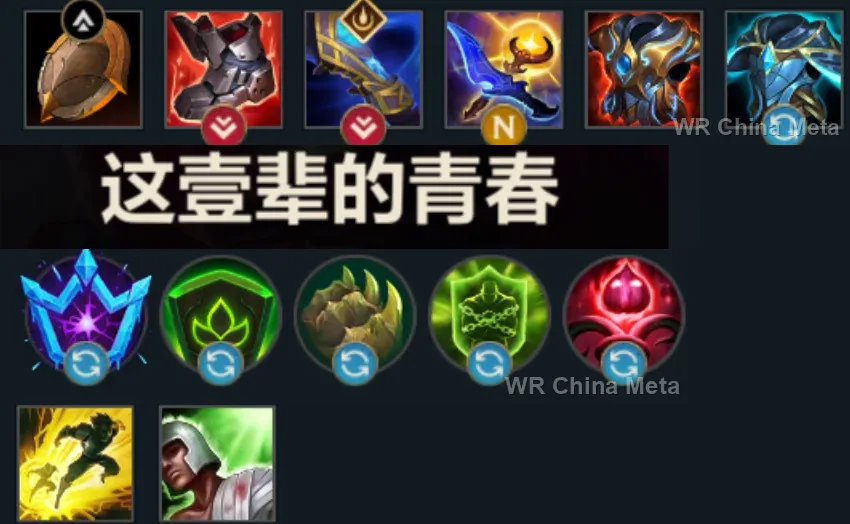
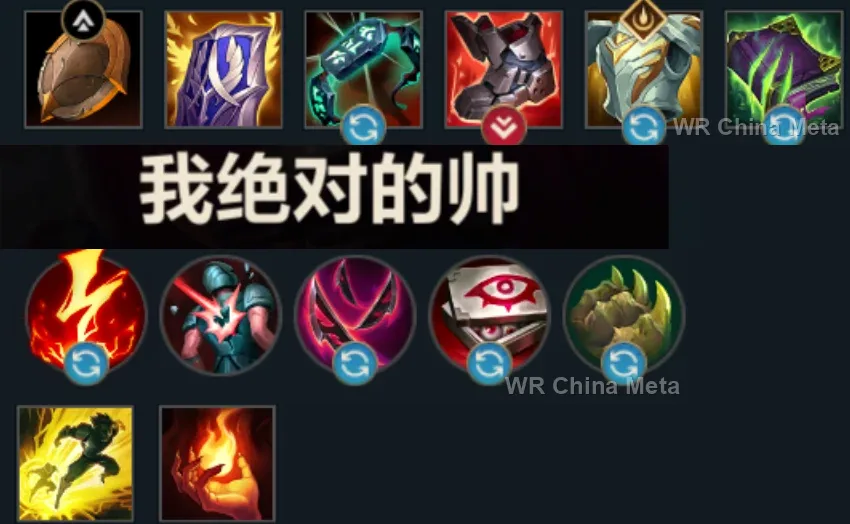
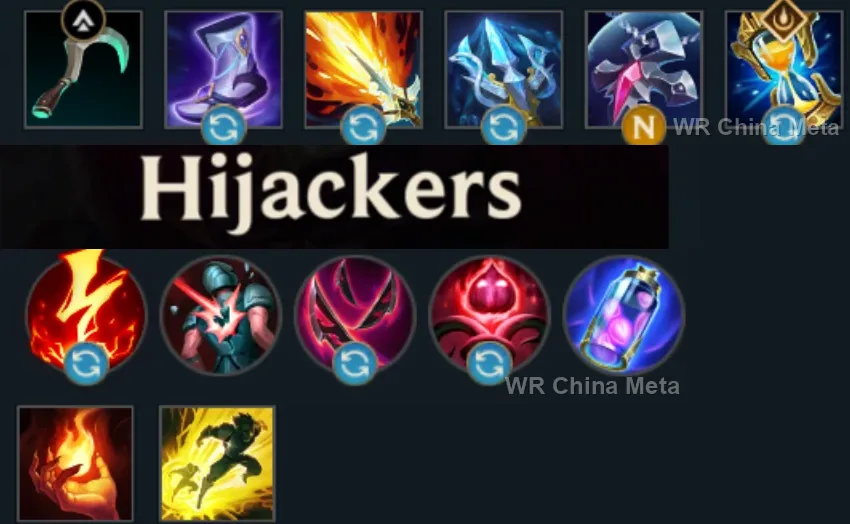
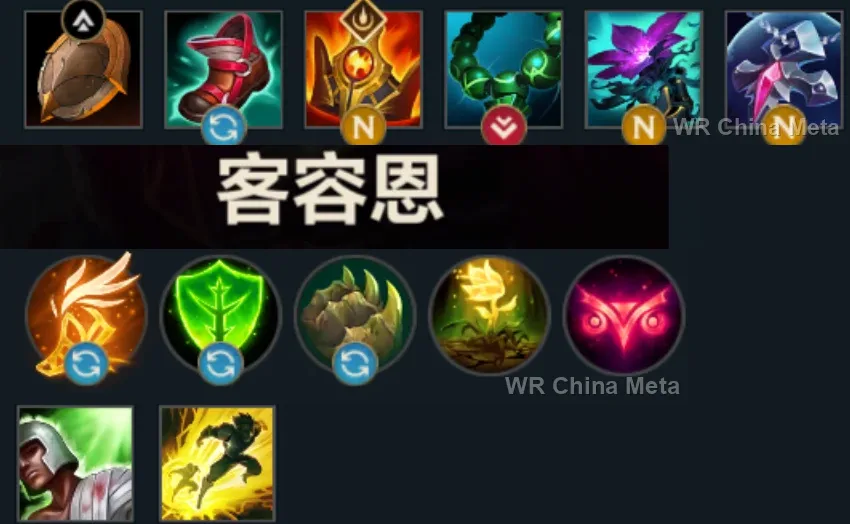
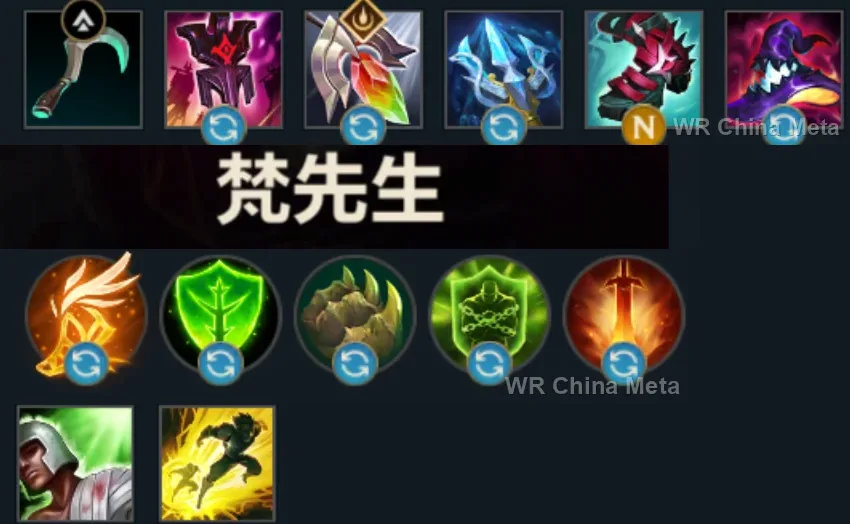
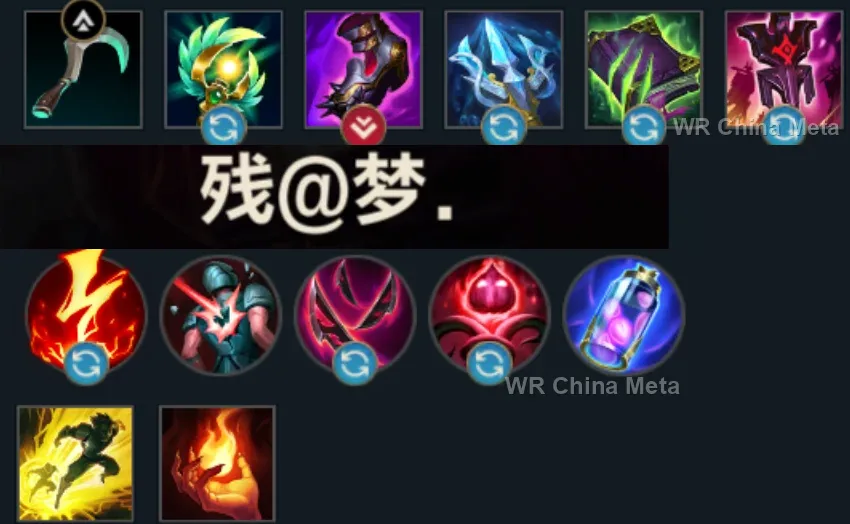
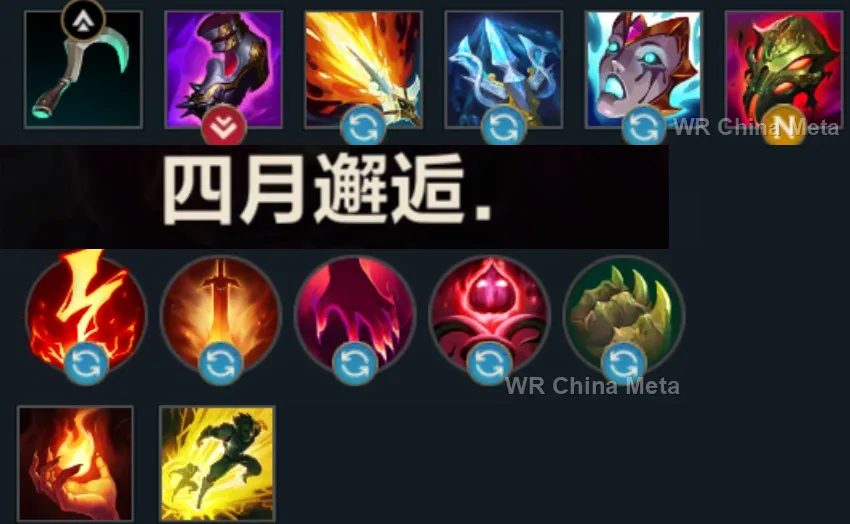
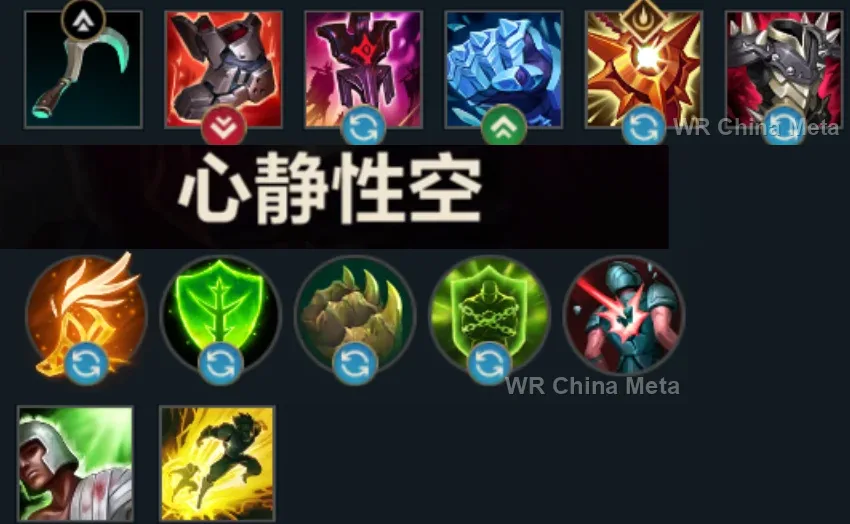
The toughest lane matchups for Bard on the Wild Rift China server, with why each is hard and exactly how to play it.
 Bard vs Blitzcrank Skill matchup
Why Blitzcrank counters Bard: While you wander off collecting chimes you are out of position, and his hook punishes exactly that.
How to play Bard into Blitzcrank: Collect chimes only after spotting where Blitzcrank is. Use your ricochet stun (Q) on his ambush spots and keep minions between you: the hook does not pass through them.
→ Blitzcrank Bard vs Leona Skill matchup
Why Leona counters Bard: She engages on your ADC precisely while you are away collecting chimes: your partner pays for your absences.
How to play Bard into Leona: Go for chimes only when the wave pushes toward you. Q-stun her E mid-flight, R on her engage once it has landed: the portal saves whoever is left.
→ Leona Bard vs Morgana Skill matchup
Why Morgana counters Bard: Black Shield cancels your ricochet stun — the only real threat you have in lane.
How to play Bard into Morgana: Throw Q at the ADC while the shield sits on Morgana. Your R is not blockable by the shield: use it to freeze fights and create openings.
→ Morgana Bard vs Milio Skill matchup
Why Milio counters Bard: His cleanse removes your stun and his heals undo your poke: in lane he neutralizes almost everything you do.
How to play Bard into Milio: Win on the map: portals and chimes give you a travel speed he does not have. Save your R for objectives: used well, it is worth a whole game.
→ Milio Bard vs Thresh Skill matchup
Why Thresh counters Bard: Hook versus ricochet stun: you ambush each other between bushes, and whoever lands first wins the trade.
How to play Bard into Thresh: Do not get caught during chime runs: place vision before wandering off. Try your R on Thresh and the Lantern together: you freeze both of his tools at once.
→ ThreshThe champions Bard works best alongside on the Wild Rift China server, lane by lane, with the reason each pairing works.
Cosmic Binding (Q) only stuns when it bounces off a wall or a second enemy, and Unstoppable Force (R) piles four of those second enemies into one spot. His page says he converts nothing on his own: you convert it into a double stun.
Two buttons that save the same ally in two different ways: Stand United (R) shields him and brings Shen in from half a map away, Tempered Fate (R) freezes him until that trip lands. And on a target taunted by Shadow Dash (E), Cosmic Binding (Q) does not miss.
The Brittle mark from Bellows Breath (W) lasts 3 seconds and inflates the next piece of crowd control by 30%: a bounced Cosmic Binding (Q) stun runs long enough for someone to actually arrive. And Call of the Forge God (R) is the engage you do not own.
His page says that without a gap closer mobile champions simply stay outside Apprehend (E): a Cosmic Binding (Q) stun hands them over standing still. And Magical Journey (E) puts you in the top lane without anyone seeing you leave.
Worth it in games played around picks: Hookshot (E) needs a wall nearby, and walls are also what turns Cosmic Binding (Q) into a stun. And if the duel inside The Hextech Ultimatum (R) turns sour, Tempered Fate (R) puts her out of reach.
Infinite Duress (R) only lands if the target cannot get out of the way, and a bounced Cosmic Binding (Q) stun is precisely that. His page also admits he does nothing for allies: you are the one bringing peel to the lane.
Cease and Desist (R) always gets her onto the carry, then she is alone in there while five of them turn around: that second is exactly what Tempered Fate (R) suspends. And Caretaker's Shrine (W) gives back health and speed the moment she unfreezes.
His page is blunt: if the leap does not finish the kill, Rengar has nothing left to stay alive with. Tempered Fate (R) on him is that nothing, a window where nobody can touch him, and Caretaker's Shrine (W) sends him back in healed instead of recalling.
Bandage Toss (Q) is a hook you have to guess, and on a target Cosmic Binding (Q) already froze there is nothing to guess: from there Curse of the Sad Mummy (R) catches whoever runs in too. His page says it is worthless against a scattered team.
She is among the squishiest champions in the game with no defensive cooldown at all: when a dive reaches her, Tempered Fate (R) puts her out of reach for as long as it takes. And Javelin Toss (Q) only deals its full 225 on someone who cannot move.
All of her damage runs through one bubble: Sleepy Trouble Bubble (E) on a target Cosmic Binding (Q) already froze cannot be dodged, and what follows is the burst you do not have. In exchange Portal Jump (R) removes her the moment they find her.
Hero's Entrance (R) telegraphs its landing zone for 2.5 seconds and his page admits an alert team simply walks out of it: Tempered Fate (R) pins them inside that circle. Cast yours first, so they unfreeze while he is already coming down.
She has the shortest range in the lane and no escape: she has to walk in, and her page says walking in is what kills her. Tempered Fate (R) answers that exact moment, and with Pyromania (P) charged her stun picks up where yours ends.
You are the two who are never where they should be: Destiny (R) reveals the map and teleports him where it matters, Magical Journey (E) takes you through the wall. Under a side tower, the Gold Card from Pick a Card (W) closes what you open.
Worth it if you play for picks rather than teamfights: Charm (E) and Cosmic Binding (Q) are two pieces of crowd control that cover for each other. And after three Spirit Rush (R) dashes into their team, Tempered Fate (R) is the only thing that brings her back.
Your page says every second spent grabbing a chime is a second your marksman spends alone: he is the one who copes, because Arcane Shift (E) blinks him out of a gank unaided. And Mystic Shot (Q) punishes from range whoever you stunned.
Cosmic Binding (Q) deals damage even when it only slows, and that is enough: on a target an ally has just hit, Deadly Flourish (W) is a full root and not an 84-damage poke shot. Two pieces of lockdown in a row on whoever showed themselves.
She has to reach point-blank range or she is an ordinary carry, her page says: Caretaker's Shrine (W) gives her the speed to get in and Cosmic Binding (Q) holds the target still while she does. After Inferno Trigger (R), with five on her, you freeze her.
Charging Piercing Arrow (Q) roots him in place and telegraphs the shot: his page says that is when he gets punished. On a target Cosmic Binding (Q) already stunned that arrow goes out calmly, and Chain of Corruption (R) is the area lockdown you lack.
Allied crowd control applies Second Skin (P) Plasma by itself: every Cosmic Binding (Q) that lands arms Killer Instinct (R) and opens her dash onto the backline. She is C tier, but no other marksman reads your stun this directly.
Worth it if you choose to stay in lane: Volley (W) lets her hold the line alone, but with no dash and no escape she is also the carry who pays the most for your wandering. Enchanted Crystal Arrow (R), though, opens from off-screen exactly the way you like.
| Lane | Tier | Win% | Pick% | Ban% | Pos. |
|---|---|---|---|---|---|
| Support | B | 50.55% | 1.01% | 0.3% | #22 / 34 |
| Lane | Tier | Win% | Pick% | Ban% | Pos. |
|---|---|---|---|---|---|
| Support | B | 50.36% | 1.03% | 0.3% | #23 / 34 |
| Lane | Tier | Win% | Pick% | Ban% | Pos. |
|---|---|---|---|---|---|
| Support | B | 51.01% | 1.09% | 0.29% | #14 / 33 |
| Lane | Tier | Win% | Pick% | Ban% | Pos. |
|---|---|---|---|---|---|
| Support | A | 47.47% | 1.55% | 0.35% | #10 / 33 |


Bard, Wild Rift's wandering support, plays nothing like a traditional enchanter or engage support - he roams the map collecting chimes, empowering a spirit companion, and slipping in and out of lane through one-way portals of his own making. His personal damage and durability are both low, but his kit is built entirely around game-changing utility: a bounce-off-walls stun, growing shrines of speed and healing, and one of the strongest area-denial ultimates in the game. Played well, Bard wins fights before they start by controlling space and tempo rather than trading blows.
Skill order: Q > E > W (level R whenever it's available)
In lane, Bard isn't there to fight for CS - his job is to poke from max Cosmic Binding range and punish overextensions with the stun. Look to set up all-ins with your ADC around level 3-4 using a pre-grown Caretaker's Shrine for the burst of heal and speed, rather than trying to win a trade alone. Grab chimes that sit close to your lane between trades or while backing off, but don't wander far for one when your ADC is about to be dove - a missed Blitzcrank hook or Leona engage while you're off collecting can lose the lane on the spot.
From the mid game on, Bard's value comes from roaming: use Magical Journey to rotate to side lanes and objectives faster than the enemy can react, then look for an isolated Cosmic Binding stun to open up a gank. In teamfights, stay on the edge - you have almost no durability, so land Q on a priority target such as an unpositioned backline threat or an over-extended diver without walking into the fight yourself. Save Tempered Fate for the biggest possible swing: freezing a diver mid-combo to save your carry, isolating a fed enemy champion away from their team, or locking down the exact moment a Baron or Dragon fight explodes. The stasis affects everyone caught in the radius, allies included, so don't cast it over your own engaging frontline.