
WR China Meta
Meta, tier list & top-player builds from the China server · live
Meta, tier list & top-player builds from the China server · live

凯特琳 · 皮城女警 Marksman S
✅ Patch 7.2e · stats updated 2026-09-12 · real builds of 20 top-ranked China server players captured 2026-09-11
Difficulty Damage Toughness Utility
How the strongest players on the Wild Rift China server (国服) build Caitlyn: live win/pick statistics by rank bracket, the most-used item and rune sets, and the real loadouts of the top ranked Caitlyn players, captured in-game.
📖 How to play Caitlyn


Counted on 21 real builds captured from the Chinese client, player by player. Independent from the official API above.


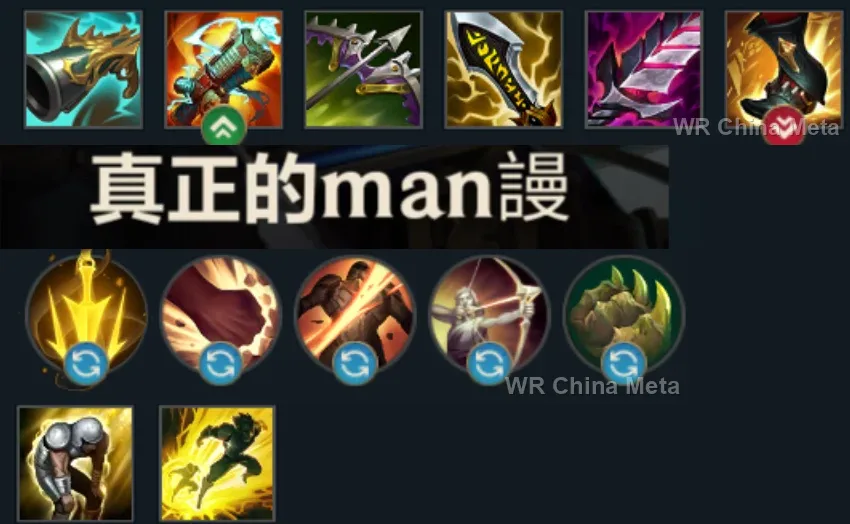
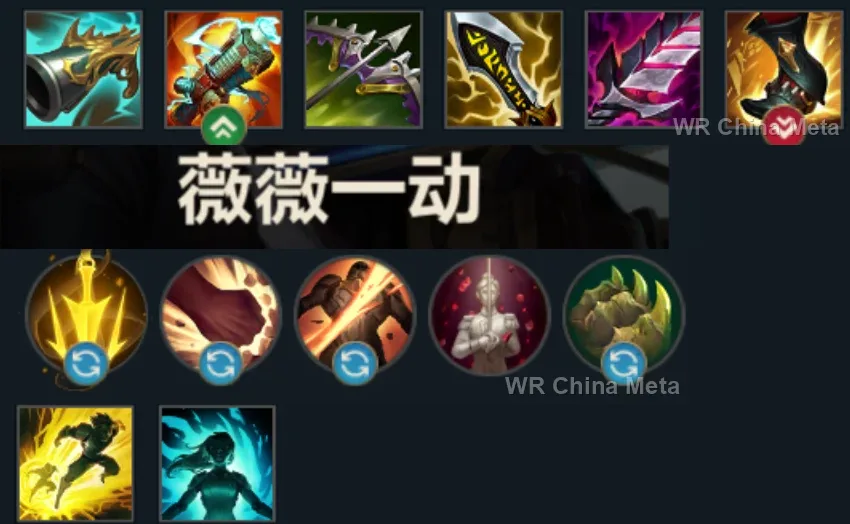
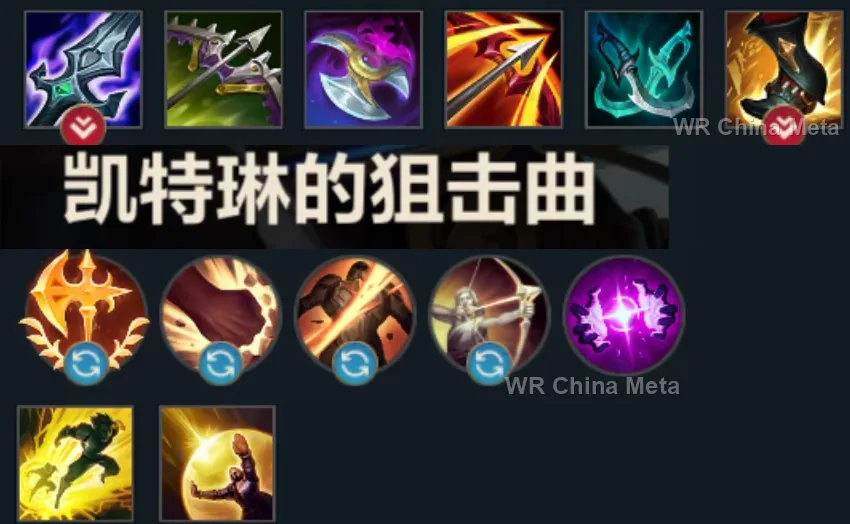
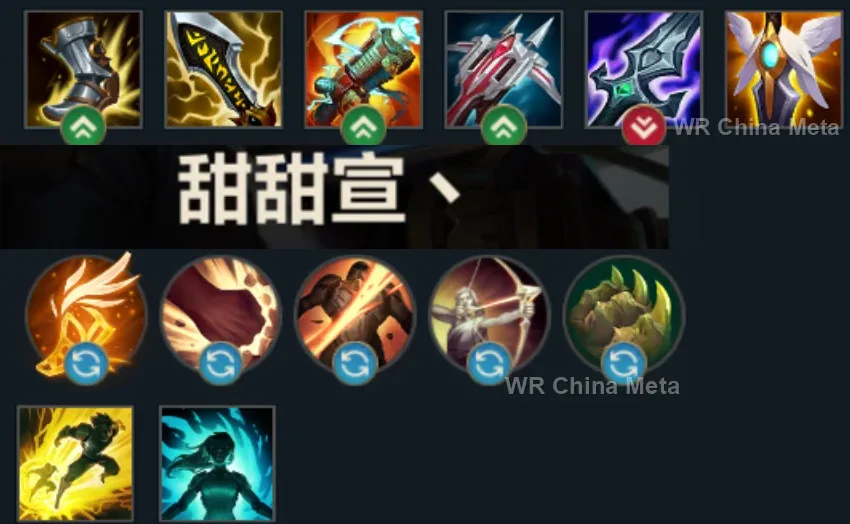
Taken from the official in-game China leaderboard. Spells, runes and items of every public top player.
20 of the top 30 players have a public match history; the others keep theirs private.
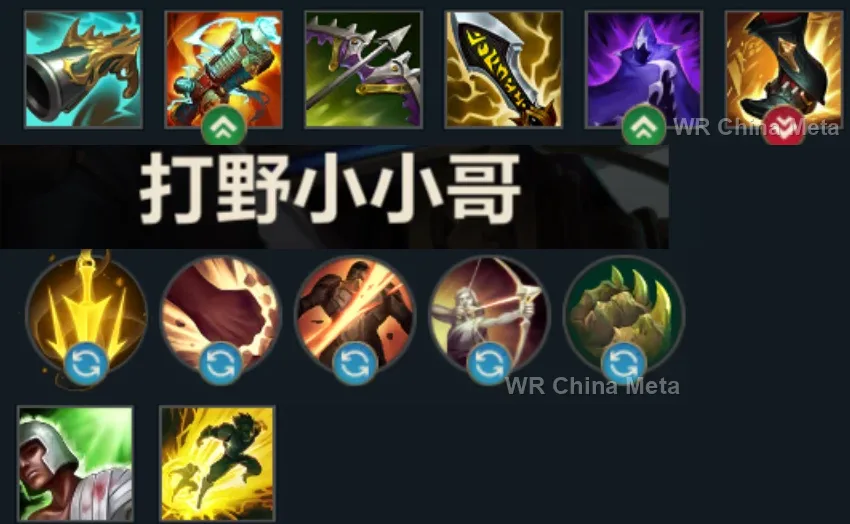
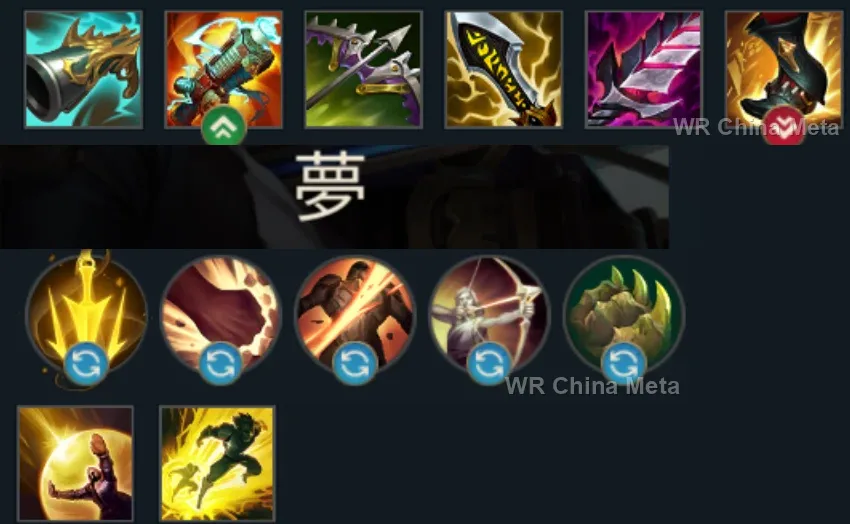
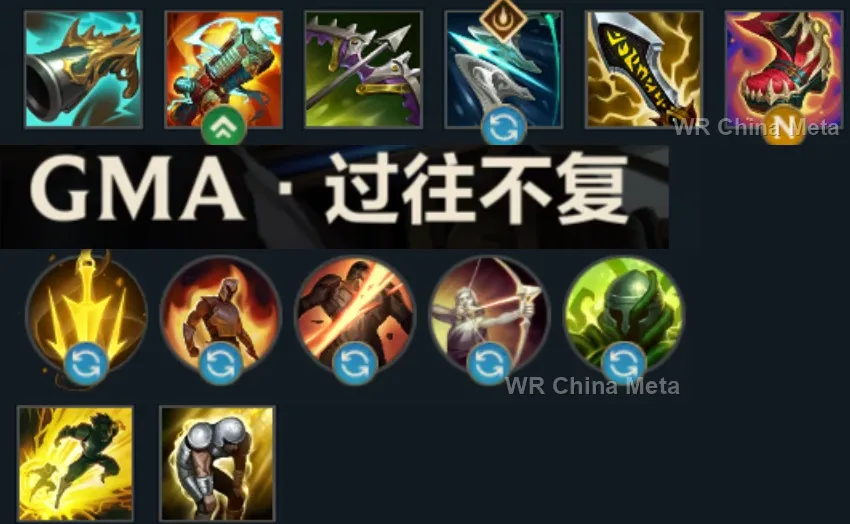
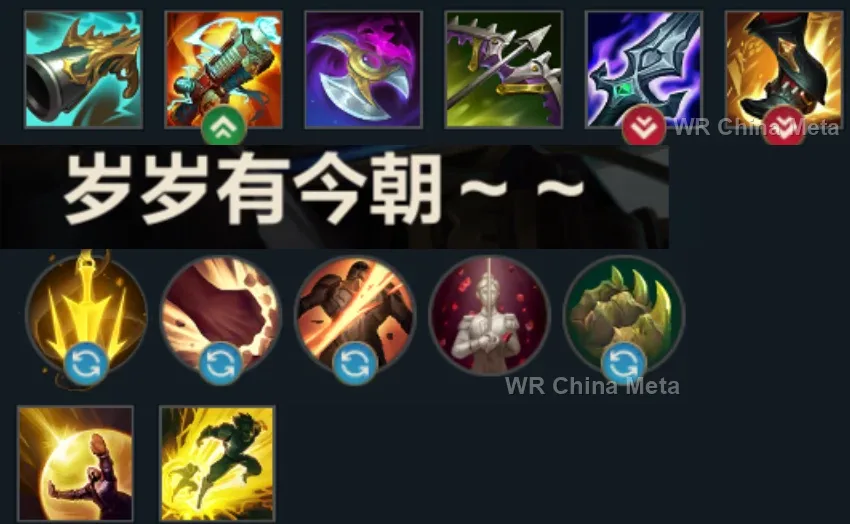
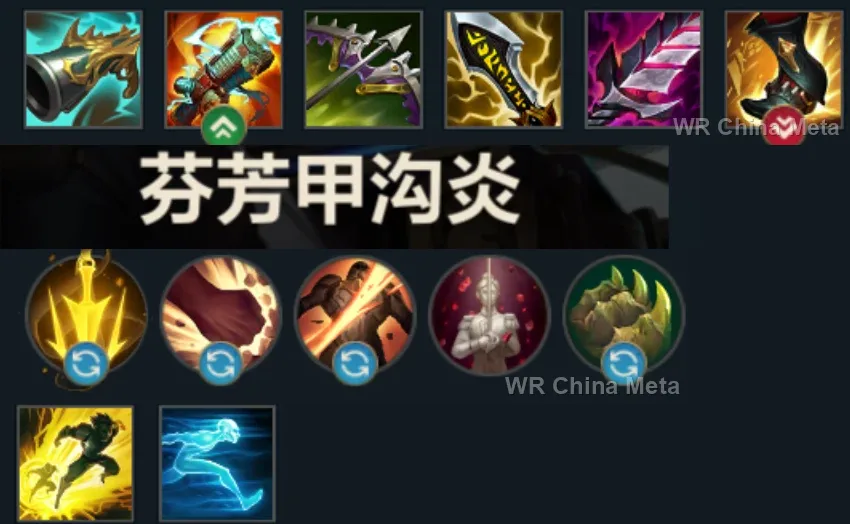
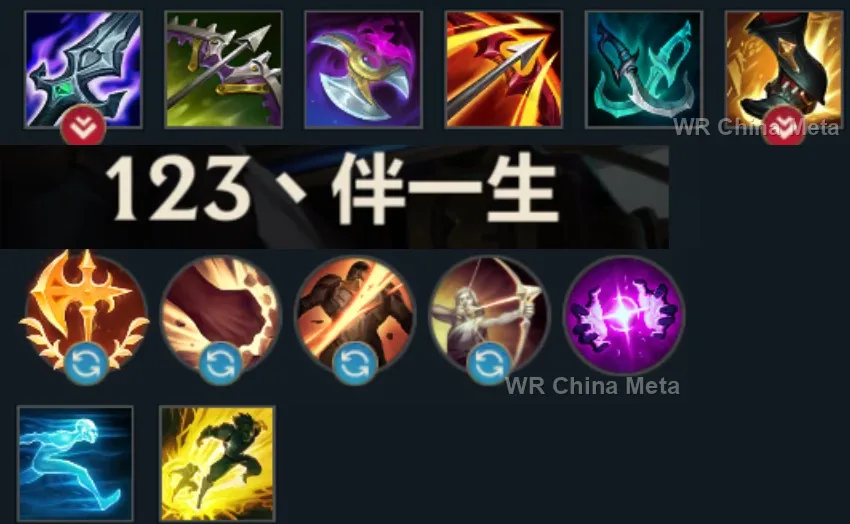
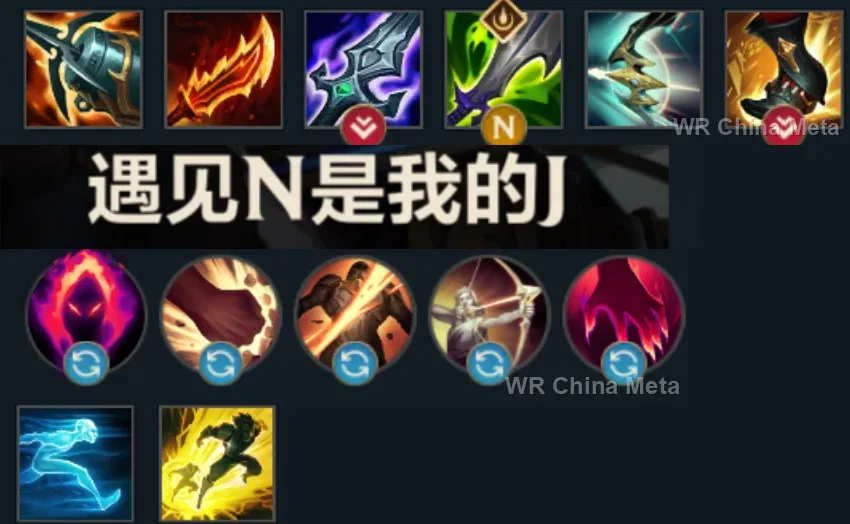
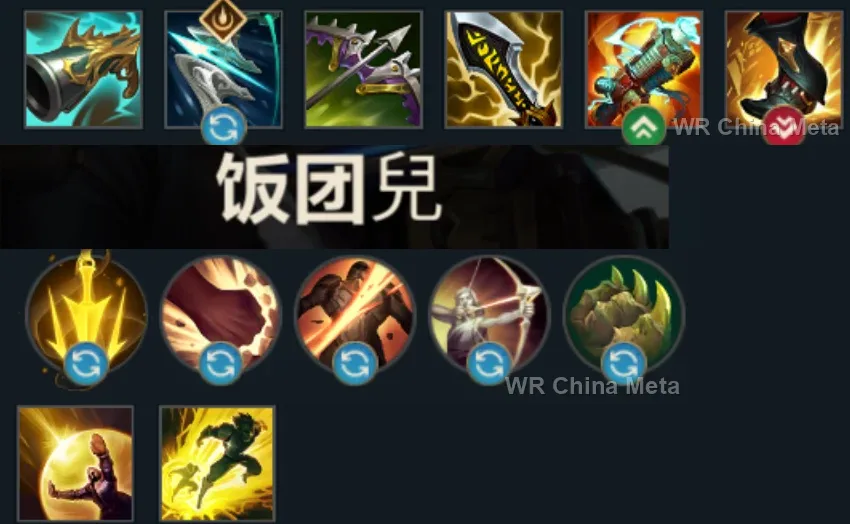
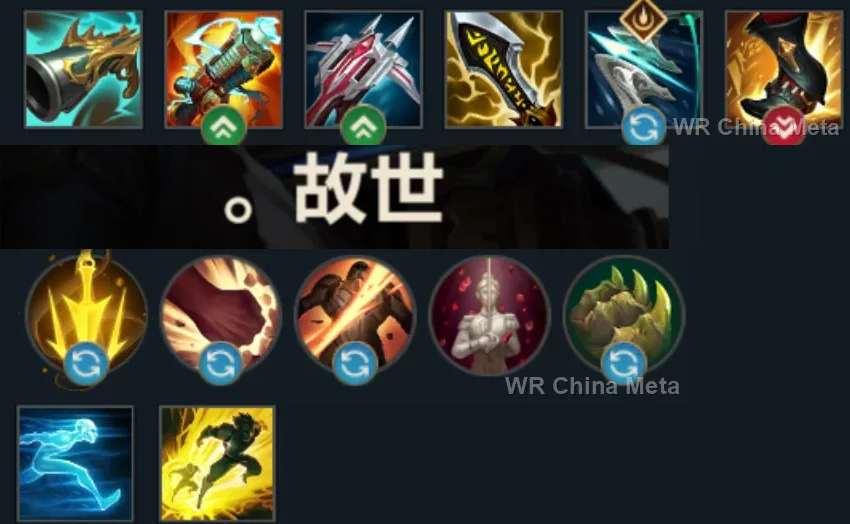
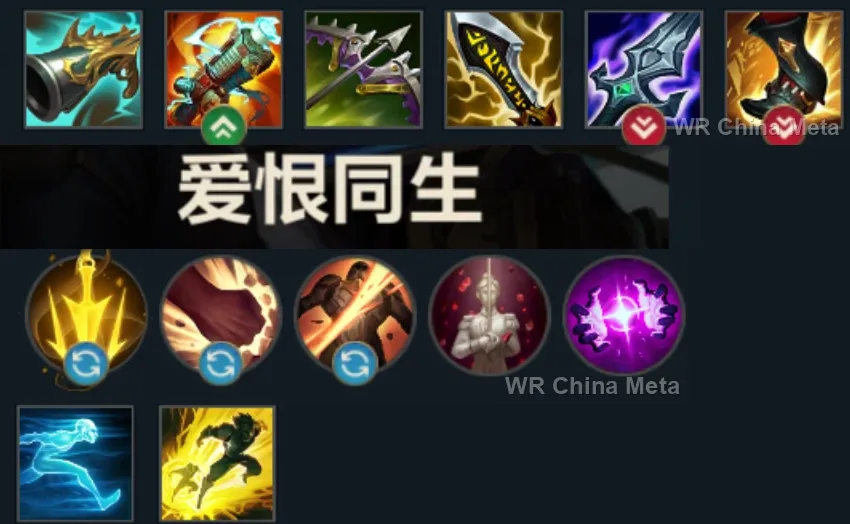
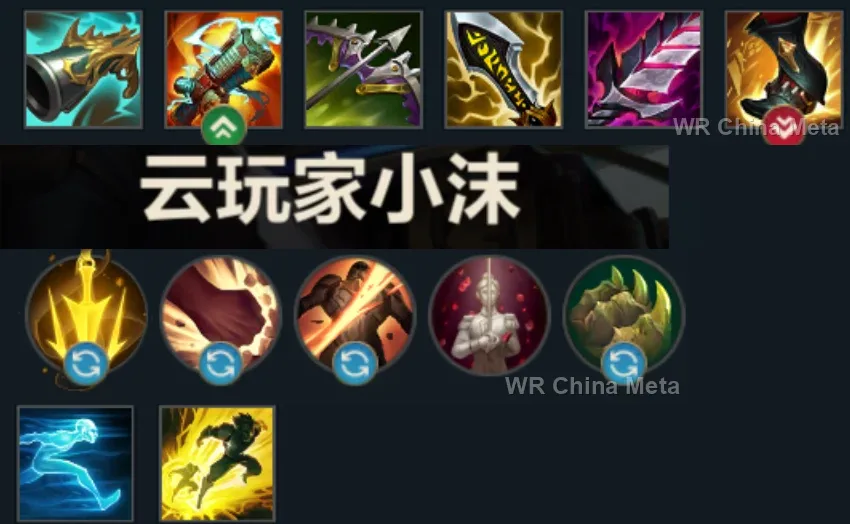
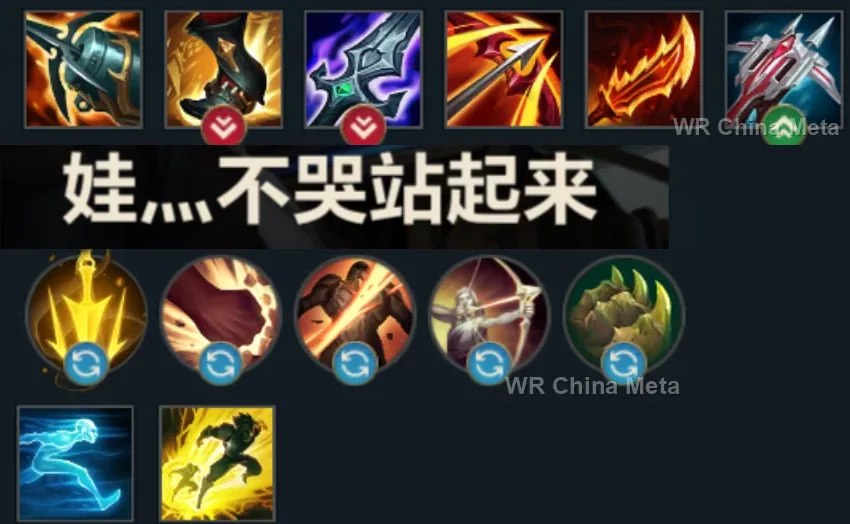
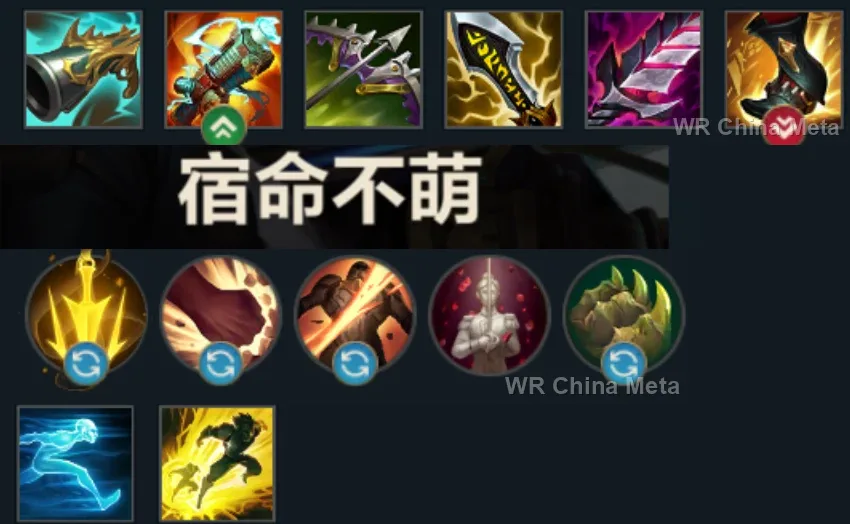
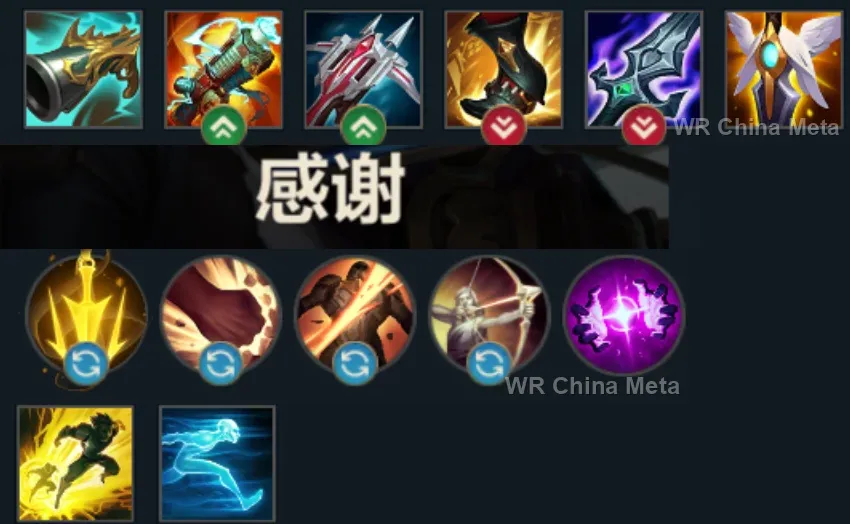
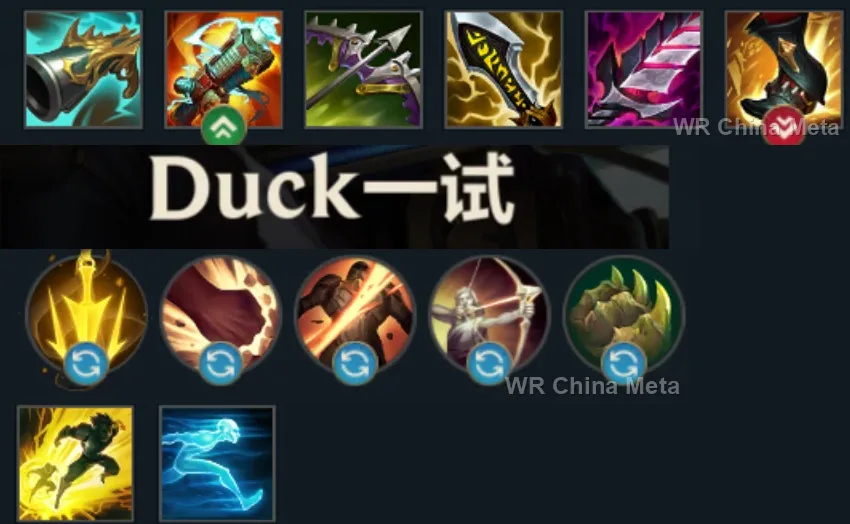
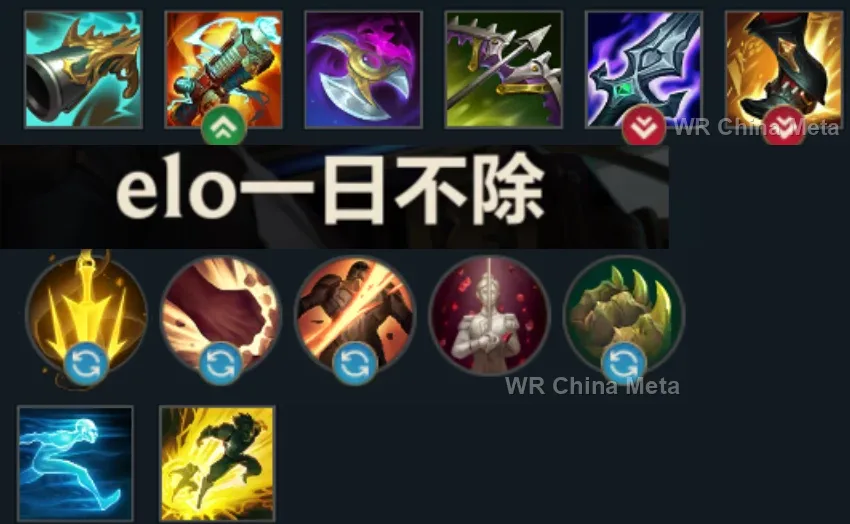
The toughest lane matchups for Caitlyn on the Wild Rift China server, with why each is hard and exactly how to play it.
 Caitlyn vs Samira Unfavorable
Why Samira counters Caitlyn: If she gets on top of you your range advantage vanishes: her W blocks even your net, and in melee she beats you flat.
How to play Caitlyn into Samira: In fights ring yourself with traps. Use the net proactively, not as a reaction. And crush her in the first 3 levels: that is where you are far stronger.
→ Samira Caitlyn vs Zeri Unfavorable
Why Zeri counters Caitlyn: Two items in, she outruns you in raw speed: your poke scratches her while she charges you down.
How to play Caitlyn into Zeri: Dominate the lane, where you are among the strongest in the game: taking the tower early buys time. In fights lay traps along her kiting lines.
→ Zeri Caitlyn vs Twitch Unfavorable
Why Twitch counters Caitlyn: Invisibility cancels your zone game: traps do not stop what you cannot see coming, and with R he even outranges you.
How to play Caitlyn into Twitch: Traps in bushes and on flank routes BEFORE he vanishes. Get the whole team to buy Oracle Lens for objectives. Punish him in lane: he is weak early.
→ Twitch Caitlyn vs Ezreal Skill matchup
Why Ezreal counters Caitlyn: A poke duel: your Q against his. His blink dodges the traps, but your range wins the first 10 minutes.
How to play Caitlyn into Ezreal: Headshot him on every step forward. Place the trap BEHIND him when he trades: if he blinks backwards, he lands on it.
→ Ezreal Caitlyn vs Vayne Skill matchup
Why Vayne counters Caitlyn: In lane she is your favorite prey, after her 3 items she becomes your nightmare: it is a race against the clock.
How to play Caitlyn into Vayne: Abuse your 150 extra range and close the lane out with plates and tower. In late-game fights, never be caught isolated against her.
→ VayneThe champions Caitlyn works best alongside on the Wild Rift China server, lane by lane, with the reason each pairing works.
Anyone standing in the way stops Ace in the Hole (R): The Hextech Ultimatum (R) seals the target inside a zone their allies have been shoved out of, so nobody is left to body-block it. In there they can't dodge Piltover Peacemaker (Q) either.
All Out (R) grabs the diver who reached you and slams him away from his team, rooted: an isolated, motionless target means a double-range Headshot (P) and an Ace in the Hole (R) with no bodies in the way. Meanwhile Footwork (E) dashes to you and leaves the shield.
90 Caliber Net (E) is your entire escape and an assassin eats it: Shadow Dash (E) taunts him before he reaches you and Spirit's Refuge (W) can blank his whole combo outright. Stand United (R) shields you from anywhere on the map.
Every tool you own is a skillshot or a stationary trap: Unstoppable Force (R) knocks up a whole group and hands you motionless targets at maximum range, where Piltover Peacemaker (Q) and Headshot (P) simply cannot miss.
Your card says you lose to anyone who closes the gap in two seconds: Steadfast Presence (W) turns that dash into a root on whoever used it. Against a team that just walks at you, though, Yordle Snap Trap (W) was already enough.
Against invisibility you simply don't exist, and Blood Hunt (W) gives true sight of the whole map plus a mark on the nearest enemy for 8 seconds. Then Infinite Duress (R) suppresses for a full second: a guaranteed double-range Headshot (P) and a target ripe for Ace in the Hole (R).
Frenzying Taunt (E) nails down the target that matters and forces him to beat on a ball of armour: held there, he eats Yordle Snap Trap (W), Piltover Peacemaker (Q) and Headshot (P) back to back. It's also your only peel once the net is spent.
Bushwhack (W) keeps up to 4 traps alive for two minutes on the chokepoints: permanent vision exactly where you can't see a flank coming, and what you can't see you can't trap or line a Headshot (P) up on. Your traps cover the fight, hers cover the map.
Curse of the Sad Mummy (R) is a 1.5-second area stun: two or more enemies frozen at maximum range is the exact condition where Piltover Peacemaker (Q) and Headshot (P) pay off, without you moving a single step.
Paranoia (R) blacks out their team's vision and isolates one target: that's the moment when Ace in the Hole (R) finds no bodies in the way. But Nocturne flies to the far side of the fight and leaves you with nobody peeling.
You can't hit what you can't see: Destiny (R) reveals every enemy on the map, and a revealed low-health target on the far side of the world is exactly the bill Ace in the Hole (R) settles. The Gold Card from Pick a Card (W) hands you the other frozen second.
There is no escape in your kit beyond 90 Caliber Net (E)'s recoil: Hero's Entrance (R) shields you from across the map and knocks up everyone who reached you, and Justice Punch (E) shoves the diver off you even before that.
Everything you own can be dodged; Pyromania (P) cannot: fully charged, Annie's next spell is a guaranteed one-second stun, the window where you drop Yordle Snap Trap (W) under their feet and cash in the double-range Headshot (P).
Ring of Frost (W) roots and Frozen Tomb (R) stuns on top: nearly three motionless seconds are worth two full Headshot (P) hits. And Frozen Tomb (R) can also freeze the diver who already reached you, which is how you die.
Pick her against teams that reach you with a dash: Unraveled Earth (E) stuns anyone crossing the field and Weaver's Wall (R) physically closes the road to you. Against a team that just walks at you, though, she solves nothing.
Dark Binding (Q) is a full two-second root at long range: time for Piltover Peacemaker (Q), the double-range Headshot (P), and a Yordle Snap Trap (W) dropped under their feet. Black Shield (E) blanks the hook that, with no dash, would kill you.
Dark Passage (W) is the escape 90 Caliber Net (E) isn't: the lantern shields you and pulls you out of a dive. On the other side Flay (E) shoves the target into the Yordle Snap Trap (W) you already placed, and The Box (R) walls off whoever is left.
Rocket Grab (Q) drags the target exactly where he stands, which is onto the Yordle Snap Trap (W) you placed in advance: root, then Power Fist (E)'s knock-up, then the double-range Headshot (P). One grab and the lane is over.
Twisted Advance (W) isn't a skillshot: it dashes onto the target and roots them, full stop. For someone who lives off motionless enemies that's a guaranteed Headshot (P), and Sapling Toss (E) in the bushes gives you the vision you need to place traps at all.
Zenith Blade (E) roots, Shield of Daybreak (Q) stuns for a second and Solar Flare (R) extends the chain: one of the longest single-target lockdowns in the game, and your damage only exists while that target isn't moving.
A pure attrition lane: Light Binding (Q) roots two targets in one cast and Lucent Singularity (E) slows them inside your range. But she brings no peel at all: if the other side knows how to dive, the two of you have no answers.
| Lane | Tier | Win% | Pick% | Ban% | Pos. |
|---|---|---|---|---|---|
| Duo (ADC) | S | 49.43% | 28.53% | 4.47% | #4 / 20 |
| Lane | Tier | Win% | Pick% | Ban% | Pos. |
|---|---|---|---|---|---|
| Duo (ADC) | S | 49.37% | 28.04% | 4.45% | #4 / 20 |
| Lane | Tier | Win% | Pick% | Ban% | Pos. |
|---|---|---|---|---|---|
| Duo (ADC) | A | 49.17% | 25% | 2.91% | #7 / 22 |
| Lane | Tier | Win% | Pick% | Ban% | Pos. |
|---|---|---|---|---|---|
| Duo (ADC) | B | 48.29% | 19.23% | 2.17% | #12 / 22 |


Caitlyn, the Sheriff of Piltover, is Wild Rift's longest-range marksman - an AD carry built to zone enemies out and punish them from a distance rather than trade blows up close. Her damage is almost entirely sustained physical damage: Piltover Peacemaker pokes and auto-attacks that turn into a bonus-damage Headshot every sixth hit, backed by a trap and a net that keep threats from ever reaching her. She's one of the most beginner-friendly marksmen to learn, yet mastering her spacing turns that simplicity into real lane dominance and pick potential.
Skill order: Q > E > W (max Piltover Peacemaker first for poke and wave clear, 90 Caliber Net second for the slow and repositioning, Yordle Snap Trap last - but take one point in each ability by level 4-5)
Play the laning phase as a range war: sit at max Piltover Peacemaker distance, farm safely, and make the enemy duo pay in health for every step they take toward you. Pre-place Yordle Snap Trap in the bush or path they're likely to engage from - a trap they walk into means a free 1.5-second root and a double-range Headshot on whatever follows it. Track your own Headshot counter and try to line the sixth auto up with a trade rather than wasting it on a minion, and hold 90 Caliber Net defensively; the knockback is what buys you room against a melee lane bully who finally closes in. Her power spike lands around level 3-5 once Q is hitting hard and both traps are reliably up, so look to force fights in that window rather than before it.
From the mid game on, Caitlyn's entire job is to deal damage from the very back of the fight - she should almost never be within melee range of the enemy team. Drop Yordle Snap Traps on the flanks she's most likely to be dove from before the fight starts, so a diving assassin gets rooted and revealed instead of getting a free kill on her. Save Ace in the Hole for a high-value target under roughly 30-40% health, since the missing-health scaling can outright delete a squishy carry - just remember other champions can body-block the bullet, so fire it once their frontline is dead or out of position. Use 90 Caliber Net's recoil to keep resetting to max range rather than as a primary damage source, and respect late-game hyper-carries who out-scale a pure poke champion in a straight duel; a Caitlyn stuck auto-attacking from close range is usually a Caitlyn about to die.