
WR China Meta
Meta, tier list & top-player builds from the China server · live
Meta, tier list & top-player builds from the China server · live

蕾欧娜 · 曙光女神 Tank S
✅ Patch 7.2e · stats updated 2026-09-12 · real builds of 24 top-ranked China server players captured 2026-09-11
Difficulty Damage Toughness Utility
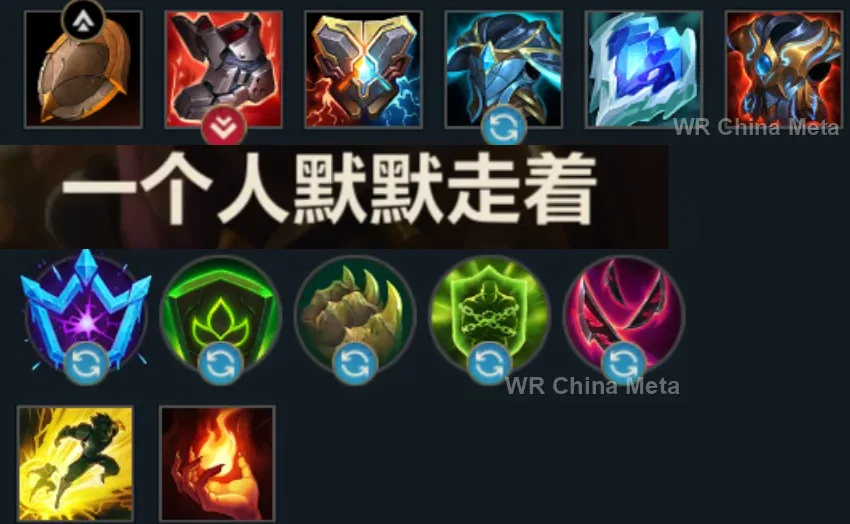
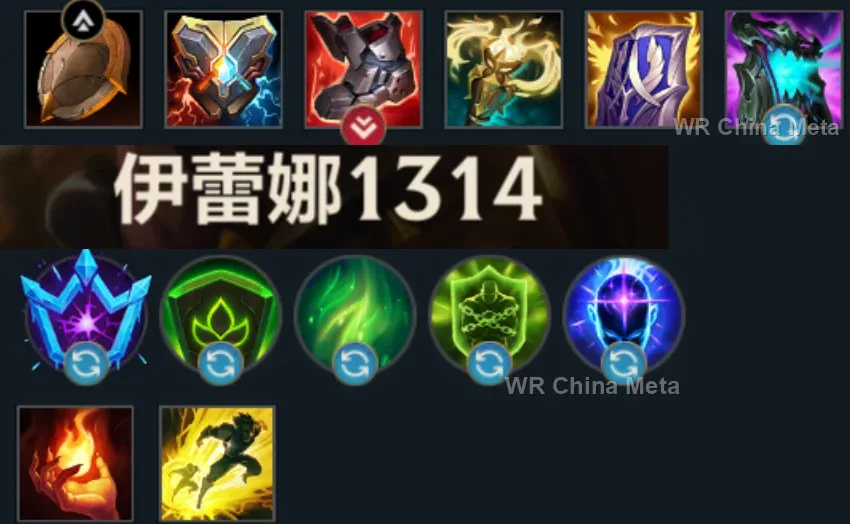
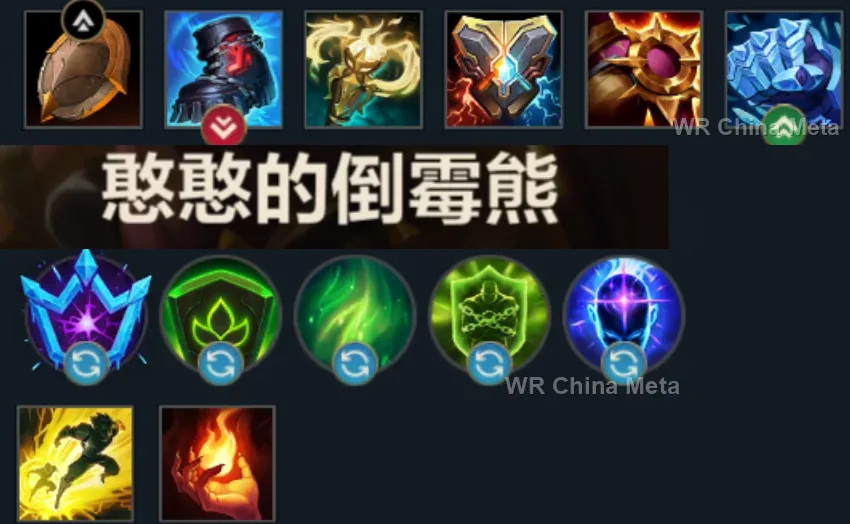
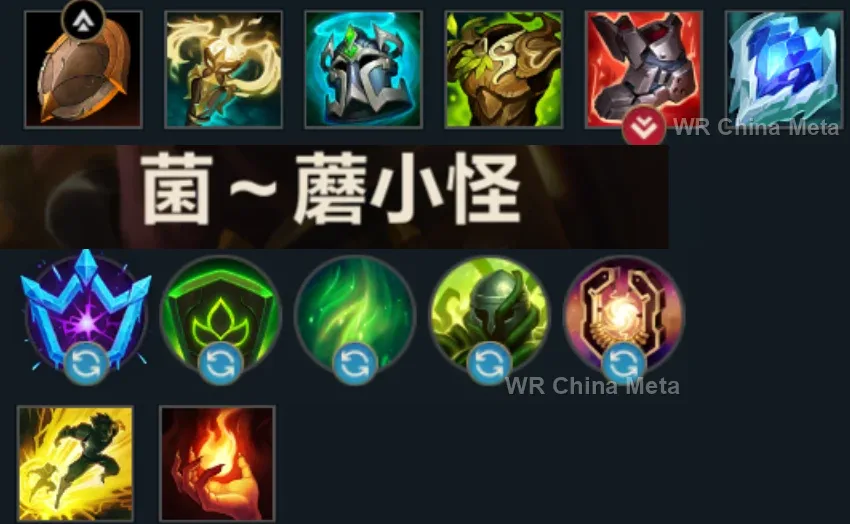
How the strongest players on the Wild Rift China server (国服) build Leona: live win/pick statistics by rank bracket, the most-used item and rune sets, and the real loadouts of the top ranked Leona players, captured in-game.
📖 How to play Leona




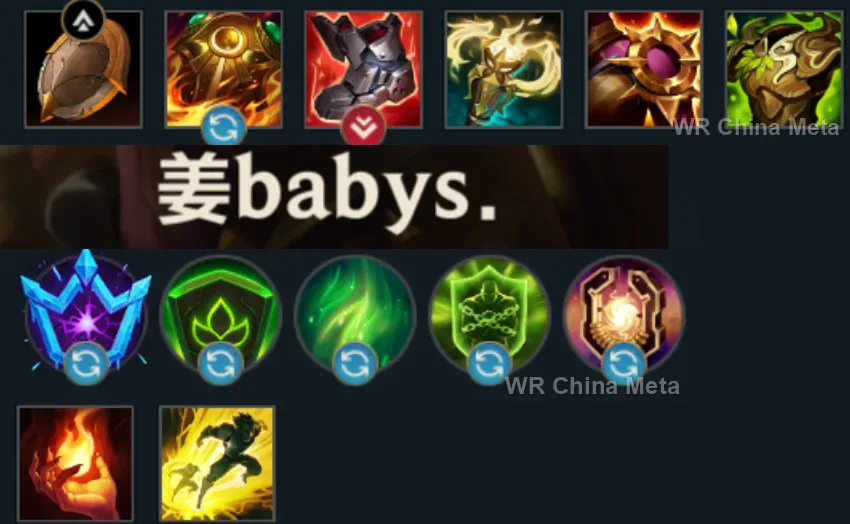
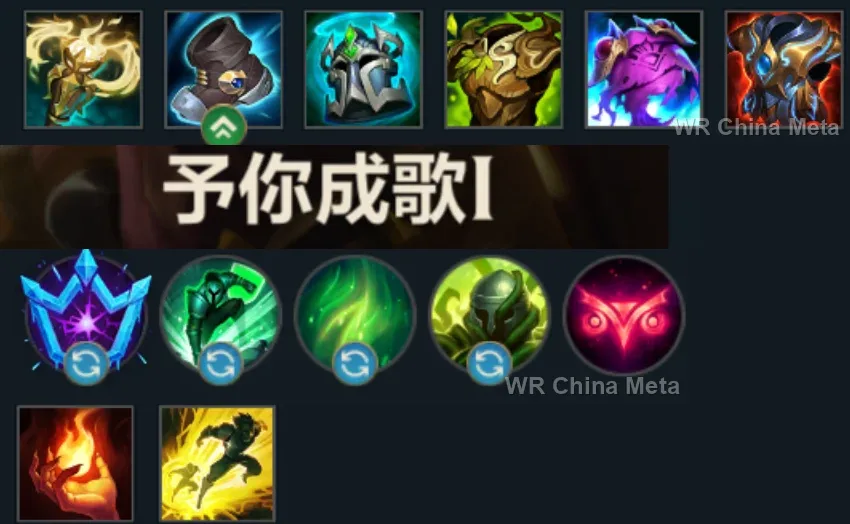
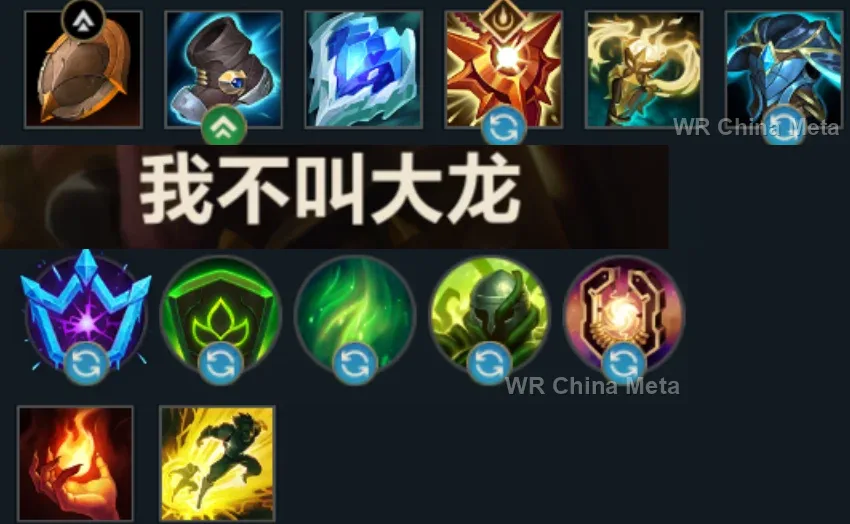
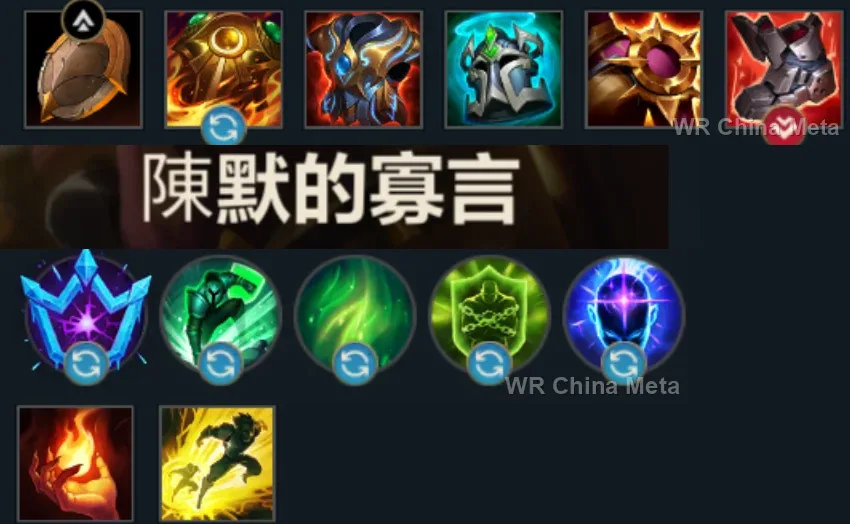
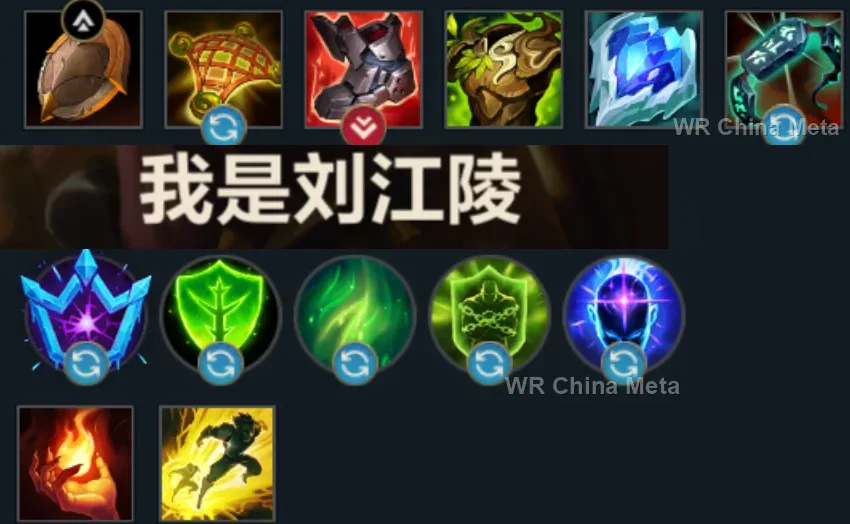
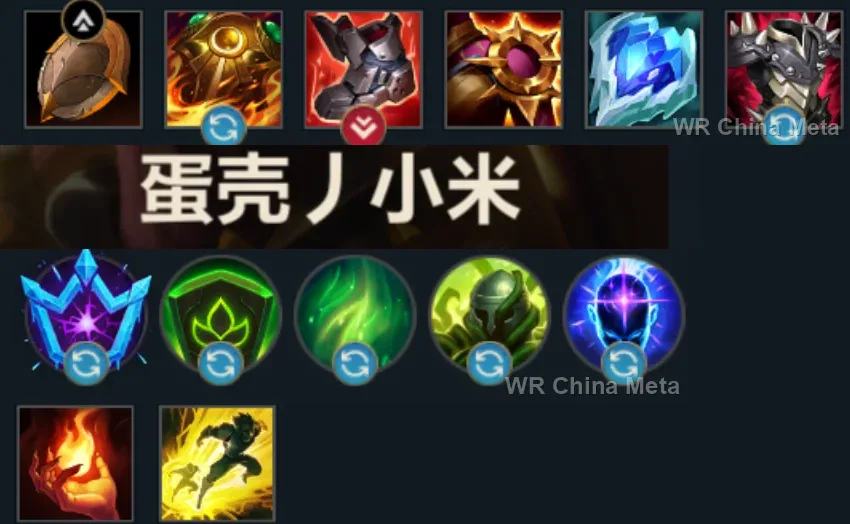
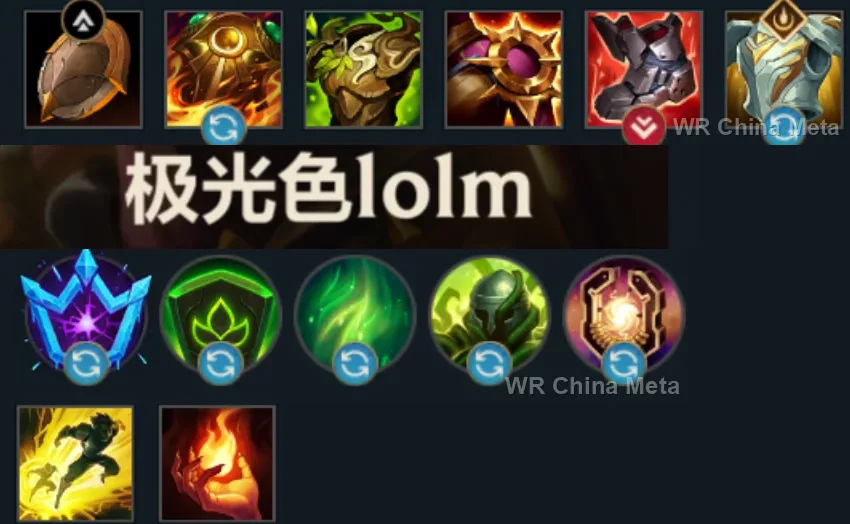
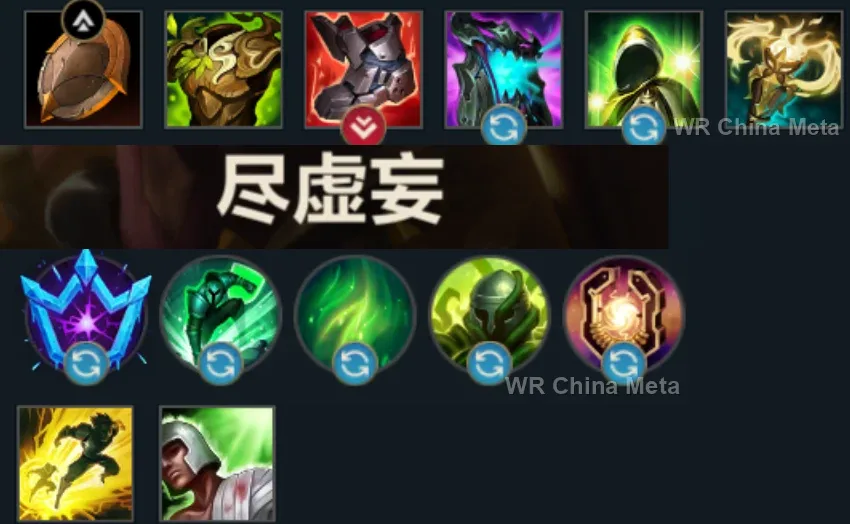
Counted on 25 real builds captured from the Chinese client, player by player. Independent from the official API above.


Taken from the official in-game China leaderboard. Spells, runes and items of every public top player.
24 of the top 30 players have a public match history; the others keep theirs private.
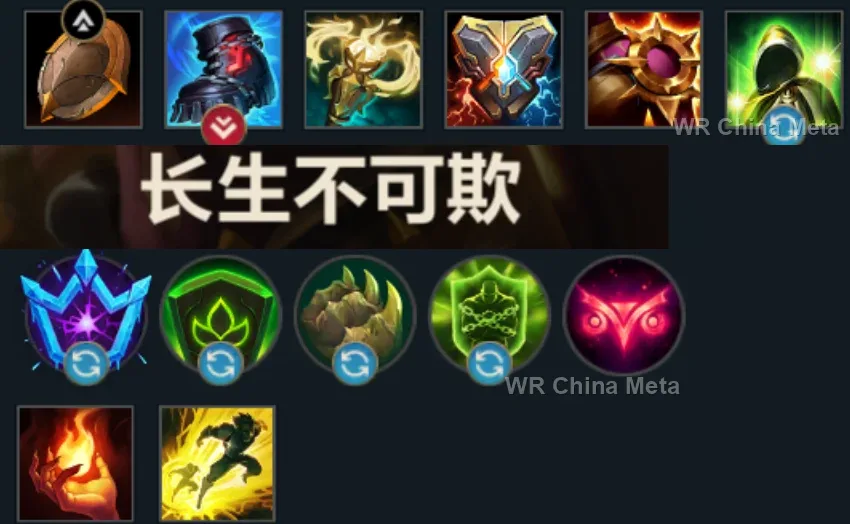
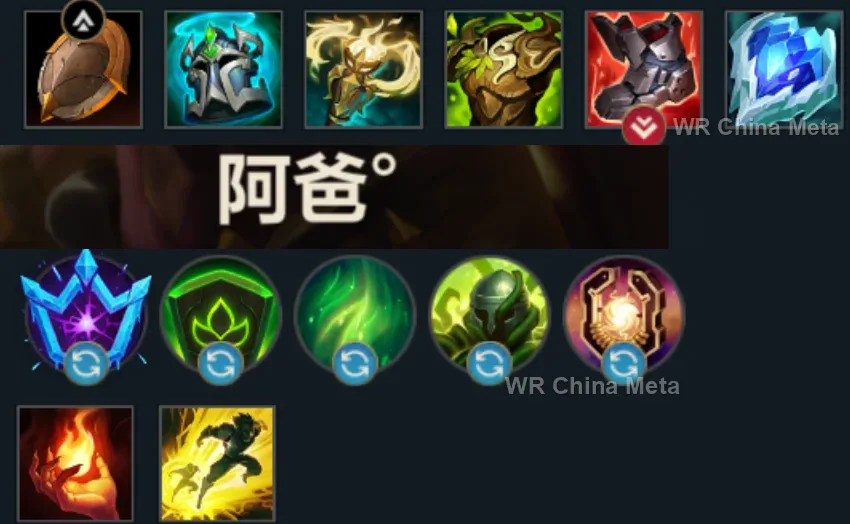
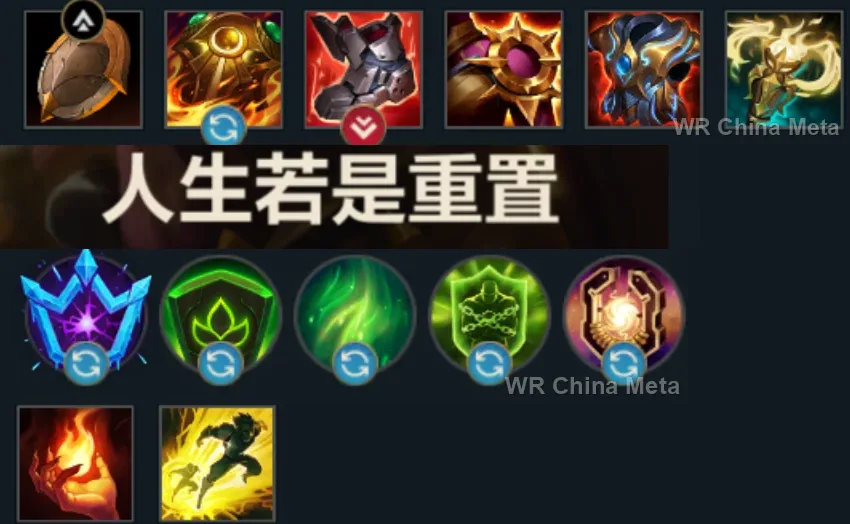
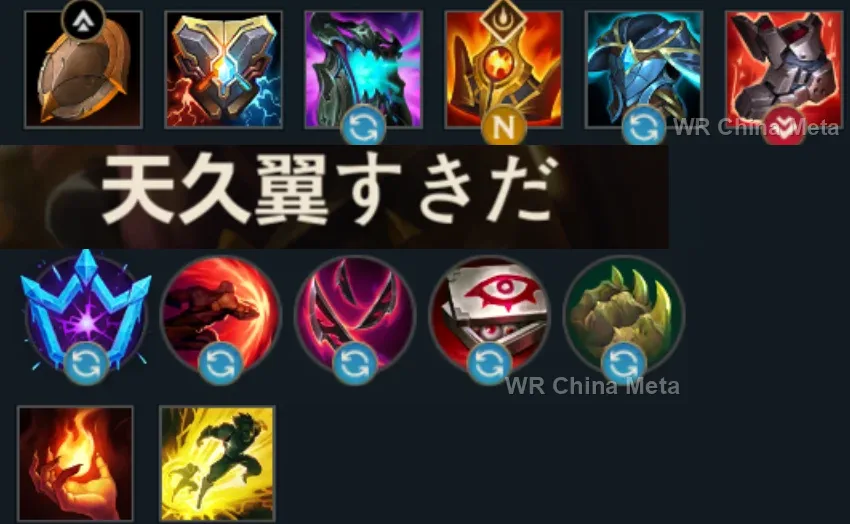
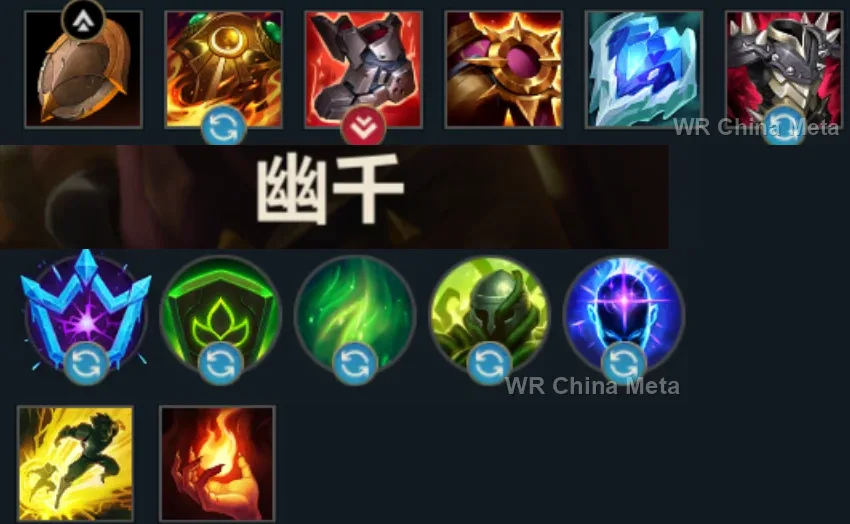
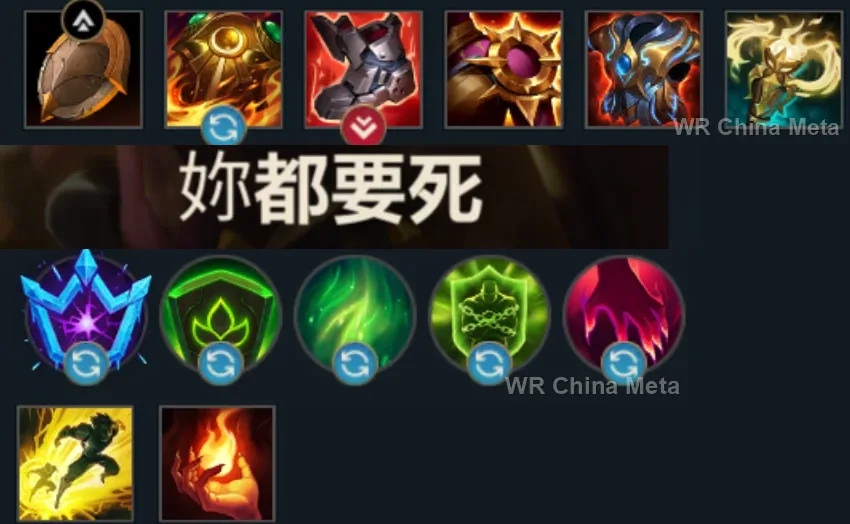
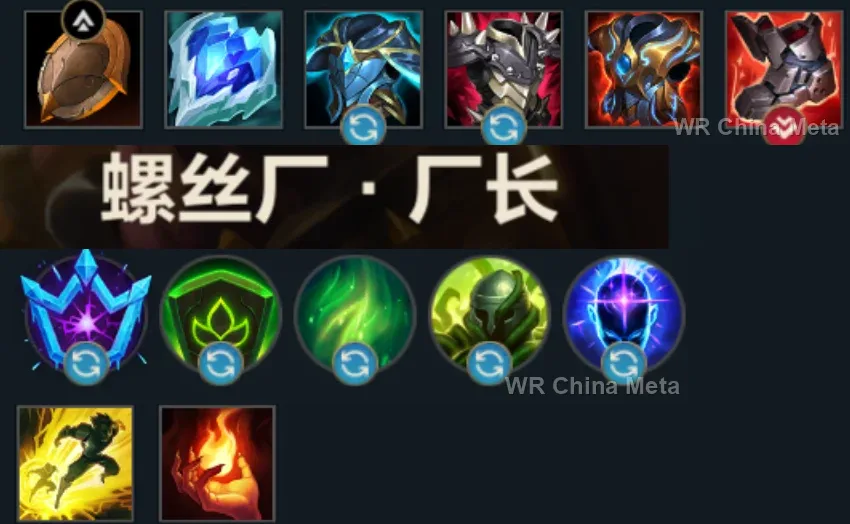
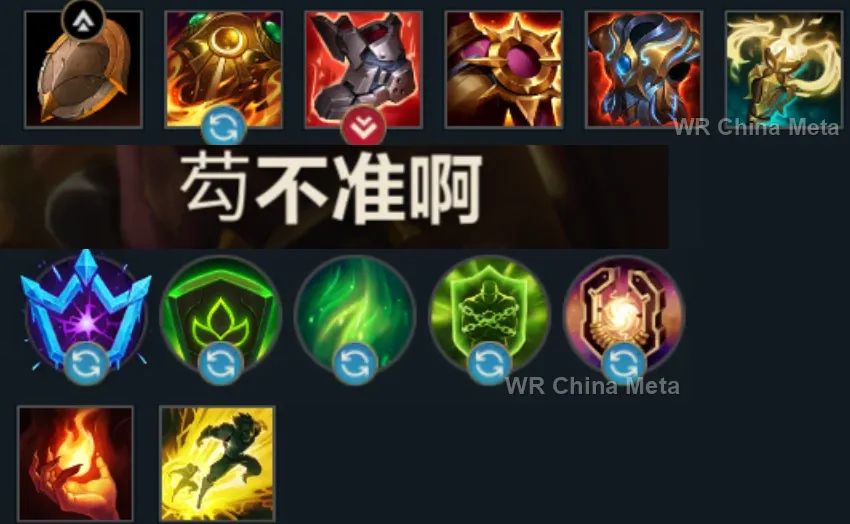
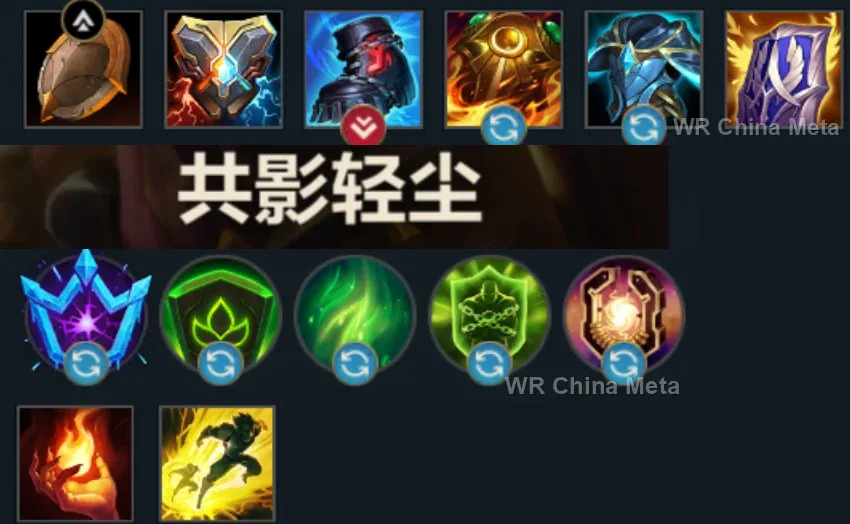
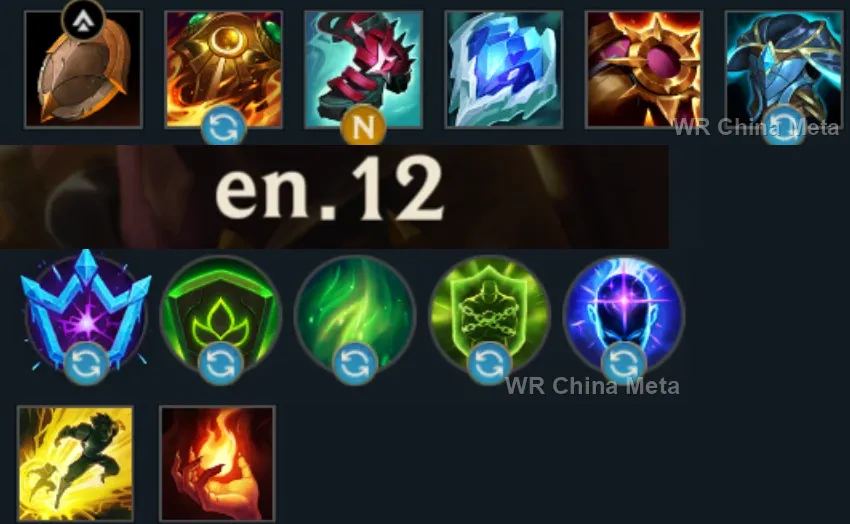
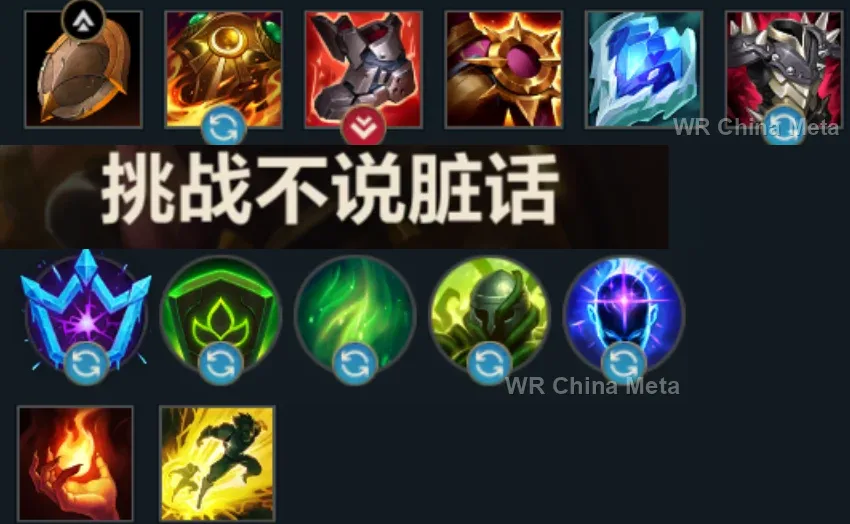
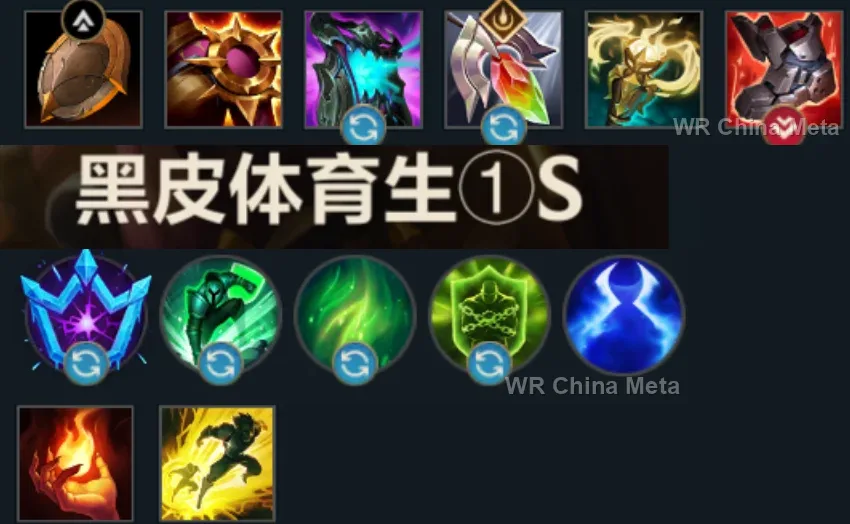
The toughest lane matchups for Leona on the Wild Rift China server, with why each is hard and exactly how to play it.
 Leona vs Morgana Hard counter
Why Morgana counters Leona: Black Shield cancels your entire identity: E, Q and R become choreography with no CC.
How to play Leona into Morgana: Fake the engage to make her waste the shield — it has a 20+ second cooldown — then commit for real. Or engage whoever is NOT shielded.
→ Morgana Leona vs Janna Unfavorable
Why Janna counters Leona: The tornado stops your E and her R returns you to sender: every entry ends in a washing-machine spin.
How to play Leona into Janna: Instant E plus Q BEFORE the tornado charges. Engage right after she spends her Q on minions: track it like a vital cooldown.
→ Janna Leona vs Milio Unfavorable
Why Milio counters Leona: The cleanse melts your stun chain: your linked CC fizzles into a round of fiery applause.
How to play Leona into Milio: Spread the chain: E stun, wait for him to spend the cleanse, THEN the R. The reverse order gifts everything to his button.
→ Milio Leona vs Lulu Skill matchup
Why Lulu counters Leona: Polymorph in the middle of your engage and shields on your damage: the fairy who turns your dive into a field trip.
How to play Leona into Lulu: Enter from fog of war: a reactive Polymorph needs to see you coming. When Lulu is exposed, punish her first: without her the duo is naked.
→ Lulu Leona vs Thresh Skill matchup
Why Thresh counters Leona: The Lantern extracts whoever you stunned and the Flay keeps you off the follow-up: the jailer against the sun.
How to play Leona into Thresh: Stun the target FIRST, then him: the Lantern cannot save someone already under your team. Fast engages, never telegraphed.
→ ThreshThe champions Leona works best alongside on the Wild Rift China server, lane by lane, with the reason each pairing works.
His page says mobile opponents step out of the telegraphed The Darkin Blade (Q) swings: held inside Zenith Blade (E) and Shield of Daybreak (Q) nobody steps anywhere, and the edge of every swing detonates Sunlight (P).
Flawless Duet (E) is her only ranged tool and a free target dodges it: under Zenith Blade (E) and Shield of Daybreak (Q) it always connects, and the mark it leaves refreshes Bladesurge (Q) for the reset chain.
His page calls his kit entirely single-target with almost no area control: Solar Flare (R) is the missing half. And for as long as the target cannot move, The Relentless Storm (P) reaches five stacks and splashes onto everyone nearby.
Jax lives on duels and his page says pure kiting shuts him out of the fight: Zenith Blade (E) hands him a body that cannot walk away, and the Counter Strike (E) stun chains straight onto the end of yours.
Unstoppable Force (R) piles them into one spot and Solar Flare (R) stuns the pile a moment later: two engages back to back that nobody blocks. Neither of you deals damage though, so it only works with follow-up behind you.
His page says that if the opening leap does not close, Rengar dies right there: on a target already pinned between Zenith Blade (E) and Shield of Daybreak (Q) it closes nearly every time, and the guaranteed Savagery (Q) crit detonates Sunlight (P).
His damage only exists if all three empowered Three Talon Strike (Q) hits land, and his page says mobile targets dash away before that: rooted by Zenith Blade (E) and stunned a heartbeat later, nobody dashes anywhere at all.
Grand Starfall (R) is visible on the way down and anyone watching walks out of the circle: Solar Flare (R) stuns the centre and slows everything around it by 80%, so nobody leaves. And he lands with Mortal Will (P) already armed.
Infinite Duress (R) can be dodged and can be knocked out of the air: on a body held by Zenith Blade (E) and Shield of Daybreak (Q) neither of those happens, and the counter-engage lands on you, with Eclipse (W) already up.
His page warns that Cataclysm (R) is a death sentence if it walls in the wrong target: you pick that target with Zenith Blade (E) and hold it there, and you are inside the arena too, with Eclipse (W) soaking the damage.
Demonic Ascension (R) only drains whoever stays inside its radius, and Solar Flare (R) slows everything around the centre by 80%: nobody walks out of there. And Nevermove (E) stops being a gamble, because you are the one locking the target down.
Every scrap of her damage runs through a skillshot, and on her own she misses them: on a target nailed between Zenith Blade (E) and Shield of Daybreak (Q), Sleepy Trouble Bubble (E) and Paddle Star! (Q) always land, and that burst is what you lack.
Annie dies without an escape and her spells barely reach anywhere, so walking in first is your job: Solar Flare (R) stuns whoever is caught in the middle and slows the rest, and she just unloads Summon: Tibbers (R) from the edge of her range.
Command: Protect (E) lets her attach the ball to you: you charge in with Zenith Blade (E) carrying her whole damage zone with you, shielded, and Command: Shockwave (R) goes off from there onto people your stun is already holding.
Samira only matters at point-blank range and any hard crowd control shuts her combo down before it starts: you hand her a body that cannot move for two seconds, which is exactly the time she needs to hit S rank and press Inferno Trigger (R).
Let her bind you: Fate's Call (R) throws you into their backline, where Zenith Blade (E) and Shield of Daybreak (Q) land on a carry that never saw you coming. And her page says she owns no hard crowd control of her own.
Bullet Time (R) keeps her still for three seconds and anyone walking out of the cone wastes it: Solar Flare (R) stuns the centre and slows everyone around it by 80%, so the volleys fall on people who cannot step aside.
The Deadly Flourish (W) root only exists if the target has just taken damage from an ally: Zenith Blade (E) poke along the whole line marks one for him every time, with Sunlight (P) on top. Then Solar Flare (R) holds it still for four shots.
Yunara has no shields and no dashes, and her early game is standing still and hitting: a target nailed down by Zenith Blade (E) lets her do exactly that, and the first shot she puts on it detonates Sunlight (P).
| Lane | Tier | Win% | Pick% | Ban% | Pos. |
|---|---|---|---|---|---|
| Support | S | 50.88% | 9.62% | 7.75% | #5 / 34 |
| Lane | Tier | Win% | Pick% | Ban% | Pos. |
|---|---|---|---|---|---|
| Support | S | 50.88% | 9.59% | 7.99% | #5 / 34 |
| Lane | Tier | Win% | Pick% | Ban% | Pos. |
|---|---|---|---|---|---|
| Support | A | 50.85% | 8.5% | 6.43% | #8 / 33 |
| Lane | Tier | Win% | Pick% | Ban% | Pos. |
|---|---|---|---|---|---|
| Support | A | 49.51% | 6.24% | 2.69% | #12 / 33 |


Leona, the Radiant Dawn, is a full-tank engage champion in Wild Rift, most often played in the support role - she is built to start fights, not carry them. Her own damage is low, but almost nothing in the game locks a single target down as hard as she can: every ability she lands applies Sunlight, a debuff that detonates for bonus magic damage the moment she or an ally lands a follow-up hit. Her job each fight is simple - dive in first, chain her stuns, and let the rest of her team do the killing while she eats the damage.
Skill order: E > Q > W
Look to all-in the moment the enemy oversteps: Zenith Blade closes the gap and roots them, and Shield of Daybreak's empowered auto turns that root into a full stun before they can react. Your own damage is low this early, so only commit when your ADC or jungler can actually punish the window - an engage with no follow-up just burns your cooldowns for nothing. Between engages, poke with Zenith Blade from range; it chips HP across the whole line and applies Sunlight, so even a stray ally auto attack afterward converts into bonus magic damage. Once level 5 hits, hold Solar Flare for the moment the lane groups up or tries to run - it turns most skirmishes into a near-guaranteed kill.
In the mid-to-late game Leona is almost always the one who goes in first - walk or flash onto the biggest threat, land Zenith Blade for the root and gap-close, then chain Shield of Daybreak's stun to hold them while your team collapses onto the fight. Save Solar Flare for when the enemy team is grouped: dropped into the middle of a cluster, it stuns whoever is caught at the center and slows everyone else by 80%, which can win a fight almost by itself even though it isn't much personal damage. Engage with Eclipse already active rather than popping it after you're in trouble - the extra resistances help you survive the dive, and staying near enemies when it expires triggers the damage burst and extends your buff further. Your job in every fight is to hold crowd control and absorb damage, not to deal it - chain CC onto their priority targets and trust your team to finish what you started.