
WR China Meta
Meta, tier list & top-player builds from the China server · live
Meta, tier list & top-player builds from the China server · live

娑娜 · 琴瑟仙女 Support S
✅ Patch 7.2e · stats updated 2026-09-12 · real builds of 14 top-ranked China server players captured 2026-09-11
Difficulty Damage Toughness Utility
How the strongest players on the Wild Rift China server (国服) build Sona: live win/pick statistics by rank bracket, the most-used item and rune sets, and the real loadouts of the top ranked Sona players, captured in-game.
📖 How to play Sona


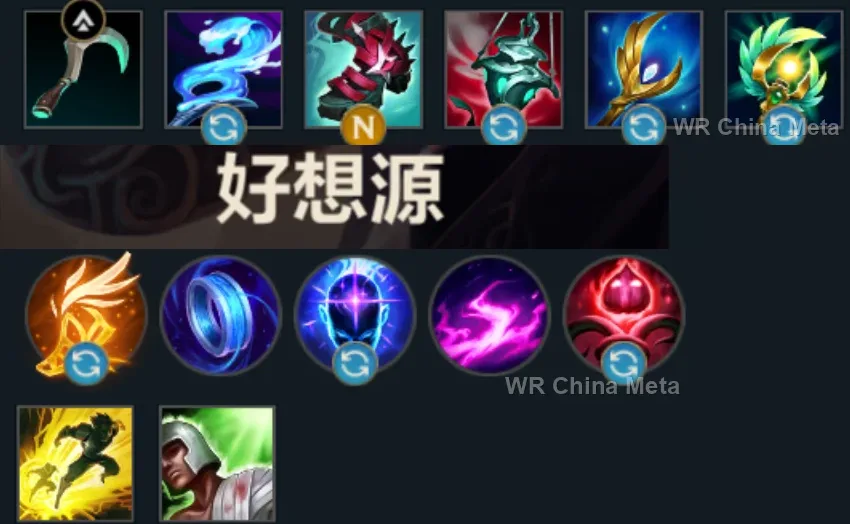
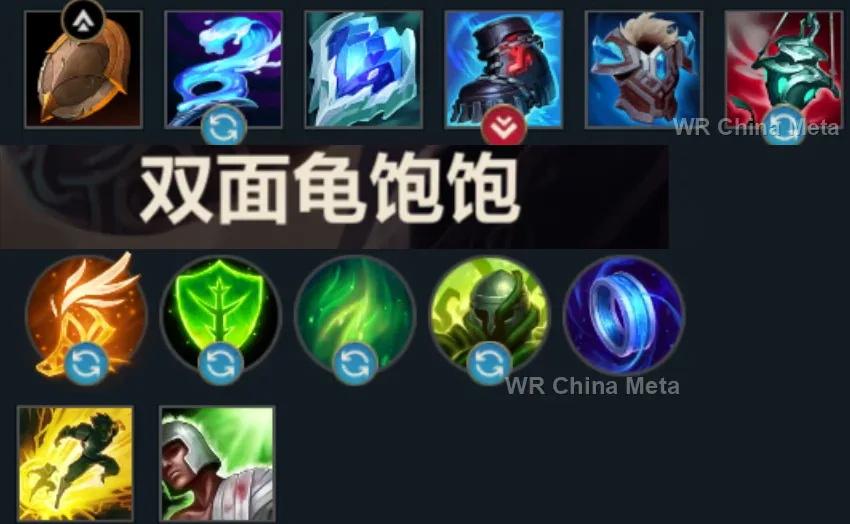
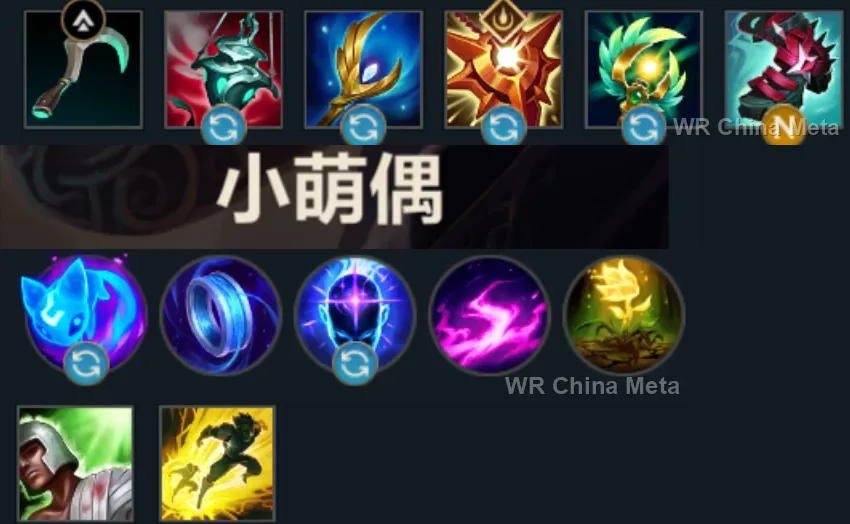
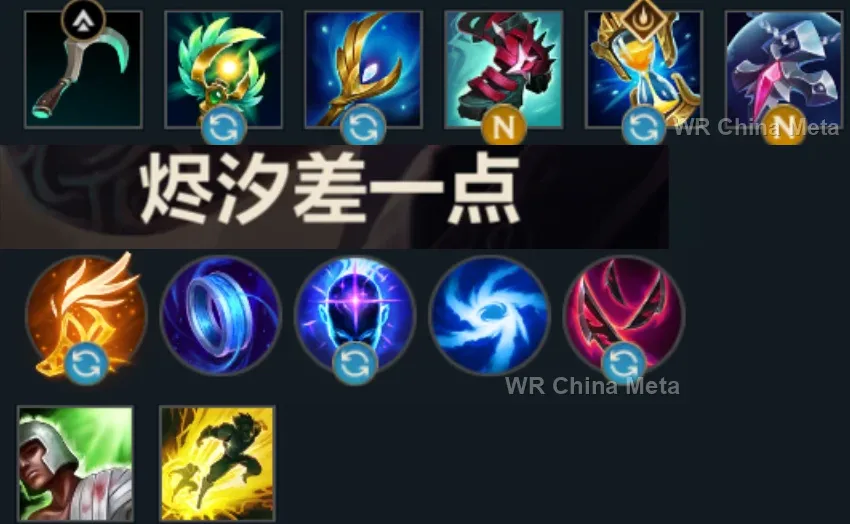
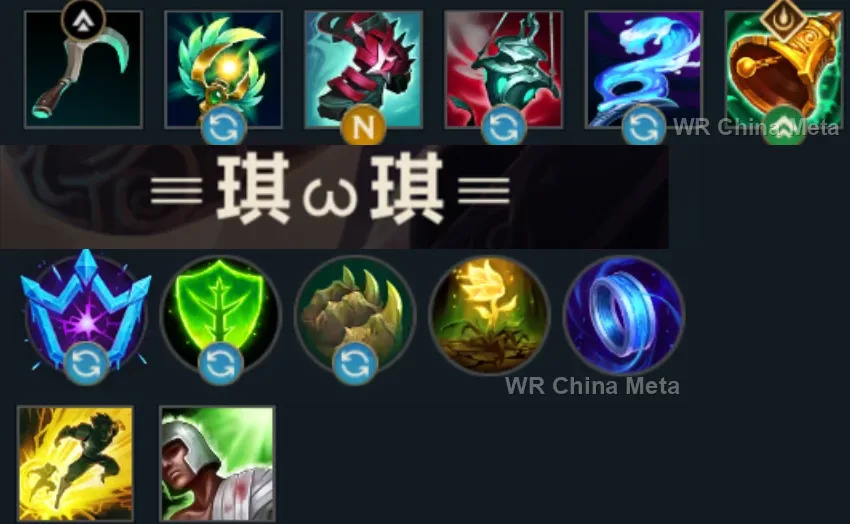
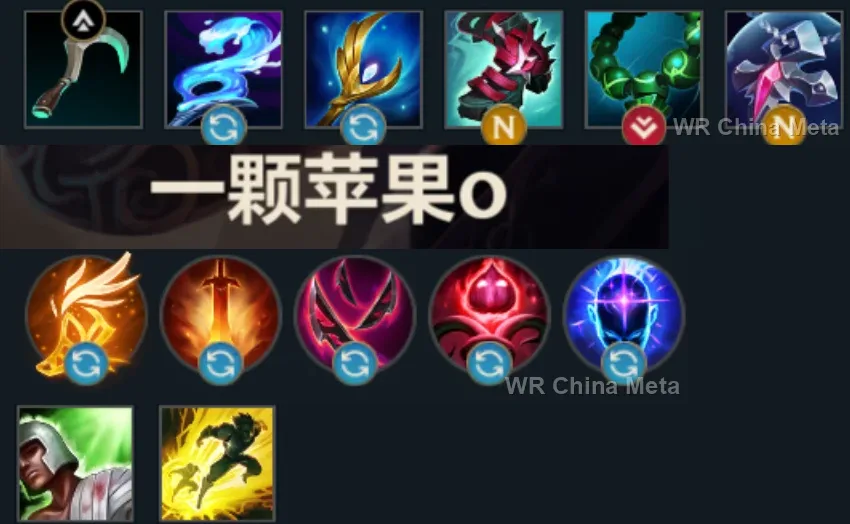
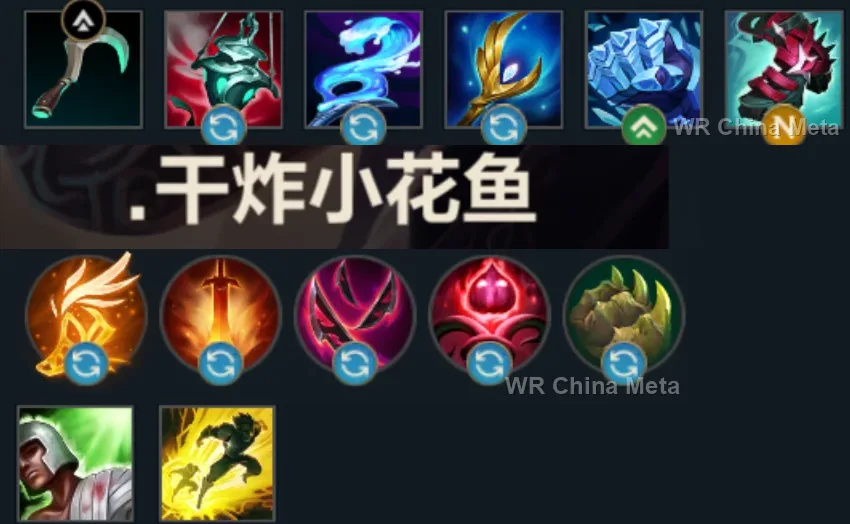
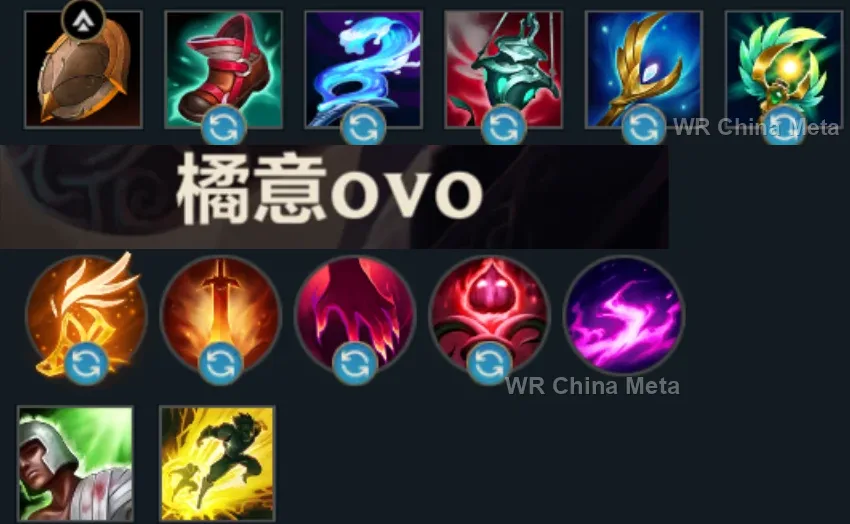
Counted on 15 real builds captured from the Chinese client, player by player. Independent from the official API above.


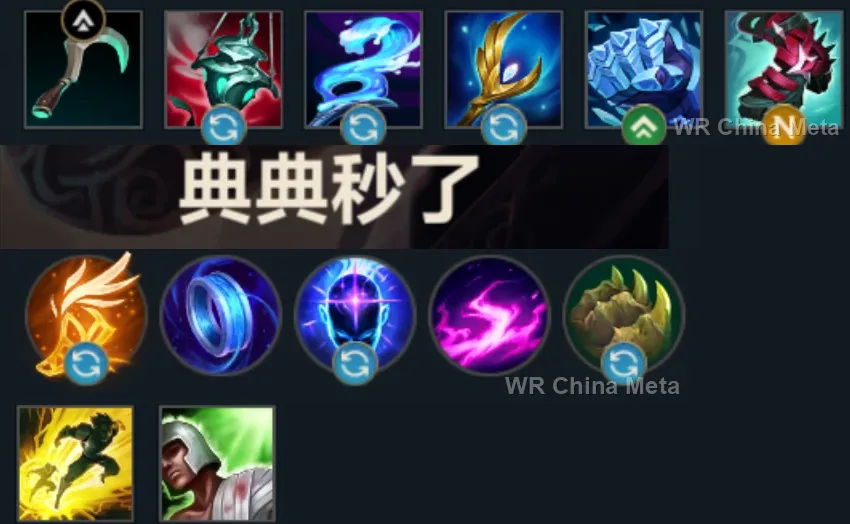
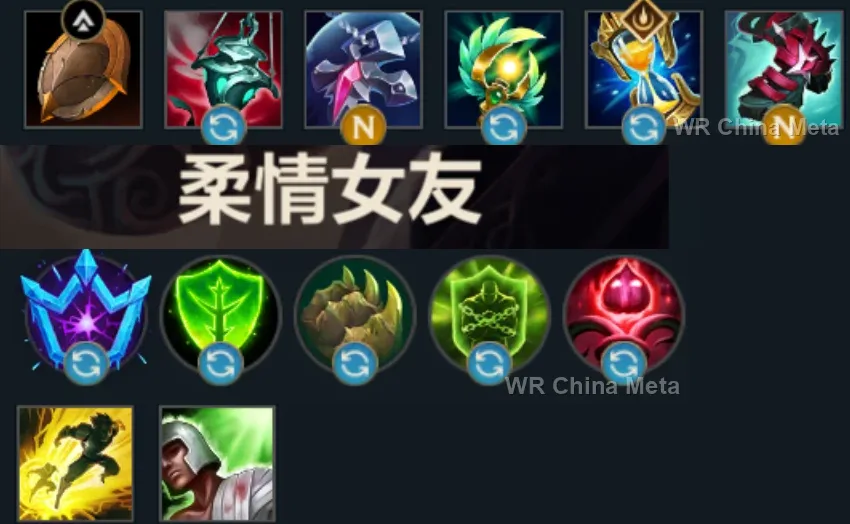
Taken from the official in-game China leaderboard. Spells, runes and items of every public top player.
14 of the top 30 players have a public match history; the others keep theirs private.
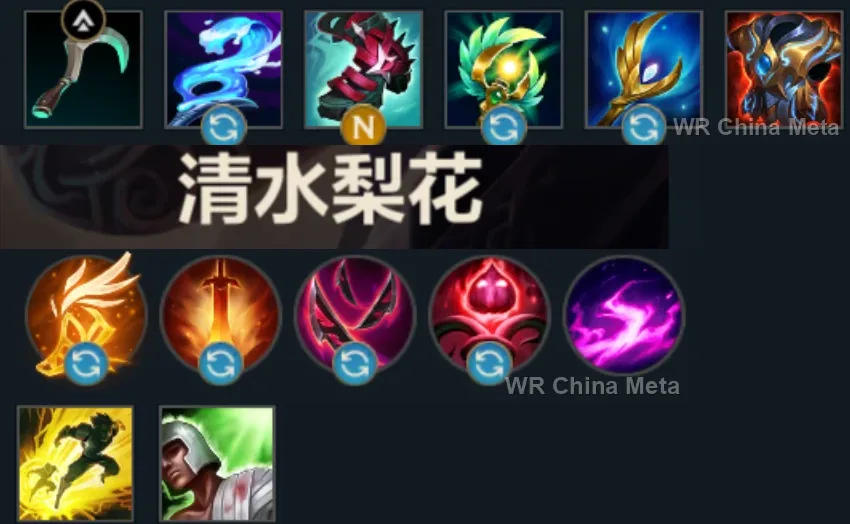
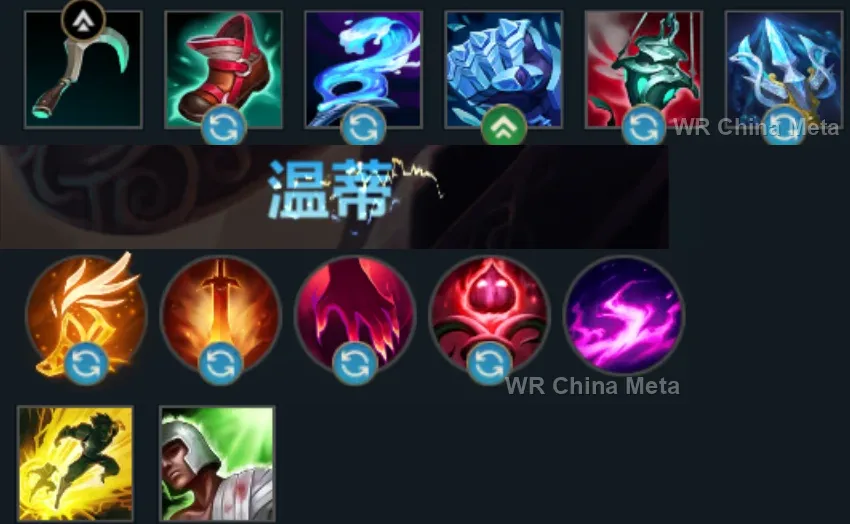
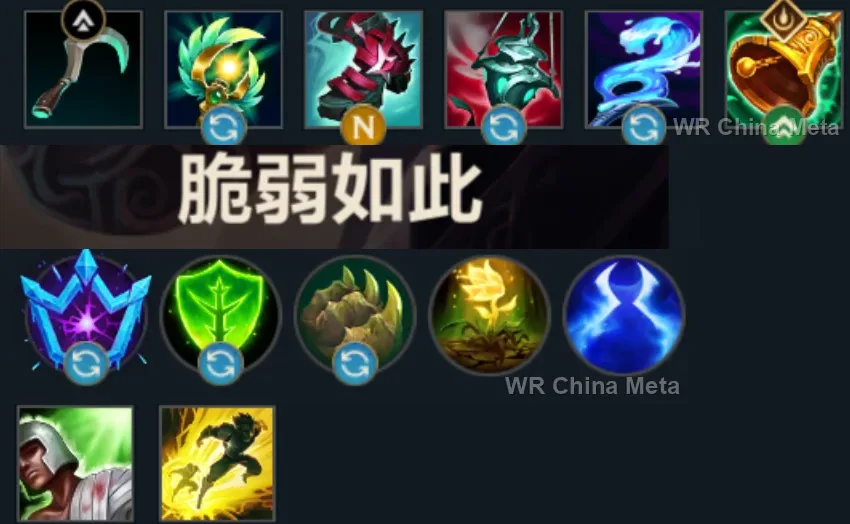
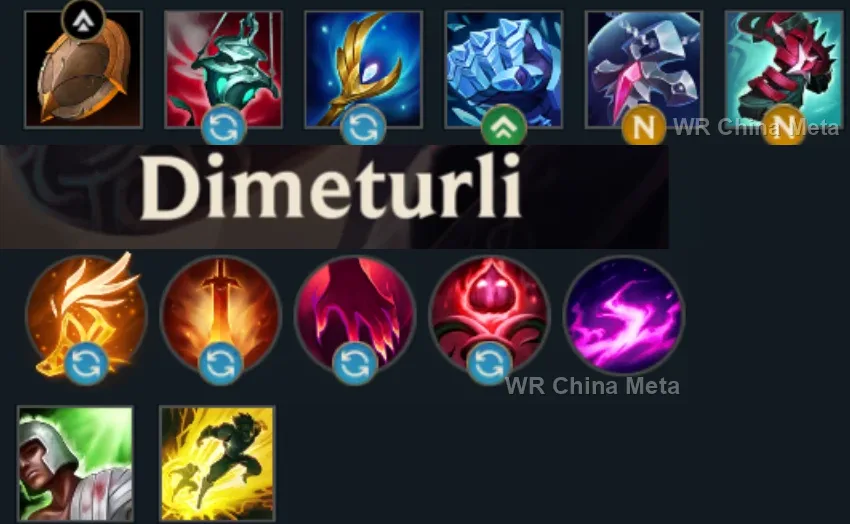
The toughest lane matchups for Sona on the Wild Rift China server, with why each is hard and exactly how to play it.
 Sona vs Blitzcrank Unfavorable
Why Blitzcrank counters Sona: You are the softest target in the game and his hook knows it: one grab, one funeral with music.
How to play Sona into Blitzcrank: ALWAYS behind minions, no exceptions. After 3 items your poke processes him from out of reach: you just have to survive until then.
→ Blitzcrank Sona vs Leona Unfavorable
Why Leona counters Sona: Her all-in always finds you first: the music stops when the sun lands.
How to play Sona into Leona: Max range, obsessively. R on HER mid-engage: her train dances to your Crescendo, not the other way round.
→ Leona Sona vs Pyke Unfavorable
Why Pyke counters Sona: By nature you live below his R threshold: you are the easiest paycheck of his month.
How to play Sona into Pyke: Heal yourself first and stay beyond hook range. Vision in the bushes: his fishing hates the light.
→ Pyke Sona vs Milio Skill matchup
Why Milio counters Sona: A mirror of scaling supports: his cleanse against your Crescendo, his range against your chords.
How to play Sona into Milio: Win the poke with Q and power chord. Use R on GROUPS, not singles: his cleanse wipes one, not five.
→ Milio Sona vs Thresh Skill matchup
Why Thresh counters Sona: The Flay finds you mid-stroll and the Lantern cancels your Crescendo picks: the pianist's kidnapper.
How to play Sona into Thresh: Play one chord's distance away from his hook. R him and the ADC together when he comes in for the Flay: two birds.
→ ThreshThe champions Sona works best alongside on the Wild Rift China server, lane by lane, with the reason each pairing works.
Crescendo (R) only stuns the first target it touches, but it slows everyone else caught in the wave: against a slowed group Unstoppable Force (R) stops being dodgeable. His page says he closes nothing alone, and your 20 seconds of empowered auras are what convert his engage.
The Relentless Storm (P) stacks attack speed with every hit, and Hymn of Valor (Q) loads bonus attack damage onto the next attack of nearby allies: it lands in full on a Frenzied Maul (W) bite. Song of Celerity (E) gives him the metres he lacks once Stormbringer (R) is down.
You are the squishiest support in the game and your page says one hook ends your match: Stand United (R) shields you from anywhere on the map and Shadow Dash (E) taunts the diver, so your auras never stop cycling.
Fate Sealed (R) knocks the enemies it hits into one spot, which is the perfect setup for running Crescendo (R) straight through them. But his body stands exposed while Soul Unbound (E) snaps back on its fixed timer: Aria of Perseverance (W) covers exactly that moment.
Your auras have a short radius and Jax spends half the game in a side lane, far away from you. When you are together, though, Hymn of Valor (Q) loads attack damage onto the hits Relentless Assault (P) speeds up, and Song of Celerity (E) covers the gap Leap Strike (Q) cannot.
Warpath (P) converts movement speed into attack power: Song of Celerity (E) does not just move him, it raises his damage every time you recast it. And after Onslaught of Shadows (R) he is alone inside the enemy backline, where Aria of Perseverance (W) is what brings him back out.
His page says Absolute Zero (R) is a long channel enemies simply walk out of: the Crescendo (R) slow takes that exit away, and Aria of Perseverance (W) pays for the seconds he spends standing still through the channel.
His page says that against a scattered team Curse of the Sad Mummy (R) is a wasted cooldown. Crescendo (R) slows everyone the wave passes through: from that point nobody spreads out, and his stun catches two or three instead of one.
Before Cataclysm (R) everything he owns is short-ranged: Song of Celerity (E) is the distance he needs to plant Demacian Standard (E) and pull Dragon Strike (Q) through it. And the arena traps the target exactly where Crescendo (R) and Power Chord (P) hold him still.
He is fragile before items and all of his damage asks him to stay on target for the three Three Talon Strike (Q) hits: Aria of Perseverance (W) buys them and Hymn of Valor (Q) loads them. But Crescent Guard (R) only protects you if he gives up the dive, which he rarely does.
Hero's Entrance (R) telegraphs its landing zone for 2.5 seconds and an alert team just walks out: inside a Crescendo (R) slow they cannot. And Shield of Durand (W) needs two seconds standing still and exposed, which is exactly what Aria of Perseverance (W) pays for.
His page says Siphoning Strike (Q) is coded as a basic attack: the bonus attack damage from Hymn of Valor (Q) lands on it in full. And Wither (W) strips movement and attack speed from the diver who reached you, which is the only way you ever die.
Pyromania (P) gives her a guaranteed one-second stun and Crescendo (R) adds another on the first target, plus a slow on everyone else: against a group like that Summon: Tibbers (R) misses nobody. And Song of Celerity (E) pays for the last stretch she has to walk in.
Command: Shockwave (R) has a delay before the pull resolves, and anyone with a dash slips out of it: inside a Crescendo (R) slow they do not. And her page grants her zero mobility, so Song of Celerity (E) is the only way she ever restores distance.
Outside Slicing Maelstrom (R) he owns no defensive tool at all, and using it means standing in the middle of everyone: the Crescendo (R) slow keeps the targets there and Aria of Perseverance (W) pays for the seconds. Worth it against teams that clump, not against long-range poke.
She has no shield anywhere in her kit and her early game is standing still and auto-attacking, which is exactly what poke punishes: Aria of Perseverance (W) is the missing shield and Hymn of Valor (Q) loads attack damage onto those hits. Power Chord (P) stops whoever walks at her.
Spinning Axe (Q) is an empowered basic attack, so the bonus attack damage from Hymn of Valor (Q) rides on it in full. And he only wins lane by taking every single trade: Aria of Perseverance (W) pays for it and Power Chord (P) opens it with half a second of stun.
Her page says Bullet Time (R) is only devastating against grouped or crowd-controlled enemies, and that anyone with a dash dances around it: Crescendo (R) stuns the first target and slows the rest inside the wave. She never has to move, and you shield her through the channel.
Deadly Flourish (W) becomes a real root rather than a slow on anyone who recently took damage from him or an ally: every Hymn of Valor (Q) that touches the target arms it for him. And Crescendo (R) is what gets all four Curtain Call (R) shots out.
He loses almost every trade before level 5 and owns no dash: Aria of Perseverance (W) keeps him in lane until his first items. After that his damage asks him to stand still at maximum range with Bio-Arcane Barrage (W): Song of Celerity (E) is how he gets there and back out.
His page says he needs uninterrupted reps: your healing and Aria of Perseverance (W) buy him wave after wave of Dragon Practice (P) without a single recall. But neither of you has real peel, and a composition built around diving punishes you both.
| Lane | Tier | Win% | Pick% | Ban% | Pos. |
|---|---|---|---|---|---|
| Support | S | 52.32% | 4.08% | 0.94% | #3 / 34 |
| Lane | Tier | Win% | Pick% | Ban% | Pos. |
|---|---|---|---|---|---|
| Support | S | 52.45% | 4.29% | 1.03% | #3 / 34 |
| Lane | Tier | Win% | Pick% | Ban% | Pos. |
|---|---|---|---|---|---|
| Support | S+ | 52.55% | 5.76% | 1.73% | #1 / 33 |
| Lane | Tier | Win% | Pick% | Ban% | Pos. |
|---|---|---|---|---|---|
| Support | S+ | 54.8% | 9.1% | 6.16% | #1 / 33 |


Sona is Wild Rift's melody-driven enchanter support, built entirely around auras: every basic ability she casts wraps nearby allies in a short buff, bonus attack damage, a shield, or extra move speed, while her own damage stays magic-based and comes mostly from poke rather than burst combos. She's rated as one of the easiest supports in the game to pick up, but her sky-high assist potential and near-nonexistent tankiness mean she plays less like a fighter and more like a walking buff station that has to be protected. If you enjoy shaping fights through constant utility uptime rather than mechanical outplays, Sona is one of the most rewarding support picks in Wild Rift.
Skill order: Q > W > E, max Hymn of Valor first for poke and wave pressure, then take R at every chance (levels 5/9/13).
Lane from max range and lead every trade with Hymn of Valor: the damage plus the attack-aura buff on your ADC's next hit punishes anyone who steps up carelessly. Weave in Aria of Perseverance whenever your lane partner dips low rather than waiting for an emergency, since the shield alone can turn a bad trade even. Try to time your third ability cast so Power Chord's empowered, stunning auto lands the moment your ADC swings, that's often the real difference between a poke exchange and a kill. Level 5 is your first big spike: once Crescendo is live, all-ins that looked unwinnable before suddenly aren't.
From mid game on, your job is to sit just behind the frontline and keep cycling Q, W, and E so your team is never caught without an active aura, every cast is a few seconds of extra damage, shielding, or speed for whoever's near you. Use Crescendo to initiate or to answer an enemy engage: aim the advancing note wave through their clustered carries so the first-hit stun lands on their priority target and the slow traps the rest inside the repeating damage pulses. Stay off the front line since you have very little HP to give, and save Song of Celerity to reposition your team out of danger or to close distance safely before you commit your ultimate.